Bailey’s Mini Fishtail Braids | DIY Bandana Hairstyle for Short Hair
Any of you short-haired people out there will know the struggle when it comes to creating cute braids on your…
Bailey’s Mini Fishtail Braids | DIY Bandana Hairstyle for Short Hair
Any of you short-haired people out there will know the struggle when it comes to creating cute braids on your…
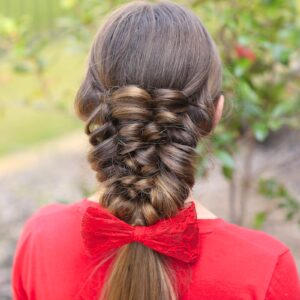
Flipped Ponytail Updo | Hairstyles For The Holidays
Today, I’m showing you the Flipped Ponytail Updo! You might not have a ton of occasions that call for a…
Spooky Good Hairstyles| Halloween How-To’s
Trick-or-treating might look a little different this year, but the costumes will still be essential. And what’s a good costume…
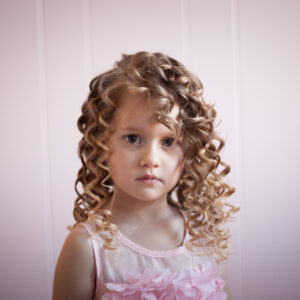
Do Spoolies Really Work? | Fab or Fail
I saw this product online a few years ago. I have wondered if they really work. Guess what? Today I…
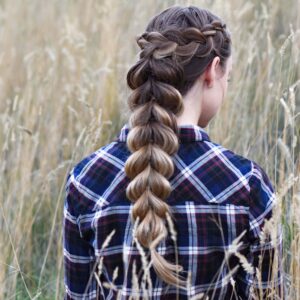
One of our very favorite hairstyles is a Pull Thru Braid. Today we have a cute new version to share!…
Hello there beautiful friends! 🙂 Since we’re approaching Halloween soon, I thought I’d do a tutorial on how to do…
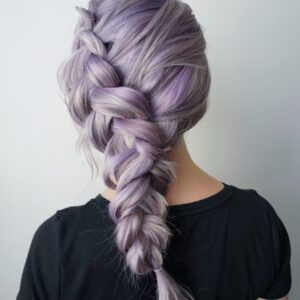
Clip-In Hair Extensions for a Side Dutch Braid
If you love big braids but your hair is medium length or a bit on the thin side, this post…
Tips For Applying Clip-In Hair Extensions
Clip-in hair extensions can be a wonderful addition to almost any hairstyle. Whether you’re in the middle of growing out…
How to Make Perfect Retro Waves
Hello! It’s Katie, again, with AbellasBraids! We’ve been getting a ton of requests for a tutorial on these retro waves,…
How to Create a Banded Puff Braid
A few months ago, Alicia, my friend from high school shared a photo with me on Facebook of this hairstyle…
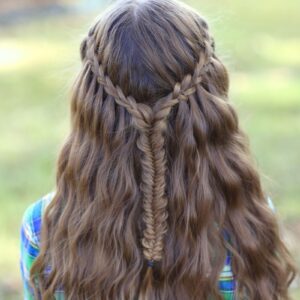
Scissor Waterfall Combo | Latest Hairstyles
I’ve noticed this cool new Scissor Waterfall Braid technique several weeks ago, and now a few YouTubers and Instagrammers have shown how…
Zombie Cheerleader | Hair Pin Curls
Today we are going to show you how to create Hair Pin Curls, a tutorial that we’ve been waiting nearly…