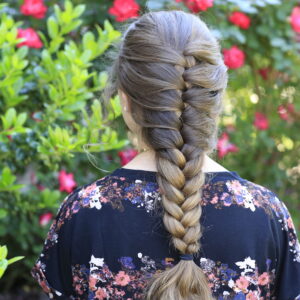
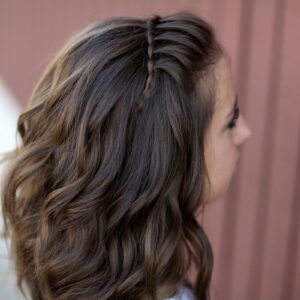
I learned this Faux French Braid last month, from a friend here in TX, whose 10-yr old daughter wore it…
Braids
Page 15 of 30
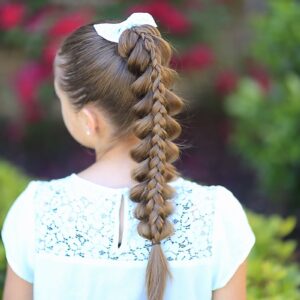
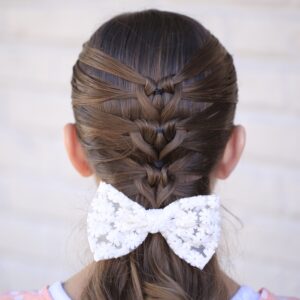
I’ve loved Stacked Braids for a long time. Pretty genius, really, accenting a braid down the spine of another braid!…
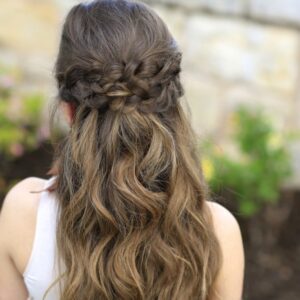
Braided Half Up | Prom Hairstyles
BONUS VIDEO! Be sure to check back here this coming Wednesday night, to see a bonus family video! It’ll be…
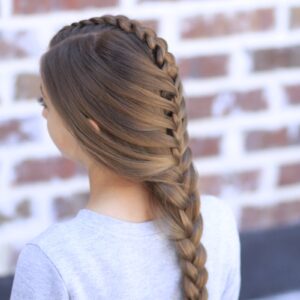
Peek-a-Boo Tuxedo Braid | Creative Hairstyles
My “to-do” list of hairstyle tutorials is several pages long, and it doesn’t seem to get any shorter! The twins…

Happy Easter! This week’s hairstyle isn’t anything new, as you’ve likely seen it around everywhere from the catwalk to fashion…

Dutch Accent Ponytail | Short Hairstyles
So, a few weeks ago, Bailey posted an “Outfit-of-the-Day” {OOTD} photo on Instagram of the clothing she put together and…
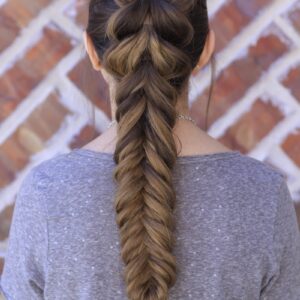
Pull-Through Fishtail Braid Combo
Our hairstyle today is inspired by both a Pull-Through Braid and a Fishtail Braid, beautifully combined into a combo that we…

2-in-1 Boxer Braid No-Heat Curls
Time for another no-heat curls tutorial! Today, we’re excited to take part in Suave Professionals’ Style-It-Yourself program by teaching you how…

Twisted Edge Fishtail Combo | Braid and Updo
There have been so many viewer requests, sending in photos and asking for us to create a tutorial for this…
Since Bailey has cheer in the mornings, and early-morning seminary before that, she has to get up at 4:45 am…

Cute Heart Accents | Valentine’s Day Hairstyles
Today we will be showing you how to create Heart Accents, fitting right into our Valentine’s Day Hairstyle theme we’ve…
Mermaid Heart Braid | Cute Valentine’s Day Hairstyles
I can’t believe another Valentine’s Day is here! With only a few weeks to go, it is now time for…