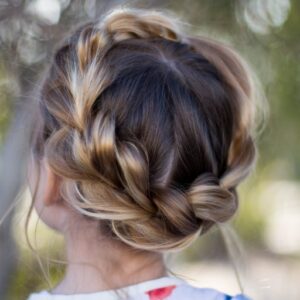
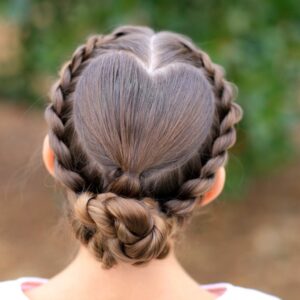
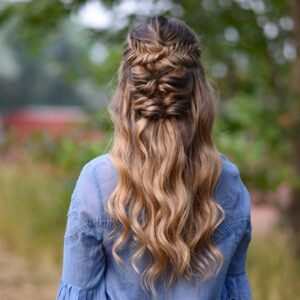
The sun is out, and the flowers are blooming. That only means one thing-SPRING IS HERE! Crown braids are one…
Braids
Page 3 of 30
Double Braid Buns | Tiny Hairstyles
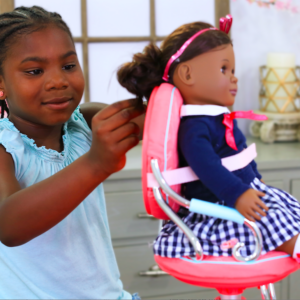
I love hair because it’s fun for all ages whether you’re a mom, teen, or even Paisley. Today, Paisley is…
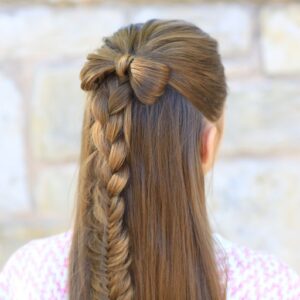
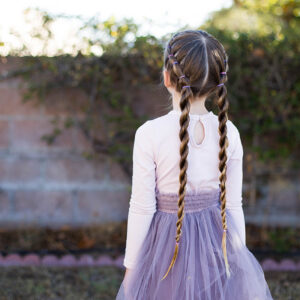
Whether you’re looking for a fun way to switch up your hair or you want to embrace your inner Lady…

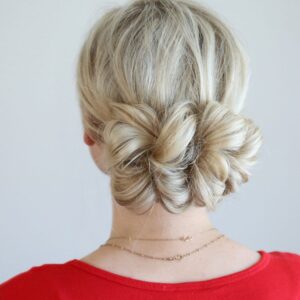
I LOVE LOVE LOVE short hairstyles! Having 2 daughters with short hair, we’re always trying to come up with hairstyles…

Y’all have been asking for a short hairstyle tutorial, so here’s a cute hairstyle that’s super quick and easy to…
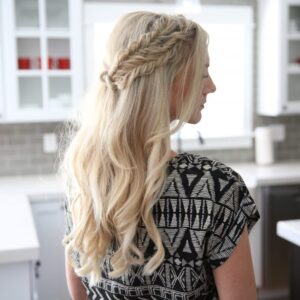
Love is in the h(air)! The season of love is in full swing, and that means one thing: DATE NIGHT!…
4 Valentine’s Day Hairstyle Ideas
Valentine’s Day is right around the corner, and having the perfect hair is an absolute must! Whether it’s date night,…
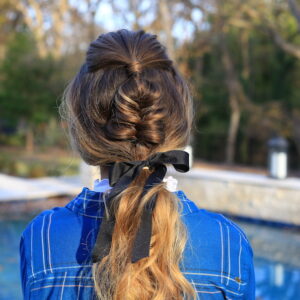
Today we have a NEW HAIRSTYLE! It has been awhile but we are very excited to share the #CGHFishtailPony with you!This…
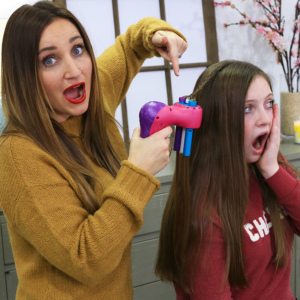
Have you ever wondered if the Hair Braider actually works? We decided to independently give it a try. This is…
Today we have a great athletic hairdo to share. The #CGHbandedtwist is a combination of twists and banded ponytails.This hairdo …
Have you been looking for a new holiday hair idea? We love this Twisted Fishtail for a cute option. This…
Today I decided to pull out some of my favorite hairstyles that would be perfect for your Holiday Parties! This…