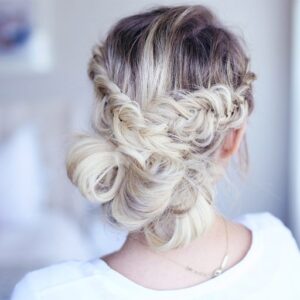
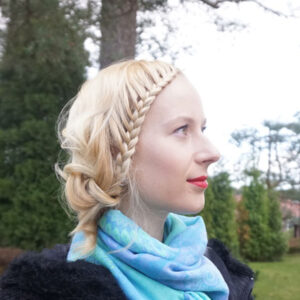
Today were sharing a simple and very elegant undo. It’s Homecoming season so hopefully this gives you another option to…
Buns
Page 4 of 12
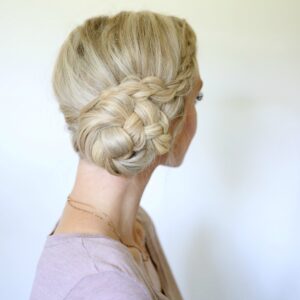
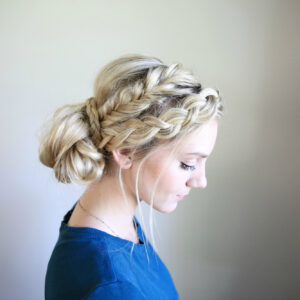
It is Homecoming again! Girls all across America are looking for the perfect dress and the perfect hairstyle to match!…
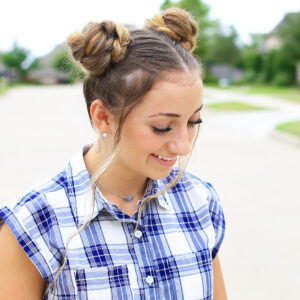
How much do you love the cute braided buns we are seeing everywhere? I’ve seen them on all ages from…
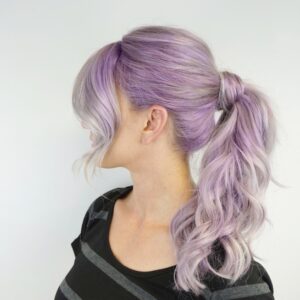
Ever wonder how celebs go from having short hair to having a luxurious ponytail? Answer: Hair Extensions! Although there are…
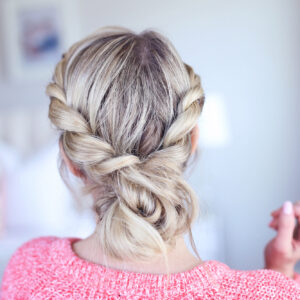
We are always looking for cute updo hairstyles. I love this DIY combo hairstyle of twist-backs and messy bun! It is…
Did you say you wanted to feel a little ‘Fancy’ today? All you need to do is add a few…
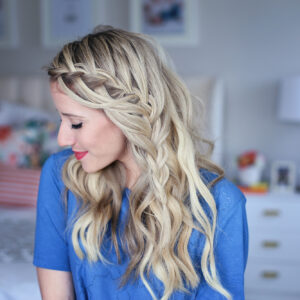
3-in-1 Cascading Waterfall | Build-able Hairstyle
Today we have not 1 but 3 great hairstyles to show using a Waterfall Braid. Abby loves this option for…
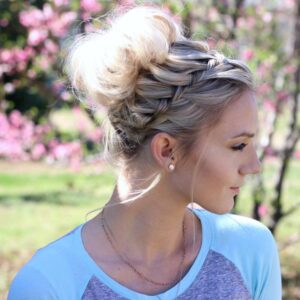
Everyone loves the Waterfall Braid! And a great bun is in the love column as well. Put them together and you…
Tips for Styling your Hair with a Graduation Cap
Classes, finals and papers are complete and the big day is coming – graduation day! You should look and feel great…

I’m in love with build-able hairstyles right now. A build-able hairstyle is basically a number of hairstyles that build upon…
Every year about this time I get major hair envy because it seems like everyone I know is going to…

Easy DIY prom hairstyle for girls with short to medium hair with layers
Hello! Glad to be back this month with some prom hairstyle inspiration for you! This up-style is lovely, romantic, elegant…