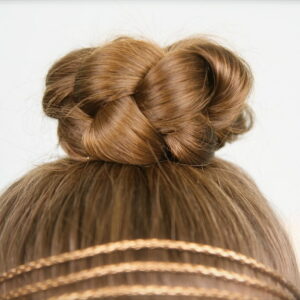
Tinker Bell Hair Bun | Disney Hairstyles
Tinker Bell has to be one of the most-beloved Disney Characters in my household! CGH #4 particularly loves Tinker Bell,…
Tinker Bell Hair Bun | Disney Hairstyles
Tinker Bell has to be one of the most-beloved Disney Characters in my household! CGH #4 particularly loves Tinker Bell,…
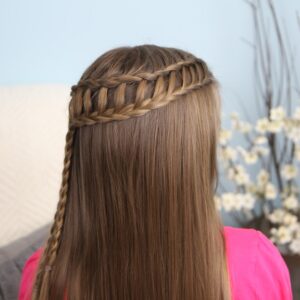
Feather Waterfall & Ladder Braid Combo | 2-in-1 Hairstyles
You are going to absolutely LOVE this hair tutorial because you’ll learn two amazing-looking hairstyles using essentially the same basic…
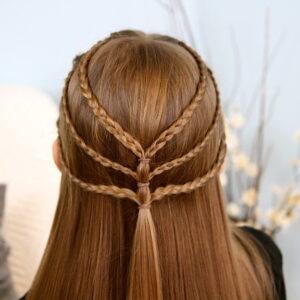
Triple-Braided Tieback | Bohemian Hairstyles
This hairstyle is one that I know you will enjoy simply because it is not likely one you have seen…
Hair Bun with Micro-Braid Accents | Updo Hairstyles
As the second video of my collaboration with EveliniCutza on YouTube, we wanted to share with you the style we…
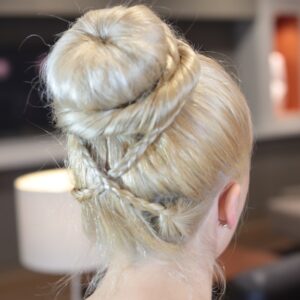
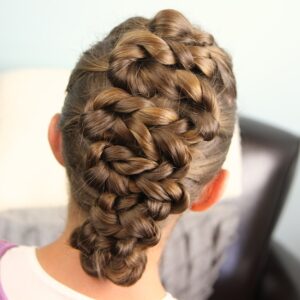
Cross-Braid Sock Bun | Updo Hairstyles
Tonight I want to introduce you to, EveliniCutza, a YouTube Beauty Guru with whom we have had a friendship for…
How to Create a DIY Dutch Waterfall Braid | Cute Braided Hairstyles
Last week I showed you how to create a Dutch Waterfall Braid on my daughter… Because it is a tricky…
Simple Braided Bun | Cute Girls Hairstyles
* ~ * ~ * ~ * ~ * Amazing Coupon Codes/Links good until 12/31/2012: TopStyler is offering a USD$49.99…
Twisted Zig-Zag Hairdo | Updo Hairstyles
As promised a few weeks ago, we wanted to post an updo hairstyle for you… please keep in mind that…
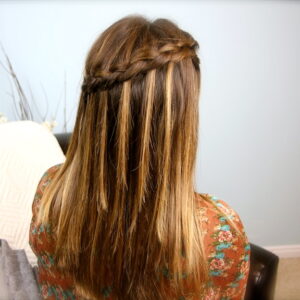
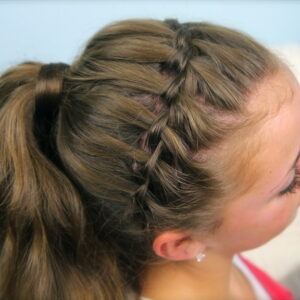
Waterfall Braid Headband Combo | Braided Hairstyles
The hairstyle for this week uses a variation of our popular Waterfall Braid tutorial {over 16 million views}. I think you’re…
Pin Coil {Curl} | Easy Hairstyle Ideas
We wanted to teach you a fun way to accent any number to hairstyles, and can accent a style for…
Double Lace into Side Braid | Rihanna Hairstyles
I am really enjoying the use of Lace Braids in my daughters’ hair lately, and they have worn this braided…
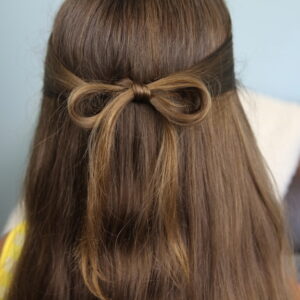
The Subtle Bow | Easy Hairstyles
For this week’s post, we wanted to show you a super-easy hairstyle that can be done in literally one to…