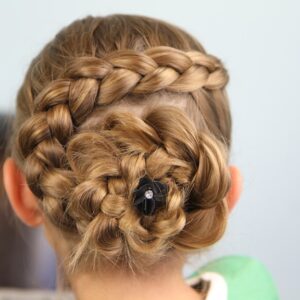
Dutch Flower Braid | Updo Hairstyles
It was so funny that just a little over a week ago we started receiving lots of Facebook photo posts…
Dutch Flower Braid | Updo Hairstyles
It was so funny that just a little over a week ago we started receiving lots of Facebook photo posts…
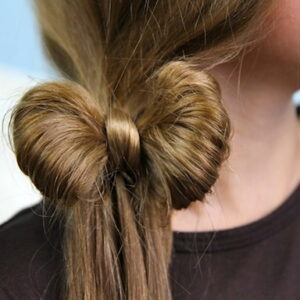
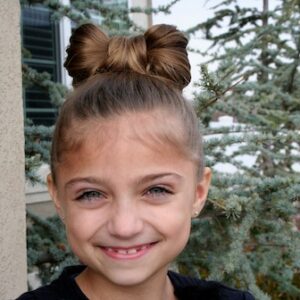
The Ponytail Bow | Cute Hairstyles
Yes, I have been on a bit of a “bow” kick lately with our braids and hairstyles, but that is…
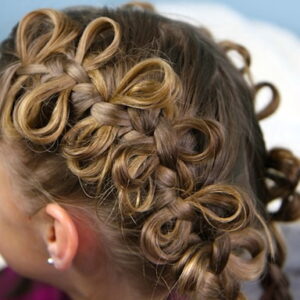
The Bow Braid | Cute Braided Hairstyles
I am always on the lookout for the next Waterfall Braid-type hairstyle! About two weeks ago, a Twitter fan tweeted…
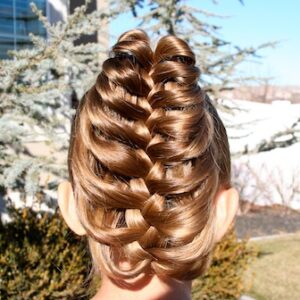
Wrap-Around Dutch Pancake Braid | Cute Braided Hairstyles
* Note from Mindy: I know the title of this hairstyle will likely make some of you hungry! *joke* It…
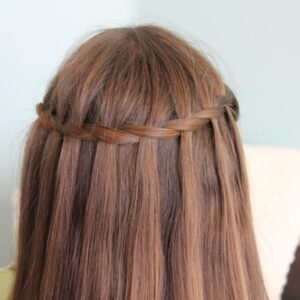
Waterfall Twist | Beautiful Teen Hairstyles
We have received a lot of attention for our Waterfall Braid hairstyle tutorials, with over 18 million YouTube views between…
Pancake Braids | Bohemian Hairstyles
Many of you noticed the cute braids that we included in the photos of the No-Heat Sock Curls Hairstyle tutorial,…
Cage Braid Ponytail | 5-Minute Hairstyles
This unique braided hairstyle is lesser known, but it is making the rounds on Pinterest from a few wonderful sites.…
Double Twist-Around Bun | Updo Hairstyles
Here is another super cute bun hairstyle, that is perfect for girls of all ages. It is one of our…
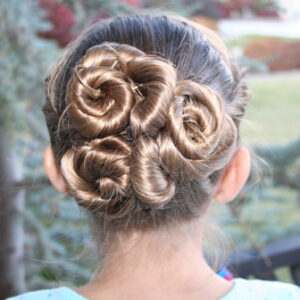
Spiral Twists | Updo Hairstyles
This is a viewer-inspired hairstyle! Cristina emailed me with a link to a YouTube video where she wanted to show…
Lady Gaga Hair Bow | Video Hairstyles
Lady Gaga first introduced the “Hair Bow” hairstyle to the masses back in 2009, and it has gained steady popularity…
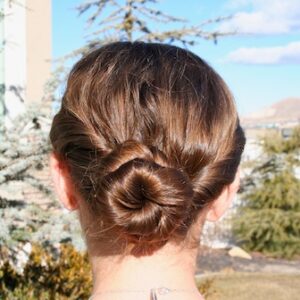
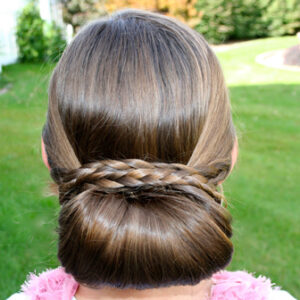
Braid-Wrapped Chignon | Cute Updo’s
It is time for another updo hairstyle! This one is actually a very quick and easy ‘do… and it looks beautiful!…
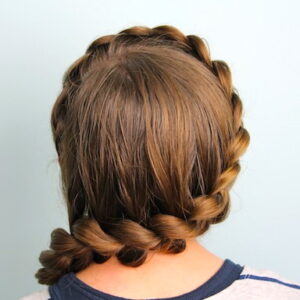
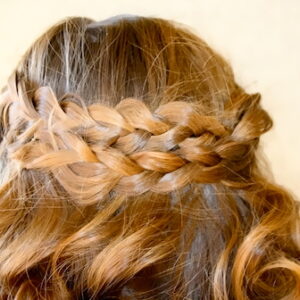
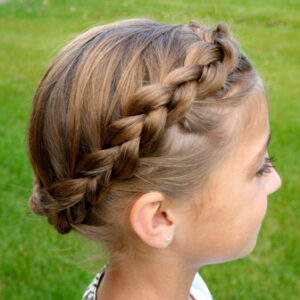
Braided Crown | Updo Hairstyles
I have been wanting to upload this Braided Crown hairstyle for along time, having been asked for it a ton,…