Easy DIY ZOOM Hairstyles | Cute Girls Hairstyles
With all the #Zoom classes going on, Rylan is back today to teach you her 3 EASY DIY Zoom Hairstyles…
Easy DIY ZOOM Hairstyles | Cute Girls Hairstyles
With all the #Zoom classes going on, Rylan is back today to teach you her 3 EASY DIY Zoom Hairstyles…
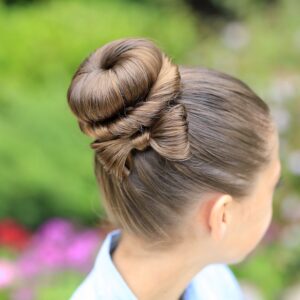
Flipped Ponytail Updo | Hairstyles For The Holidays
Today, I’m showing you the Flipped Ponytail Updo! You might not have a ton of occasions that call for a…
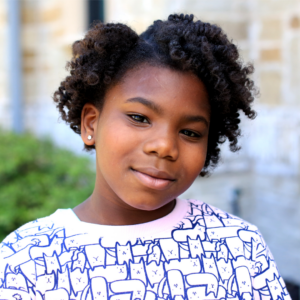
Bantu Knot Out Tutorial | No-Heat Curls
I love playing with Paisley’s hair, but I’m always looking for ways to create cute hairstyles using as little heat…
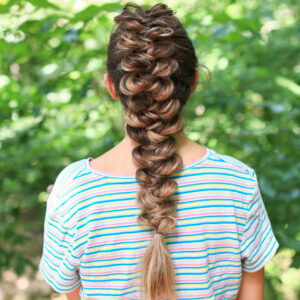
3-Strand Pull-Thru Braid | DIY Easy Hairstyles
Today, I’m going to be showing you guys an adorable DIY hairstyle. Every time that I wear this 3-Strand Pull-Thru…
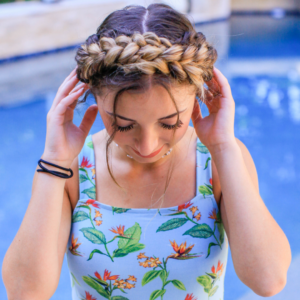
Milkmaid Braids DIY | Ft. Brooklyn McKnight
No one loves the milkmaid braids more than Brooklyn! It’s always been her go-to hairstyle whether she’s in a rush…
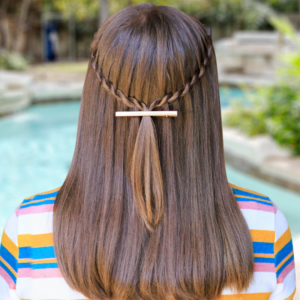
Waterfall Twist Hairstyle HACK | Easy DIY
Time to open the time capsule – I’m sure you all remember the original Waterfall Twist we created over 7…
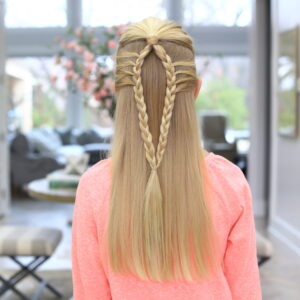
Mermaid Loop Braid | Easy Braided Hairstyles
Whimsical and versatile are exactly the words to describe the Mermaid Loop Braid. I absolutely love this look for so…
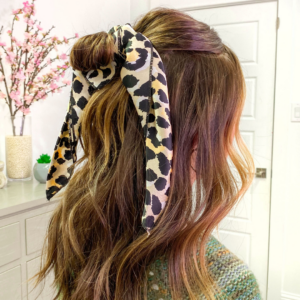
My favorite thing about scarf hairstyles is that they’re so easy to do, and they add style to your hair!…
French Wrap Braid | Summer Hairstyle
As you know, the sweat-inducing summer heat gives anyone more reason to pull their hair back, out of the face,…
Every year about this time I get major hair envy because it seems like everyone I know is going to…
5 Pretty Hairstyles for Easter!
On Easter Sunday we celebrate re-birth and new life. We say goodbye to winter and hello to spring! Easter marks…
How to Create a Faux Fishtail Crown Braid
I think that this Faux Fishtail Braid Crown is absolutely stunning! We’ve shown you how to use this faux braiding…