Spring is here and we couldn’t be more excited over here at Abella’s Braids! We are loving the warmer weater,…
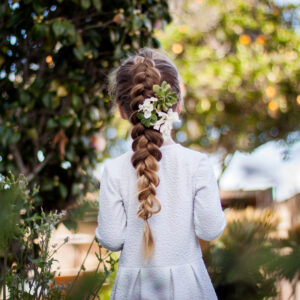
French Braids
Page 3 of 7
Every person who watches the Grammy’s, the Oscars, or any other award show watches them for a different reason. Some…
Hey guys! I’m Katie from AbellasBraids! Whenever I get a chance to go out on a date with my man,…

5 Cute & Easy Hairstyles for the Gym
Hello Lovelies! Can you believe it’s already January? Many of us are now ready to welcome 2016 with some very big…

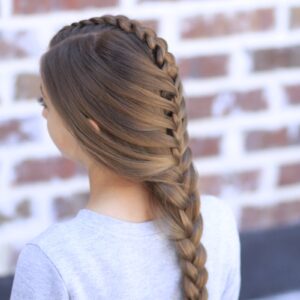
4-Strand French Braid | Easy Hairstyles
Rylan and I are here today to show you how to create a 4-Strand French Braid Pinback. This isn’t a…
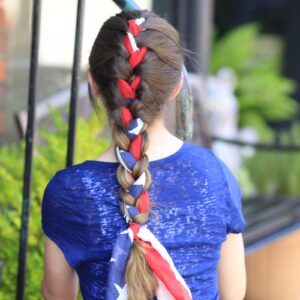
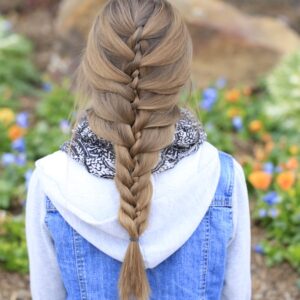
3-Minute Scarf Braid | 4th of July Hairstyles
I know it’s been a few years since we last given you a new 4th of July Hairstyle! It’s certainly…

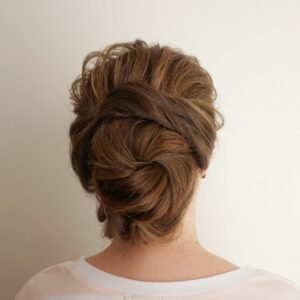
Today’s hairstyle takes inspiration from one we posted back in December 2013. That style was the French-Up High Bun. Since…
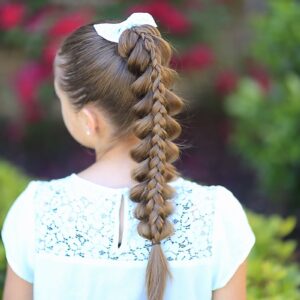
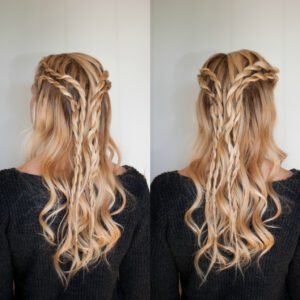
I’ve loved Stacked Braids for a long time. Pretty genius, really, accenting a braid down the spine of another braid!…
Peek-a-Boo Tuxedo Braid | Creative Hairstyles
My “to-do” list of hairstyle tutorials is several pages long, and it doesn’t seem to get any shorter! The twins…
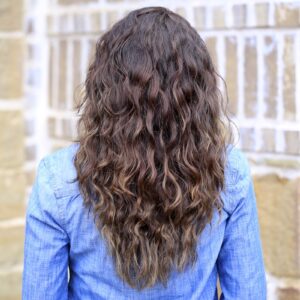
2-in-1 Boxer Braid No-Heat Curls
Time for another no-heat curls tutorial! Today, we’re excited to take part in Suave Professionals’ Style-It-Yourself program by teaching you how…
We received an email last month from a Canadian girl named Shelby H, who included a photo of a hairstyle…

Double Frenchbacks | Cameron Diaz Hairstyle from Annie
Sony Pictures’ remake of Annie is set to release in US theaters on Dec 19th! I love how the movie…