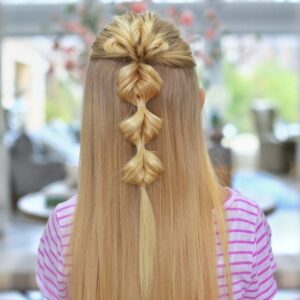
How to Create Triple Flip Faux Fishtails
You can never go wrong with a half-up hairstyle. The Triple Flip Flips definitely a family favorite. This hairstyle does…
How to Create Triple Flip Faux Fishtails
You can never go wrong with a half-up hairstyle. The Triple Flip Flips definitely a family favorite. This hairstyle does…
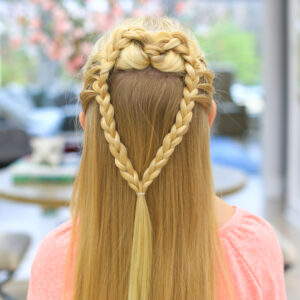
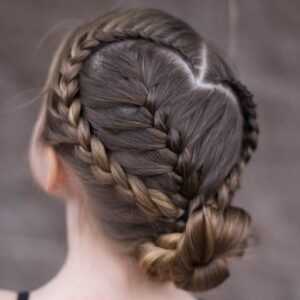
Mermaid Heart Braid | Valentine’s Day Hairstyle
I hope you guys are ready for another DARLING hairstyle tutorial that’s perfect for Valentine’sDay! Heart hairstyles are seriously some…
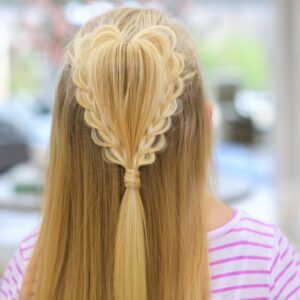
Fluffy Heart Braid | Valentine’s Day Hairstyle
January is flying by, and Valentine’s Day will be here before we know it! Every year I love thinking up…
The Best Dutch Braid Hairstyles for any Occasion
I LOVE dutch braids! They’re super cute and fit great with any occasion! Check out 3 of my favorite dutch…
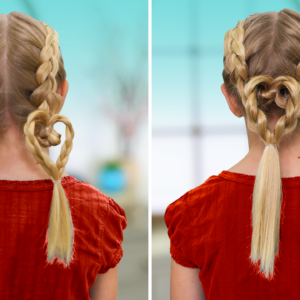
Valentine’s Day Hairstyles | Dutch Heart 2-in-1 Braid
Valentines’s Day is right around the corner! My niece Kilee came to visit, and she let me borrow her golden…
The No-Braid Braid | Easy and Cute Pull-Thru Hairstyles
New to braiding or just looking for a hairstyle that’s relatively easy? No problem! Pull-thru braids are a fun and…
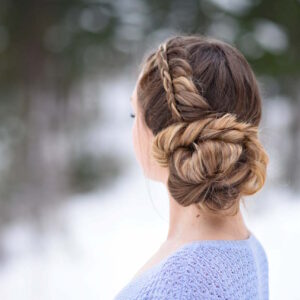
My Favorite French Braid Hairstyles
Ever have those days when you want your hair to look elegant but don’t want to spend all day doing…
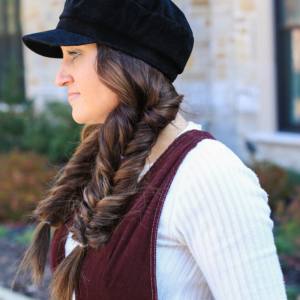
Elegant and Beautiful Hairstyles for Special Occasions
I know I’m enjoying every second of this holiday season. This is definitely one of the busiest times of the…
Who said that hat hair days had to be bad hair days?! In the wintertime, I’m all about hats! I…
Easy Hairstyles Ideas for Outdoor Activities
I’ve been super excited to have Paisley in gymnastics and cheer. The performances are so much fun! A lot of y’all have…
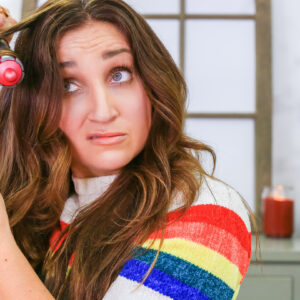
Is the DYSON AIRWRAP Really Worth It? | FAB or FAIL
Y’all this may be the MOST requested Fab or Fail I’ve ever had! I’ve seen so many reviews on the…
Can you believe the holidays are just around the corner?! I love this time of year from the awesome decorations…