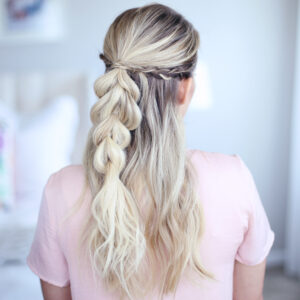
Pull-Thru braids are seriously my favorite. There are so many different ways to style one. Today we are sharing a…
Easy
Page 3 of 22
5 Easy Hairstyles for Back to School
This is our last full week before school starts up again. I was scrolling through ideas looking for hair ideas…
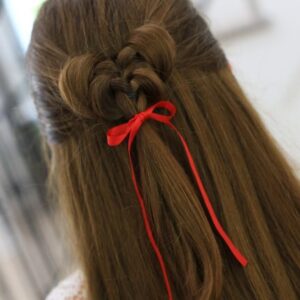
How to Create a Butterfly Tieback
Today’s hair tutorial reminds me of summer. It is a cute change up on your typical tieback. This one reminds…

Full summer is here! It makes me think of Mermaids and Mermaid Hair. Jordan is back to share a simple…
I love this cute woodland fairy look on little Charlie. She is sporting an easy faux fishtail hairstyle. This flip…

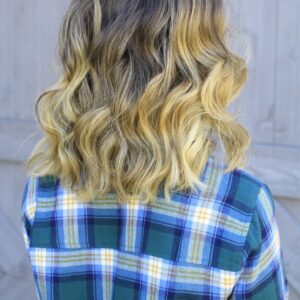
Today, Bailey is here to share a really cute DIY hairstyle for short hair. Yes, you can create an amazing…
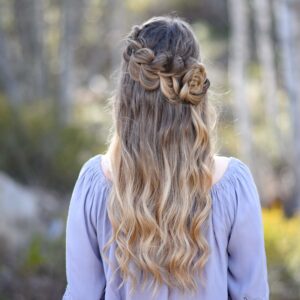
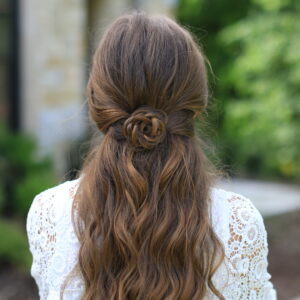
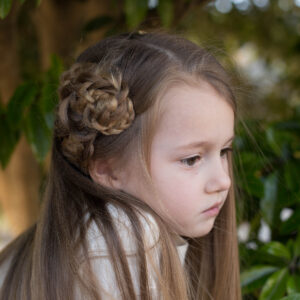
Lace Pull Thru Braid | Rosette Bun
Are you in love with Pull Thru Braids as much as me? I can’t get enough of them! They are…
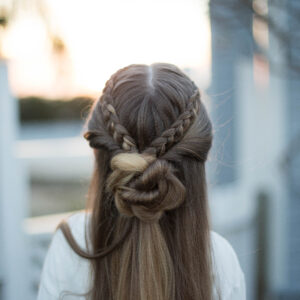
I am in love with this darling combo hairstyle! It consists of braids, a twist, flips, and a bun. I…

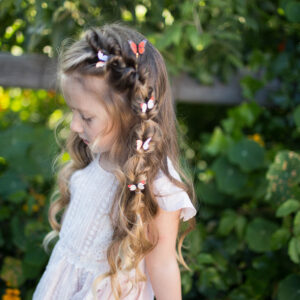
Summer time means festivals! Festivals are so much fun! I love the food, music, art and bringing out my boho…

Do Spoolies Really Work? | Fab or Fail
I saw this product online a few years ago. I have wondered if they really work. Guess what? Today I…
Festival season is here again! Beautiful hair goes hand in hand with Festival Season. Coachella is over but summer is…
Today’s hairstyle is so pretty and the perfect hairstyle for beginners! You can do this on long hair as well…