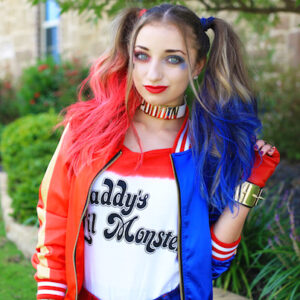
This year is sure to see many Harley Quinn costumes. She is a fan favorite from the popular Suicide Squad…
Easy
Page 5 of 22
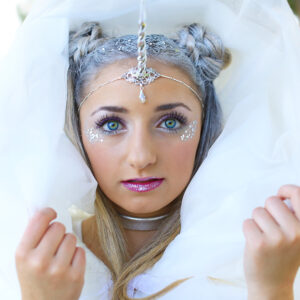
Unicorn Half-Up | DIY Halloween Costume
The unicorn is a breath-taking animal. Who wouldn’t want to be described as rare, beautiful or majestic? There was something…
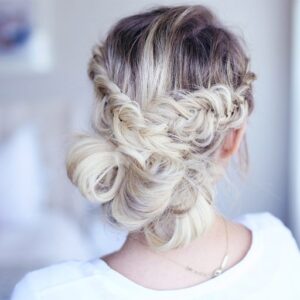
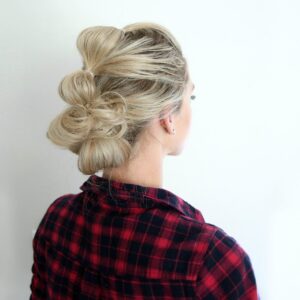
Today were sharing a simple and very elegant undo. It’s Homecoming season so hopefully this gives you another option to…
How much do you love a quick and easy hairstyle in the morning? Aren’t we all looking for something quick…

Hello! Ania from Hairs Affairs here and this month I’m back with an easy DIY hairstyle idea that would be…
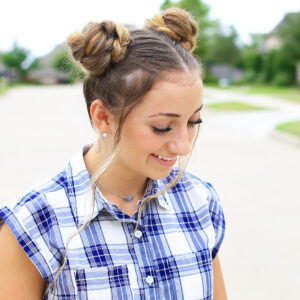
How much do you love the cute braided buns we are seeing everywhere? I’ve seen them on all ages from…
For most people the first day of school (or even work after a vacation) is a big transition and not…
This hairstyle is a great idea for when your hair is a little dirty or if you are running behind…

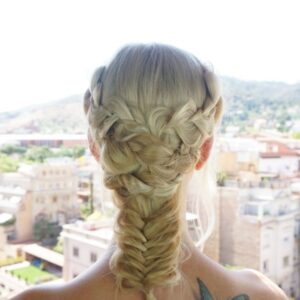
This hairstyle is one to add to our growing list of Stacked Braids. Simply take a 3 strand brand and…
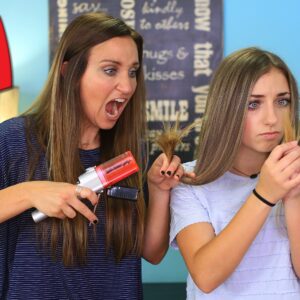
Does the Split-Ender Really Work? | Fab or Fail
What is a girl’s worst nightmare? Split ends! We all dread getting them but its hard to keep up with…
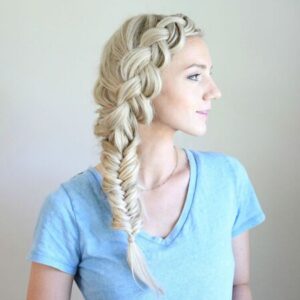
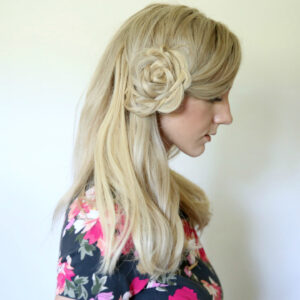
This beautiful combo side braid can be as simple or as fancy as you want. One thing is for sure,…

The McKnight girls love the movie Legally Blonde, with Reese Witherspoon. In the movie Elle wears a really cute hairstyle…