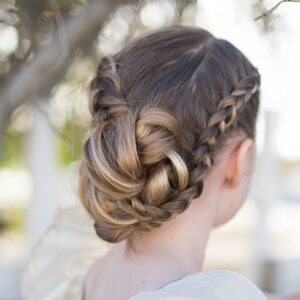
Updo hairstyles are used for so many occasions, from everyday to fancy parties, prom, weddings, etc. Today we are sharing…
Medium
Page 4 of 17

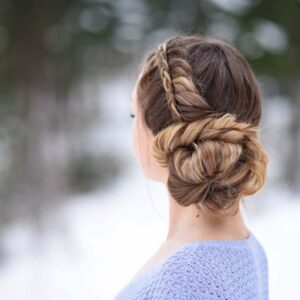
This week, Brooklyn is sharing how to create a Fishtail Mermaid Braid. Brooklyn has been practicing this on friends, but…
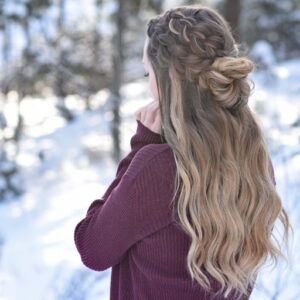
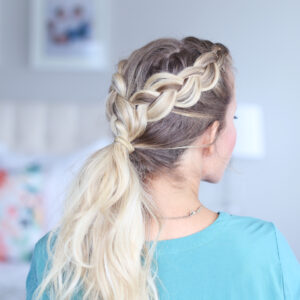
I love this pretty double dutch hairstyle. It is a perfect combo of braids to create an easy DIY hairstyle.…
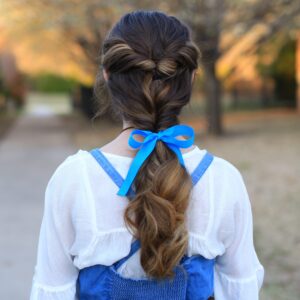
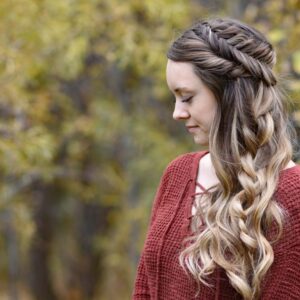
Belle Ponytail | Beauty & The Beast
Disney’s “Beauty and the Beast”, starring Emma Watson is due to hit theaters on March 17, 2017. We are…
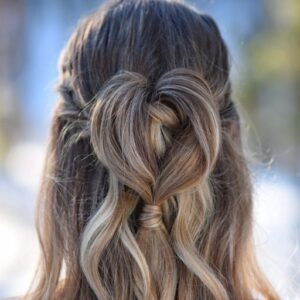
Valentine’s Day has passed for another year, but we can wear heart hairstyles all year long! This hairstyle is so…
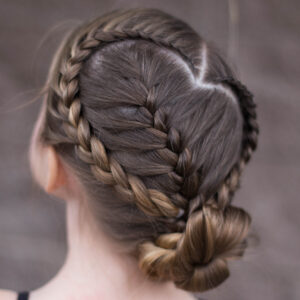
It is the week of LOVE. If you are looking for a stylish heart hairstyle you cam to the right…
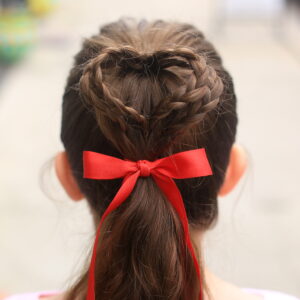
Valentine’s Day is right around the corner. Today, I am going to share how to create another cute heart…
2-in-1 Dutch Braids | Day to Night
Today I am sharing how to style a simple half up style with Dutch Braids. It is quick & easy…
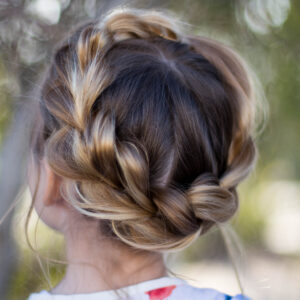
I love pull thru braids. I love crown braids. I love, love, LOVE this pull thru crown braid! It is…
We are so excited for the Holidays! Great food, friends, family and parties! So of course you need some new…
Hi guys! It’s Katie from Abella’s Braids! We are so excited to tell you that we will be contributing video…

Easy DIY Holiday Hairstyle for Thanksgiving
Do you have fun plans for Thanksgiving yet? I bet you’re looking for a hairstyle that makes a statement? Maybe…