Every girl needs a few “go to” hairstyles they can wear to work, school, a date, or even a special…
10-15 Minutes
Page 2 of 7
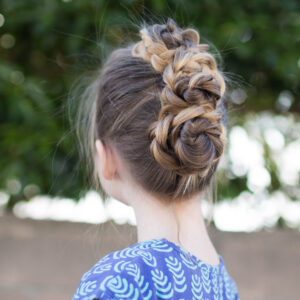
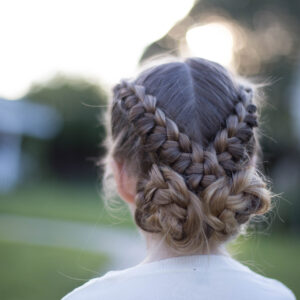
If you live in a hot humid area, you know lots of easy updo hairstyles are necessary. It’s so hot…
School is back in session and that means we are all looking for new hairstyles! We have an easy hairstyle…
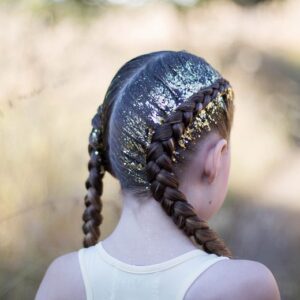
I have a question. What makes everything better (besides chocolate…)? Of course, GLITTER! In this tutorial we have combined dutch…
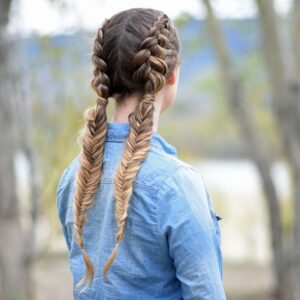
Today we have an adorable combo hairstyle for you. You can learn how to create the Double Dutch Fishtails.To see…
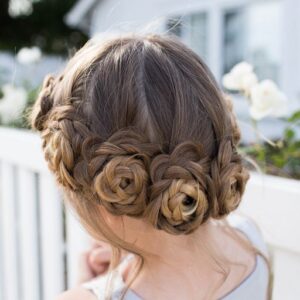
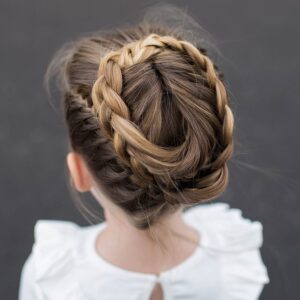
This adorable hairstyle is flower crown in braided from. It is one of my new favorite hairstyles. I am in…
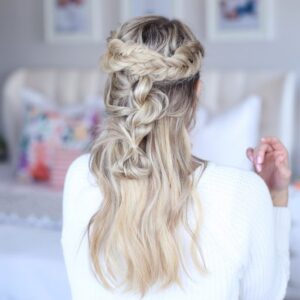
Summer is here, are you looking for a beautiful new hairstyle? This one is perfect for long hair. We combine…
Prom season is here! This means girls everywhere are watching makeup & hair tutorials trying to decide what will work…

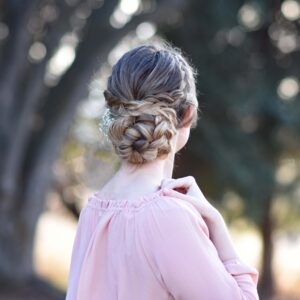
Updo hairstyles are used for so many occasions, from everyday to fancy parties, prom, weddings, etc. Today we are sharing…
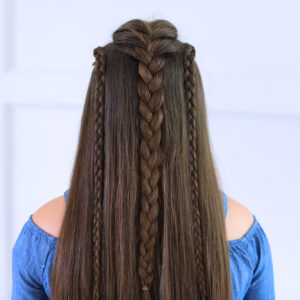
I love a good combo hairstyle! You can use different braids and combine them to create a totally new look!…
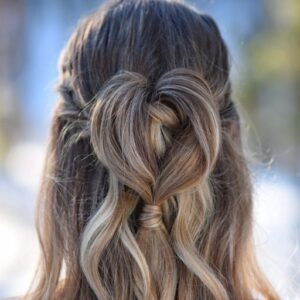
Valentine’s Day has passed for another year, but we can wear heart hairstyles all year long! This hairstyle is so…
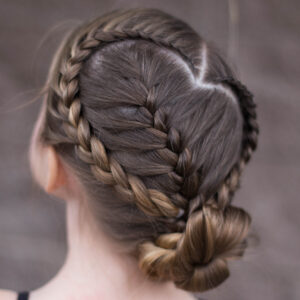
It is the week of LOVE. If you are looking for a stylish heart hairstyle you cam to the right…