Hi, it’s Katie and Charlie with Abella’s Braids! We had a lot of fun coming up with some fun, playful…
10-15 Minutes
Page 4 of 7

I’m in love with build-able hairstyles right now. A build-able hairstyle is basically a number of hairstyles that build upon…
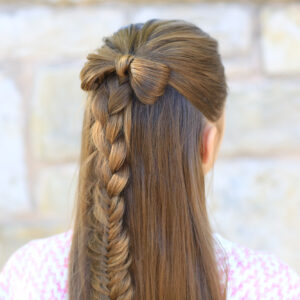
Half-up hairstyles like this one are very popular right now. This one happens to use a regular 3-strand braid, a…
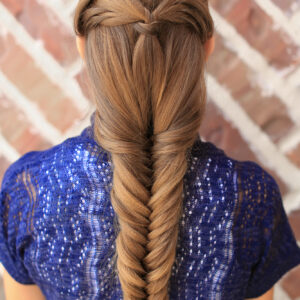
It’s time for another 2-in-1 combo hairstyle, and it is simply beautiful! This was originally only a half-up style and…

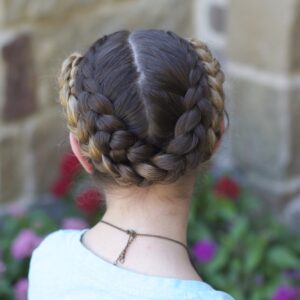
Red Queen (Queen of Hearts) | Halloween Hairstyles
Remember Tim Burton’s Alice in Wonderland from 2010? Helena Bonham Carter’s portrayal of the Red Queen was spot on, and…
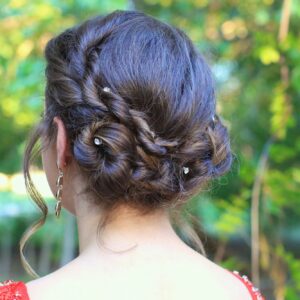
Rope Twist Updo | Homecoming Hairstyles
It is Homecoming season for high schools and universities, so we are going to show you a beautiful updo perfect…
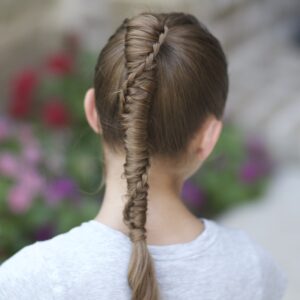
Easy Fold-Up Braids | Back-to-School Hairstyles
Want a perfect hairstyle for this Back-to-School season? It’s Bailey here today, showing y’all how to create these beautiful Fold-Up…
In this tutorial we will show you how to create the Chinese Staircase Braid. This braid has been on our…

Today’s hairstyle takes inspiration from one we posted back in December 2013. That style was the French-Up High Bun. Since…
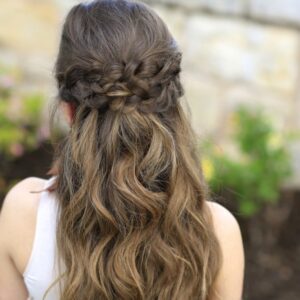
Braided Half Up | Prom Hairstyles
BONUS VIDEO! Be sure to check back here this coming Wednesday night, to see a bonus family video! It’ll be…
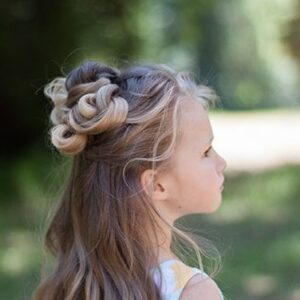
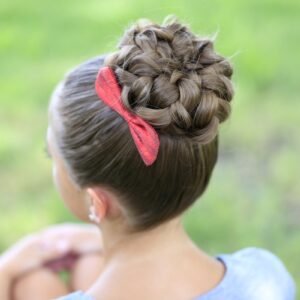
Flower Bun Hawk | Hairstyles for Dance
Today’s hairstyle tutorial is a guest post from one of my best friends, fellow mommy, and travel buddy! Her name is Jill…
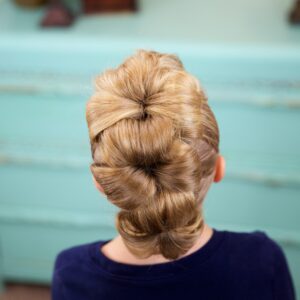
Pancaked Bun of Braids | Updo Hairstyles
Based upon the number of views, we can tell you’ve all loved our Rope Twisted Bun from a few months…