
This cute hairstyle is going to be your new favorite! I LOVE this look! It’s simply french braids combined with…
05-10 Minutes
Page 3 of 19

Today we have a simple dutch braid combined with a few “toddler proof” tricks to help your hairdo stay in…

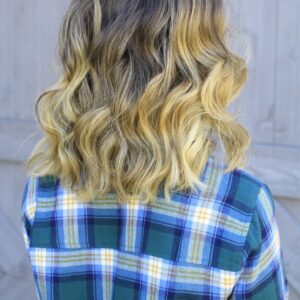
Don’t we all love a good boho hairstyle? Today we are sharing a great one that is perfect for homecoming,…

Today we have a cute fishtail and twist combo hairstyle to share with you. It is so pretty, simple and…

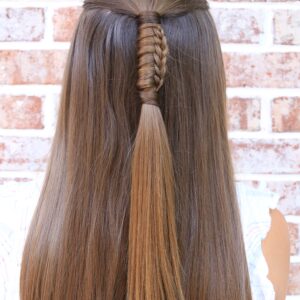
Pull-Thru braids are seriously my favorite. There are so many different ways to style one. Today we are sharing a…

Girls like to have a running list of quick and easy DIY updo’s. Today we have one to share that…

Today I’m sharing this super cute French Braided Updo. It is perfect for a fancy event you might have coming…

We are in full swing of school and fall is right around the corner. School brings late night studies and…

I can’t believe it’s time for school again! Time for shopping, school supplies and picking out outfits for the first…
5 Easy Hairstyles for Back to School
This is our last full week before school starts up again. I was scrolling through ideas looking for hair ideas…
Last year we did a tutorial called the Chinese Staircase Braid. Today I am changing it up a bit and…
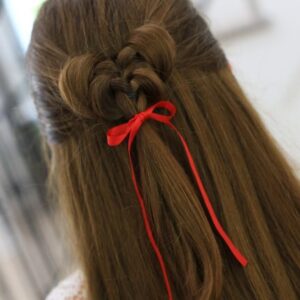
How to Create a Butterfly Tieback
Today’s hair tutorial reminds me of summer. It is a cute change up on your typical tieback. This one reminds…