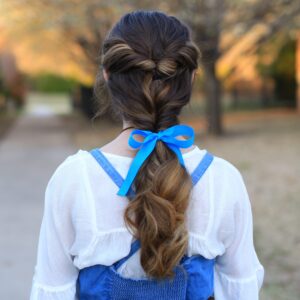
Belle Ponytail | Beauty & The Beast
Disney’s “Beauty and the Beast”, starring Emma Watson is due to hit theaters on March 17, 2017. We are…
Belle Ponytail | Beauty & The Beast
Disney’s “Beauty and the Beast”, starring Emma Watson is due to hit theaters on March 17, 2017. We are…
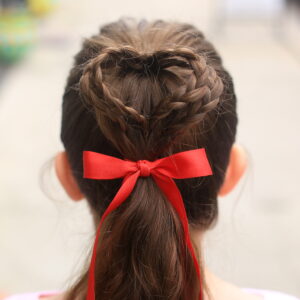
Valentine’s Day is right around the corner. Today, I am going to share how to create another cute heart…
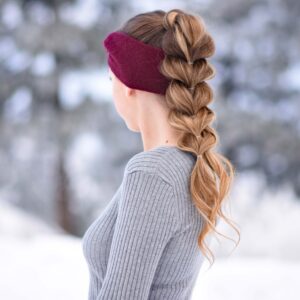
Did you know there are a few perks to winter? Yes, I said perk and winter in the same sentence.…
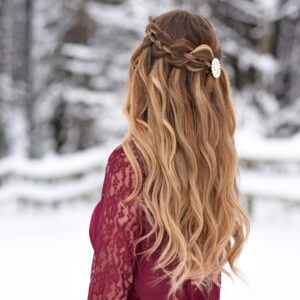
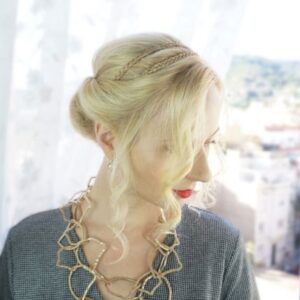
Today we want to share a very pretty and elegant hairstyle. This is a 4 strand waterfall that will impress…
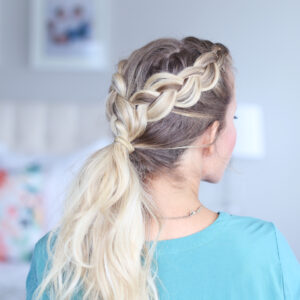
2-in-1 Dutch Braids | Day to Night
Today I am sharing how to style a simple half up style with Dutch Braids. It is quick & easy…
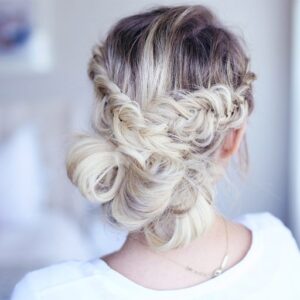
Christmas time means lots of things. One of those things is “Christmas/Holiday Parties”. Everyone wants to look their best and…
With the holidays in our midst, I just love seeing all the sparkle. From the twinkle lights hanging all around…
Easy holiday hairstyles for medium length hair
Can you believe it’s December? This year has flown by so terribly fast! This also means that Christmas is just…
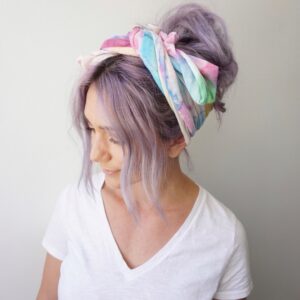
It’s finally fall, which means it’s time to bring out those sweaters and scarves. But, if you live in a…
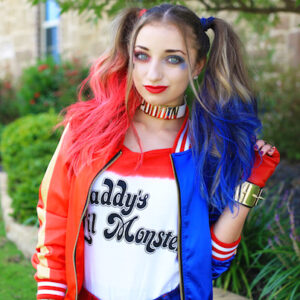
This year is sure to see many Harley Quinn costumes. She is a fan favorite from the popular Suicide Squad…
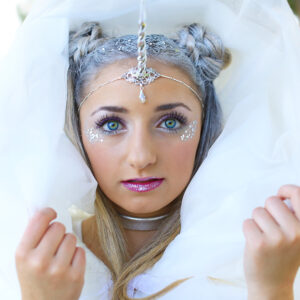
Unicorn Half-Up | DIY Halloween Costume
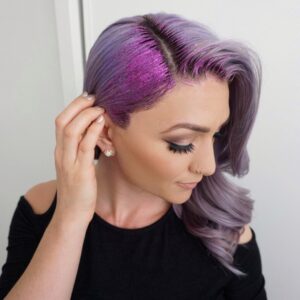
The unicorn is a breath-taking animal. Who wouldn’t want to be described as rare, beautiful or majestic? There was something…
Today were sharing a simple and very elegant undo. It’s Homecoming season so hopefully this gives you another option to…