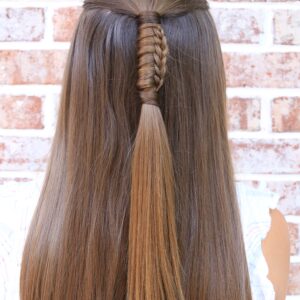
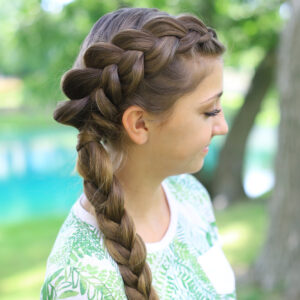
Last year we did a tutorial called the Chinese Staircase Braid. Today I am changing it up a bit and…
Ponytails
Page 2 of 12
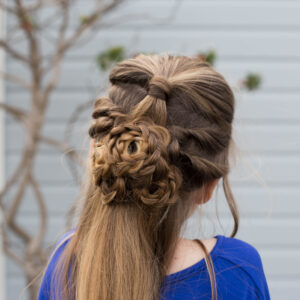
Today, Katie is going to show you how to create a pretty half-up hairstyle. Half-up hairstyles are so beautiful and…
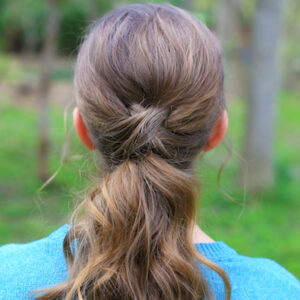
Have you been looking for a new hairstyle for school? I have a simple and cute Criss Cross Ponytail that…
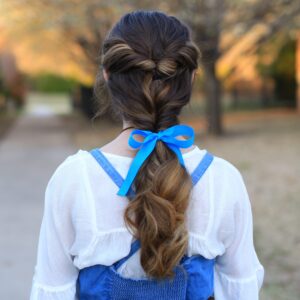
Belle Ponytail | Beauty & The Beast
Disney’s “Beauty and the Beast”, starring Emma Watson is due to hit theaters on March 17, 2017. We are…
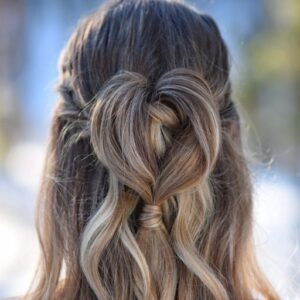
Valentine’s Day has passed for another year, but we can wear heart hairstyles all year long! This hairstyle is so…
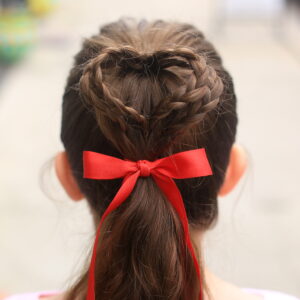
Valentine’s Day is right around the corner. Today, I am going to share how to create another cute heart…
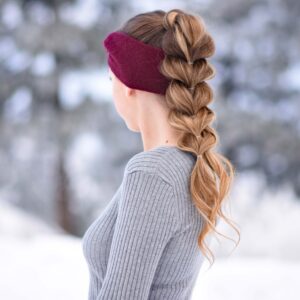
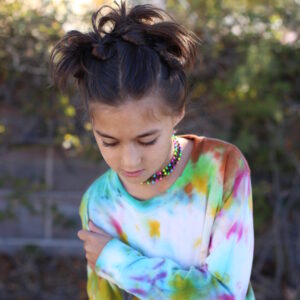
Did you know there are a few perks to winter? Yes, I said perk and winter in the same sentence.…
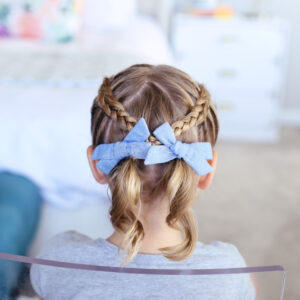
Criss-Cross Applesauce or Pigtails? Ha Ha! If you are a busy mom (what mom isn’t a busy mom?) you are…
I was a 90’s kid. I loved being a 90’s kid! Boy bands, Britney Spears and Spice Girls were hot, and whether…
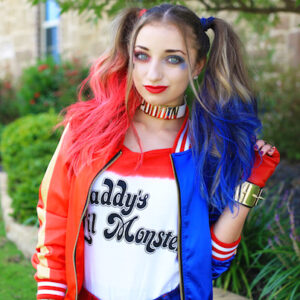
This year is sure to see many Harley Quinn costumes. She is a fan favorite from the popular Suicide Squad…

Hello! Ania from Hairs Affairs here and this month I’m back with an easy DIY hairstyle idea that would be…
School is just around the corner! We wanted to share a few new styles for Back to School 2016! We’re…