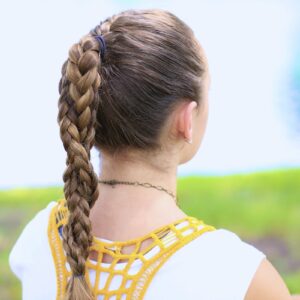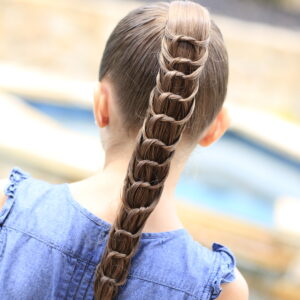
How to Create a Chain Link Braid
My girls have worn this Chain Link Braid off and on for several years now, however my new, updated version has…
How to Create a Chain Link Braid
My girls have worn this Chain Link Braid off and on for several years now, however my new, updated version has…
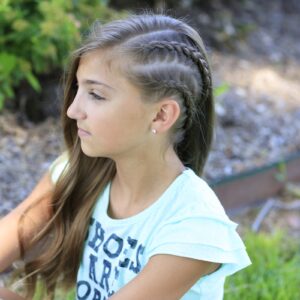
The Run Braid Combo | Hairstyles for Sports
Want to see hairstyle photos from before our CGH days? Click through and LIKE our Facebook page, then feel free to view…
Double Dutchback | Heidi Klum Hairstyles
My dad is so cute! He’s so proud of our family, our fans, and what this hair thing has accomplished!…
How to Create Perfect Pigtails
We get asked for short hairstyles so often, that we decided to film one for you all this week. {One…
Miner-Inspired Hair & Beard Styles | Disney’s #8thMinerContest
One of the joys my family has, by doing what we do, is our association with Disney over the past…
3D Split Braid | Three Different Looks
We had a reader recently email us this easy braid technique, asking if we could make a tutorial of it!…
Waterfall Twist Rope Braid | Summer Hairstyles
Summer is here! My girls and I are always looking for hairstyles that take the hair out of our faces…
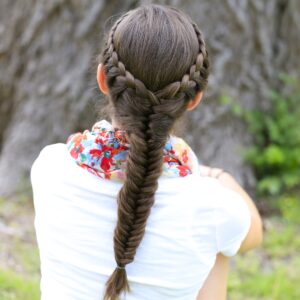
How to Create a Laced Fishtail Braid
As you all know by now, we’ve loved Lace Braids in our home for years, and fishtail braids have been…
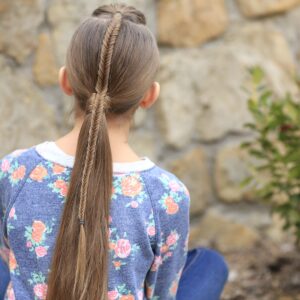
The Knotted Ponytail | Hairstyles for Girls
Our Knotted Headband hairstyle from a few years ago was such a hit, we decided to give you a similar look but in…
The Alternative Braid | With Abby from TwistMePretty
Many of you know that I started as a hairblogger before becoming a YouTuber. As such, I am very familiar…
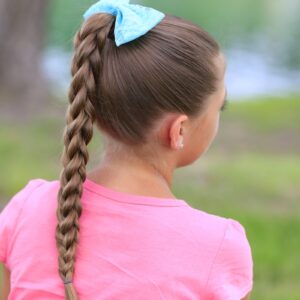
Fishtail-Accented Ponytail | Hairstyles for Sports
More likely because our girls are more into dance and cheer more than they are in other sports or athletics,…
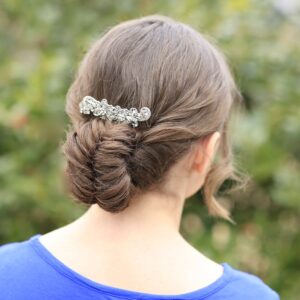
Flipped-Fishtail Braid Updo | Prom Hairstyles
Today’s tutorial is inspired by the upcoming Prom season, and multiple reader requests for hairstyles that can be used at…