3-in-1 Cascading Waterfall | Build-able Hairstyle
Today we have not 1 but 3 great hairstyles to show using a Waterfall Braid. Abby loves this option for…
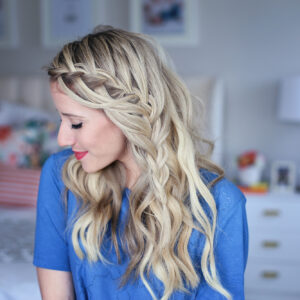
3-in-1 Cascading Waterfall | Build-able Hairstyle
Today we have not 1 but 3 great hairstyles to show using a Waterfall Braid. Abby loves this option for…
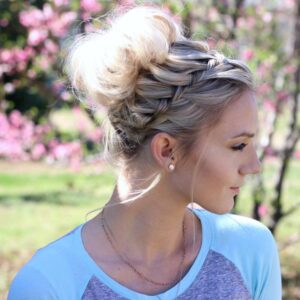
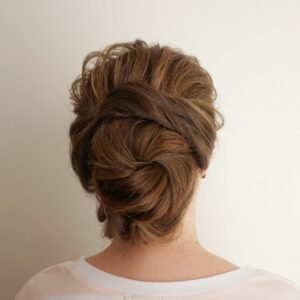
Everyone loves the Waterfall Braid! And a great bun is in the love column as well. Put them together and you…
I’m in love with build-able hairstyles right now. A build-able hairstyle is basically a number of hairstyles that build upon…
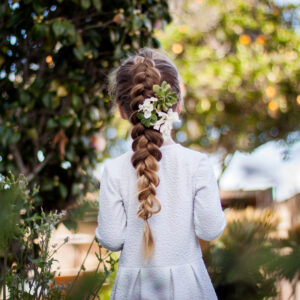
Every year about this time I get major hair envy because it seems like everyone I know is going to…
We are excited to introduce the first of 2 new guest contributors to CGH! Annie is from Annies Forget Me…
Easy DIY prom hairstyle for girls with short to medium hair with layers
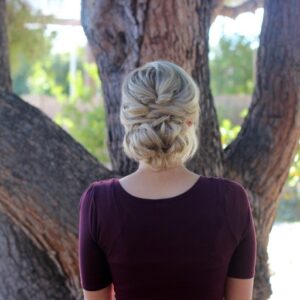
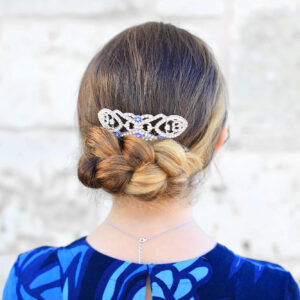
Hello! Glad to be back this month with some prom hairstyle inspiration for you! This up-style is lovely, romantic, elegant…
Spring is here and we couldn’t be more excited over here at Abella’s Braids! We are loving the warmer weater,…
Every person who watches the Grammy’s, the Oscars, or any other award show watches them for a different reason. Some…
Are you looking for an easy yet beautiful updo for prom or any other formal occasion? Brooklyn and I will show you…
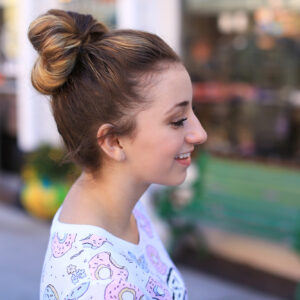
Create a Double Fan Bun in Less than 2 Minutes!
So, Brooklyn read all of your comments from a few weeks ago, and brushed up on a hairstyle that she considers…
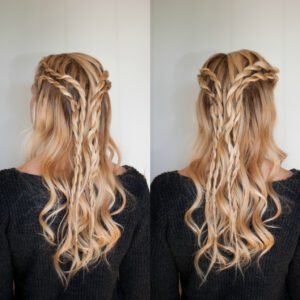
How to Create a Faux Fishtail Crown Braid
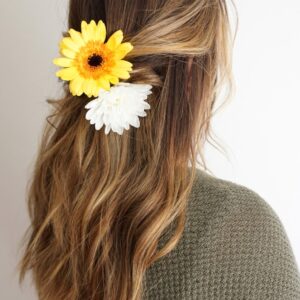
I think that this Faux Fishtail Braid Crown is absolutely stunning! We’ve shown you how to use this faux braiding…
Hey guys! I’m Katie from AbellasBraids! Whenever I get a chance to go out on a date with my man,…