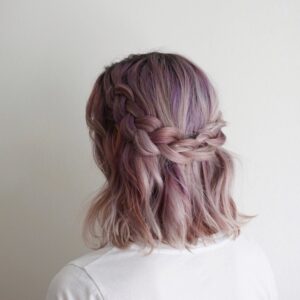
5 Ways to Wear Shoulder Length Hair
If you’re anything like me, chances are you chopped all of your hair off sometime in the past year as the…
5 Ways to Wear Shoulder Length Hair
If you’re anything like me, chances are you chopped all of your hair off sometime in the past year as the…
For this week’s Woven Updo tutorial, we used a centuries-old technique used in basket weaves. The stranding isn’t super complex,…
We just wanted to take a quick second to say THANK YOU for loving our hairstyles and family! We are so…
Red Queen (Queen of Hearts) | Halloween Hairstyles
Remember Tim Burton’s Alice in Wonderland from 2010? Helena Bonham Carter’s portrayal of the Red Queen was spot on, and…
Rope Twist Updo | Homecoming Hairstyles
It is Homecoming season for high schools and universities, so we are going to show you a beautiful updo perfect…
Easy Fold-Up Braids | Back-to-School Hairstyles
Want a perfect hairstyle for this Back-to-School season? It’s Bailey here today, showing y’all how to create these beautiful Fold-Up…
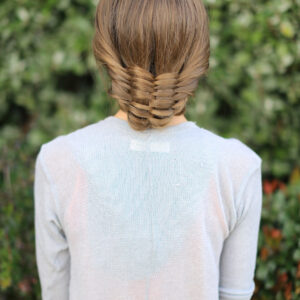
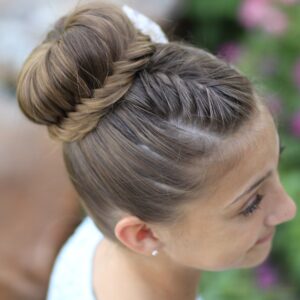
How to Create a Lace Fishtail Bun
Today we are going to show you how to create a Lace Fishtail Bun combo. We were inspired to film this…
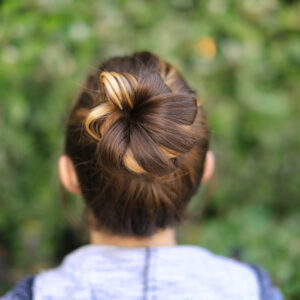
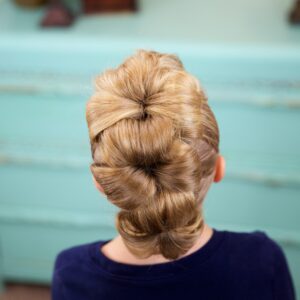
How to Create a Fan Bun | Cute Updos
It’s time for another cute updo! Today we are going to show you how to create a Fan Bun. For anyone…
I’ve been wanting to feature this week’s tutorial for a long time! It combines features we have shown you how to…
Today’s hairstyle takes inspiration from one we posted back in December 2013. That style was the French-Up High Bun. Since…
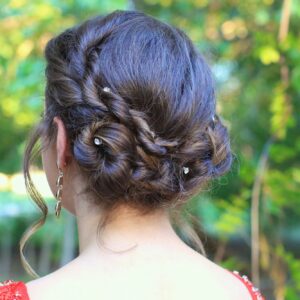
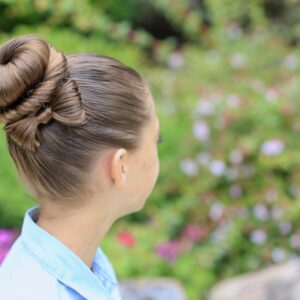
Rope Twisted Bun | Hairstyles for Prom
Today’s hairstyle tutorial is part of our Prom series, where we show you cute hairstyles you can wear to your…
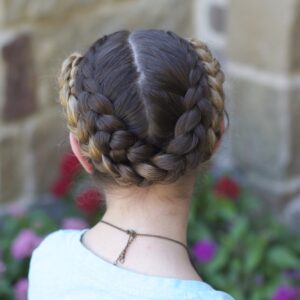
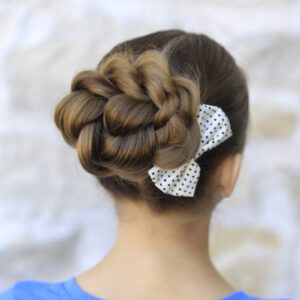
Flower Bun Hawk | Hairstyles for Dance
Today’s hairstyle tutorial is a guest post from one of my best friends, fellow mommy, and travel buddy! Her name is Jill…