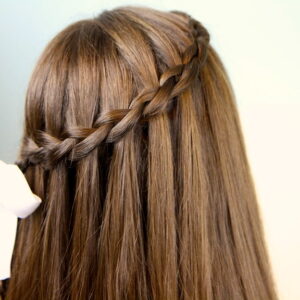
How to Create a 4-Strand Waterfall Braid
Yes, we are taking a trip back in time to add a feature to a hairstyle that we made near…
How to Create a 4-Strand Waterfall Braid
Yes, we are taking a trip back in time to add a feature to a hairstyle that we made near…
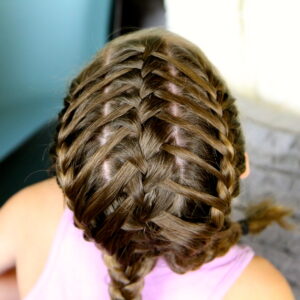
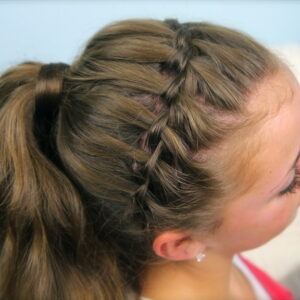
Waterfall Braids into Double Frenchbacks | Sport Hairstyles
If there was one hairstyle that I wore the most as a young teenager, it would have to be my…
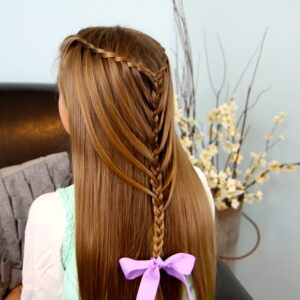
Waterfall Twists into Mermaid Braid | Cute Hairstyles
Feel free to follow CGH on Instagram to see behind-the-scenes photos of our hairstyles and family! Many fans have emailed…
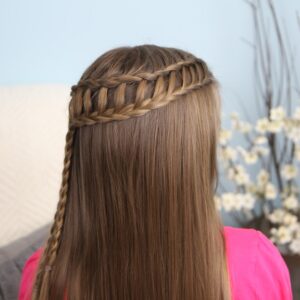
Feather Waterfall & Ladder Braid Combo | 2-in-1 Hairstyles
You are going to absolutely LOVE this hair tutorial because you’ll learn two amazing-looking hairstyles using essentially the same basic…
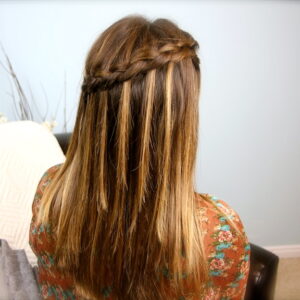
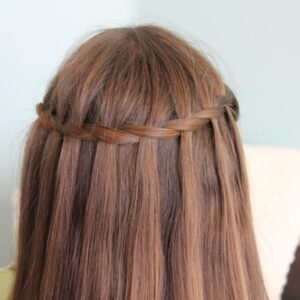
How to Create a DIY Dutch Waterfall Braid | Cute Braided Hairstyles
Last week I showed you how to create a Dutch Waterfall Braid on my daughter… Because it is a tricky…
Dutch Waterfall Braid | Cute Girls Hairstyles
We were contacted the other day by Intermountain Moms {mommy network on Facebook} to thank us for shouting out their page to…
Waterfall Braid Headband Combo | Braided Hairstyles
The hairstyle for this week uses a variation of our popular Waterfall Braid tutorial {over 16 million views}. I think you’re…
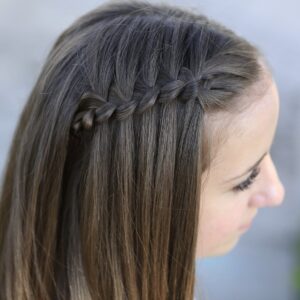
Waterfall Twist | Beautiful Teen Hairstyles
We have received a lot of attention for our Waterfall Braid hairstyle tutorials, with over 18 million YouTube views between…
Double Waterfall Braid | Cute Hairstyles
I promise to keep bringing you updated Waterfall Braid hairstyles from time to time, since this braid is so popular.…
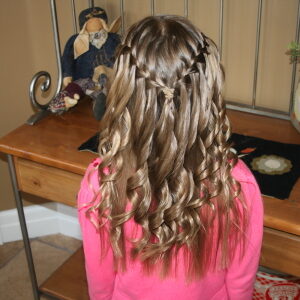
Spiral Curls | Waterfall Braid
Continuing on with our Waterfall Braid series, we wanted to show you this one which incorporates the use of spiral…
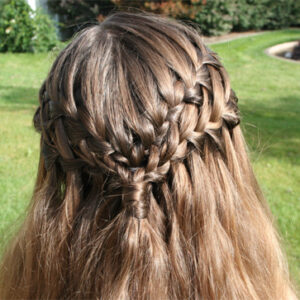
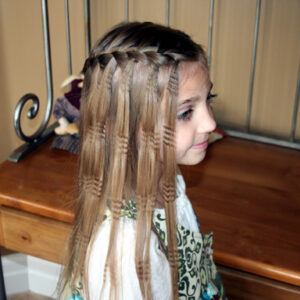
Crimped Strands | Waterfall Braid
Here is a cute Easter Hairstyle that will definitely stand out! It incorporates the use of a Double Waterfall Braid,…
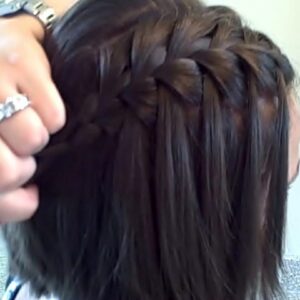
How to create a Waterfall Braid (DIY) in 2 Minutes
OK, girls, many of you have expressed that you LOVE our hairstyles, and would like to see some of the…