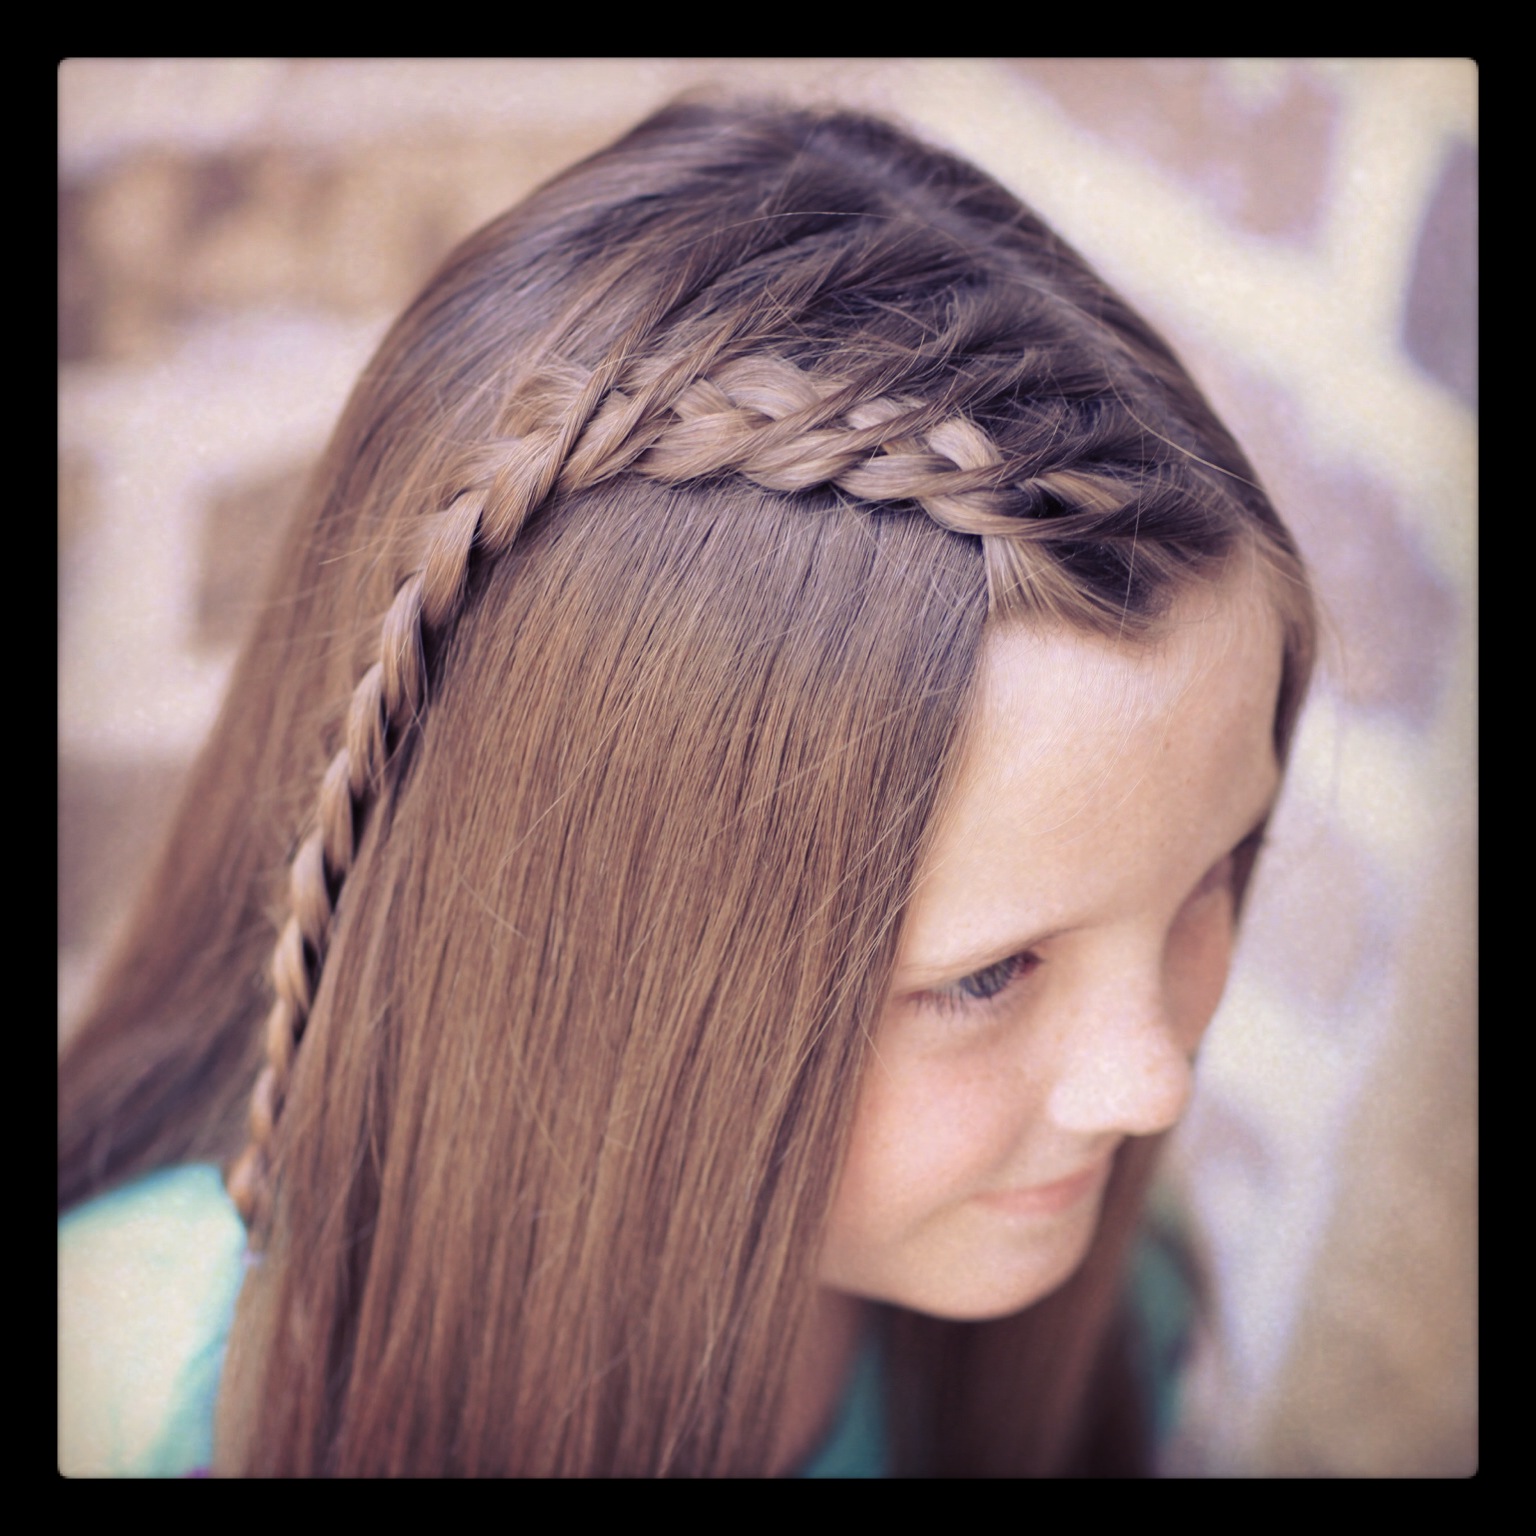
One of our favorite hairstyles of all time is the Lace Braid, not just because they are simple and elegant, but because they wear very well throughout the day.
The challenge is to try and find ways to create variations of if that are different, given that the Lace Braid is becoming very popular.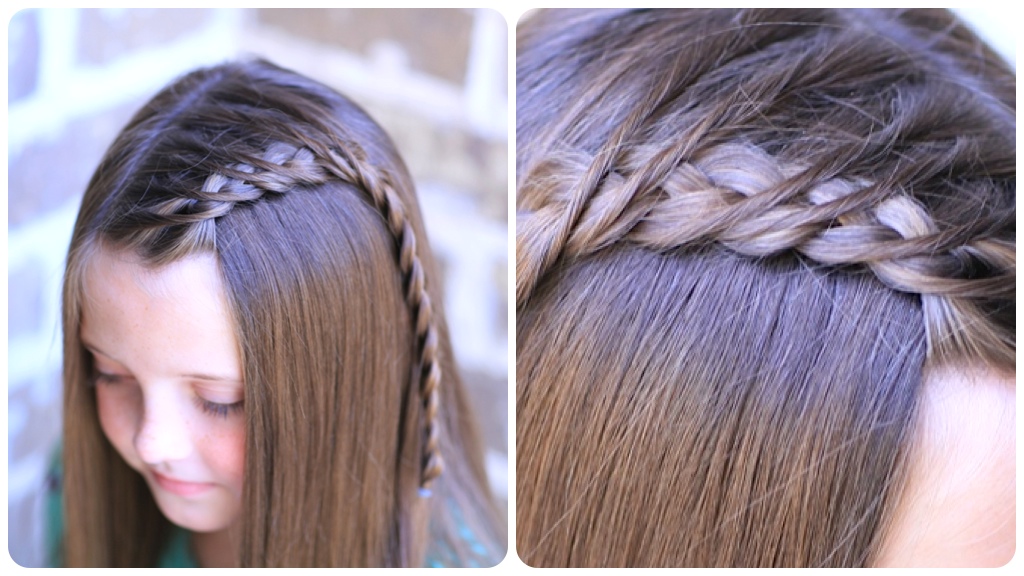 Today’s tutorial looks very similar to a Lace Braid, only we used a separate thin-parted hair section for the crossover stranding which creates a very unique look to a simple Dutchback!
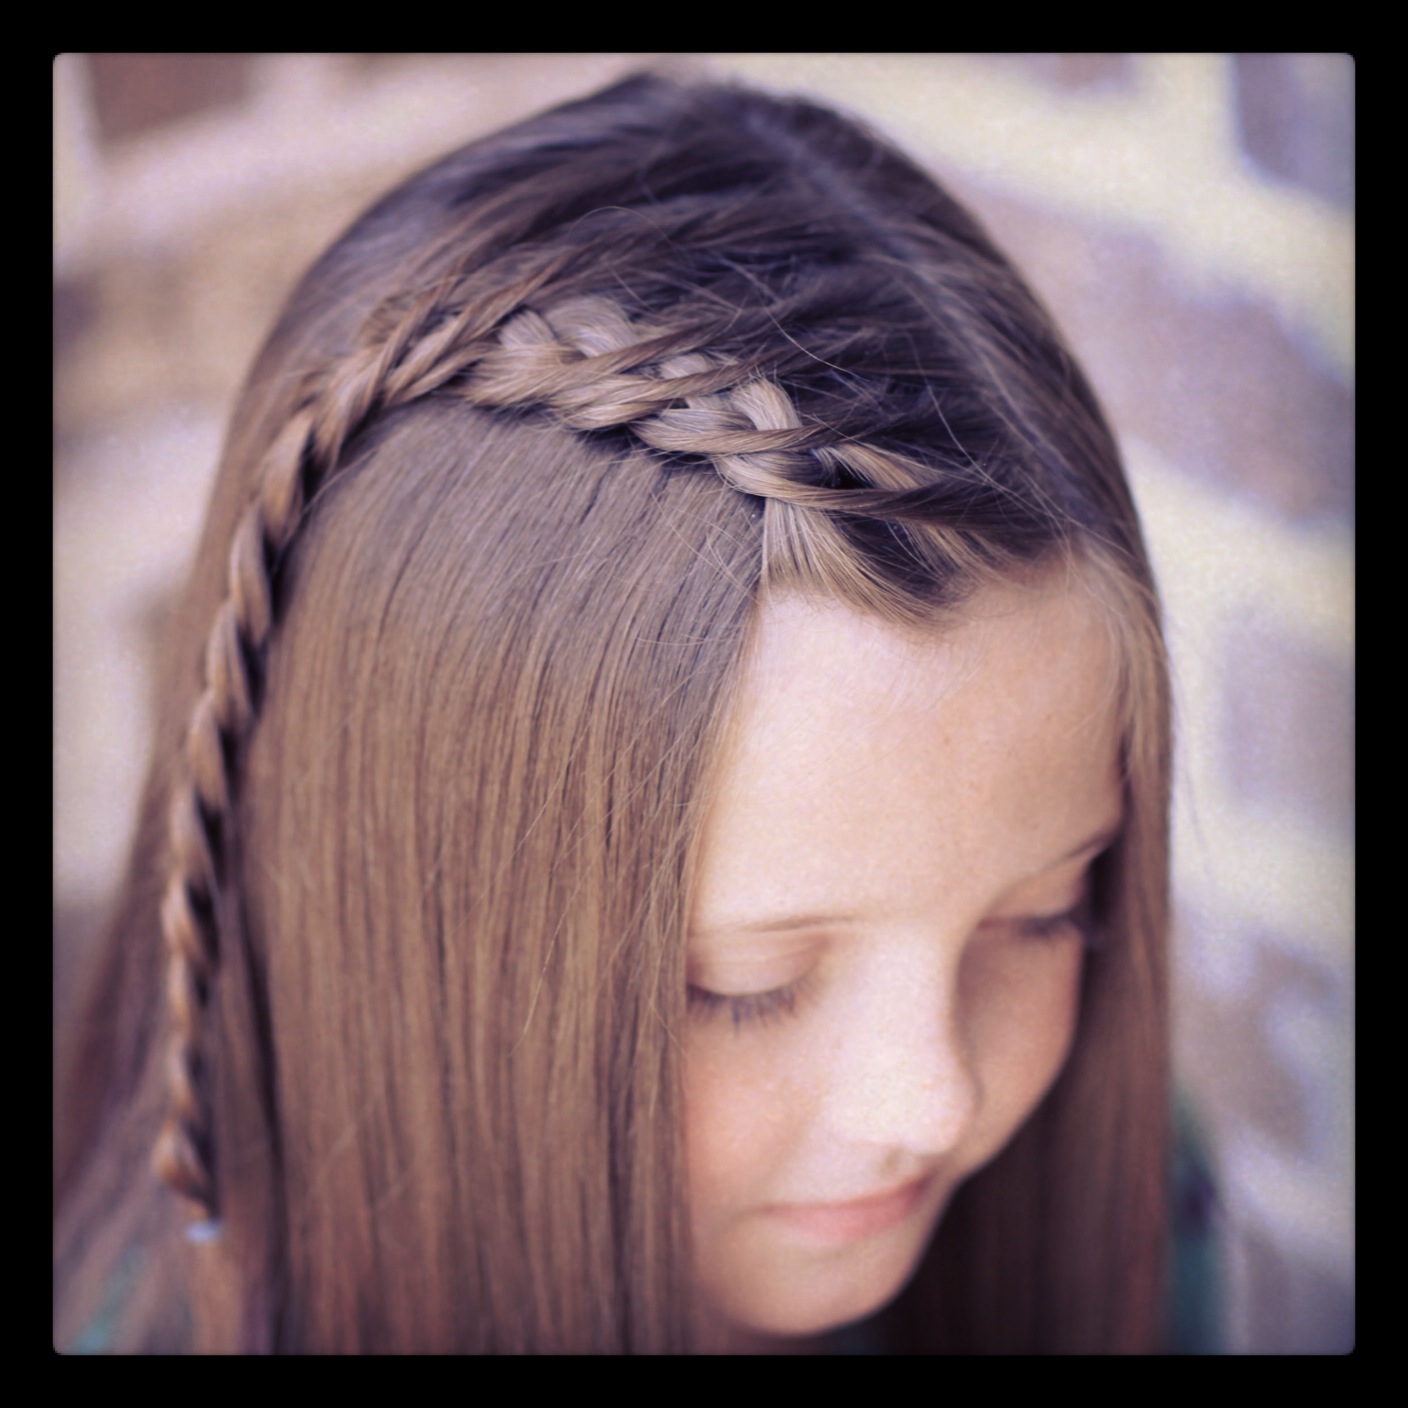
 In this tutorial, we straightened my daughter’s hair beforehand, but it would look just a cute with hair that has a little wave to it. {Using second-day hair after braids would be great idea.}
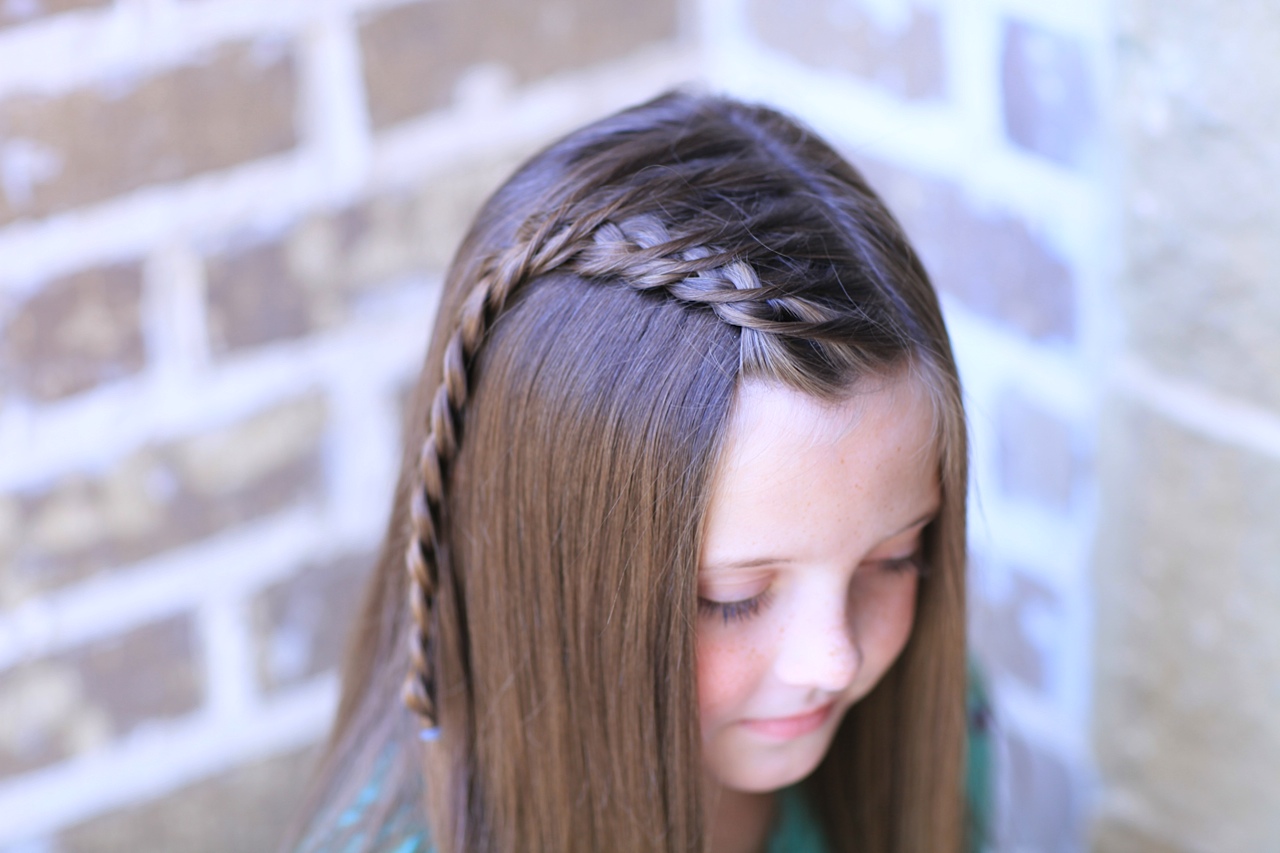
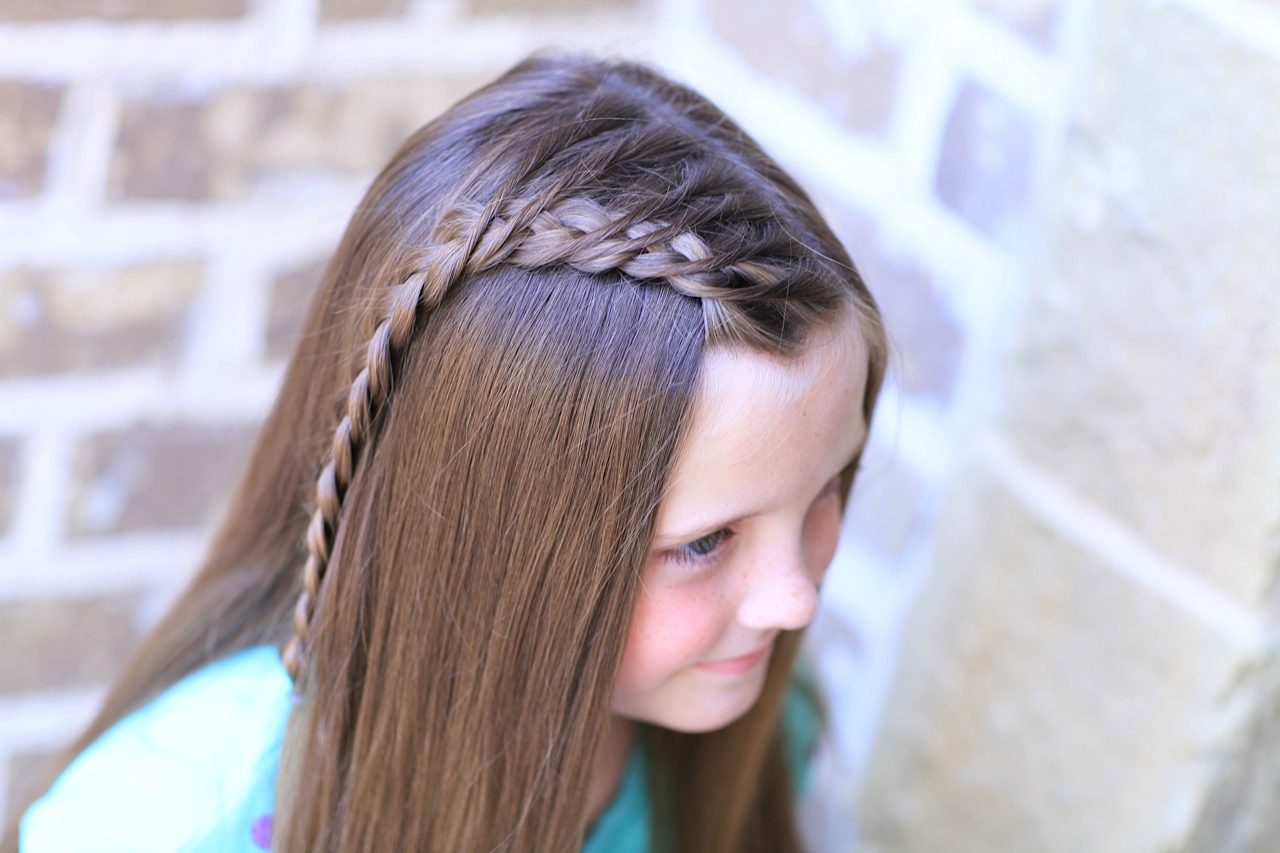
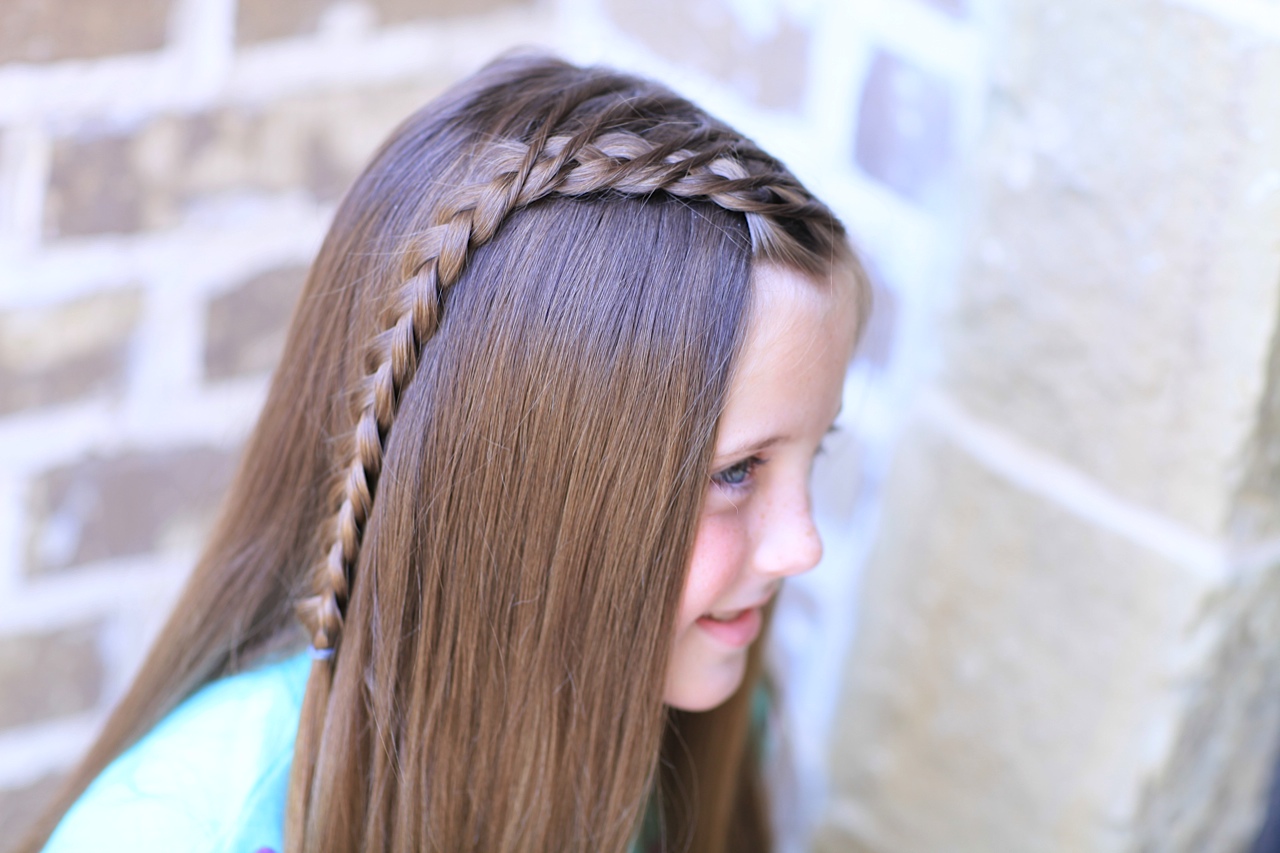
 CGH#4 wore this Crossover Dutch Braid hairstyle to school about a month ago, and it wore very well for as active as she is!
She had lots of compliments on it, and we are sure you will as well!
Enjoy!
Items Needed: Brush, rat-tail comb, spray bottle, 1 hair band, 1 small hair elastic, hairspray {if desired}.
Time Requirement: 3 minutes
Skill Level: Medium
Step-by-Step Instructions:
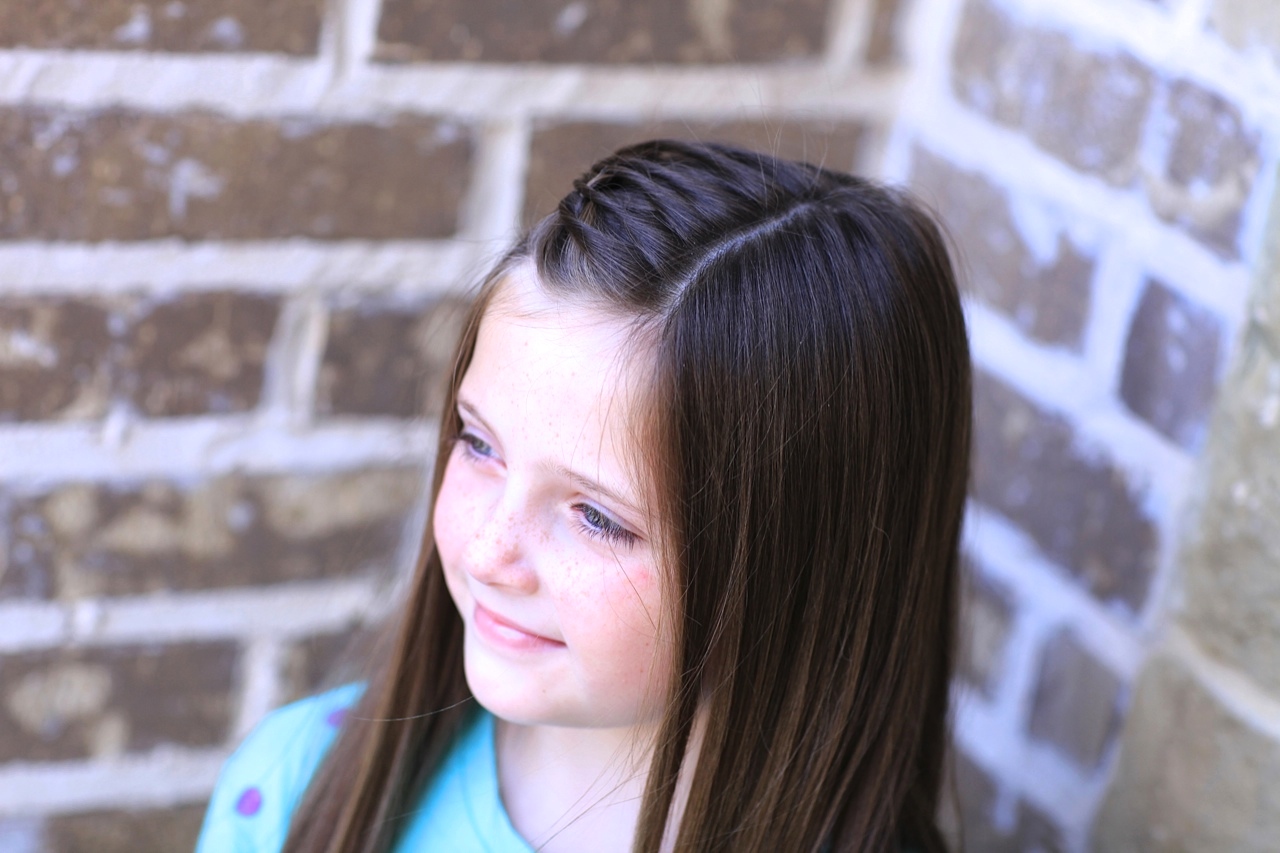
- Begin by creating a side part…
- Next, create a second part about 1/2 inch away from the first part (towards to opposite ear}…
- Everything below that part down to the opposite ear needs to be secured out of the way with a hair band, to keep it from being pulled into the Dutch braid.
- Now, let the thin-parted section of hair hang down over that secured section.
- Next, begin a Dutch braid above the right eye {by adding hair to the top strand of the braid like you normally would}…
- TRICK TO THE STYLE: But when you would normally add hair into the bottom strand from the bottom, reach over to the thin parted section on the othe side of the original part and grab a small strand of hair, give it a few twists, and then bring it down across cross the entire Dutch braid, adding it instead into the bottom strand before creating your next Dutch stitch…
- You continue this process over and over until you run out of hair to add into the braid.
- When you run out of hair to add into the bottom of the braid, continue with a simple braid and secure with an elastic.
- Adjust the crossover strands to your liking and add hairspray {if desired}.
This hairstyle technique is another great one for your arsenal to be used in any number of hairstyle combinations {to accent a bun, high ponytail, etc}.
Please feel free to leave me a comment below letting us know what you think of this Crossover Dutch Braid! As always, if you loved this hairstyle, please feel free to share it!
Happy Hairdoing!

With the holiday week, my twins BrooklyAndBailey shared a Christmas Traditions video, showing you some of the things we do in the CGH home to celebrate this wonderful day!


mindy, could you please do a video on how to cornrow?it would be really helpful. thanks!
I love your channel Mindy and my mom is following you on Facebook.
hey guys can you please do a video from the places where you got your hair materials
i love the hair stiyel and her hair
where is your shop?
Can you post a video that do not need to use a rat – tail comb, a hairspray or a spray bottle
yah me too
I love your hairstyles!
Their so cool. I wish you did one every day.
I also love watching your twins videos. Their so awsome.
I love the lace braid and I am definitely going to be trying this!