During the past five years, we have shown you how to use knots in hairstyles several times, but this is a first for us using them in a tieback.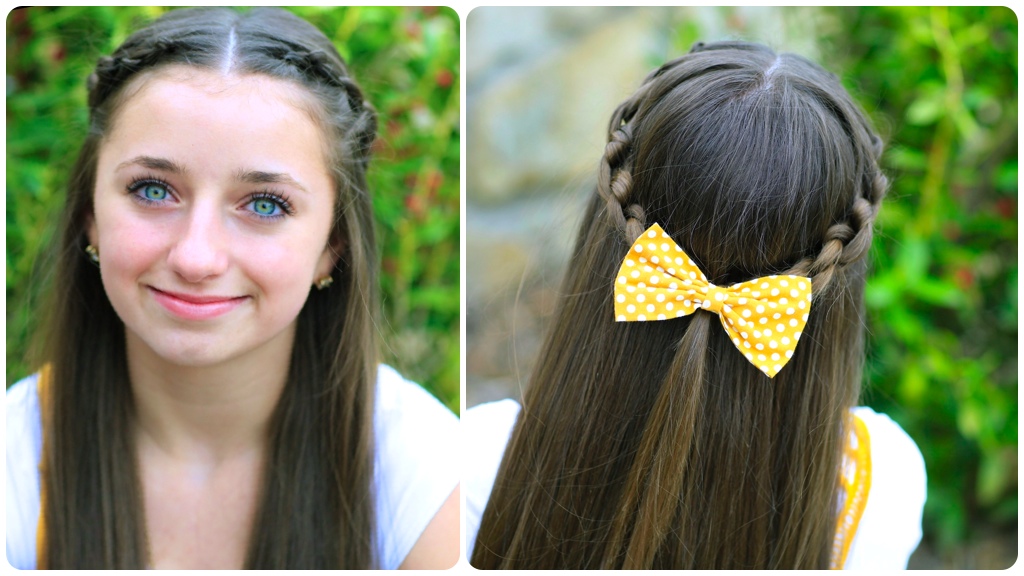 For today, Brooklyn and I will show you how to create a knotted braid tieback {yes, with me wearing a Marvel Avengers t-shirt… another first}! If you can make the first stitch of tying your shoelaces, you can create this knotted braid!
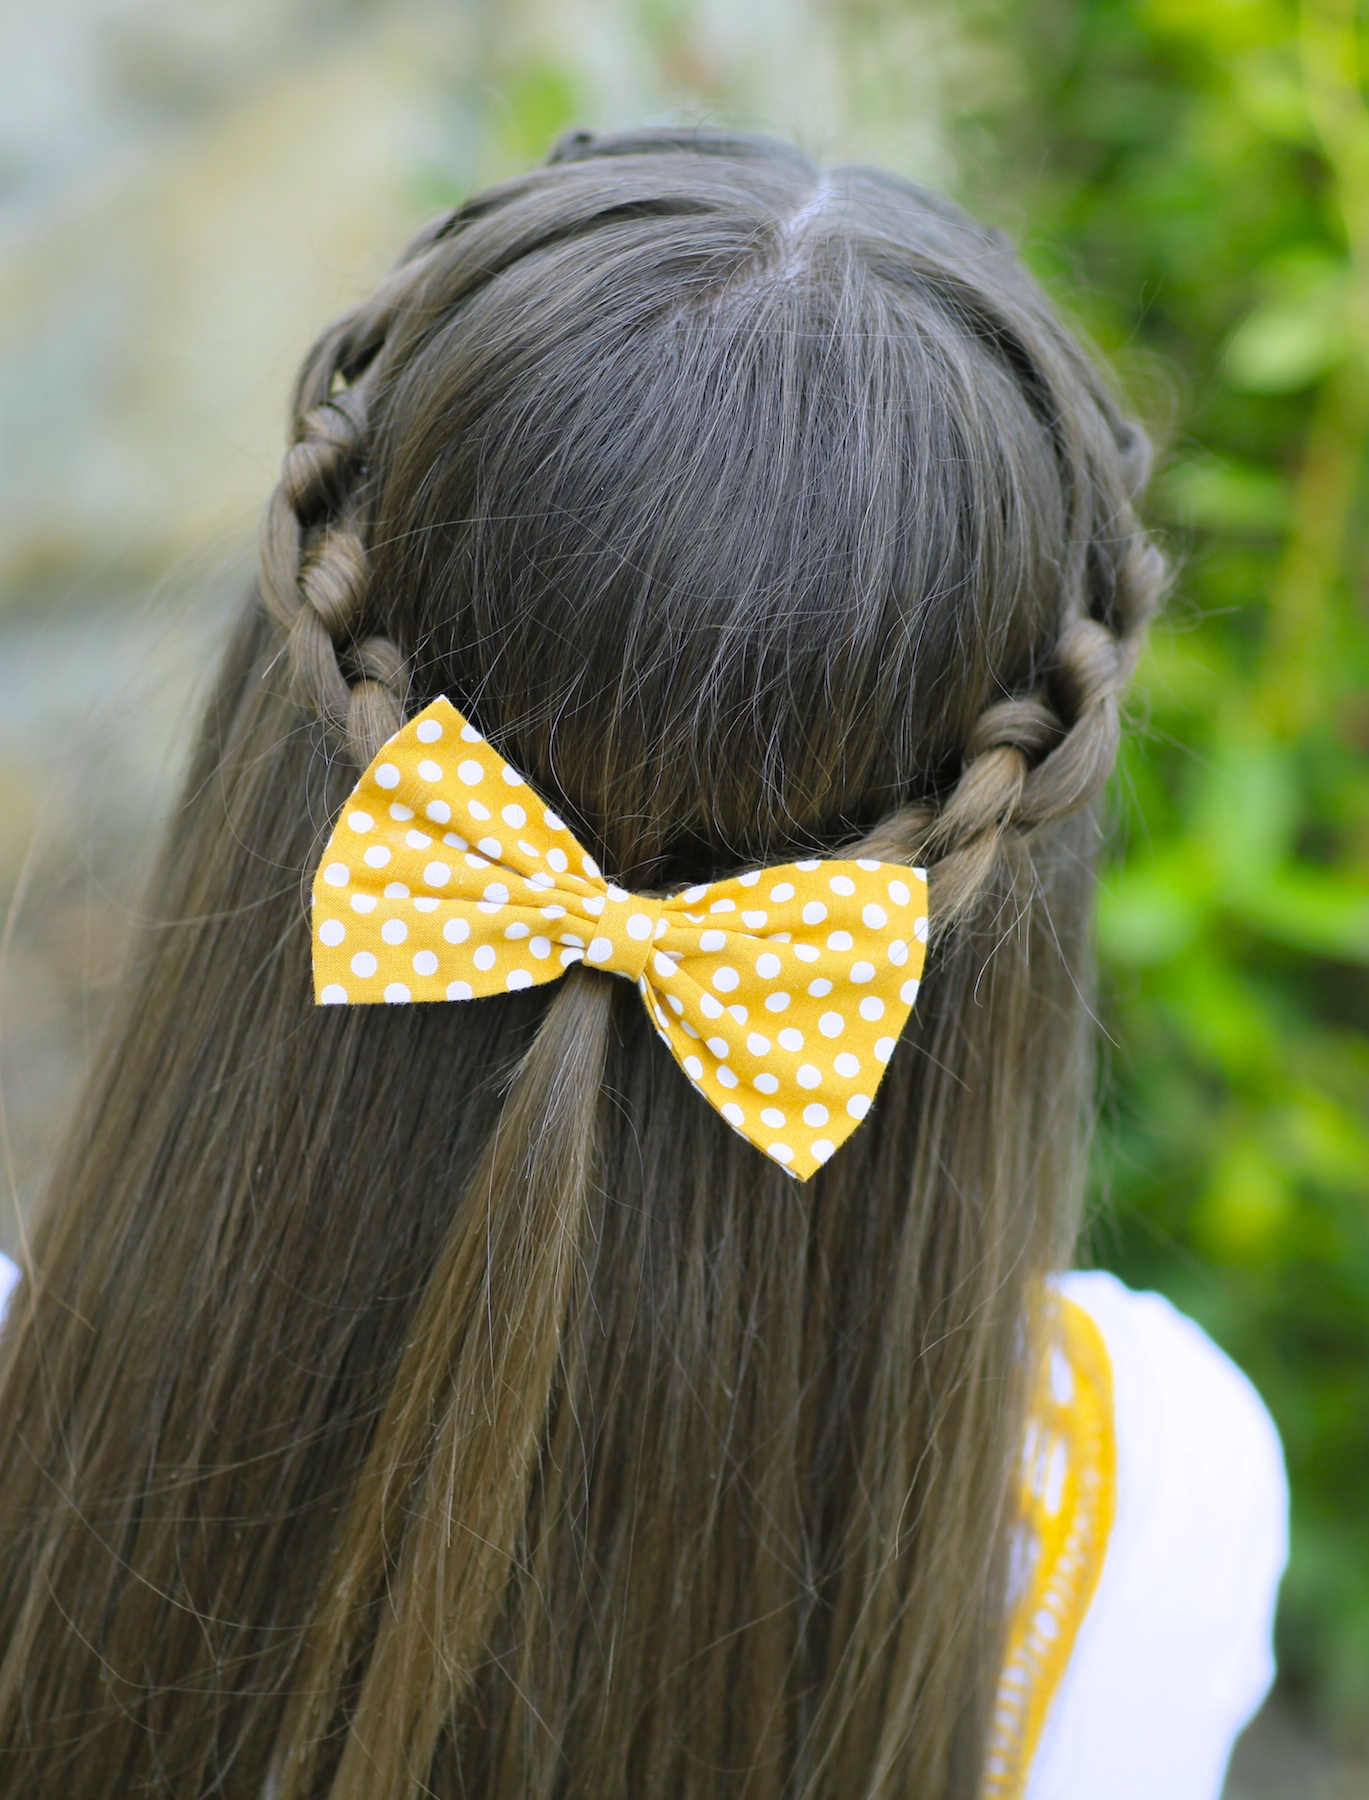 What I love about this knotted tieback in a half-up half-down hairstyle, is the unique “crown” look that it provides. By adding a cute bow or other accessory, you will have a braided hairstyle that will bring many compliments your way!
Feel free to tag your own photos of this hairstyle with: #CGHKnotBraidTieback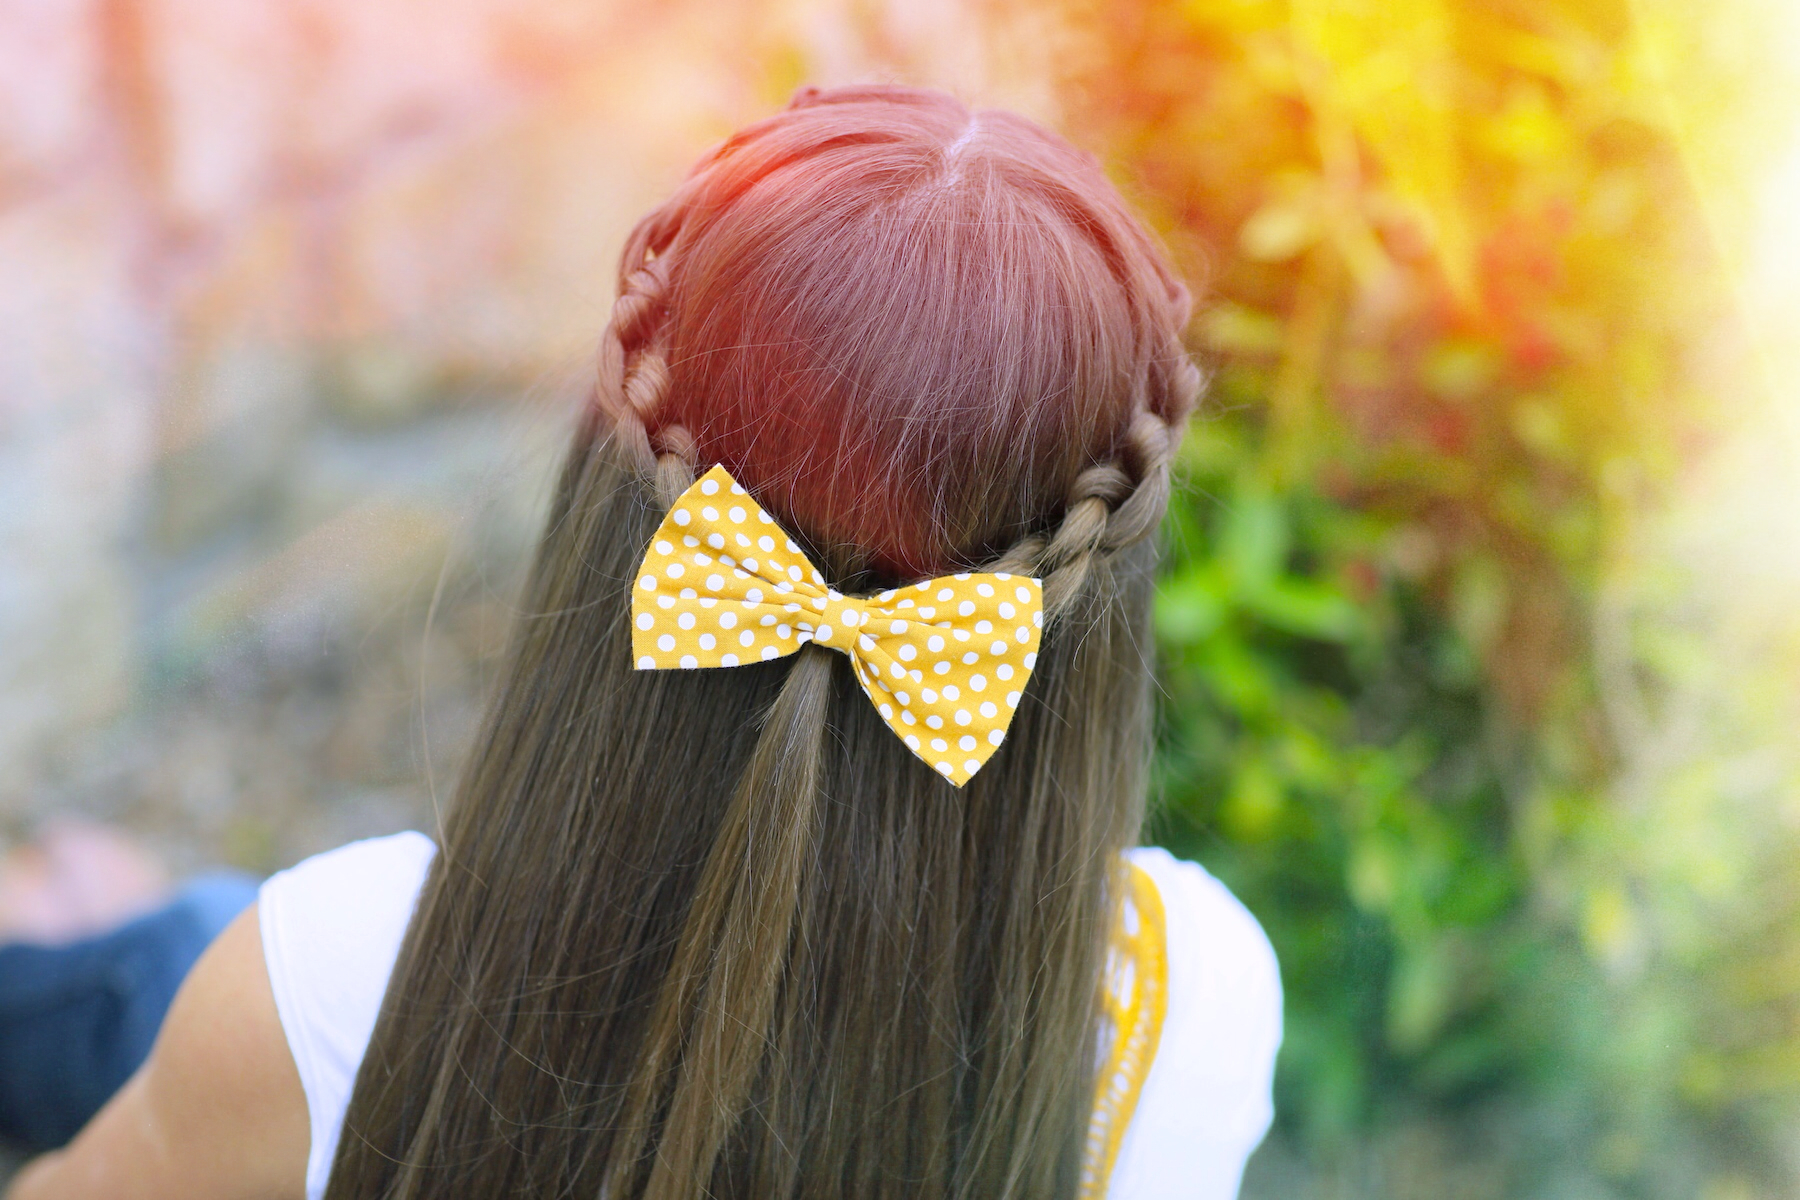
 When we were done, Brooklyn said that this would be a great hairstyle for a flower girl, especially if you added curls to the hair and flowers to accent the braid!
Enjoy!
Items Needed: Brush, rat-tail comb, spray bottle, 1 small hair elastic, 1 bobby pin, hairspray and accessory {if desired}.
Time Requirement: 3-5 minutes
Skill Level: Medium
Step-by-Step Instructions:
- Begin by dividing the hair down the middle of the head…
- Now, part another straight line about 1-1 ½ inches above the ear going back towards the back of head…
- From there, create a new part going from the middle part to the line you just created {you should now have a rectangular section of hair parted out, with remaining hair still falling over the ear}…
- While holding this parted section, gather and pull the rest of the hair over the opposite shoulder and secure it out of the way…
- At the top corner of the rectangular-parted section, pick up a small piece and divide it into two smaller strands…
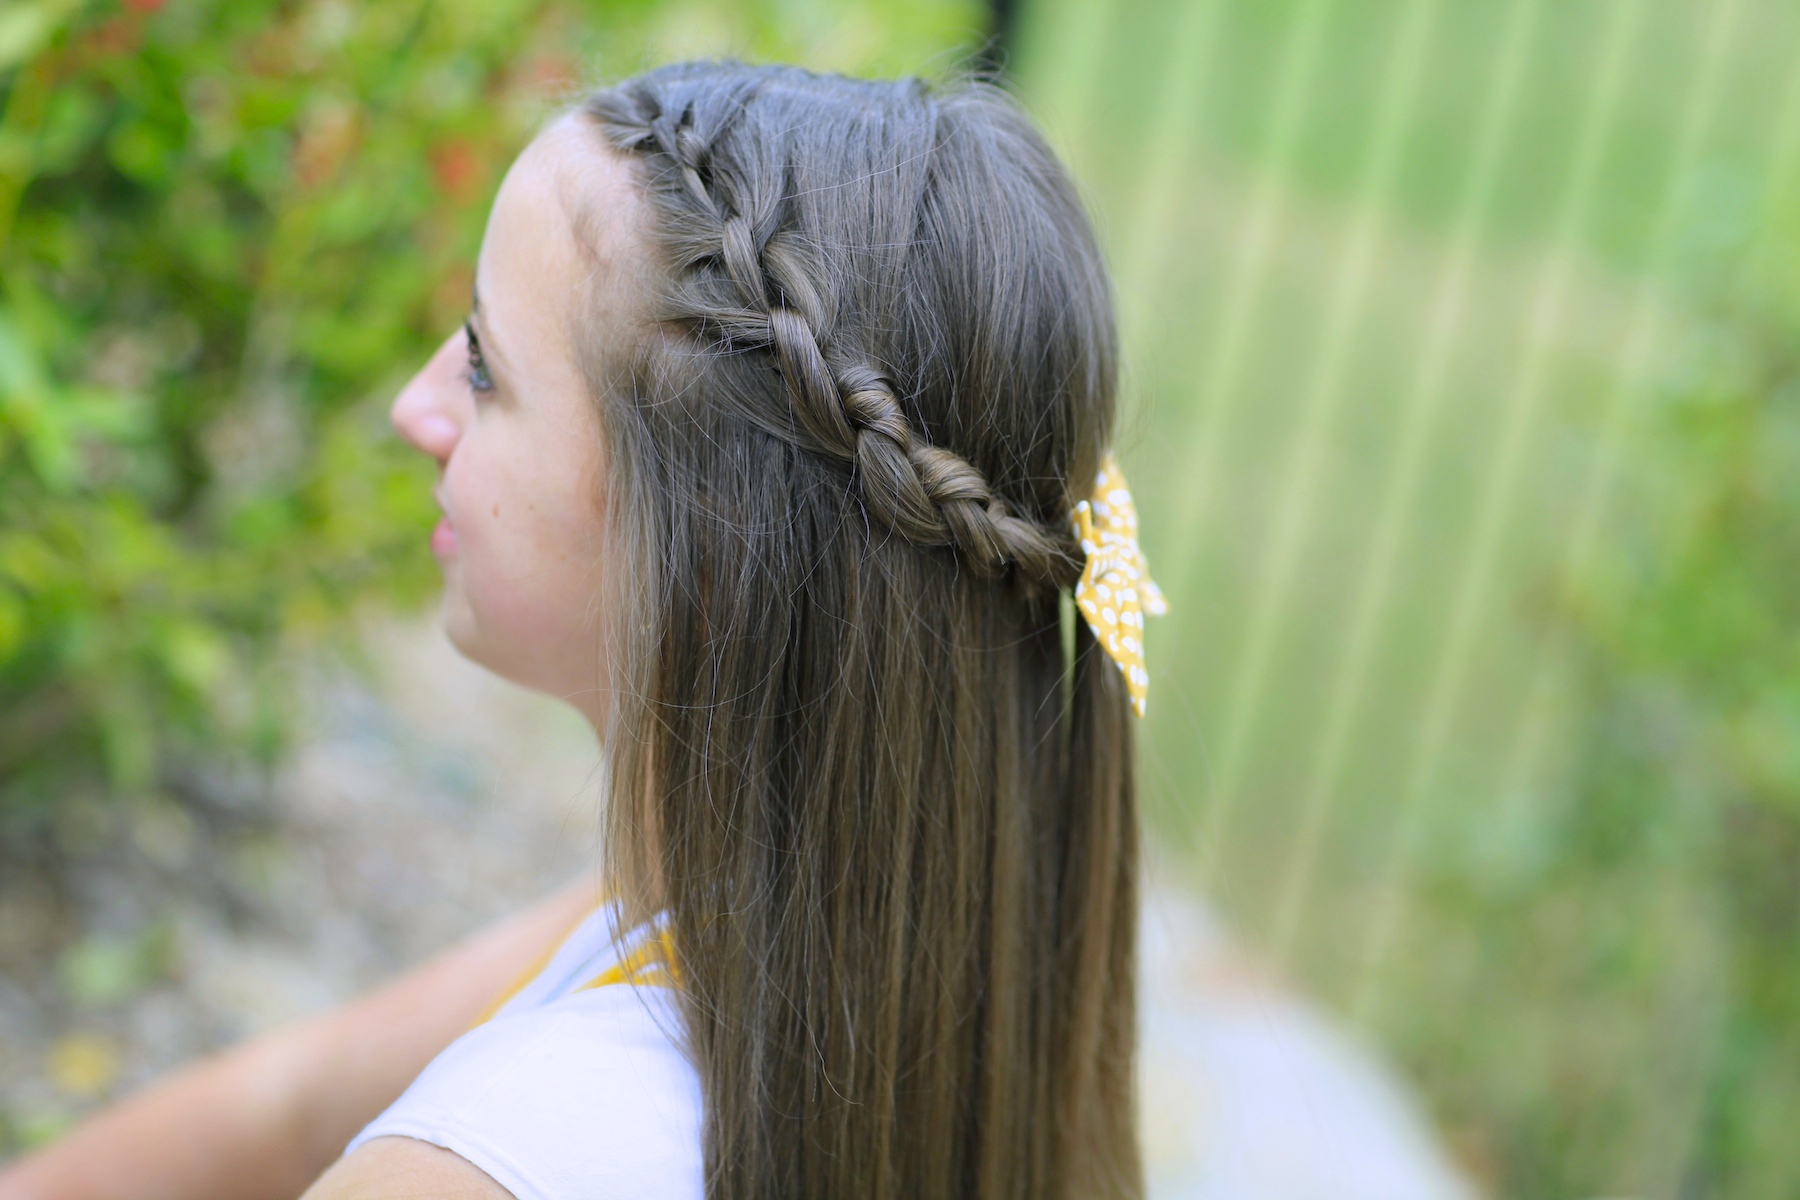
- Take the back strand over the front strand, wrap the front strand over, then under and pull it through the loop to create the first knot {similar to the first stitch of tying your shoe}…
- Similar to a French Braid, add in hair into both strands…
- Create a second knot, just like in Step #6, and then add in more hair…
- Repeat Steps #6-7 until you have about 5 knots and run out of hair…
- When all of your hair is added in, go ahead and create a few more knot stitches without adding any hair, using pomade or hairspray to help hold in flyaways {these extra knots will float freely, allowing for the braid to be tied back behind the head later}…
- Secure that braid with an elastic and use a bobby pin to hold the hair in place until you are done with the other side…
- Now, repeat the entire process on the other side of the head…
- After the second braid is complete, bring both braids back and combine the two into one tieback with an elastic..
- Add hairspray and hair accessory {like a bow} to finish off the style.
Please feel free to leave me a comment below letting us know what you think of this Knotted Braid Tieback! As always, if you loved the tutorial, please feel free to share it!
Happy Hairstyling!

By request from their young fans, my daughter Brooklyn filmed a Contacts 101 tutorial on Wednesday that she uploaded to her BrooklyAndBailey YouTube channel! If you have young tweens or teens who wear glasses, feel free to let them watch Brooklyn’s contact lens tutorial below…


Looks Great!
I’m not really allowed on YouTube do Brooklyn and Bailey have a blog or website link? I am also wondering if you can do more makeover videos, because I really enjoyed the Valentines day one .
Hey !
I just wanted to thanks and congratulate you for all those videos!
All your hair styles are wonderful. The videos and tutorials are very clear and I can understand them even if I’m from Switzerland and speak french.
So thank you very much for sharing your talent.
Swiss kisses 😉
I love you guys! You are amazing!!!!
Great tutorial, I should try itfor myself!
http://fashion-soup.com/
the twins should do a video about reccomendations for clothing stores for teens and pre-teens
I really enjoy watching both cute girl hairstyle videos and Brooklyn and Bailey videos. I think that i tutorial of how to tie-dye shirts would be really cool. And i think that a nail tutorial on how to make your nails look like Easter eggs would be cool too. Thanks!