Tinker Bell has to be one of the most-beloved Disney Characters in my household! CGH #4 particularly loves Tinker Bell, and we have collected all of her movies over the years!
When Disney asked me to create this hairstyle tutorial, I was super thrilled at the prospect of being inspired by Tinker Bell’s adorable fairy bun!
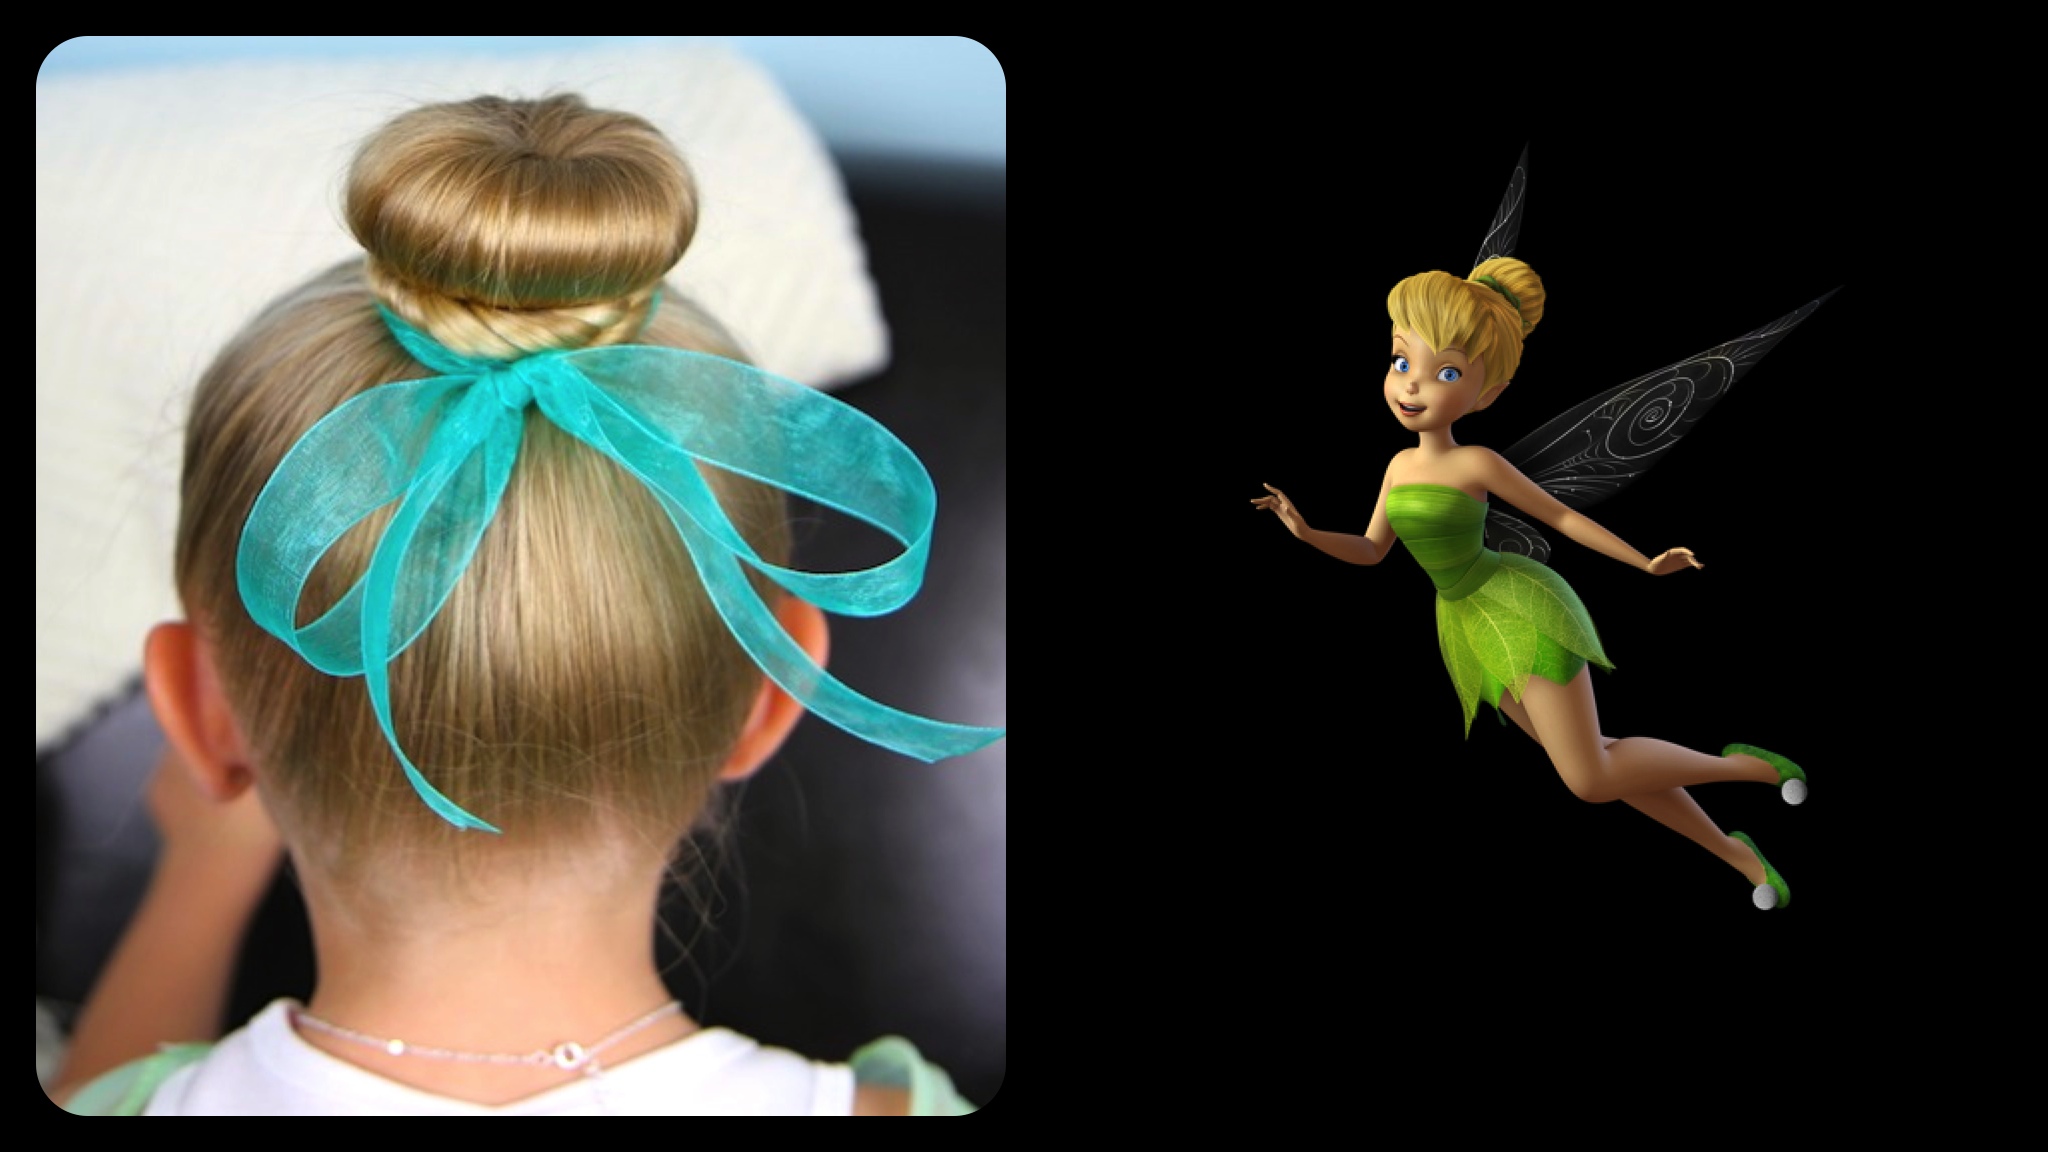
Please note that the 2D photos of Tinker Bell in the past have her wearing a teal blue ribbon at the base of the bun, which is what I show you here. {The ribbon is replaced by green vines in the more recent 3D images.}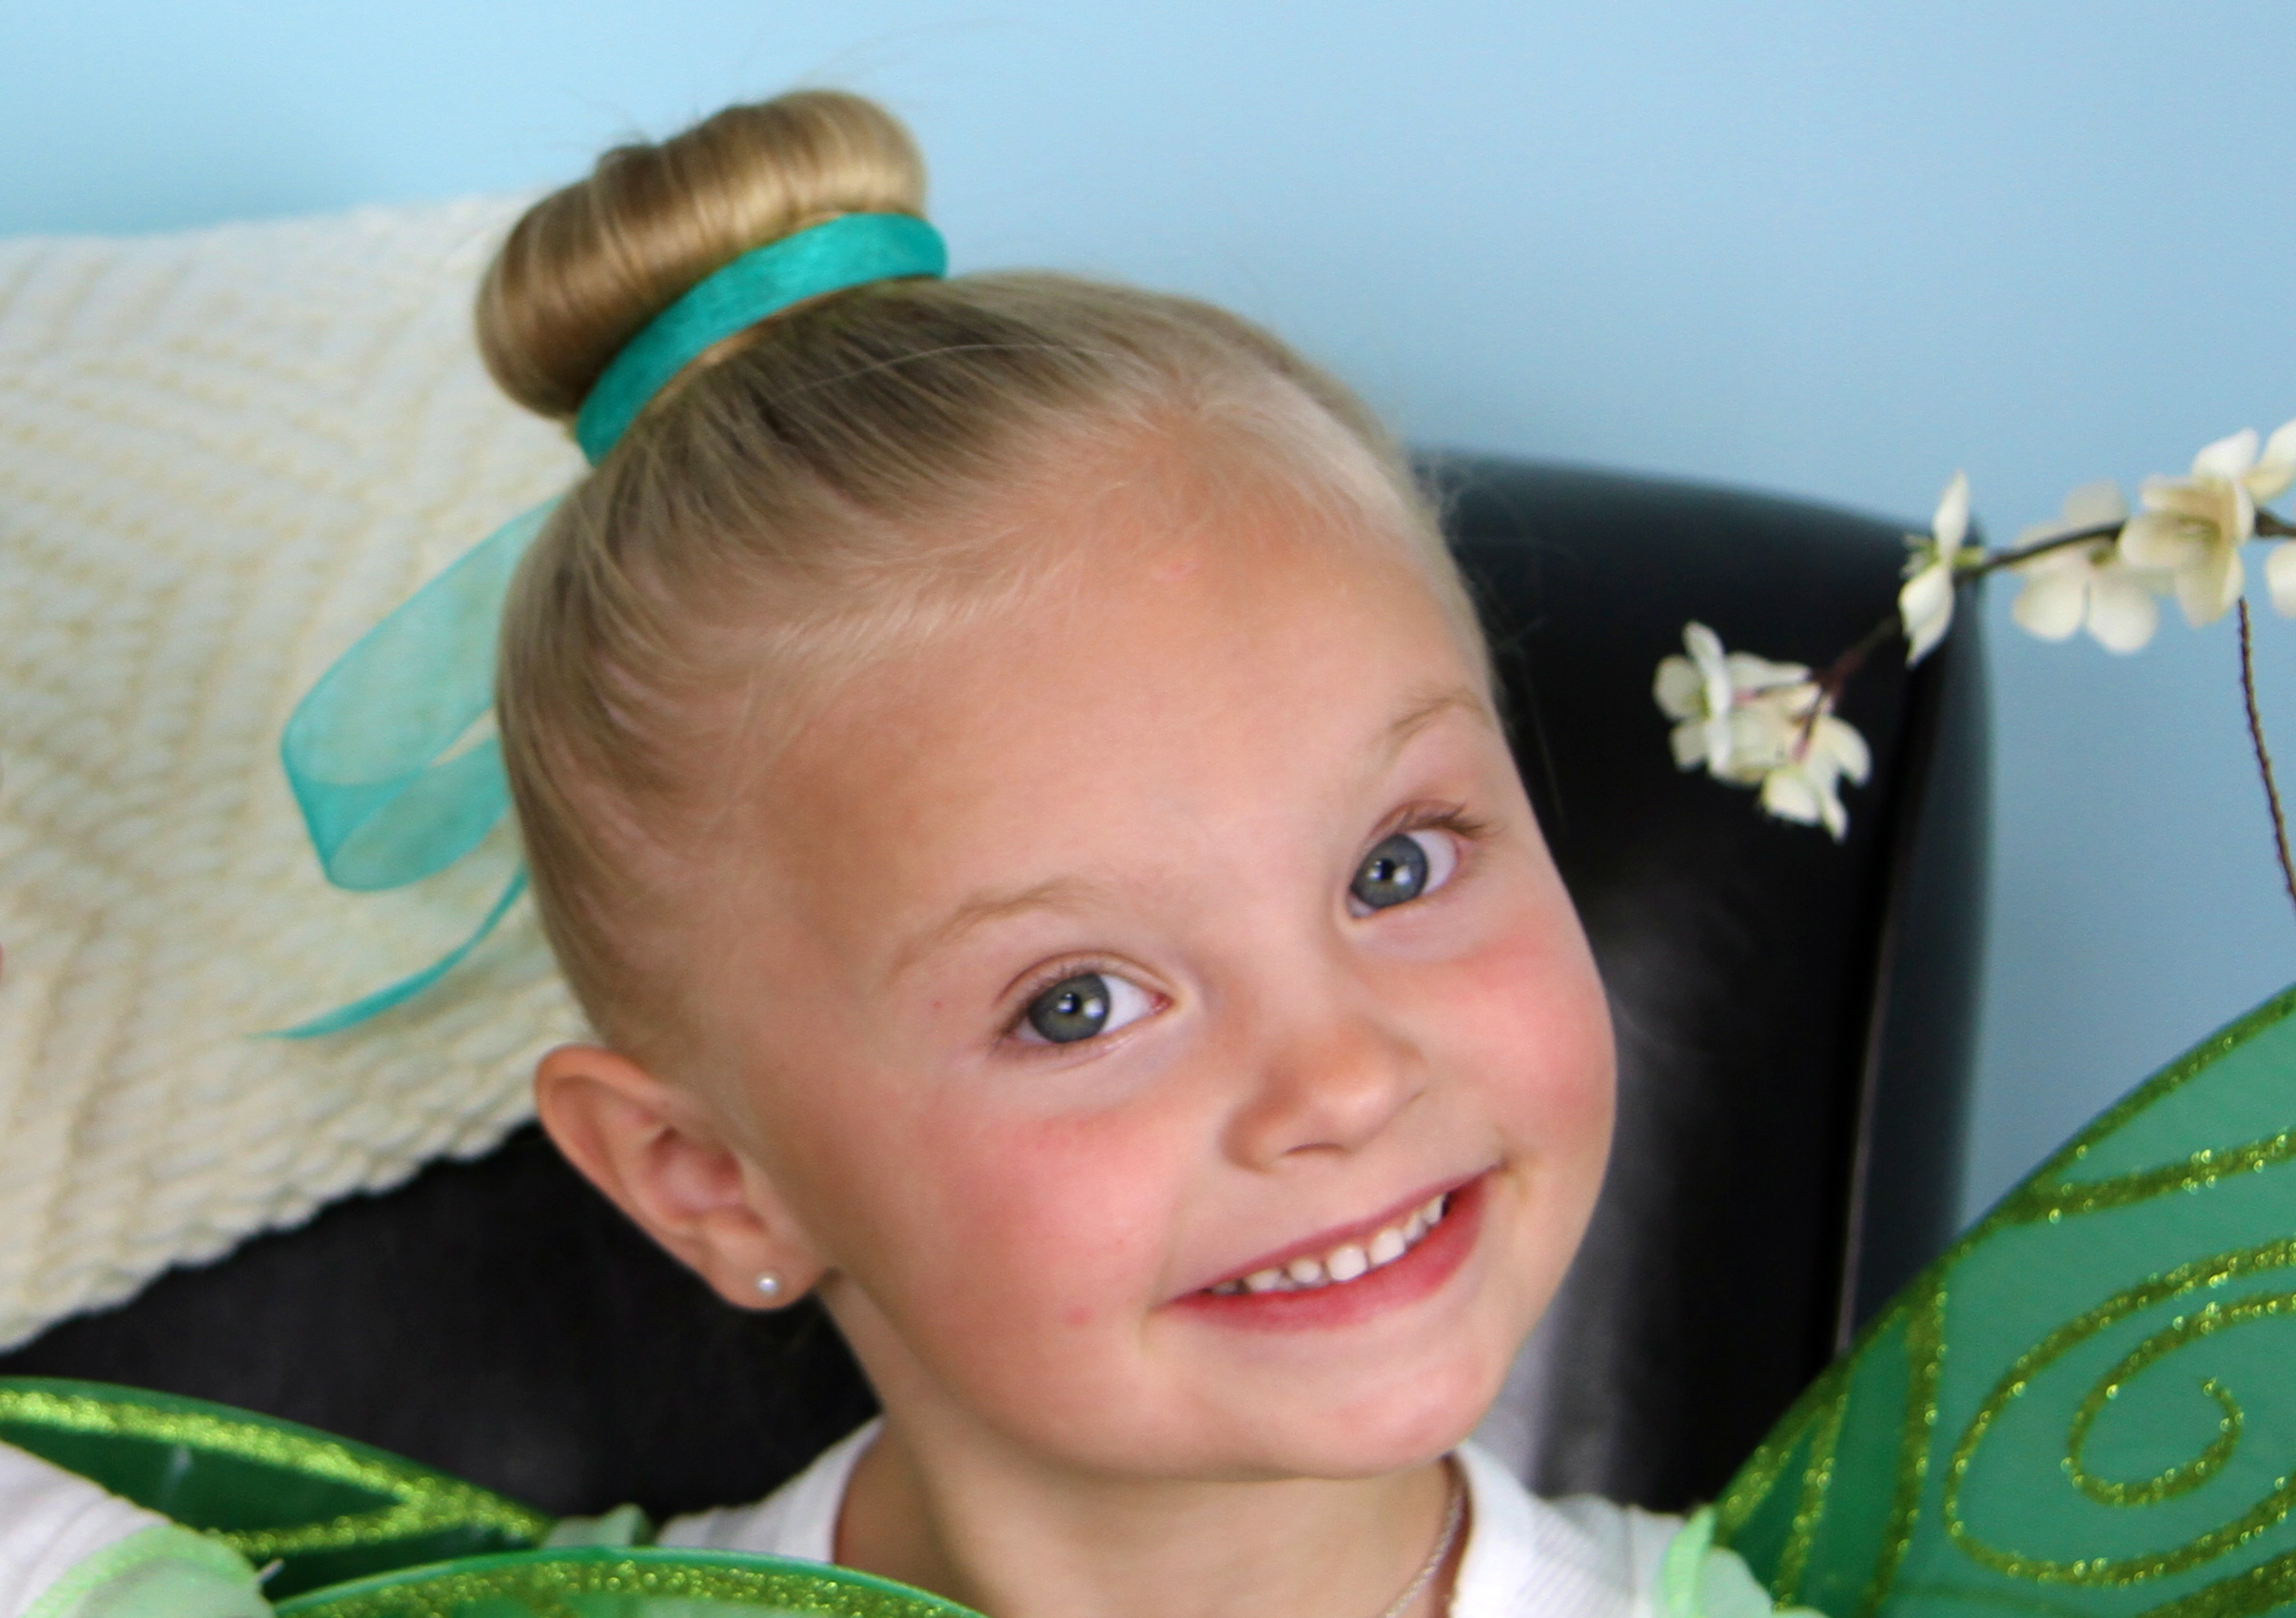
As we planned this hairstyle, I really needed some blonde hair to make the tutorial just right! Nope, no blonde hair anywhere in our home! Luckily for me… one of my best friends was willing to lend me her five-year old daughter, who was tickled pink to help me out!
Be sure to stay to the end of the video, because there is a really cute clip there that you will not want to miss!
Items Needed: Brush, rat-tail comb, spray bottle, 1 bun maker {matching hair color}, 2-3 bobby pins, 2 hair elastics, hairspray {if desired}, and blue sheer ribbon.
Time Requirement: 2-3 minutes
Skill Level: Easy
Step-by-Step Instructions:
- Begin by brushing the hair, and combing all the hair into a high ponytail {remember, this is a high bun, so be sure that the ponytail is on the top of the head}…
- Secure the ponytail with a rubber band…
- Slide the ponytail through the middle of the bun maker, or hair doughnut…
- Let the hair fall evenly around the bun maker {try to get hair evenly placed so that the bun maker is not visible at all}…
- Using another hair band, slide it over the bun maker and release it at the base to create the perfect looking bun {you should have the ends of the hair still sticking out of the base}…
- Now, pick up a small strand of the ends of the hair near the front, and begin to twist them…
- As you work your way around, add in hair as you go {this will create a cute twist all the way around the base of the bun}…
- When you run out of hair, secure the ends at the base with a couple of bobby pins, and tuck in any loose ends…
- Lastly, wrap your ribbon around the front base of the bun, and tie it into a cute fairy bow in the back.
This hairstyle is perfect for fairy birthday parties, Halloween, ballet, and dance. Since it is a bun, you can use it for any number of occasions like family parties, recitals, etc.
Heavens, I’ll wear it too!
Enjoy your adorable Tinker Bell Bun!
If you liked this, you may very well love our other Disney Tutorials!
Please feel free to leave a comment below and let us know what you think, and as always… feel free to share!
Happy Hairdoing!

* Note from Mindy: Google Reader will be shutting down on July 1st, so if you want to follow our blog… you can do so at BlogLovin, a new easy-to-use blog reader for women!


I found the minnie ears or mickey ears what ever you call them
found hidden mickey on tink hairstyle and belle.
You should post a greaser hairstyle for Halloween because I’m gonna be a greaser and I don’t don’t know how. To do my hair
Hi I love the bun I only just got the bun maker and it is really easy. I did it on my own hair and it wasn’t that hard also I used a different coloured ribbon because I am wearing a purple coloured onzi thanks for the tutorial because I had a dance competition and I had to have a bun and that was helpful and it helped my bun stay in and by the way and am only 9
that awesome !!!!!!!!!!!!!!!!!!!!!
gorgeous girls lovely hair
well done tinkerbells
going to do that for dress up day for my daughter
yeah adorable little tinkerbell you are too cute to tink girls
oahh tell her she is too cute to tink and of course her gorgeous twin
beautiful hair girls x
Very cute! Looks so easy!! I love the way that hairstyle looks
and I love that hair style
the minni is on the neckless
I think this is a very cute a easy hair style.
i found the minnie as soon as you said it
My daughter has a ballet recital and I need to put her thin yet curly hair in a bun. He hair is very light blond (almost white).
1. How did you get the little girls’ hair so smooth into the pony? Did you spray it with water or other hair spray?
2. when my daughter’s hair is wet (straight) it is almost as long as your model, but still less hair. Is there a smaller bun maker or did you use the smallest? Obviously I’m very new to this and I’m thankful for pinterest.
This is a huge help because I always try to tuck the hair under the bun, and so I am definitely going to do it this way from now on!
Love, love, love your site!! Your demonstrations are awesome! I have been using a bun-maker for a while and never knew to twist the hair around the bun the way you do it – works so well! Also wanted to say that you can easily make a “bun-maker” out of a sock – we use an adult black sock, cut off the toe and then roll it up – works perfectly and is super cheap!! Thanks again for awesome tutorials!
I wish I had hair like that . Lucky girl.
The minney is in brightens ne klace 😉
I just want to know if you kids go to school in these hairstyles or do you just do them on the weekend I have been wondering that for a while . Did you second oldest daughter that is not one of the twins did she wear the bun hawk to school
Love this look! Been using The Hunny Bun on my neice 2-3 times a week for dance! Also use it on myself as well!!
Aw this is so cute! definitely using it for my little cousin’s Halloween costume this October!
I think I could do this one:) Very cute and simple.
They’re so cute! Love the tinkerbell hairdo!