Come meet our family at CVXLive in Orem UT on Mar 25-26th {you can get your tickets HERE}!
Bubble braids have been a staple in our home for many years. I think we taught you our first one, the Side Ponytail Combo in May 2011, and the Bubble Ponytail in Sept 2011, with a few others in subsequent years.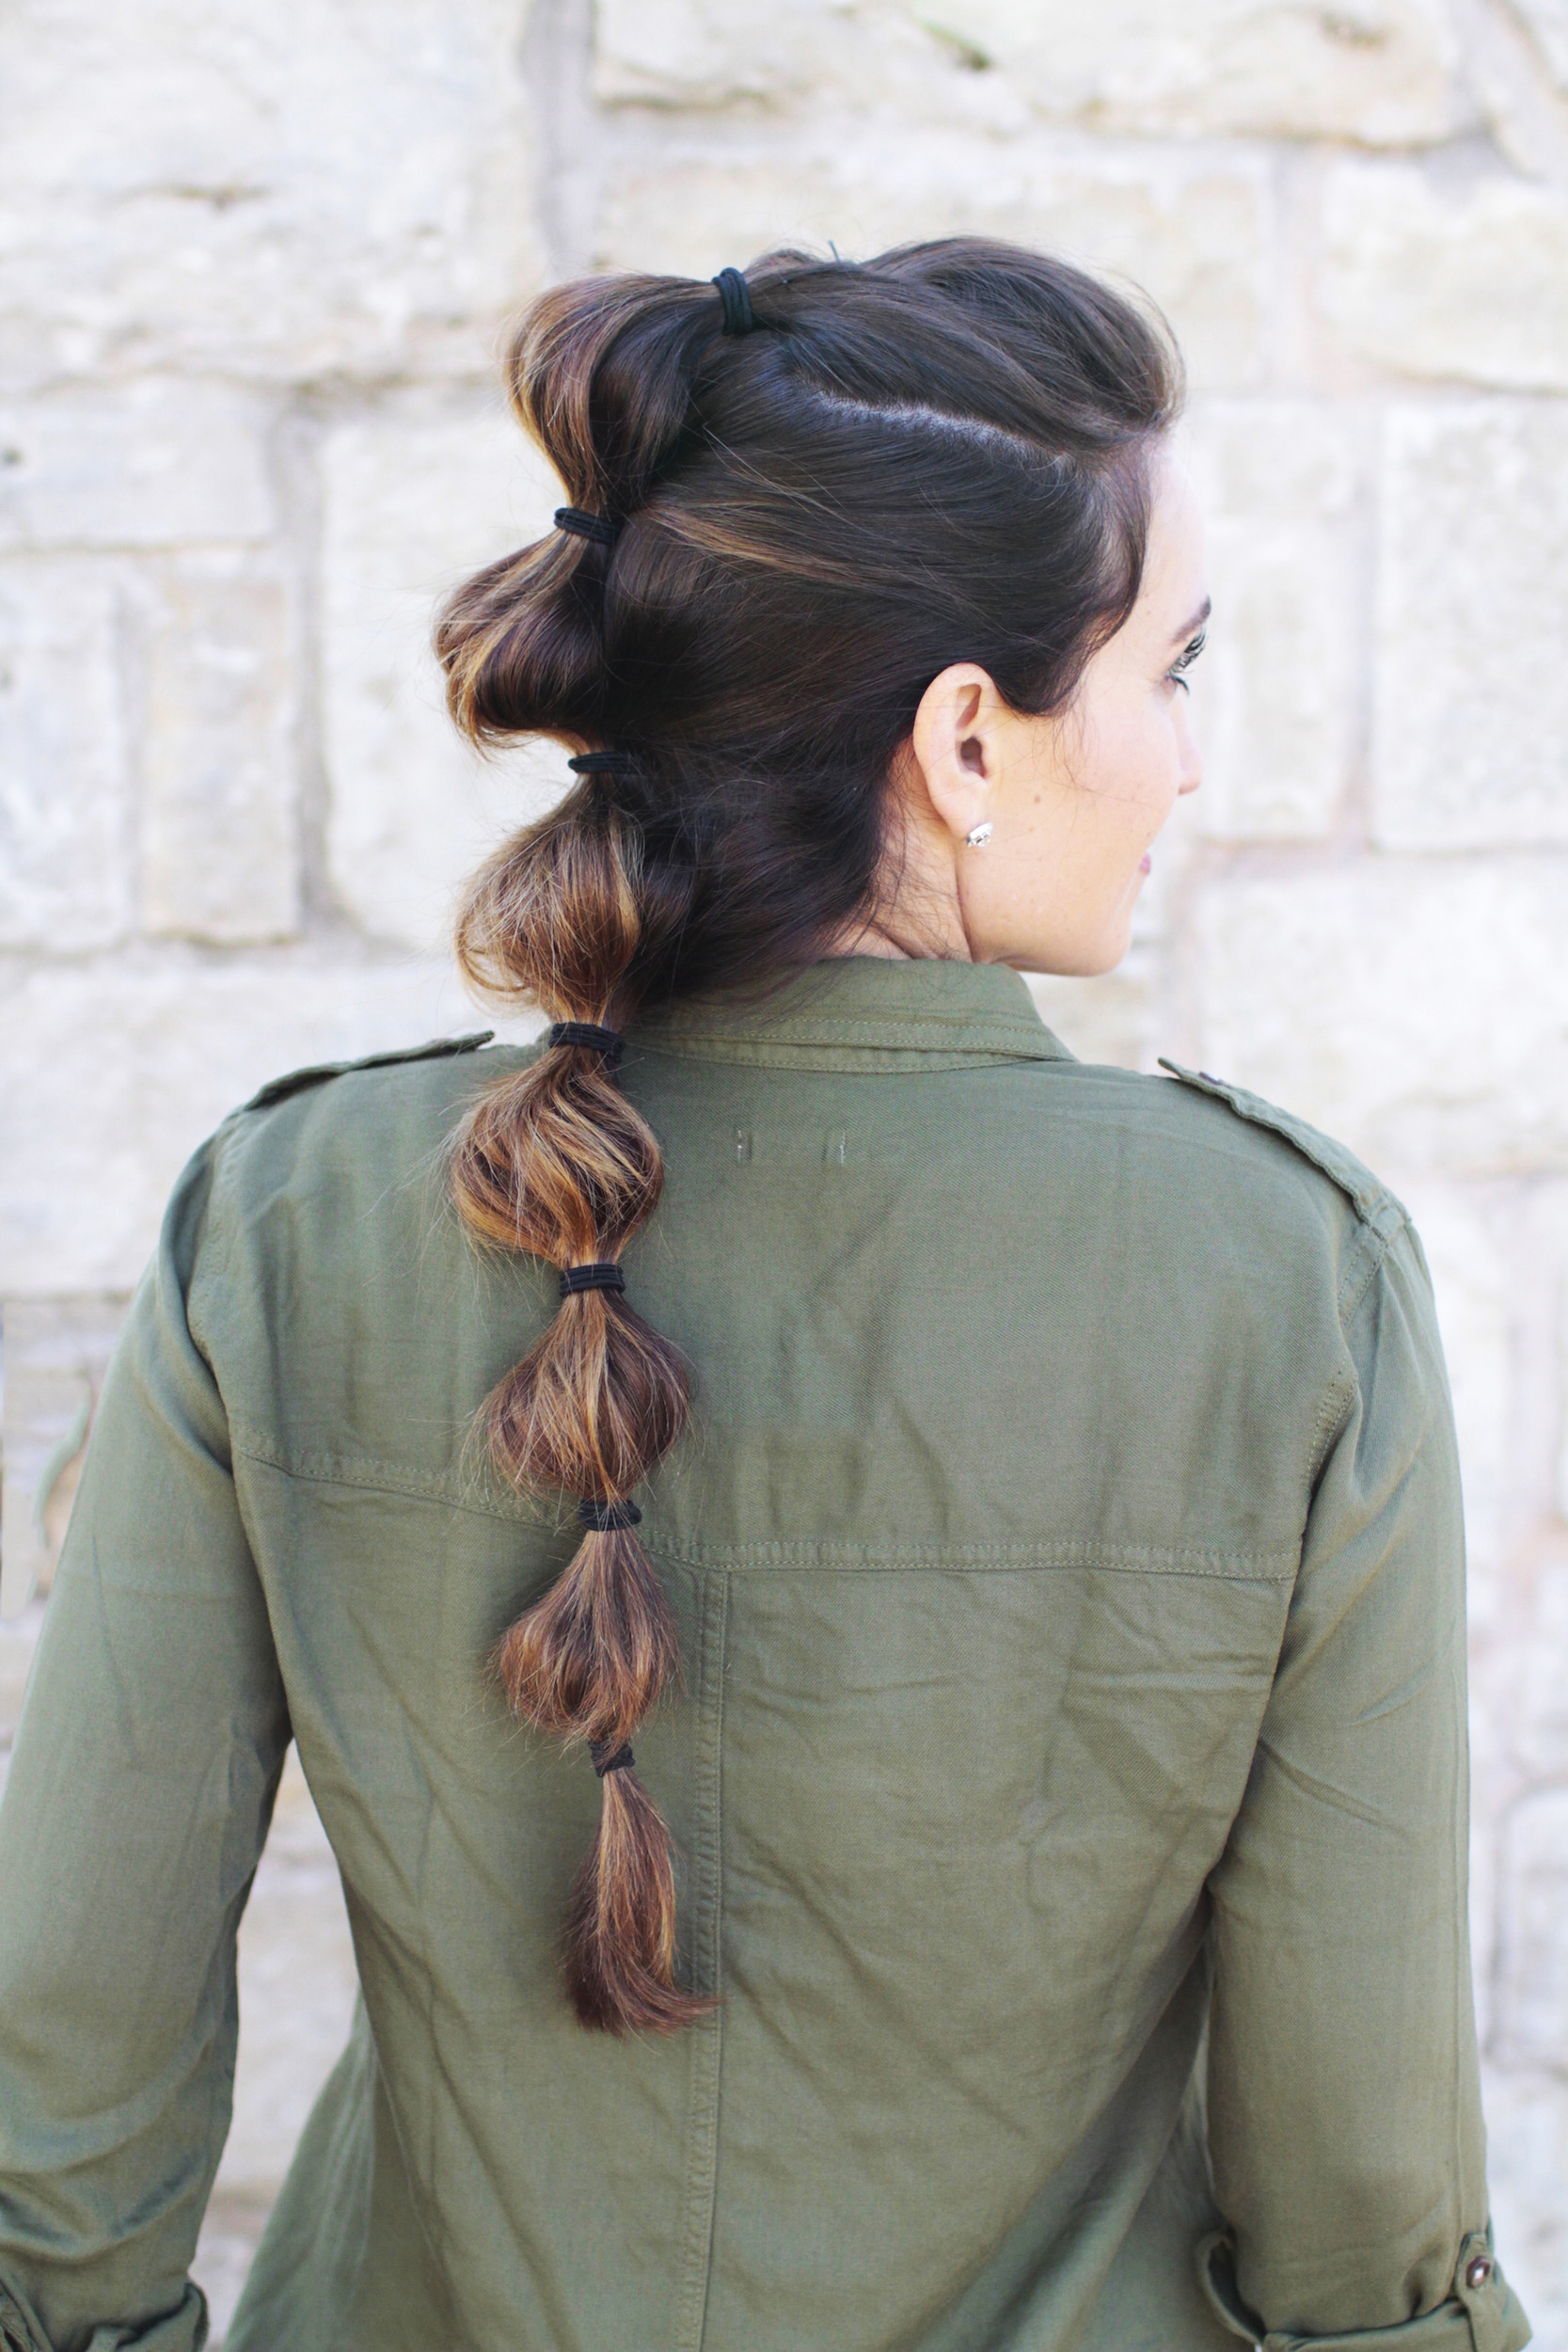
We’ve also been fans of braids in the mohawk style for a long time, as seen in past tutorials. So three weeks ago we decided to combine the two and show you how to create this Bubble Hawk!
To see your own photo recreations of this style featured in our app, feel free to tag your photos on IG with: #CGHBubbleHawk
This hairstyle is so easy to do, and can be done on yourself as a DIY! You can also use this braid in many hairstyle combos, including using braid-backs or twist-backs into your bubble hawk.
Please feel free to leave a comment below if you loved this Bubble Hawk hairstyle, and tell us where you think you would wear it!
 Items Needed: Brush, rat-tail comb, spray bottle, 3-4 small bobby pins, 6 small hair elastics, hairspray {if desired}.
Time Requirement: 3-5 minutes
Skill Level: Easy
Video Tutorial:
Step-by-Step Instructions:
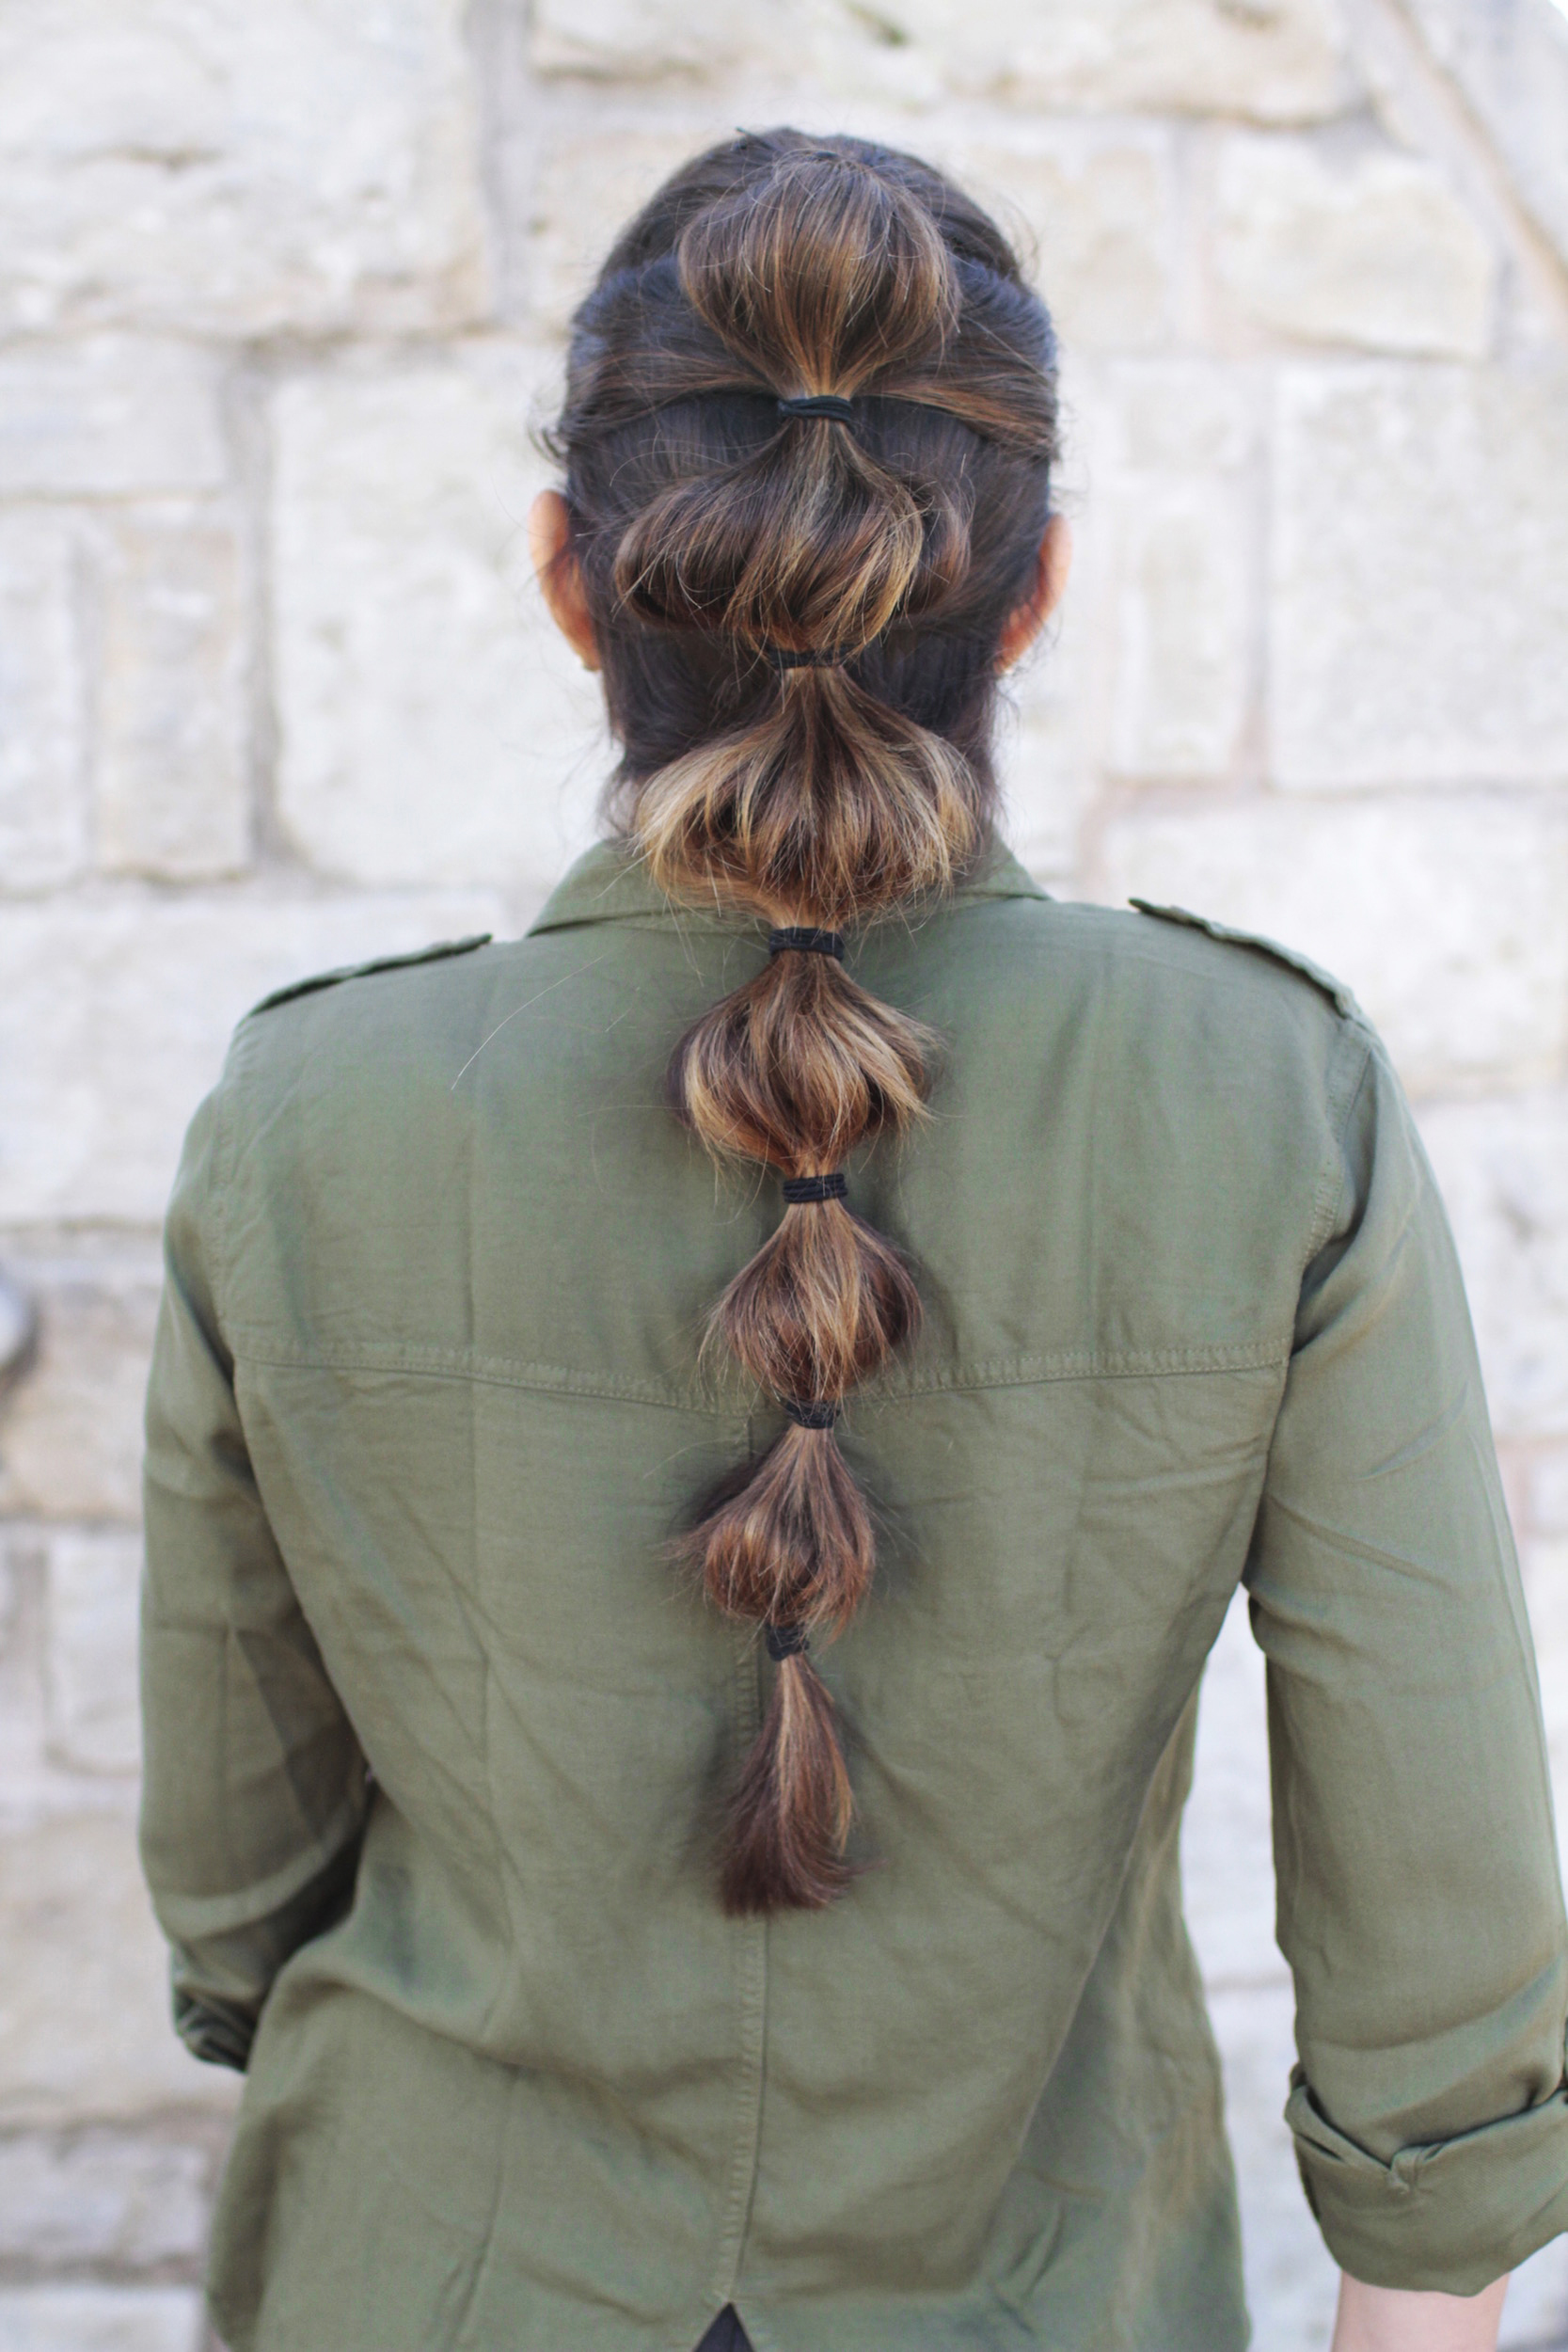
- Begin by gathering the front section of hair, from eyebrow to eyebrow, into a poof or pompadour and secure it with crossed bobby pins…
- Pick up your next section of hair from point of eyebrows back very near to the bobby pins. Smooth out any major bumps in the hair and then secure this section with an elastic…
- Move down about 1 inch on the sides and again pick up a section of hair from both sides, pulling the hair to the back of the head, add in the remainder of your previous ponytail, and secure with an elastic about 2 inches down from your last one…
- Repeat Steps #2-3 down the back of the head {number of sections will vary depending on length and thickness of hair}…
- When you reach the nape of your neck, move back up to the first braid segment, the 2 inches of hair between the first two elastics, and pancake/tug the hair out so that it looks round and full like a bubble…
- Repeat Step #5 for each banded segment in the braid, all the way down to the nape of the neck…
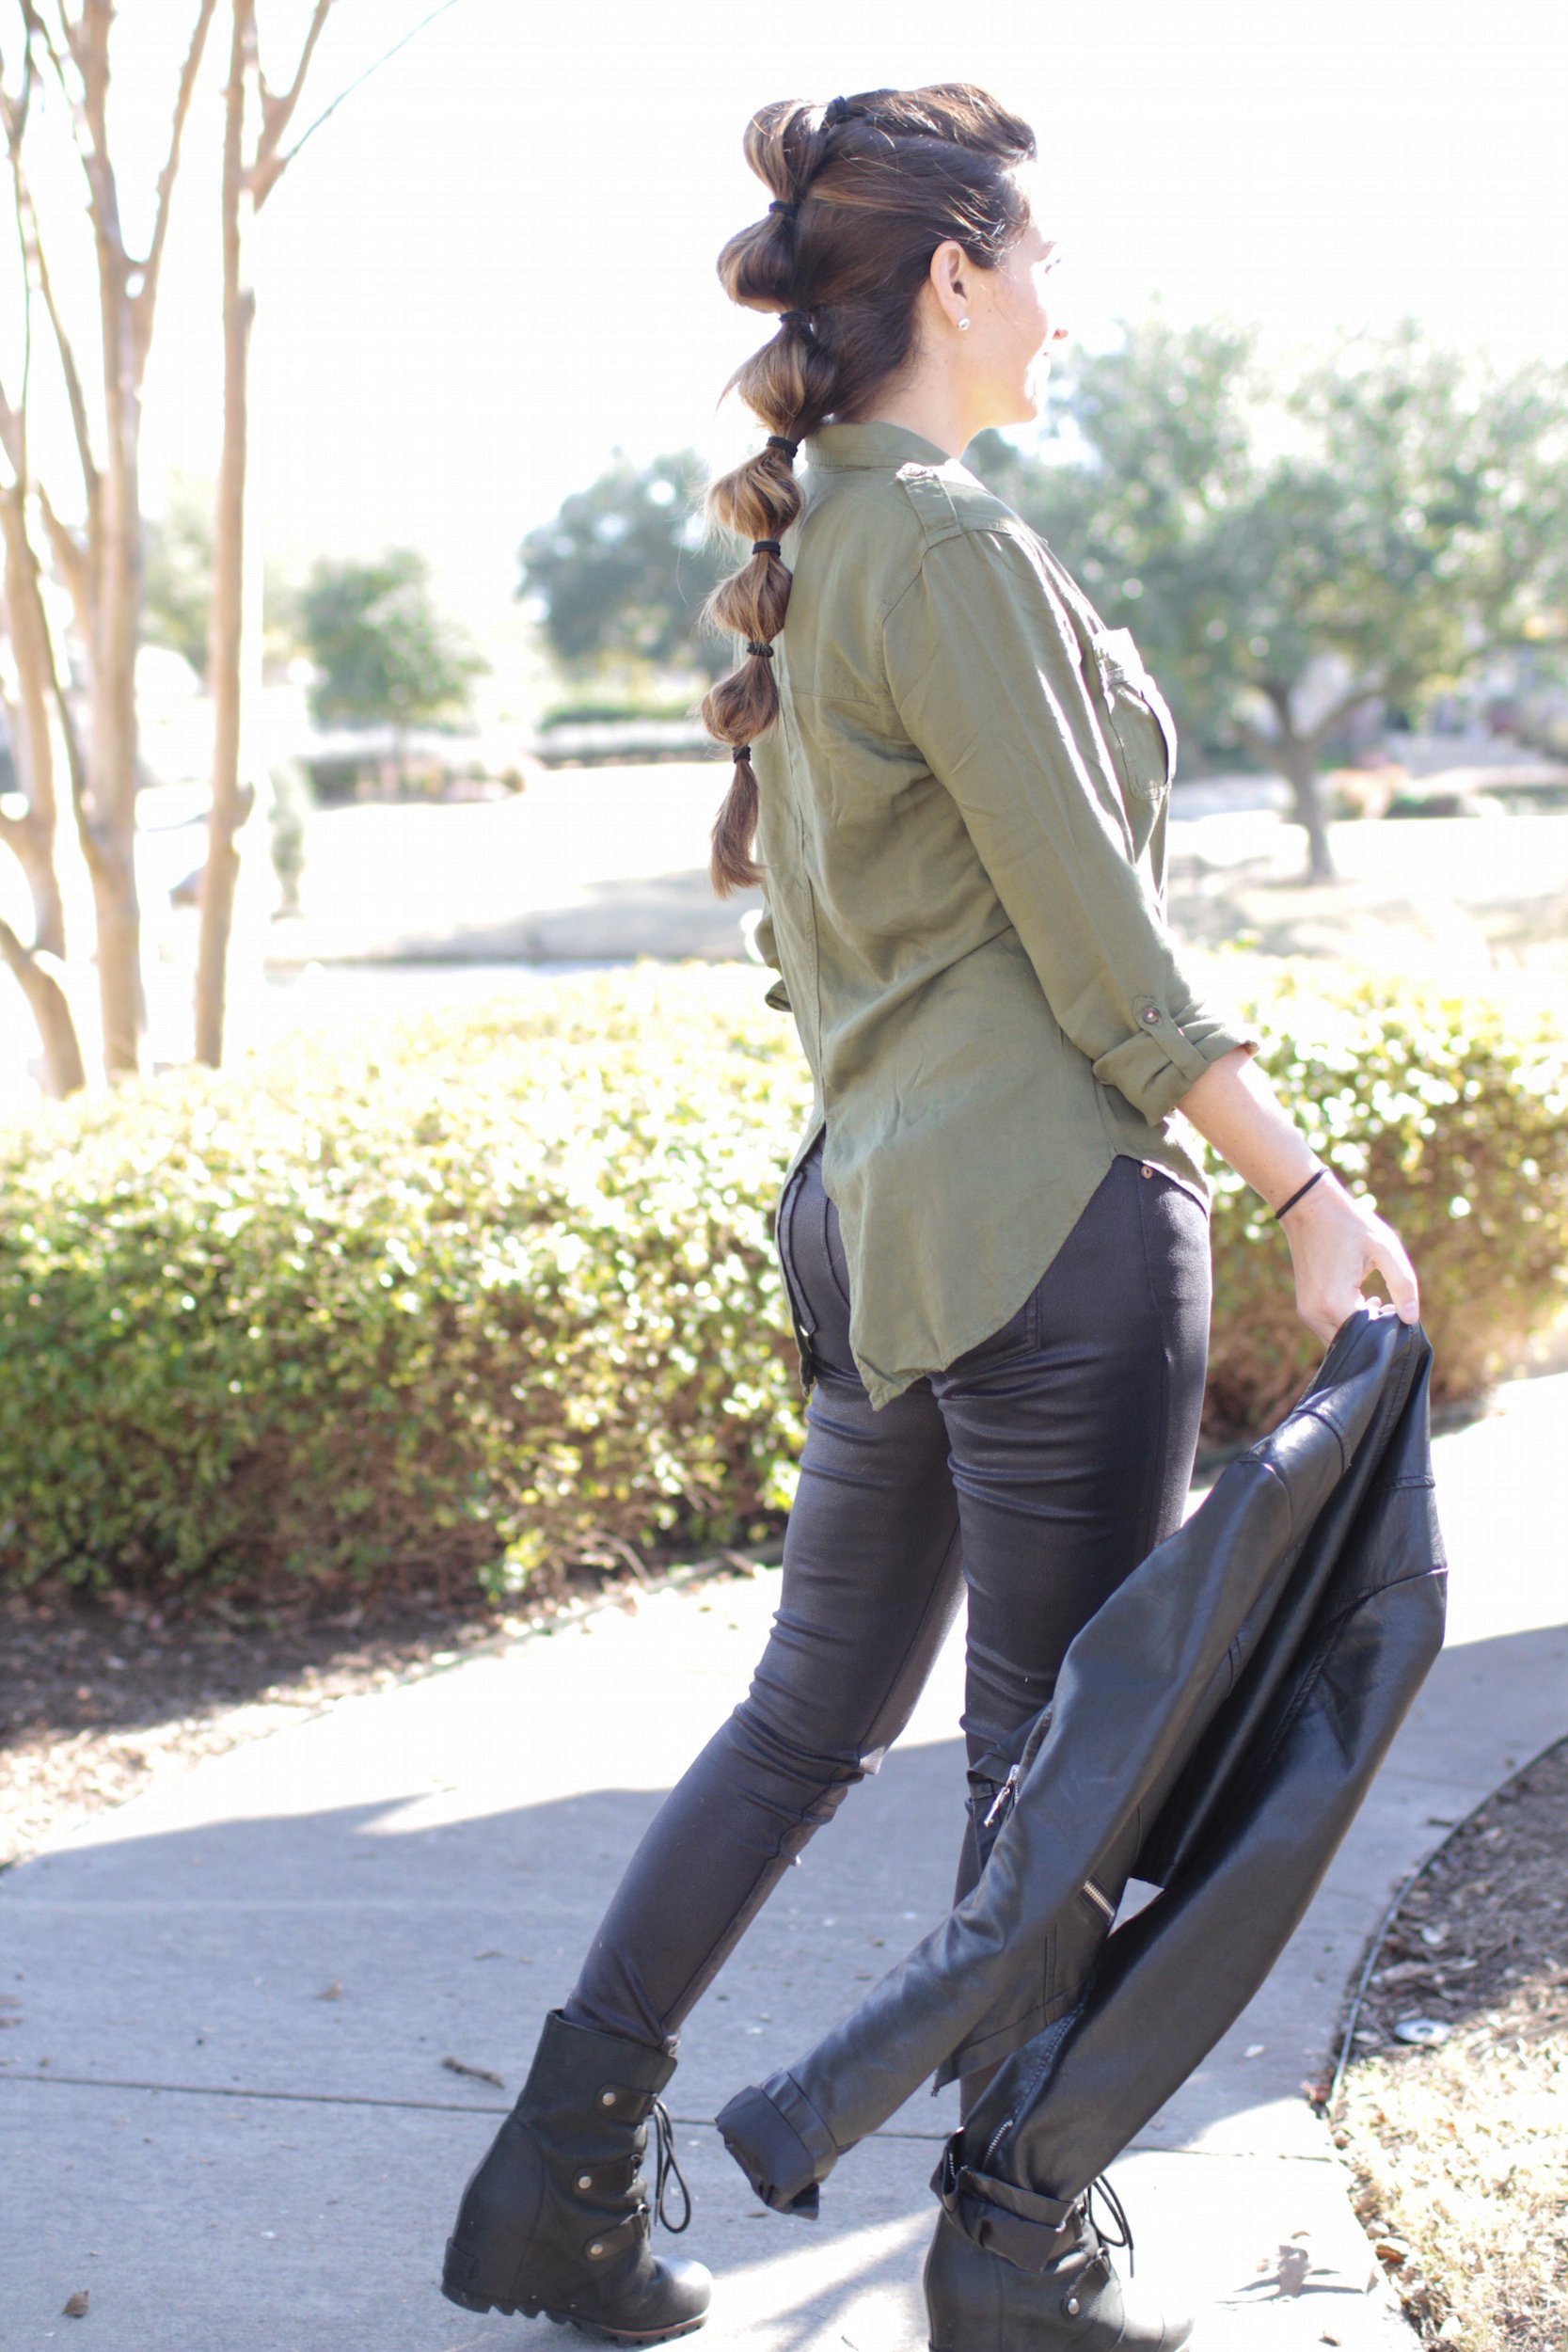
- Now flip your hair around over your shoulder and continue banding it every 2 inches until you have about 3 inches of hair left…
- Pancake/puff the remaining segments to continue the bubble braid down the hair, then secure and puff your last segment.
- Add hairspray {if desired}.
This is one of my favorite hairstyles, and I am a mom! Someone commented on my Instagram a few weeks ago that they felt this style wasn’t an appropriate hairstyle for a mom. They are certainly entitled to their opinion, but I am here to tell you to wear whatever makes you feel the most comfortable being you, and whatever makes you feel good about yourself. It should never be about anyone else, conforming to what they say you should look like, or how to dress, etc. You are perfect being you!
Happy Hairstyling!
It’s that time of year again where we each make our New Year’s Resolutions, etc, but we in our home also get to participate in our family’s annual Polar Plunge! We twisted things up a bit this year, though, and decided to to a Mermaid Polar Plunge! Yes, the girls wanted to wear mermaid tails as they plunged into icy cold water! How did they do? Click below to watch it, and see if Rylan and Paisley decided to join in!


Need to attempt this awesome style!
Love this wish my darn hair would grow!
Love the jacket and the braid!
fun.
I love this style! I wouldn’t be able to do this on myself but it’s so pretty!
Love it! <3
Is it weird that this reminds me of Star Wars?
So cool! Gonna try it
I like this a lot!!
I think this looks so cool! I feel like my hair may be too short for this, but its still cute!
Love love love
One of my favorite faux braids is this one. It’s super easy and looks fantastic. Thanks for posting cool things. Also… Greetings from Dominican Republic, you have a great number of fans over here 😀
日本ではディズニーランドに行くときに個性的な髪型をするんだけど、ぴったりなのが見つからなくて困ってたの????
この髪型すごくかわいいし、説明も分かりやすくて、できたよ????
いつも最高のブログと動画をありがとう❤️
日本は英語があまり分からないから、英語の字幕がついてほしいな!