
We are in full swing of school and fall is right around the corner. School brings late night studies and early mornings. We all appreciate the simple hairstyles that quick and still cute. Today, we are sharing 3 easy DIY hairstyles to add to your list!Hopefully your back to school is going well and you have easy stress free mornings. Haha, does anyone have those? At least we can take ‘hair’ off the worry list!
To see your own photo recreations of this style featured in our app, feel free to tag your photos on IG with: #CGH3BackToSchool
Items Needed: Brush, rat-tail comb, spray bottle, hair elastics, bobby pins, hairspray {if desired}.
Time Requirement: 3-5 minutes each
Skill Level: Medium
Step-By-Step Instructions:
Half-Up Rope Twist Bun
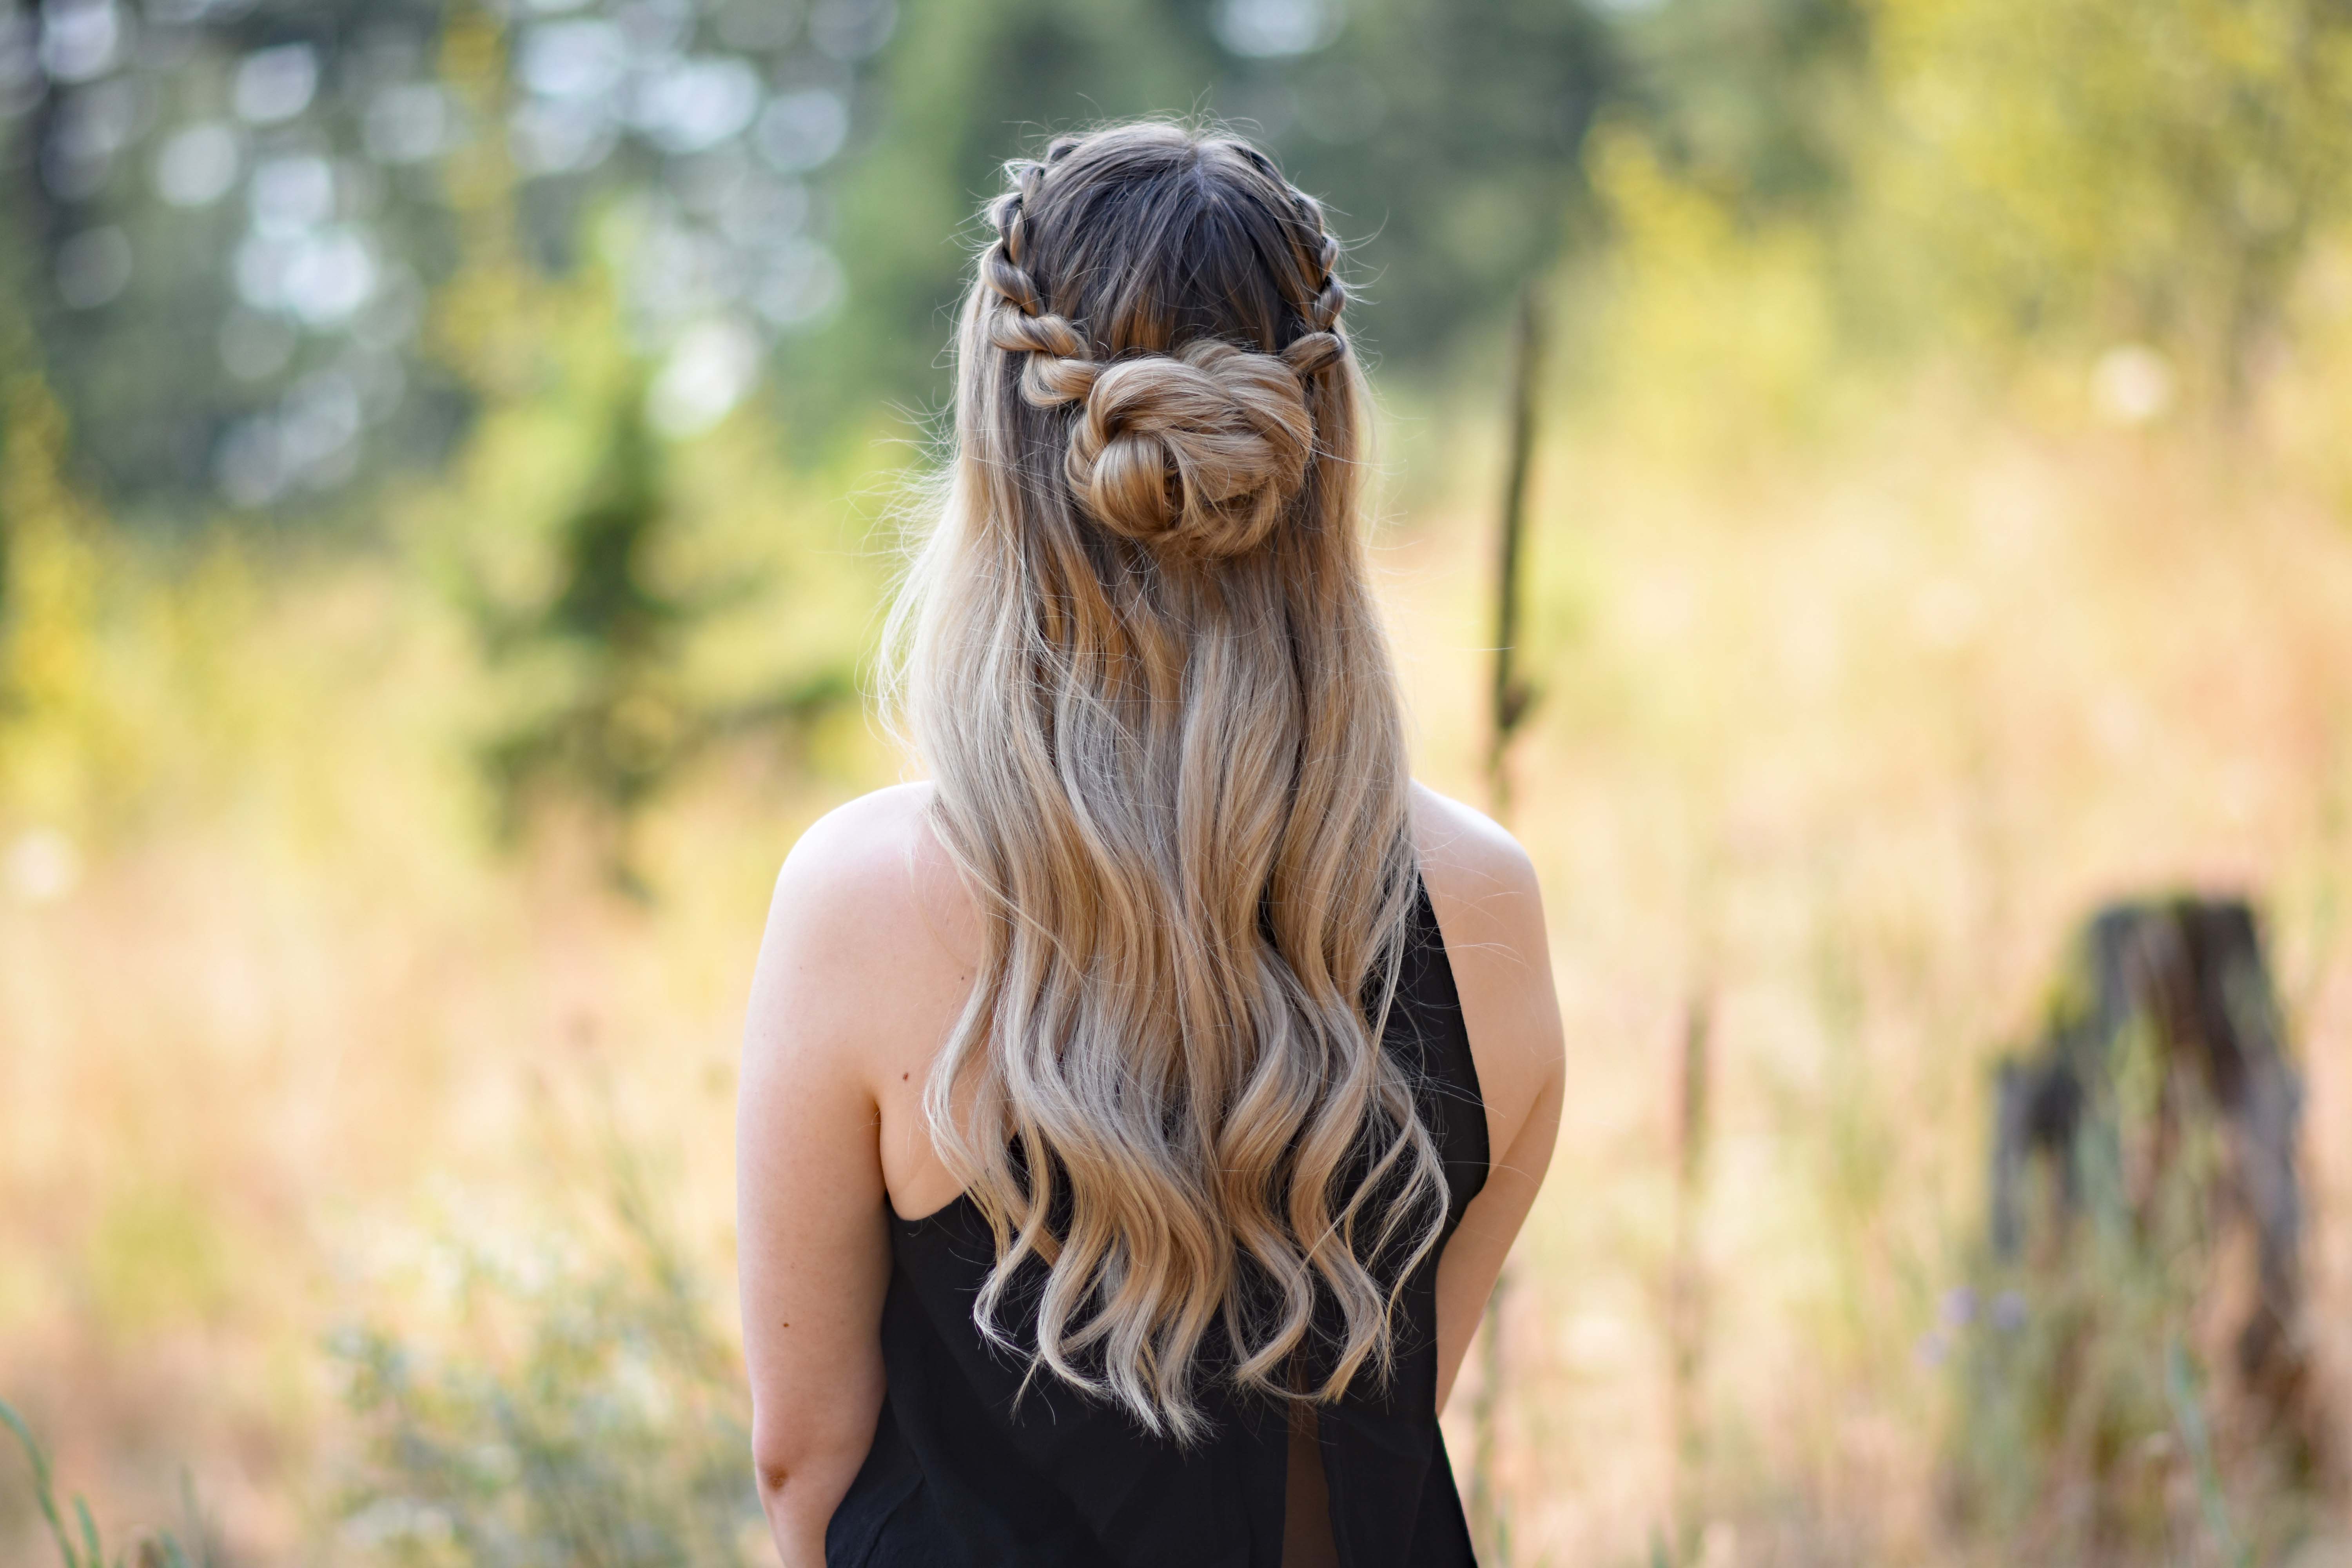
- With a middle part. Pick up a section of hair from the front of the head and divide into two pieces.
- Twist each piece down and then back together in the opposite direction.
- Pick up new hair and add to your 2 pieces.
- Again, twist each piece down and then back together in the opposite direction.
- This time, only add new hair to the top strand of your rope twist. Twist each piece down and then back together in the opposite direction.
- Continue your rope twist until you reach the back of the head. At this point stop adding in new hair and finish the rope twist down a few extra stitches and secure temporarily with a pin or elastic.
- Repeat the same process on the opposite side of the head.
- Once you reach the back of the head with the second twist, combine it with the first twist and secure with a small elastic.
- Go back and pull on the edges of the rope twist to give it a little more volume.
- Divide your ponytail into two pieces and create a rope twist.
- Once you reach the bottom, go back and pancake the edges of your twist to create more volume. Secure your rope twist with a small elastic.
- Wrap the rope twist up and around itself to create a bun and secure with bobby pins.
- Go back and pull on any edges if they need to be adjusted. Finish with hairspray {if desired}.
Twisted Dutch Braid Ponytail
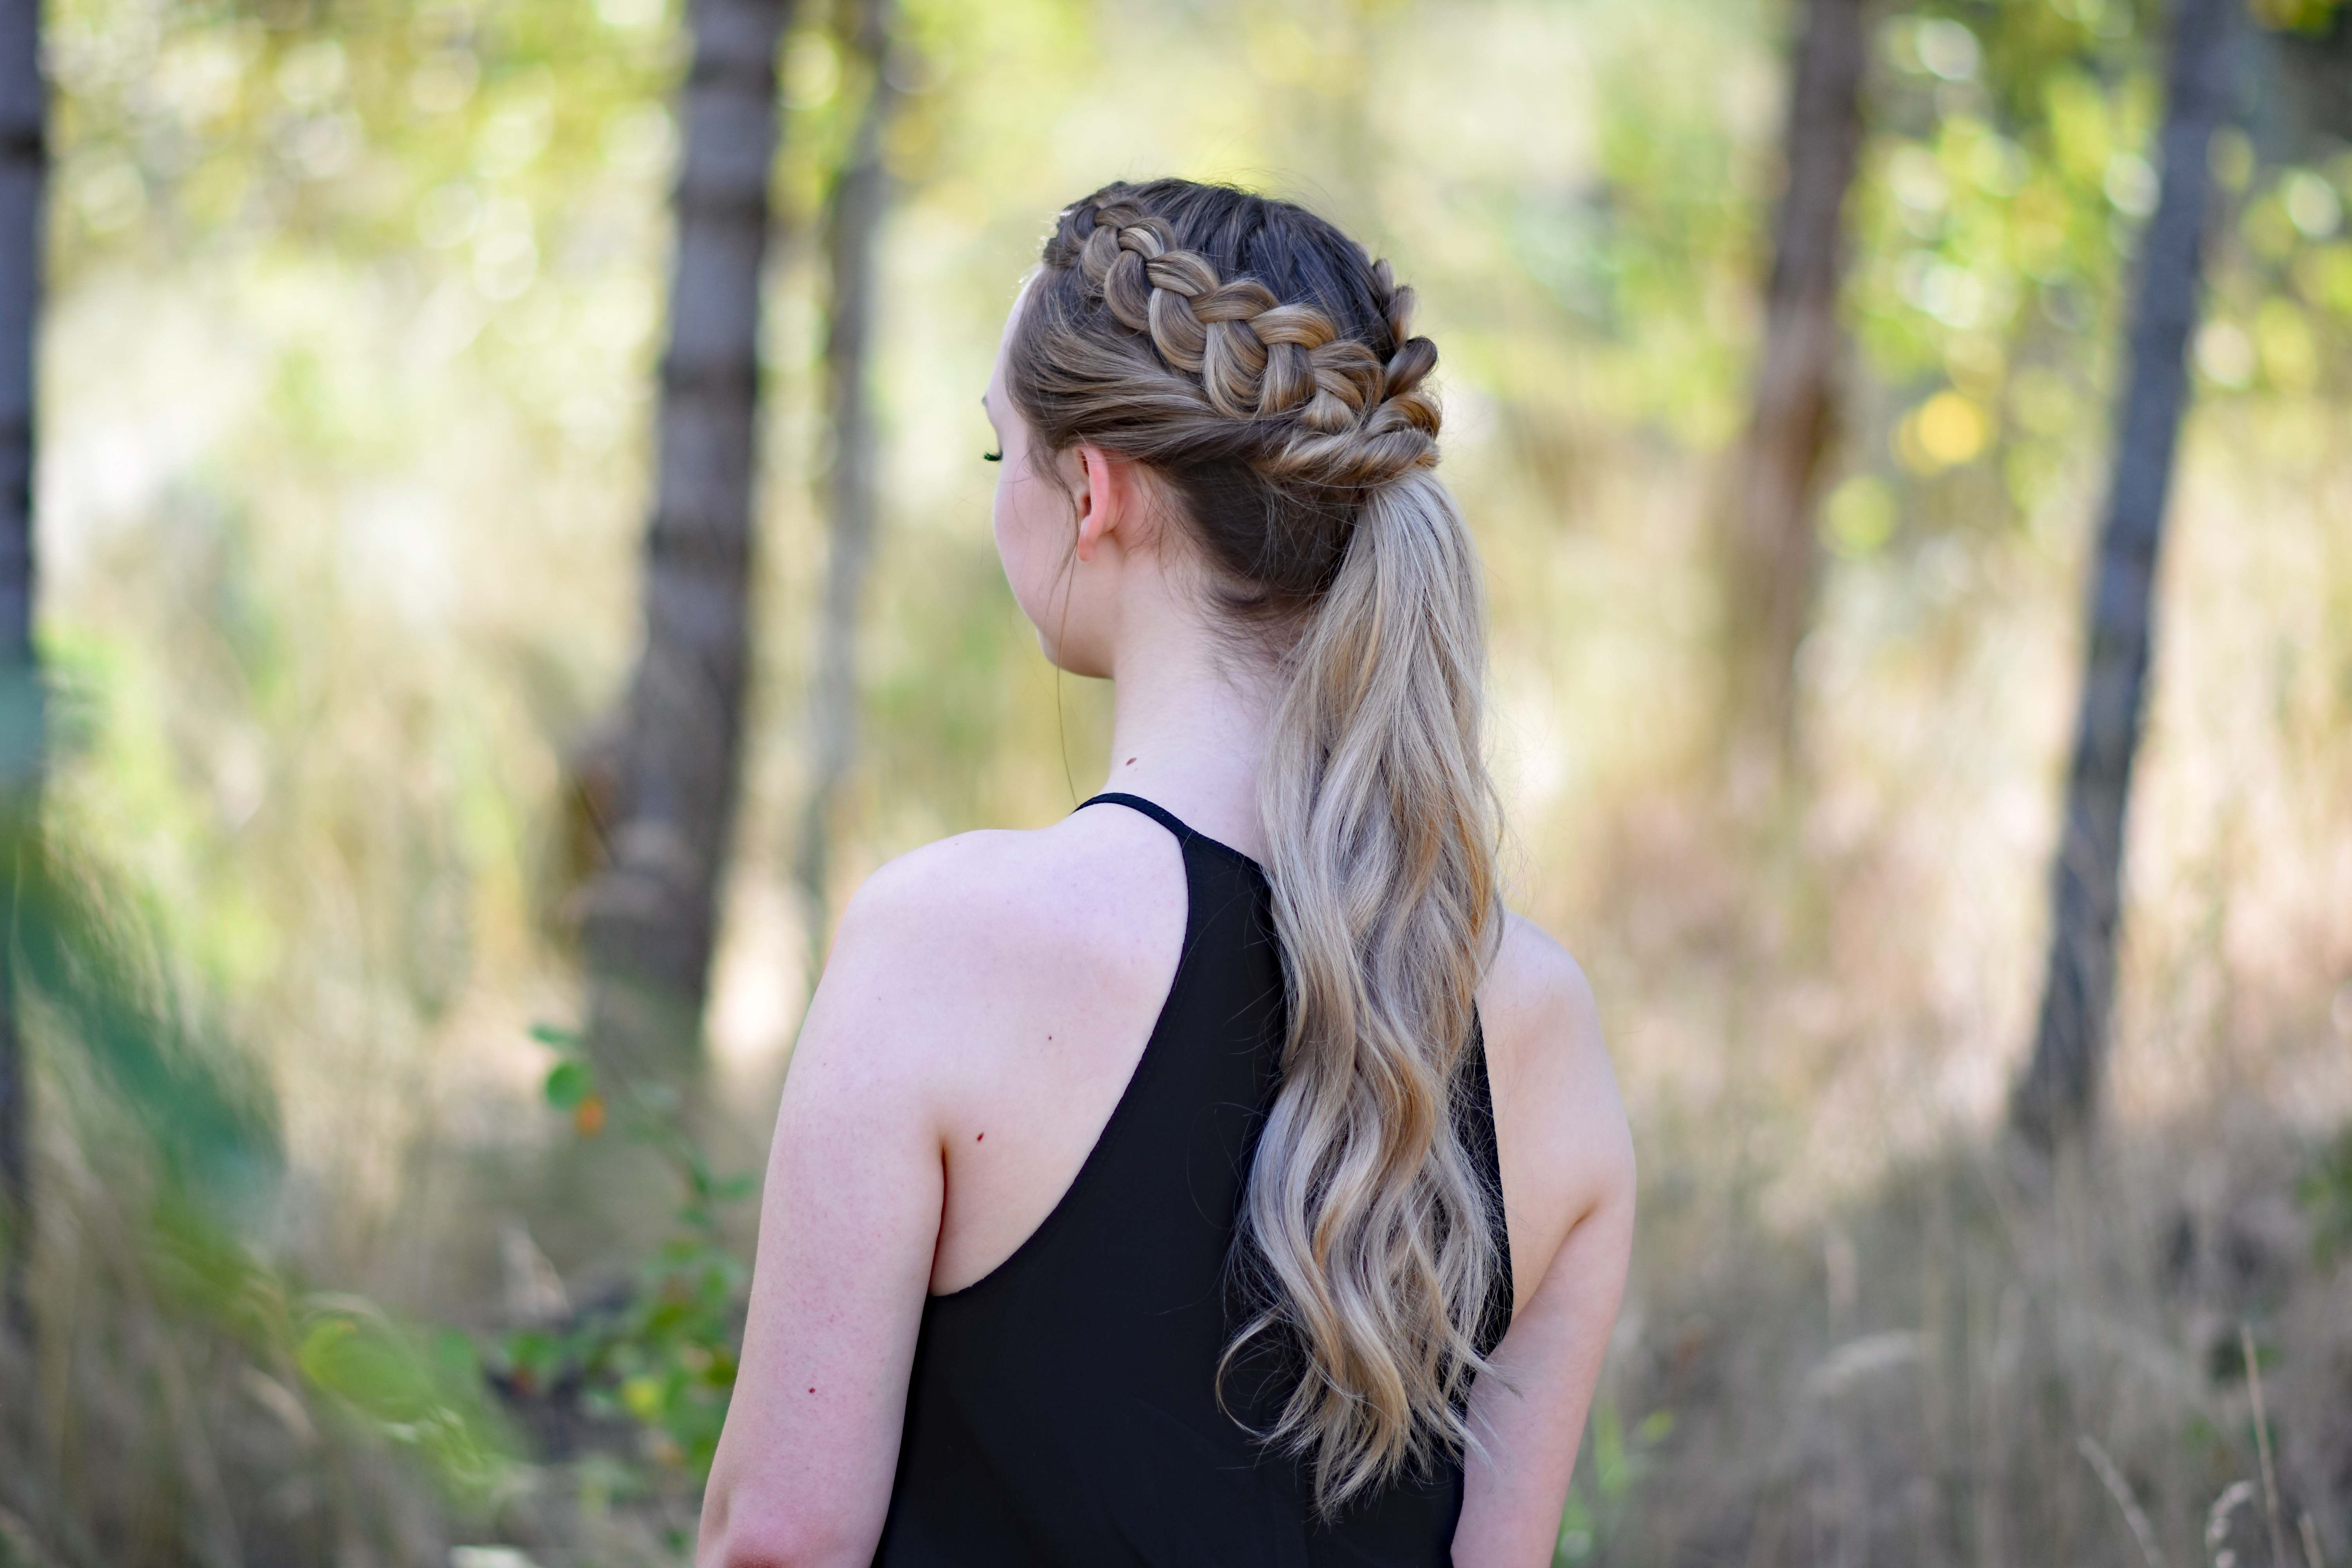
- With a middle part, pick up a small section of hair from the front and divide into 3 pieaces.
- Take the top piece and cross it under the middle piece. Take the front pieces and cross under the middle piece.
- For this stitch, pick a small piece of hair and add to the top section before crossing under the middle.
- Pick up a small piece of hair and add to the bottom section before crossing under the middle.
- Keep adding new hair to the outside pieces for a couple more stitches and then stop adding in new hair to the bottom piece. This creates a dutch lace braid.
- Continue a dutch lace braid until you reach the back of the head. Go back and tug on the edges of your braid to create more volume.
- Secure your braid temporarily with a bobby pin or small elastic.
- Repeat the dutch lace braid on the other side of your head.
- Once you reach back of your head with the second braid, combine them together and secure with a small elastic.
- Section off the hair from each side behind the ears. Pick up the middle section and create a ponytail, secure with a regular elastic.
- Pick up one of the remaining front sections and twist backward. Wrap your twist up and around your ponytail then secure together with your ponytail with small elastic.
- Go back and carefully pull on the edges of your twist to soften it.
- Repeat the twist on the other side only this time wrap your twist around the ponytail twice to hide all of your elastics. Secure with a small elastic.
Fishtail Top Knot
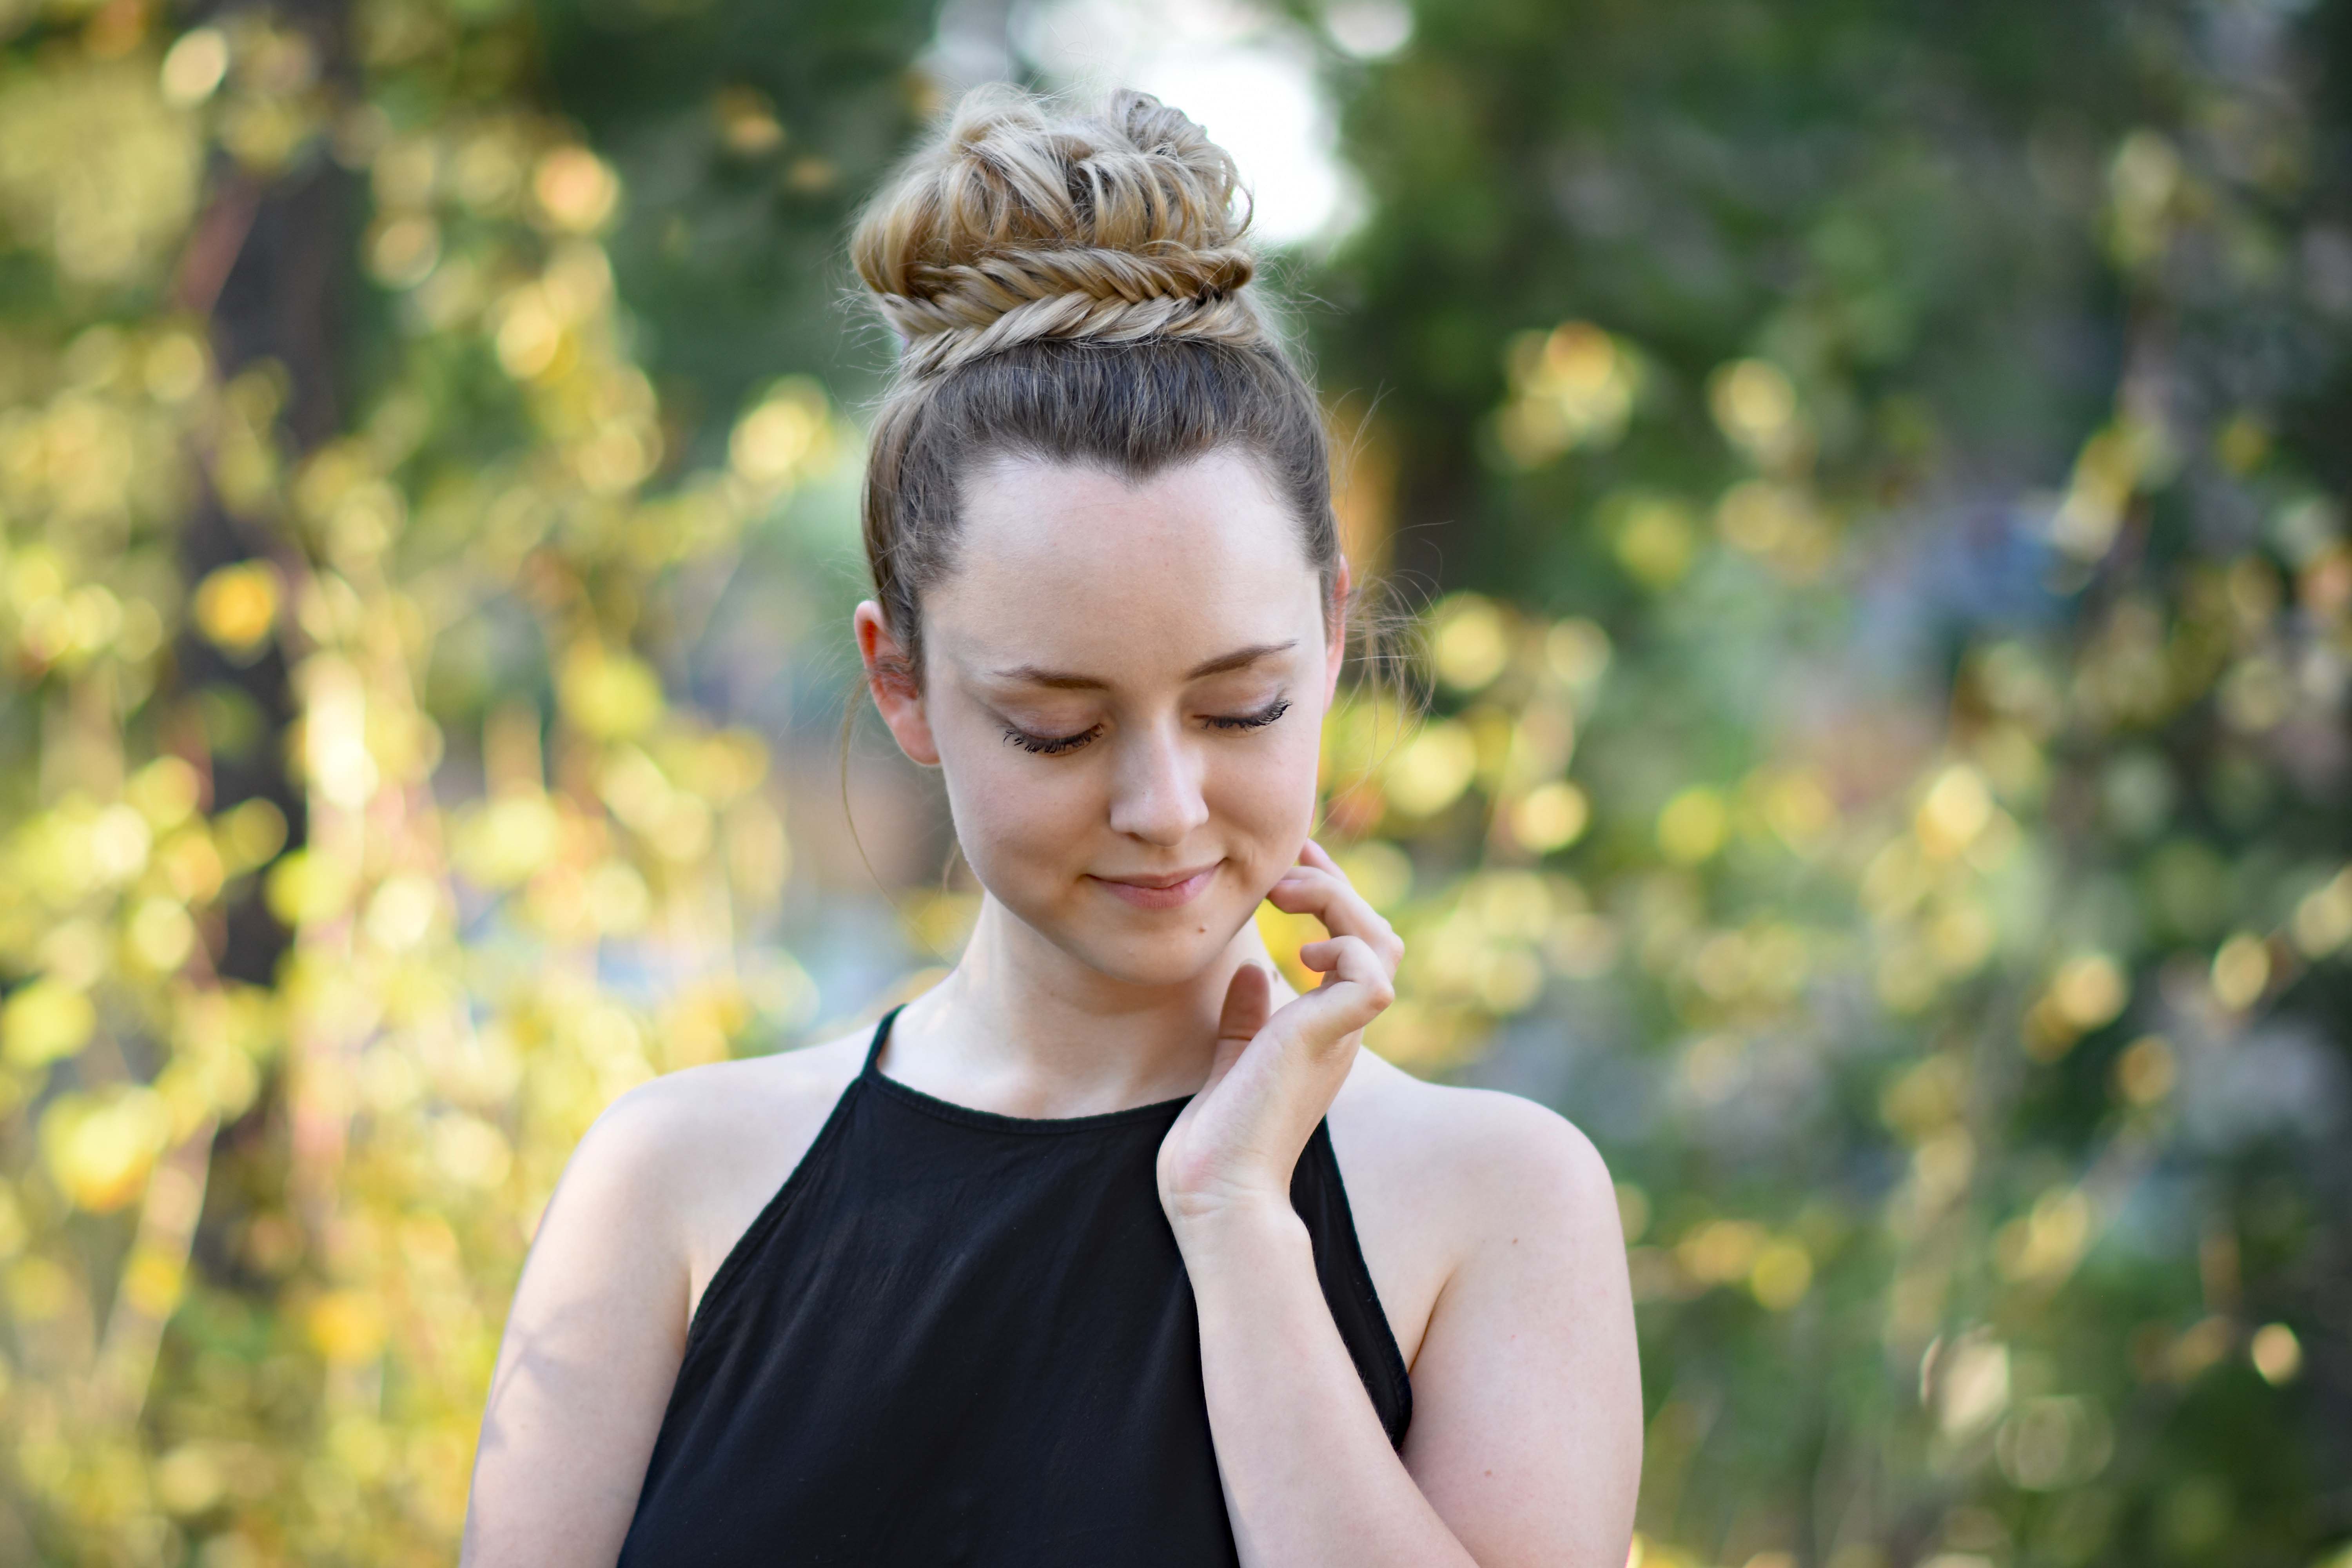
- Start by spraying and working in a little dry shampoo to give you hair a little added texture.
- Pull all of your hair up into a high ponytail and secure with an elastic. (My ponytail was up on top of the head)
- Take a section of hair from the ponytail (about 1/3) and divide into two pieces. Create a fishtail braid by a small piece from the outside of section 1 and cross under adding to section 2. Pick up a small piece from the outside of section 2, cross it under and add to section 1.
- Continue your fishtail all the way down to the end of your hair and secure with a small elastic.
- Take the remaining hair and divide into two sections. Pick up one section and twist all the way down to the end. Take a small sliver of hair at the end and pull on it, sliding the rest of the hair up to the top of the head. Pull on the edges of the twist to adjust it and then secure with bobby pins.
- Pick up the last section of hair and repeat the twist & slide to create the second half of your bun. Secure with bobby pins.
- Pick up your fishtail braid, wrap it around your bun and secure with bobby pins.
- Finish with hairspray {if desired}.


Nice shades of hair..!!! love to try out this…!!!
Natural Hair Solutions
I think you are my hero blogger 🙂
http://salota.com/hairstyle-models-round-faces/
https://ramshakhawar.blogspot.com/2017/09/easy-to-do-hairstyles-for-girls-step-by.html