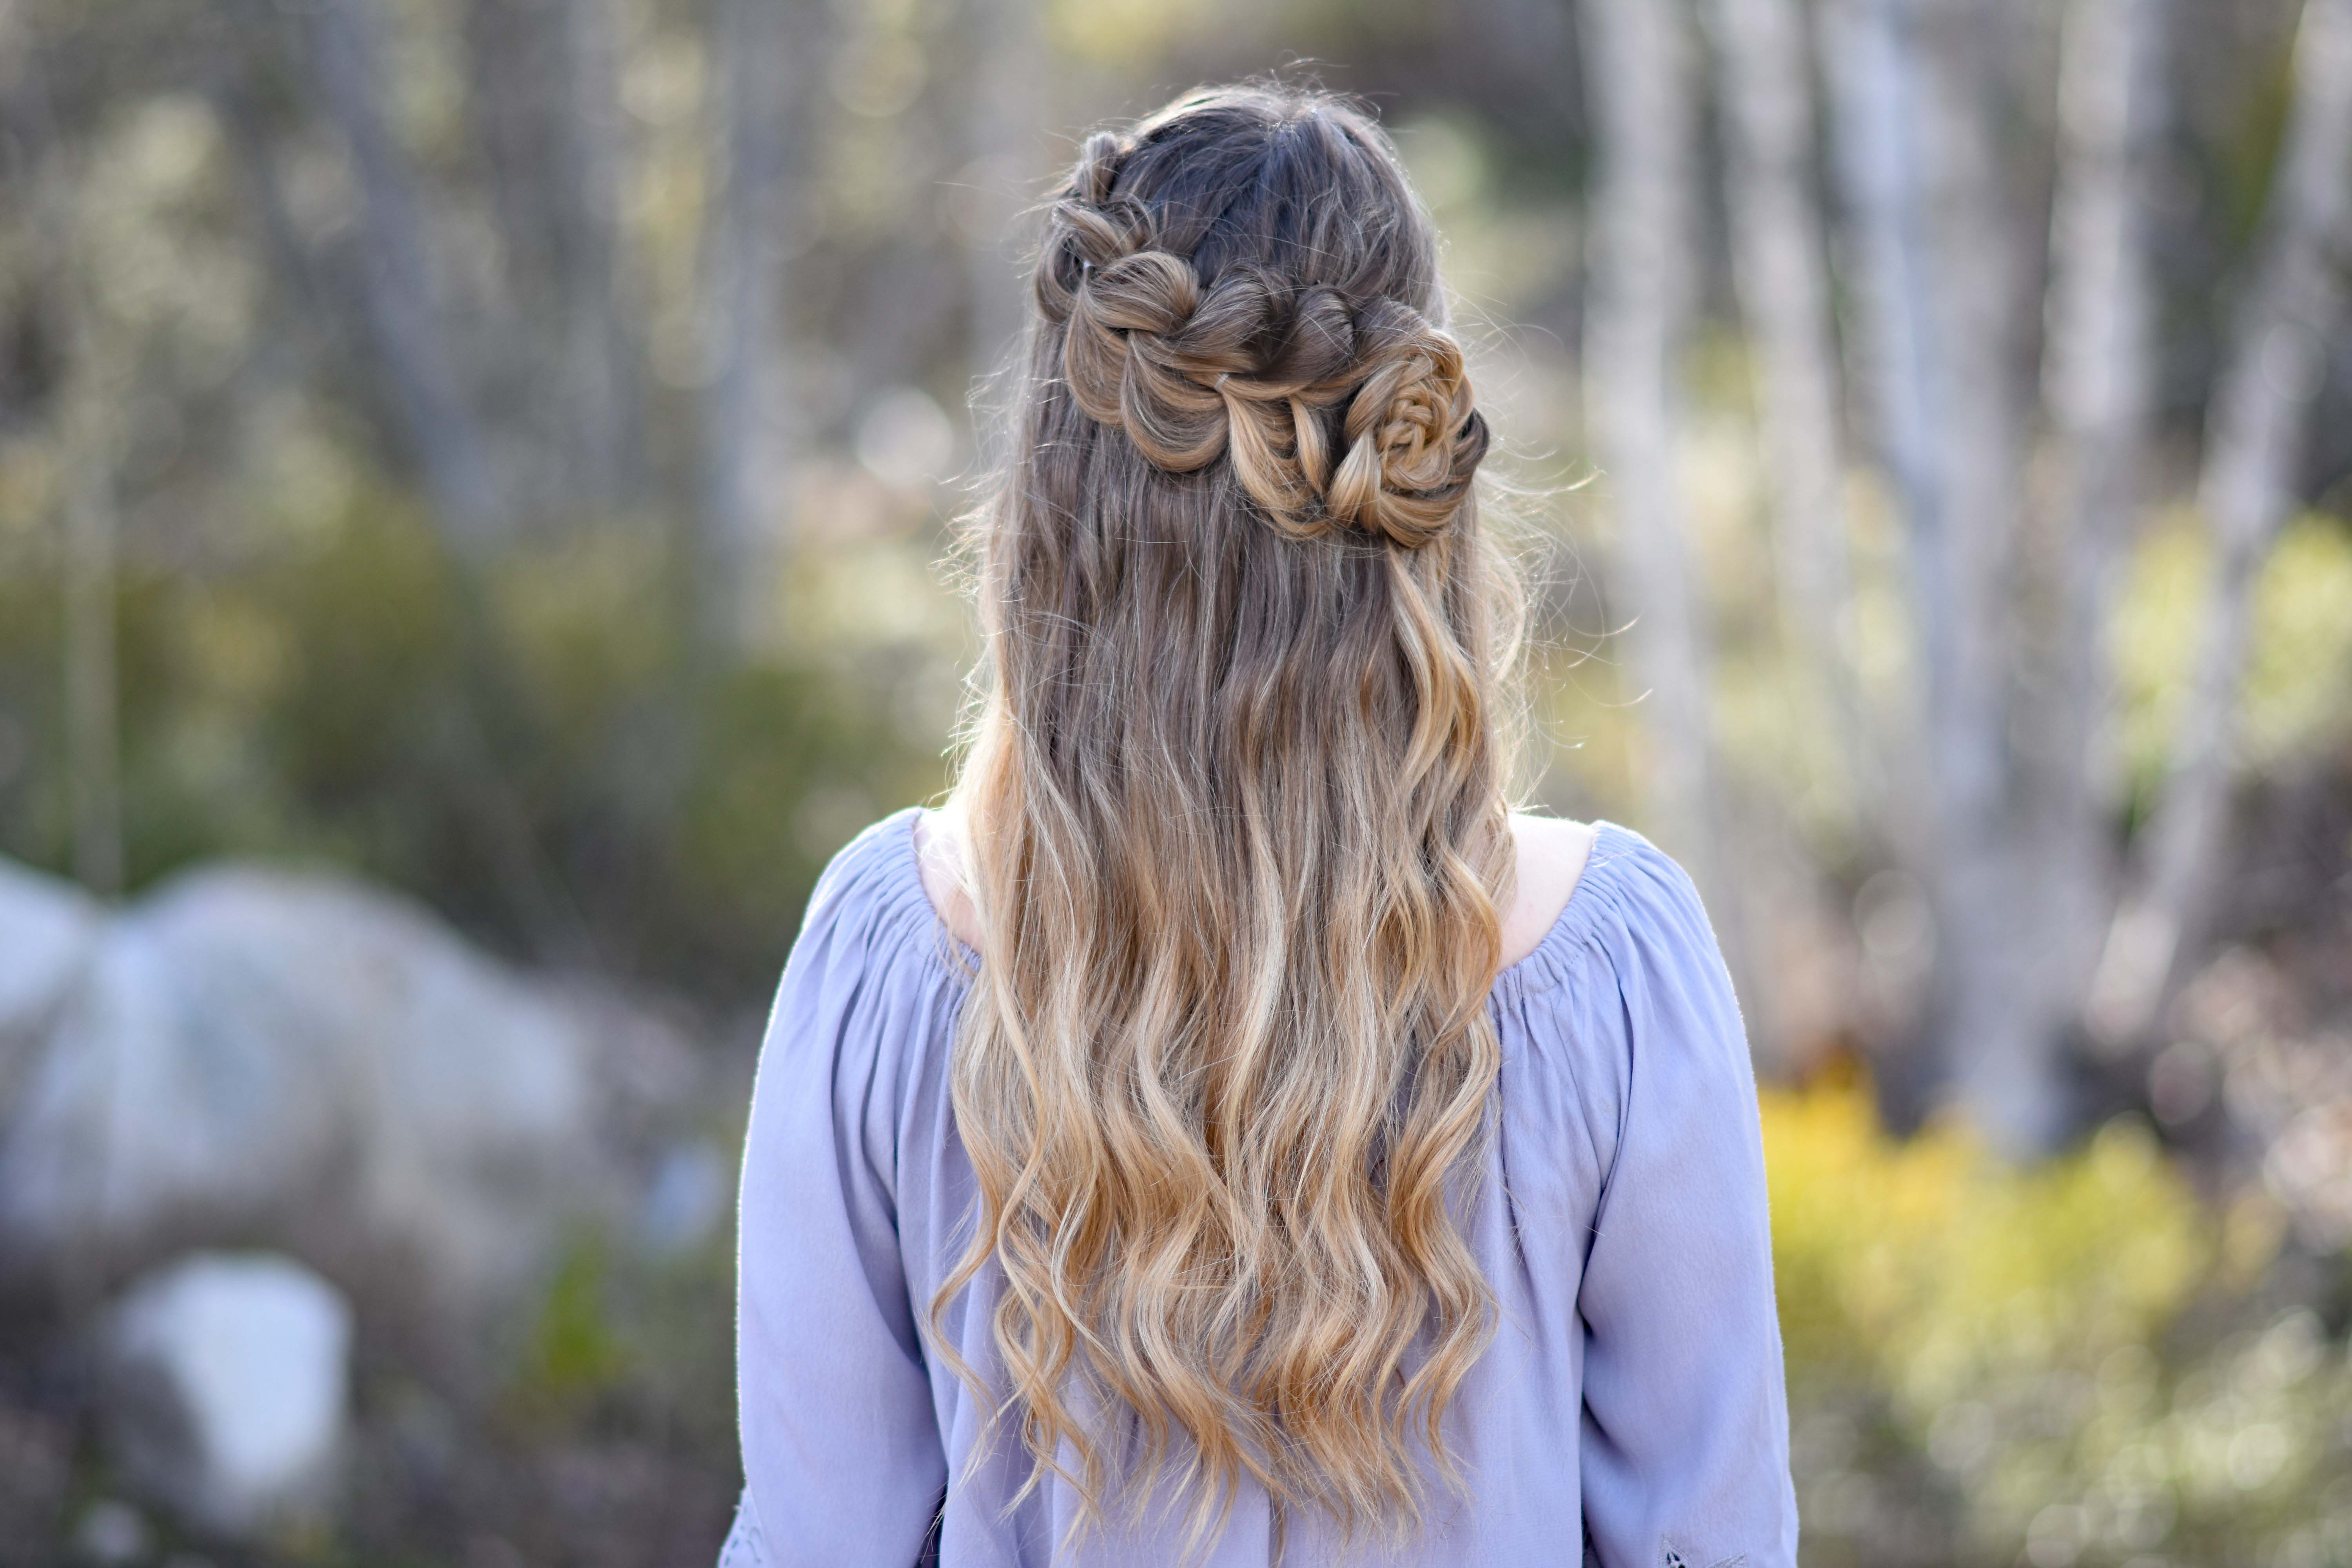
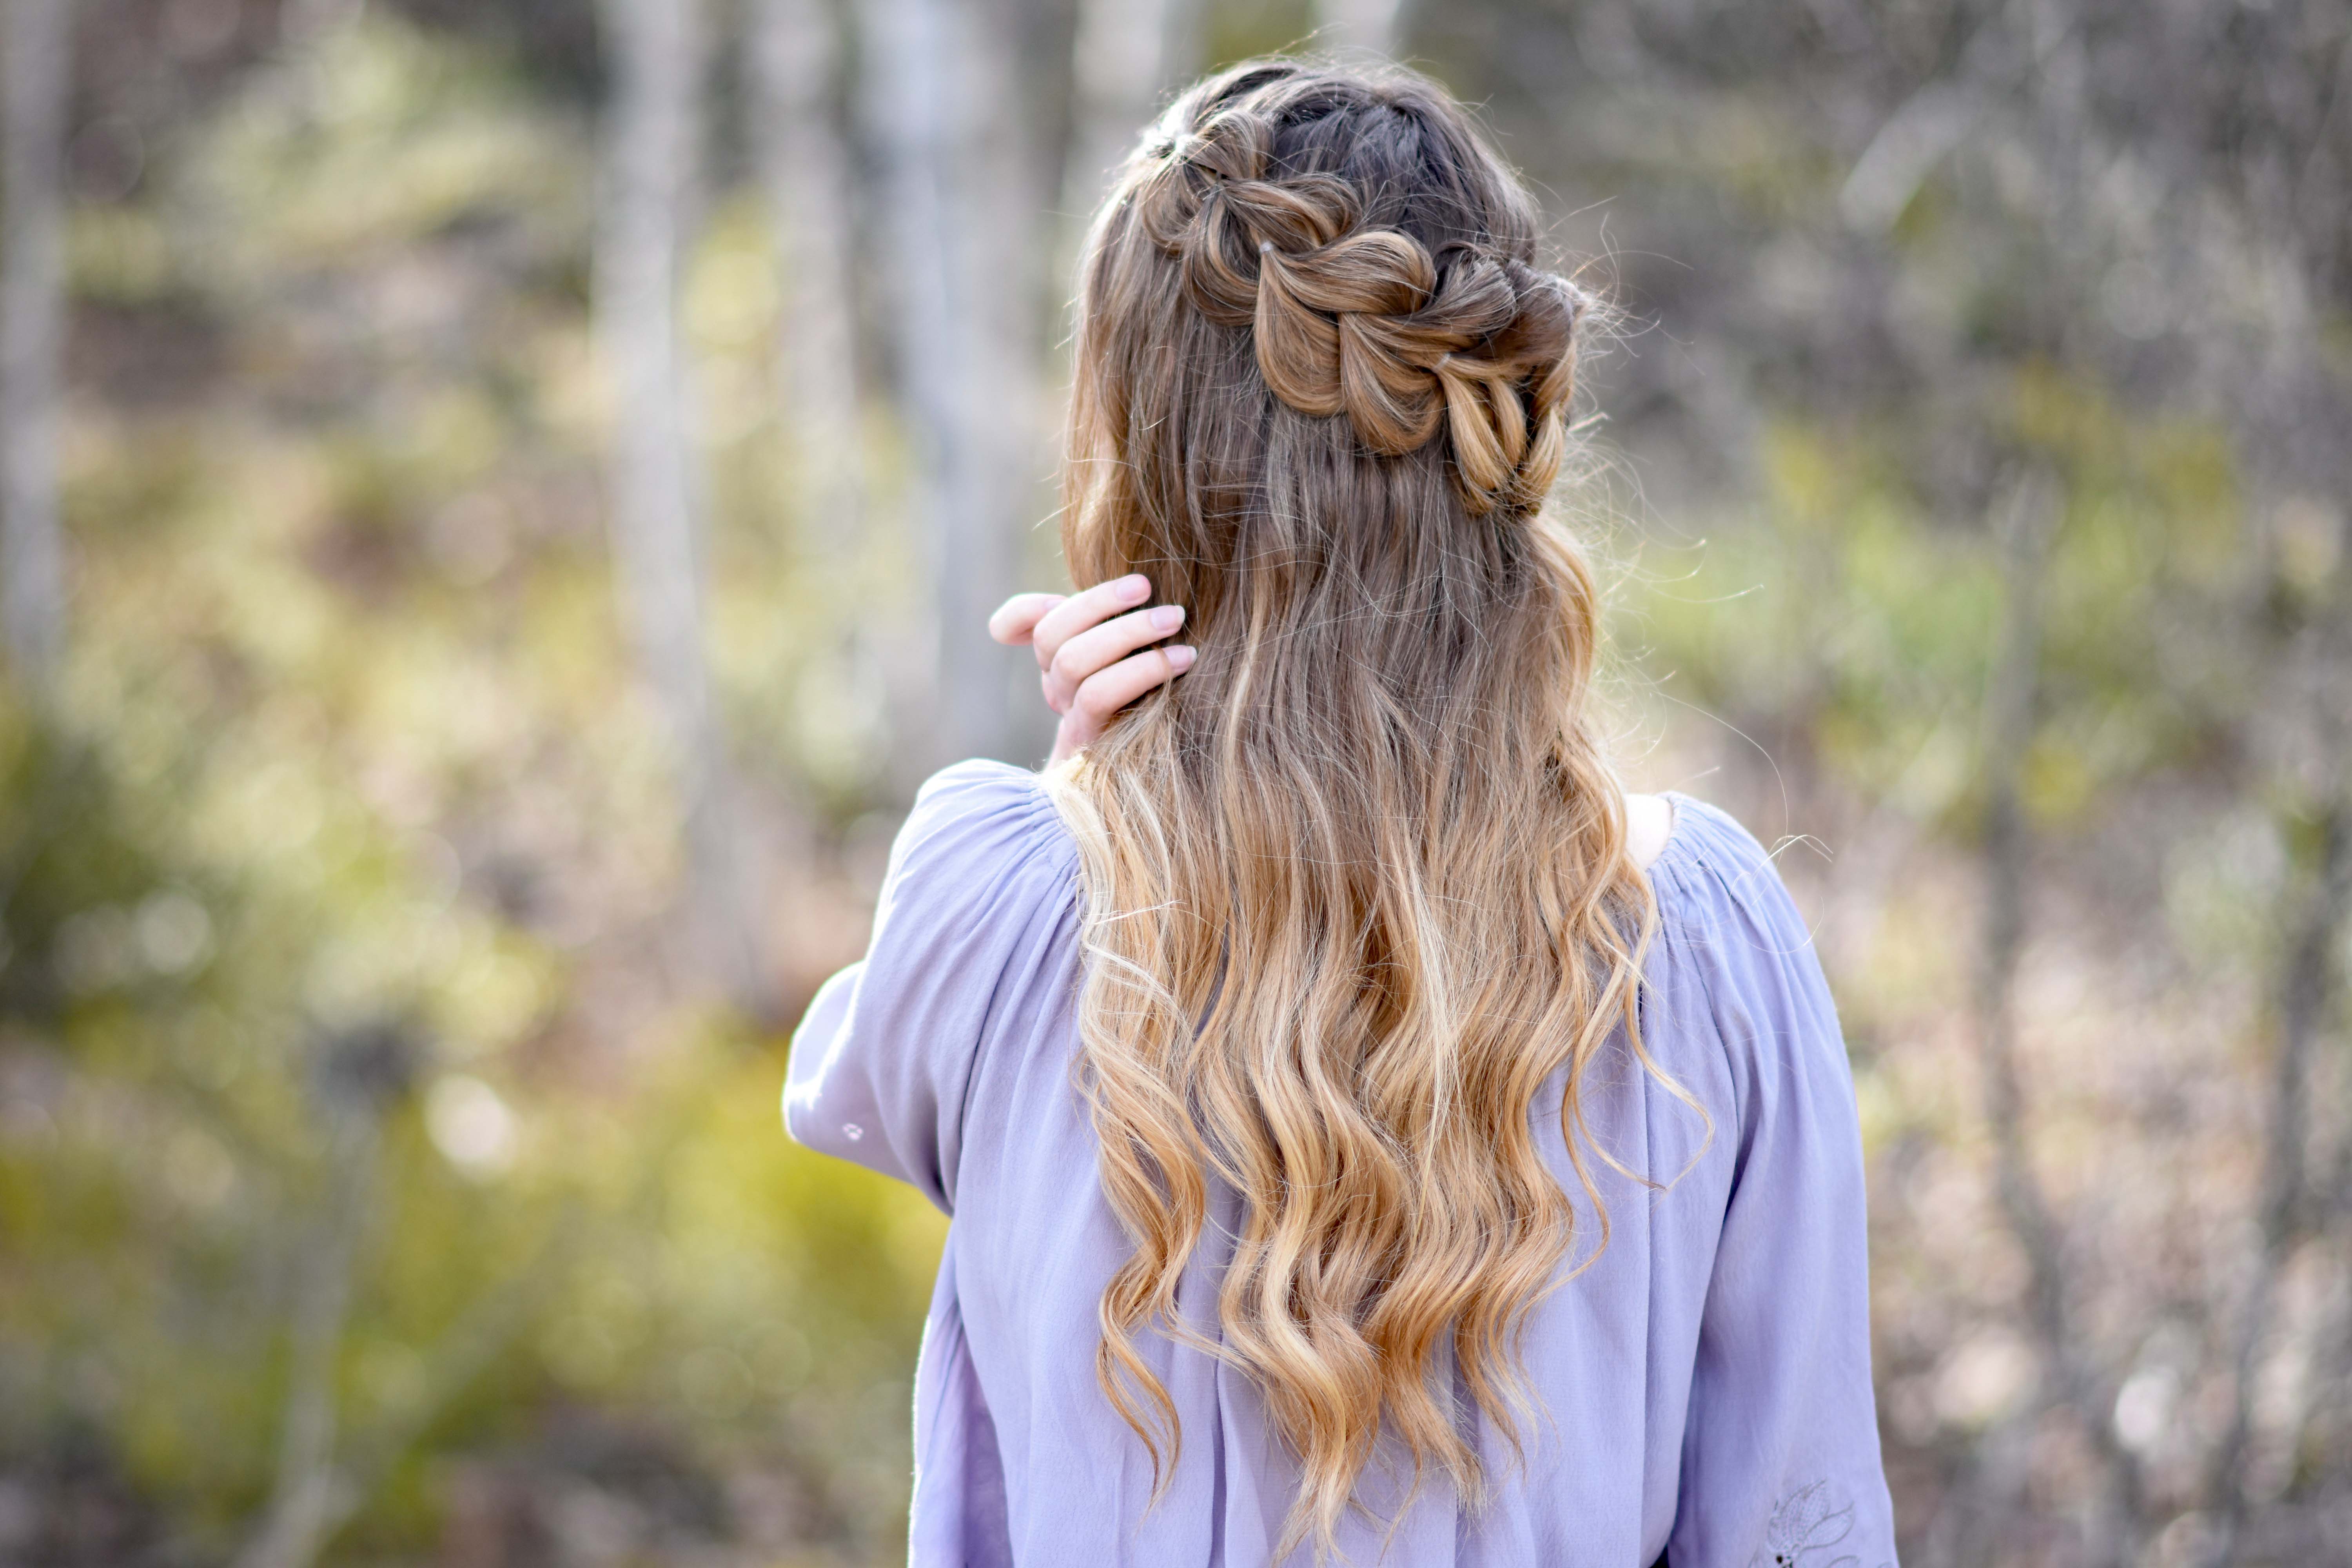
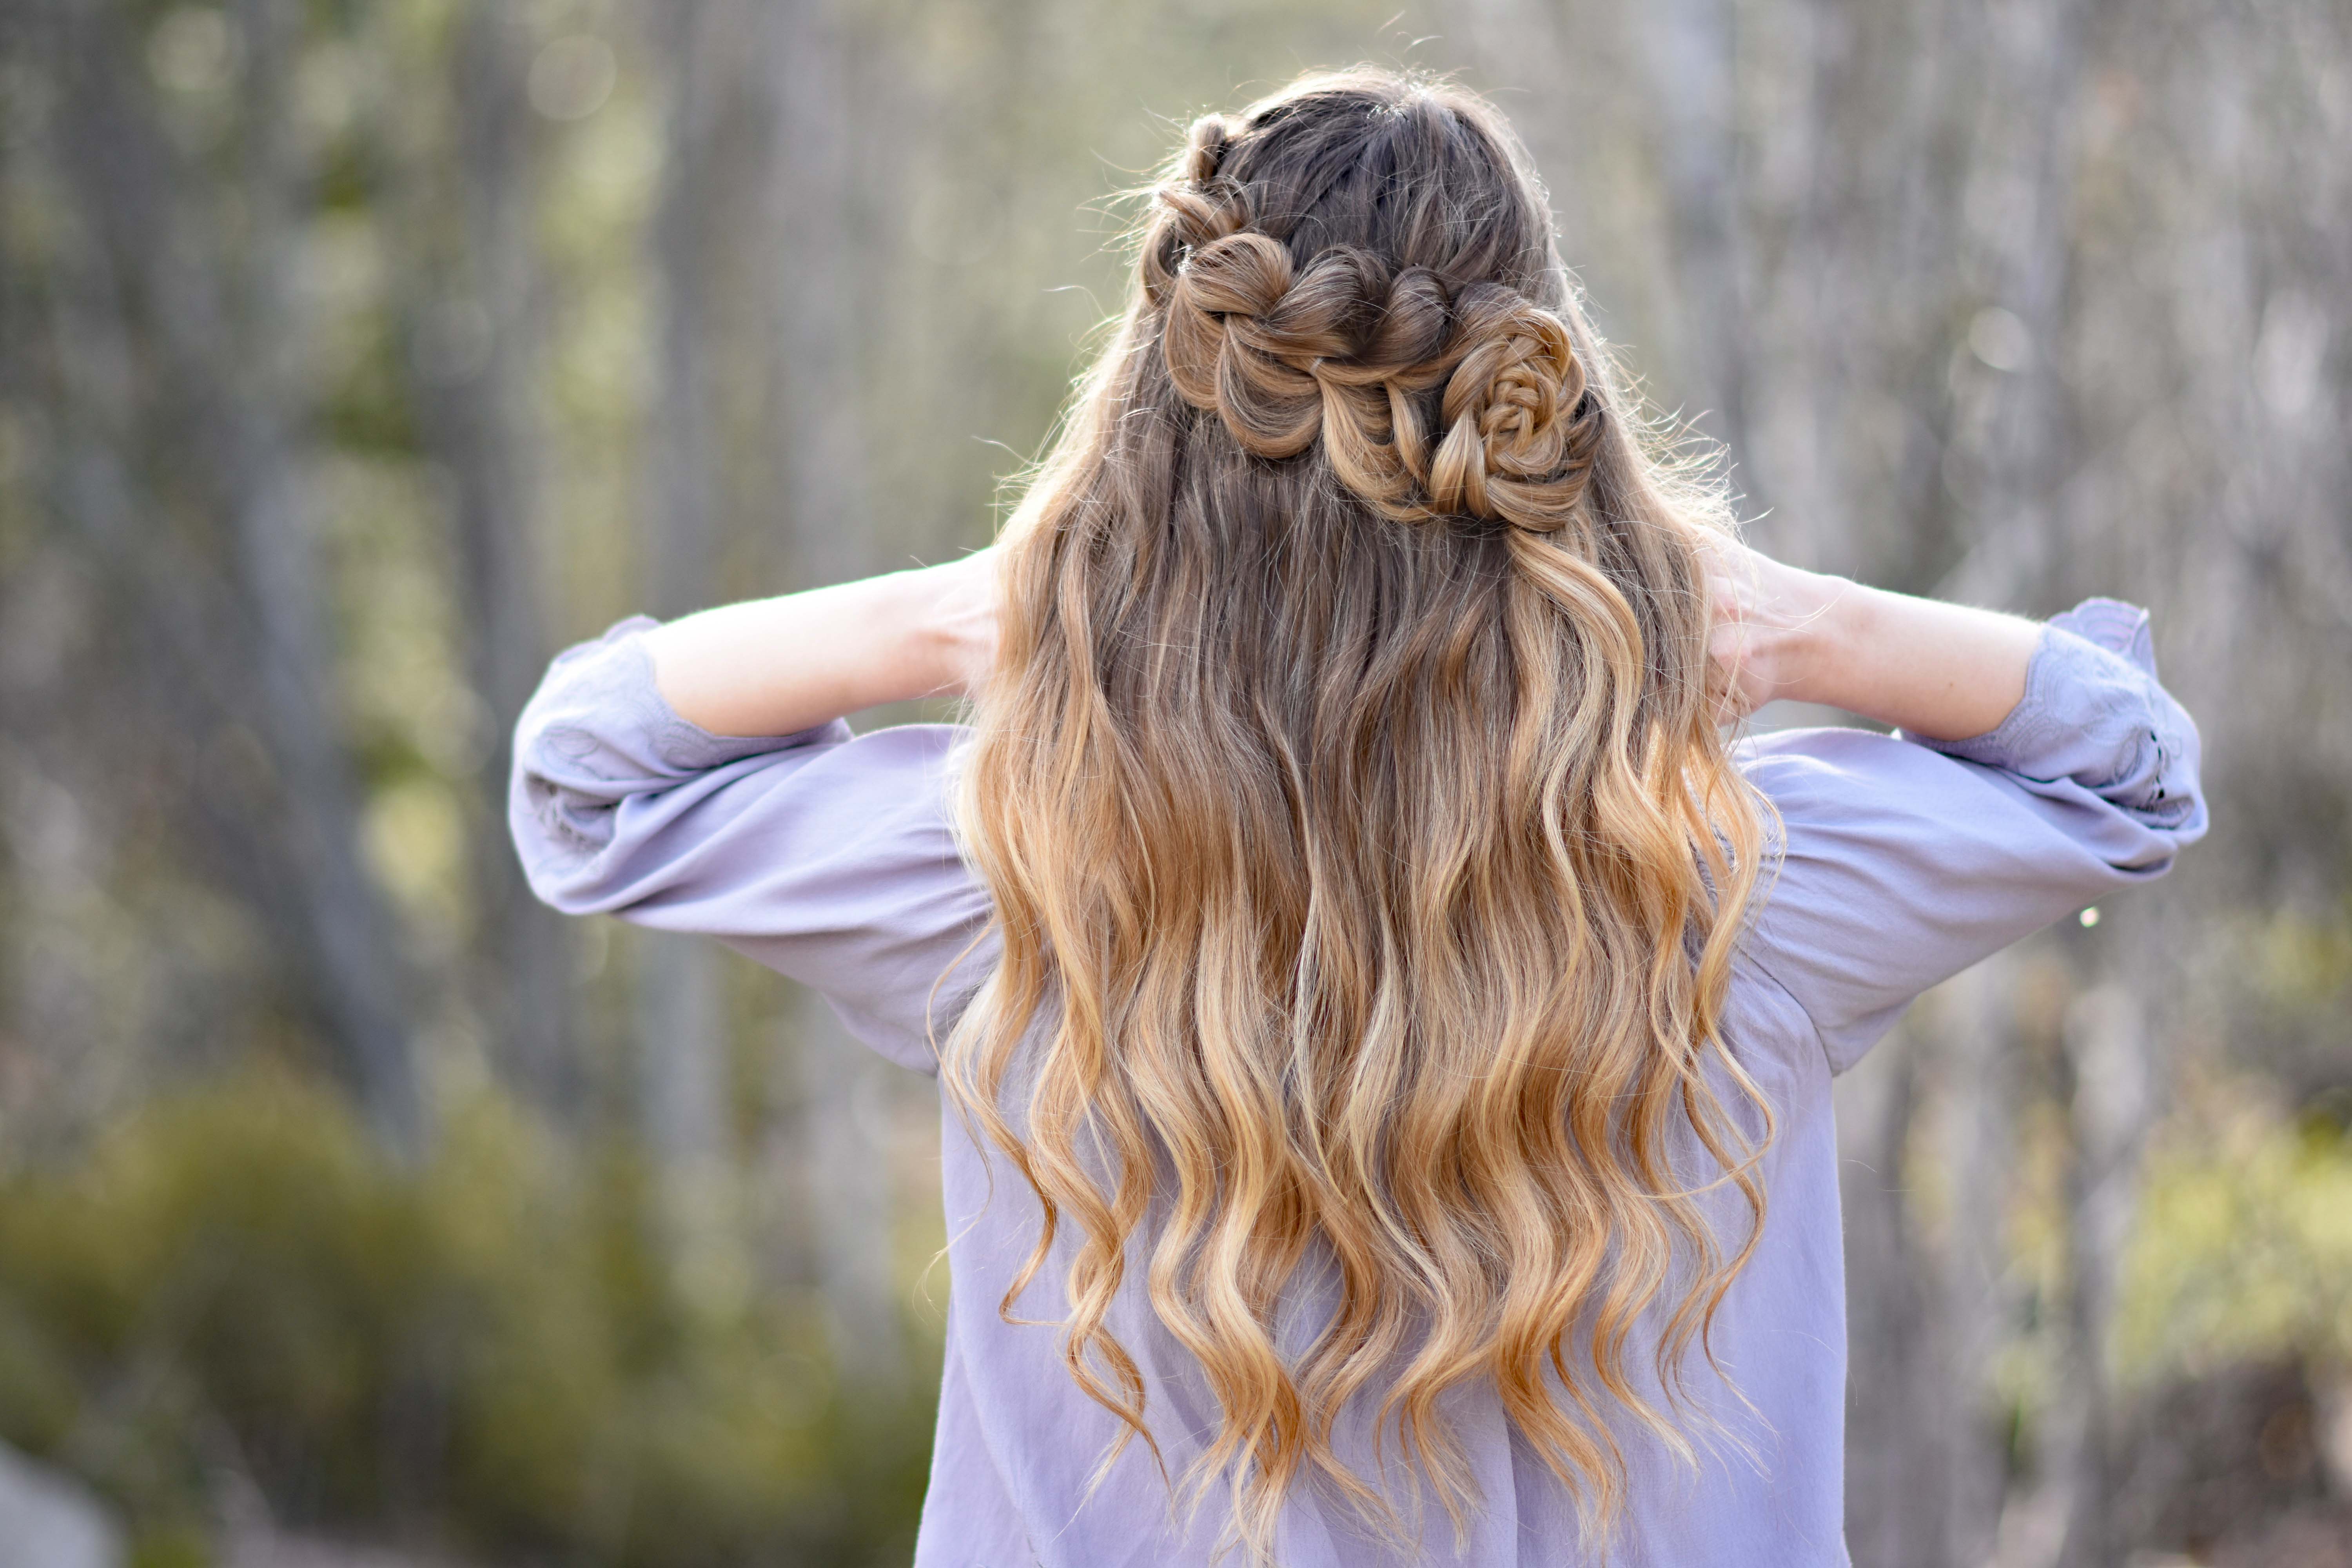

Are you in love with Pull Thru Braids as much as me? I can’t get enough of them! They are so simple but look seriously amazing. If you are a beginner, no worries. The pull thru is technically a faux braid, so it’s perfect if you don’t know how to braid. To see your own photo recreations of this style featured in our app, feel free to tag your photos on IG with: #CGHLacePullThruItems Needed: Brush, rat-tail comb, spray bottle, hair elastics, hairspray {if desired}.
Time Requirement: 5-10 minutes
Skill Level: Medium
Step-By-Step Instructions:
- I started with a slight side part. On the heavy side pick up a small section of hair in the front and secure into a ponytail with a small elastic.
- Now pick up another small section of hair just behind the first section and secure into a second ponytail with a small elastic.
- Pick up the first ponytail and split it into two pieces. Bring them back ward, placing ponytail number two in between them. Bring ponytail number two forward and clip out of the way temporarily.
- Join the two pieces from ponytail number one behind ponytail number two, add in some new hair from the top and secure with a small elastic.
- Release #2 you clipped aside. Divide into two pieces, bring ponytail behind in between the two pieces and clip out of the way temporarily. Join the two pieces and some new hair from the top and secure with a small elastic.
- After a couple of stitches, go back and pull on the edges of your bubbles to create more volume.
- Repeat these steps until you reach to opposite side of the head (back).
- If any of your pull thru edges on top are drooping, you can go back and pin them down with a bobby pin. (See more details in video above)
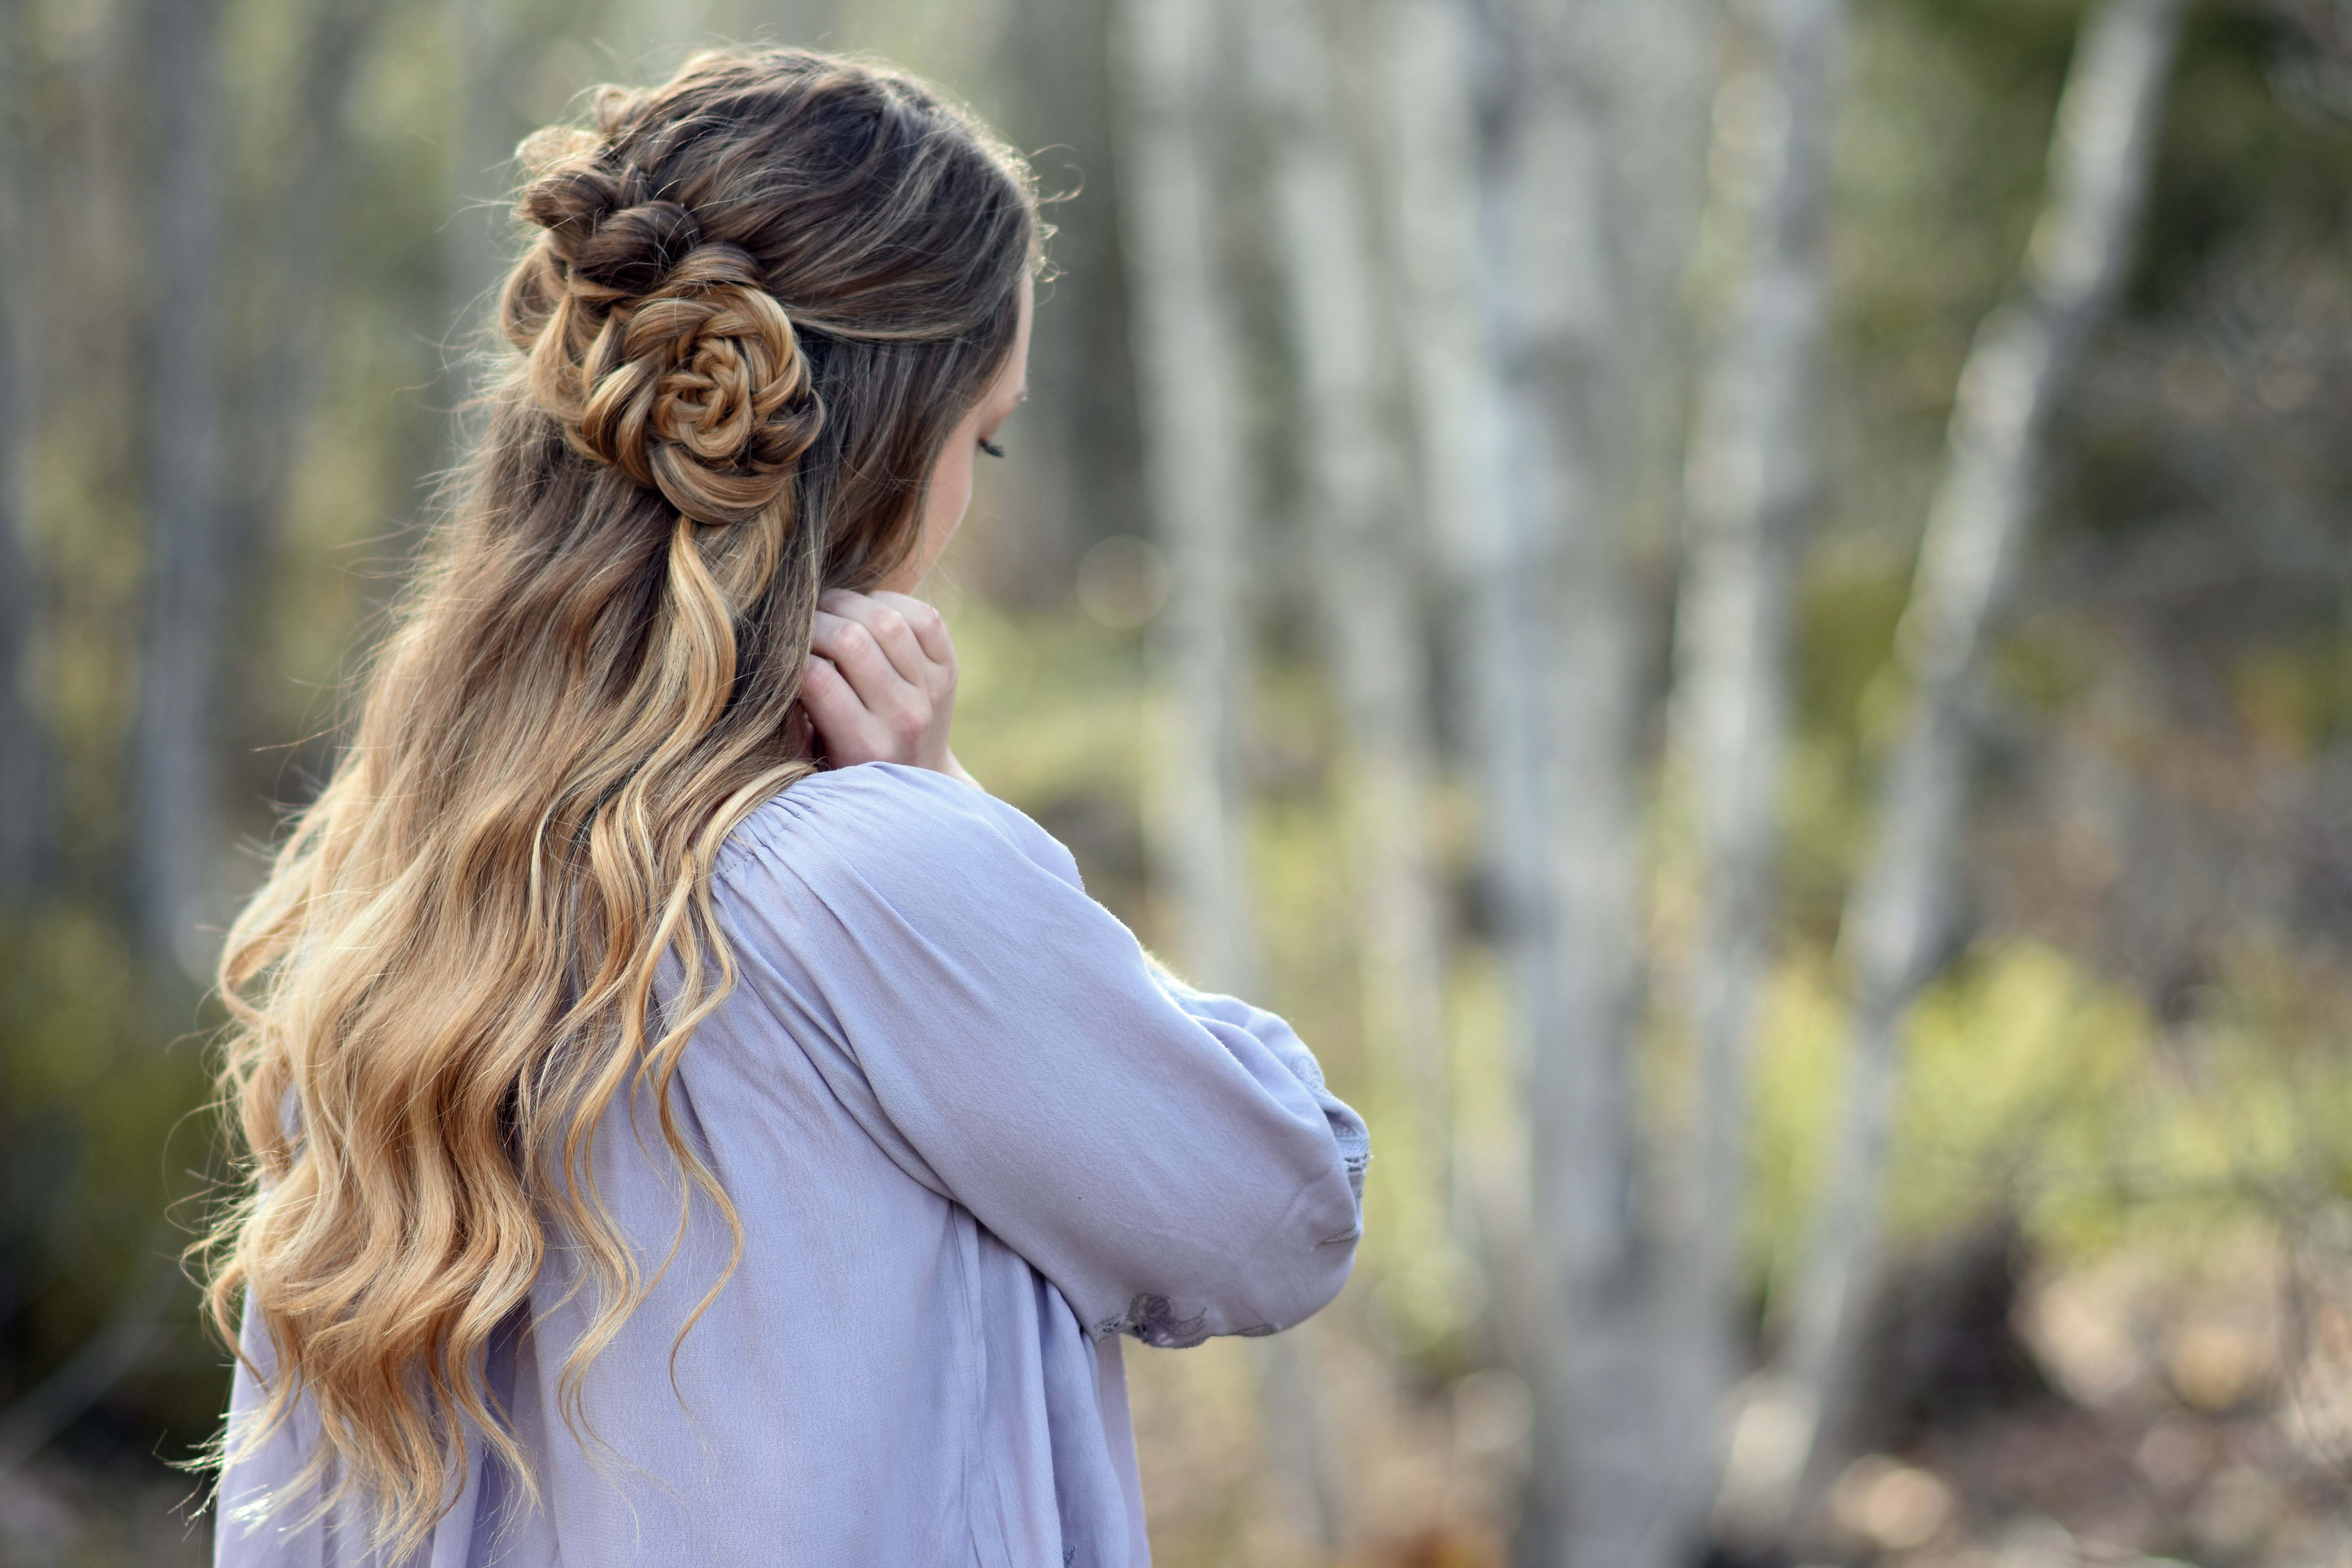
- You can end the style here OR add a cute rosette bun.
- To create the rosette bun, pick up the back ponytail and create a regular three strand braid.
- Go back and pancake/pull the edges of one side of your braid.
- Secure the end of your braid with a small elastic.
- Begin rolling your braid from the bottom. Roll your rose with the pulled edge on the outside.
- Once you have rolled all the way up, place your rosette so it hide the last elastic of your pull thru and secure with bobby pins.
- Finish with hairspray {if desired}.
This week on Brooklyn & Bailey… “Slip-n-Slide Gymnastics” with Annie from the Braytayleys!
This week on Kamri Noel... “Easy Fidget Spinner Tricks” for Beginners!


Hi ! You have done good work. Your post on braided hairstyle is nice. I want some more information on Braided Hairstyles For Men