We first posted our original hair-wrapped bubble fishtail back in 2011. We then showed you a banded bubble fishtail just a few months ago. When we saw this “no-band” version by N.Starck on Instagram, we just had to share it {We discovered her a little over a year ago, and have featured her hairstyles on there a few times now.} So many of our viewers asked for a tutorial for this, so we decided to upload it for you this week!
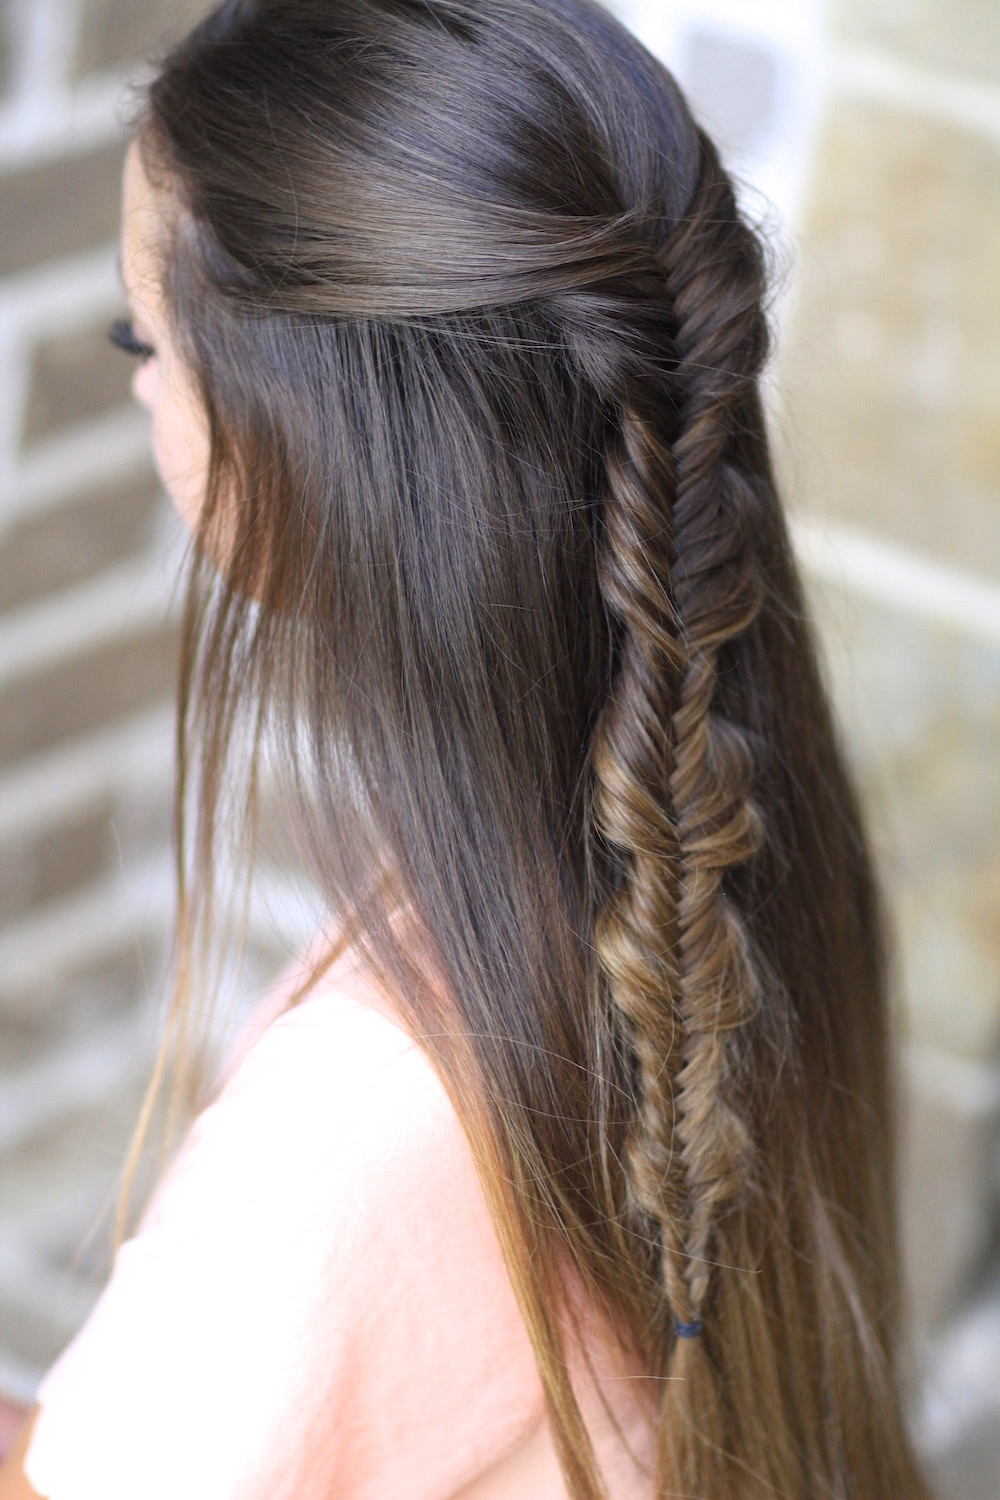
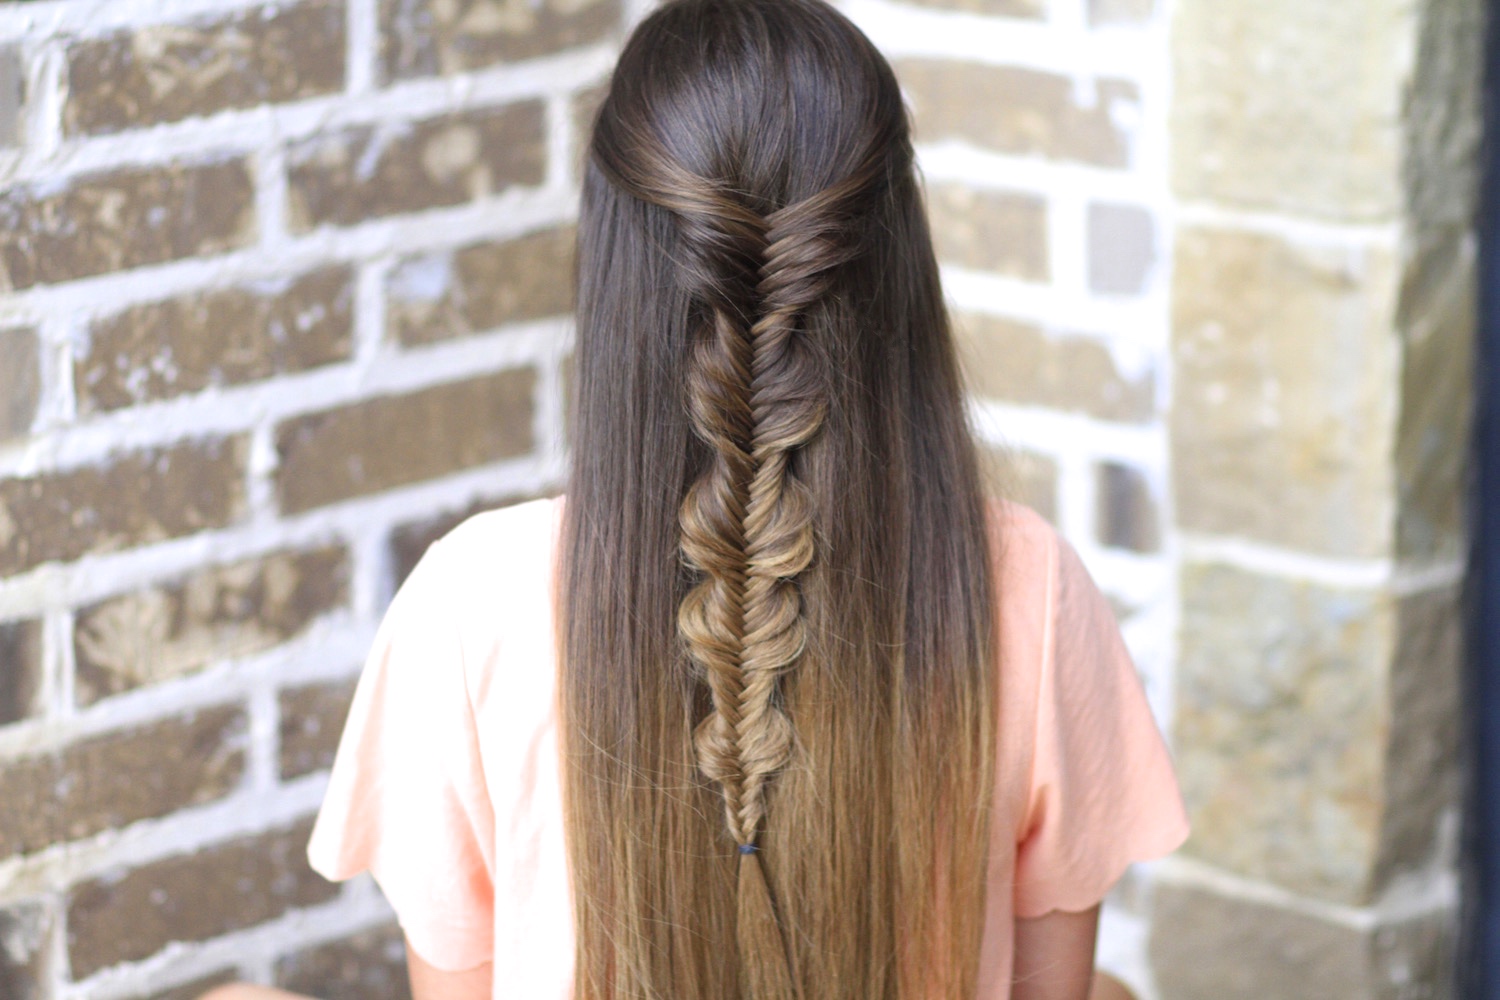 What is so unique about this bubble braid is that there aren’t any rubber bands needed to keep the bubble sections formed! it is a natural-looking free-form braid leaving people wondering how you did it!
To see your own photo recreations of this style featured in our app, feel free to tag your photos on IG with: #CGHBubbleFishtail2
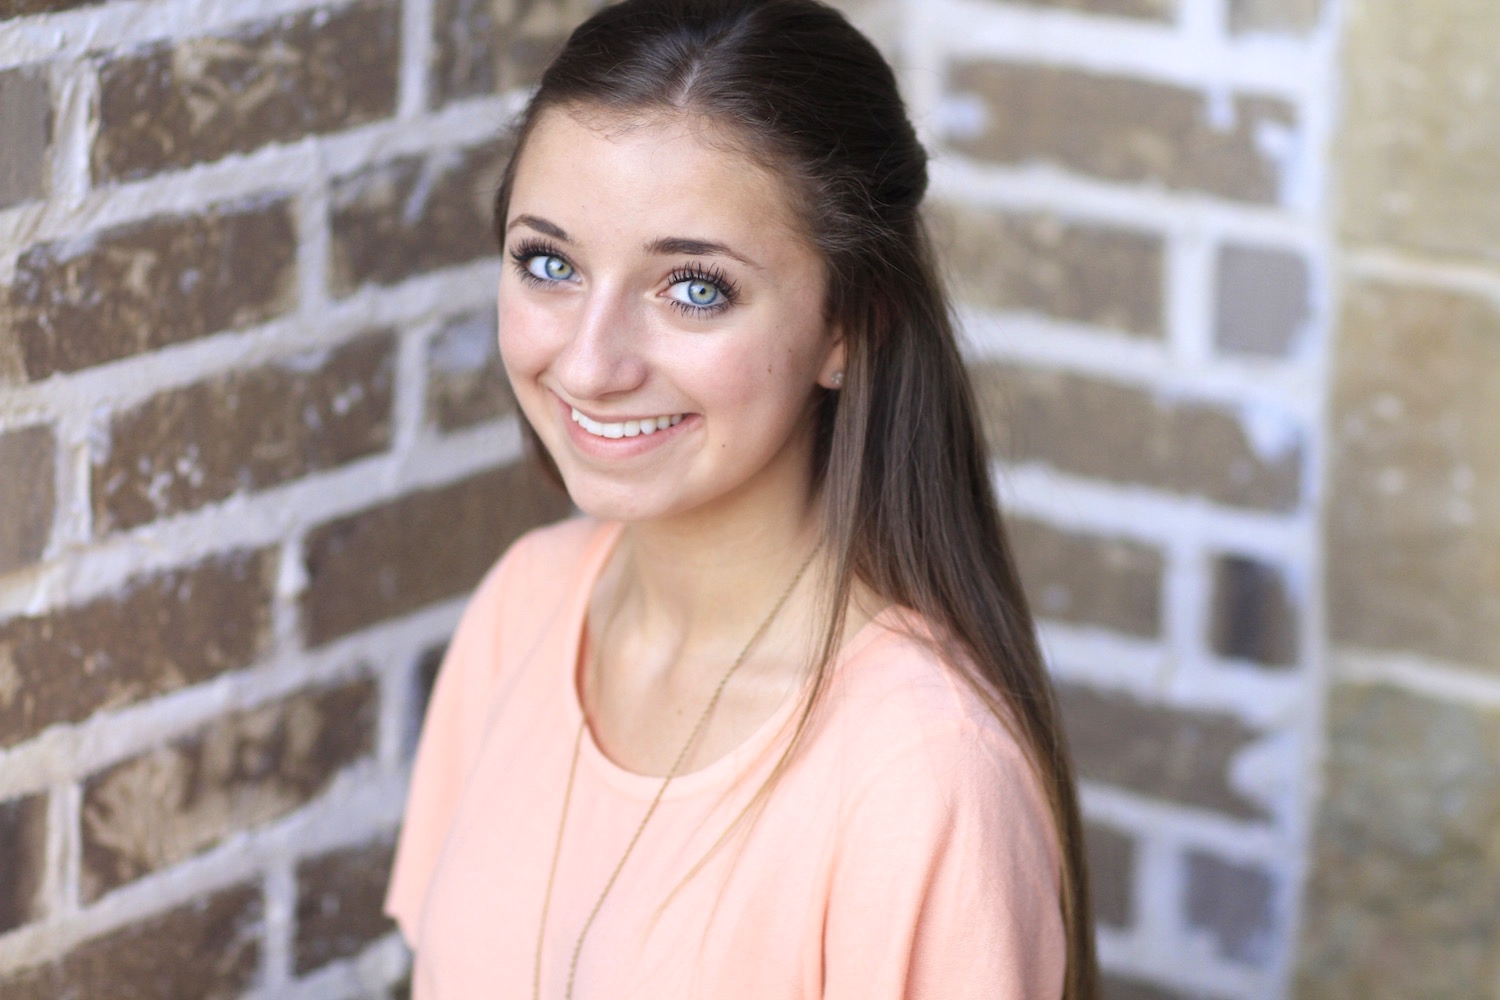
 Brooklyn volunteered to be my model, and this hairstyle really fits her personality. This day, she wore the style with her peach-colored blouse and denim shorts with white sandals. You could dress this up, too, and it would even look fabulous with waves and soft curls {I wouldn’t recommend curly curls since too much texture will draw away from the braid itself}.
Items Needed: Brush, rat-tail comb, spray bottle, 1 small hair elastic, hairspray {if desired}.
Time Requirement: 4-6 minutes
Skill Level: Medium
Hairstyle Tutorial:
Step-by-Step Instructions:
- Start by sectioning off the hair about 1 inch above the ears, and gathering it back at the crown with your hands…
- Then begin a regular fishtail braid by taking one strand from the outside edge, over the top, and adding it to the other side…
- Now take a strand from the opposite outside edge piece, and take it up and over, adding it to the opposite side, repeat ed over and over…
- After you’ve braided down about 4 inches, go back and pancake about 3-4 stitches of the fishtail {pancaking along the way, rather than after the whole fishtail braid is finished, makes forming the bubbles easier and prevents the hair from bunching up and shaping oddly at the bottom…
- Satisfied with your pancaking, now continue on with a regular fishtail again for another 4 inches or so…
- Repeat Steps #4-5 until you run out of hair…
- Secure with an elastic…
- Now, go back and perfect your pancaked bubbles, giving them lots of volume…
- Add hairspray {if desired}.
As a bonus, be sure to watch my hilarious mustache styling video with Studio C, and leave a comment below telling us your favorite braid/hairstyle!
Happy Hairstyling!
This week, BrooklynAndBailey uploaded a super cute Pinterest-inspired DIY Sunglasses Decor tutorial. Click below to take a peek!


One of my faves
Love it!
This is other of my favorite hairstyles!
For Latest Fashion Updates & News of Hairstyle ,clothing, makeup tutorials , Tips and videos please visit this site
http://tremendousstyle.com
Love this braid and your blog!
great natural remedies
cute hairstyle