Happy February everyone! This is my second post as a CGH Lifestyle Contributor and I just have to say what an honor it is to get to spend all of 2016 with you, the readers, and my fellow bloggers! I really hope you enjoy my posts!!
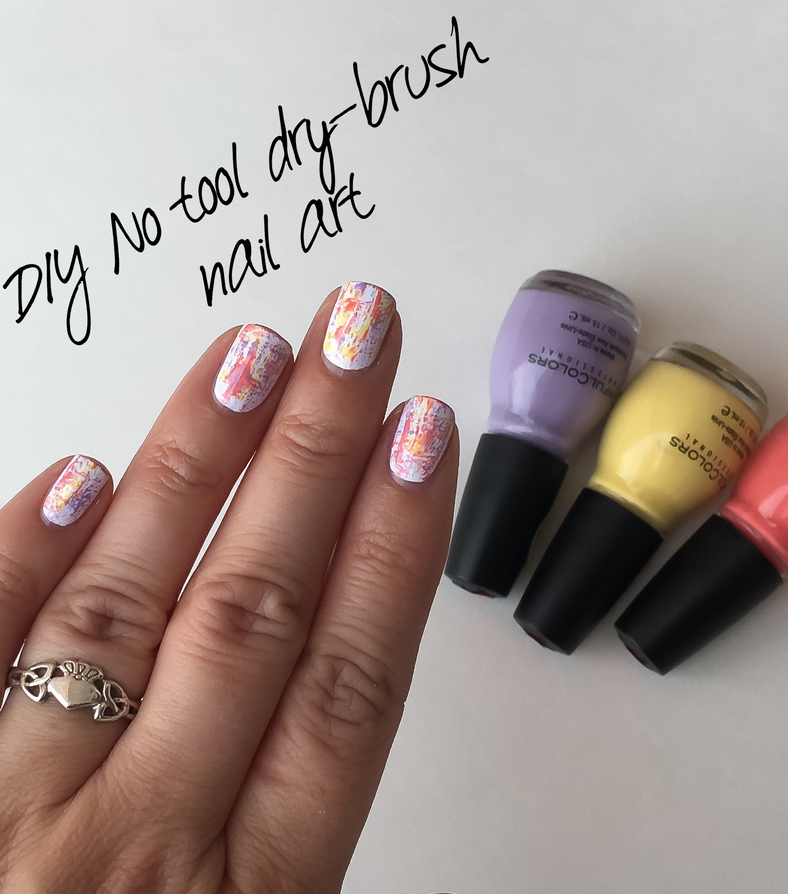
Today I have a super simple nail art technique for you. It’s one of those techniques that make all your friends think you spent ages and ages on your nails. It’s called a dry-brush manicure and the best part is there are no special tools required (besides nail polish of course!). Let’s get started shall we?
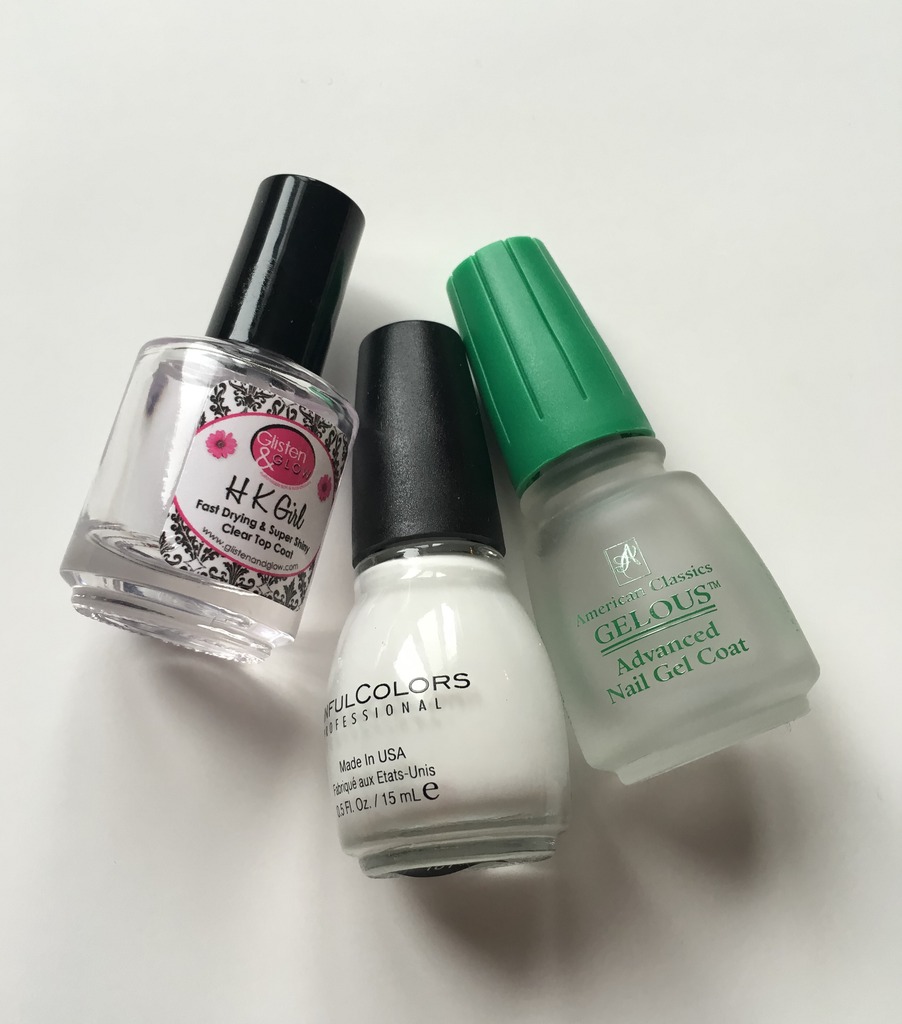
Here are the products I used for this manicure:
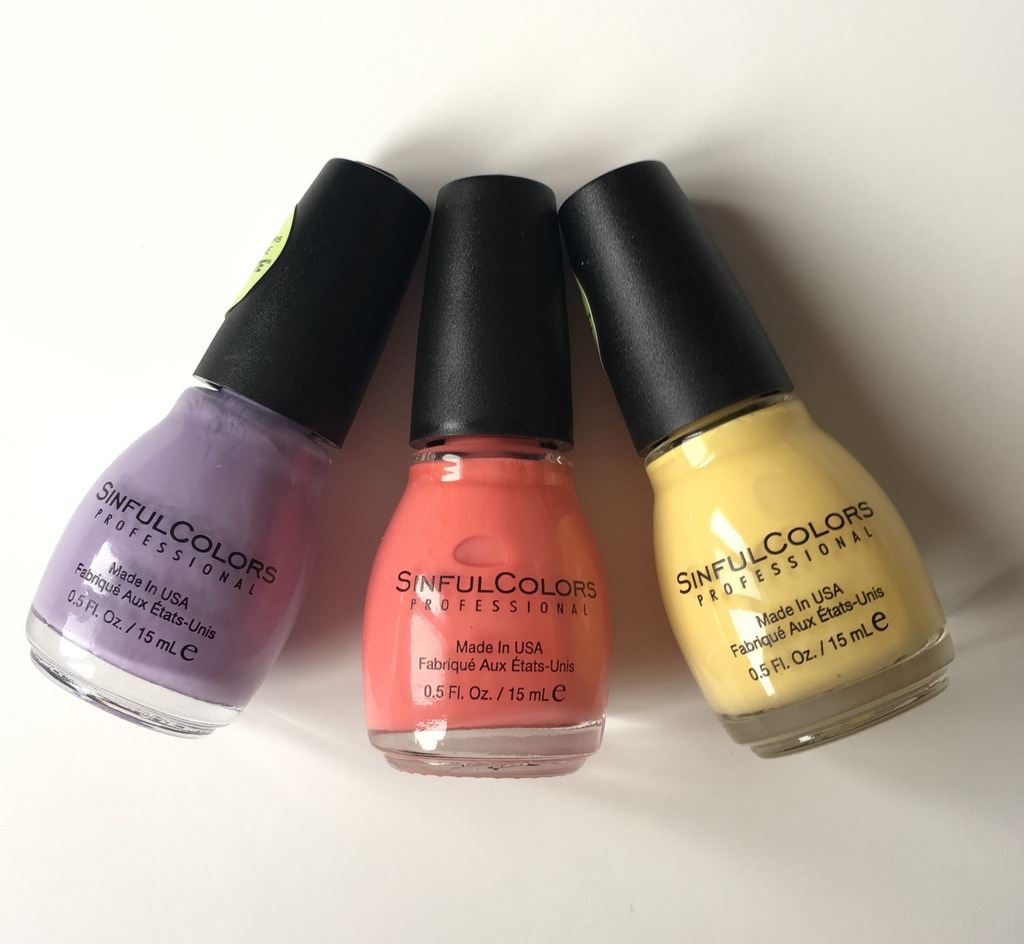
Nail polish in 3-4 colours of your choice (I chose these spring colours!)
And that’s it! On to the how-to:
Step 1: Paint your nails with your base coat (always use a base coat to protect your nails, prevent staining, and help your manicure last its longest), allow to dry.
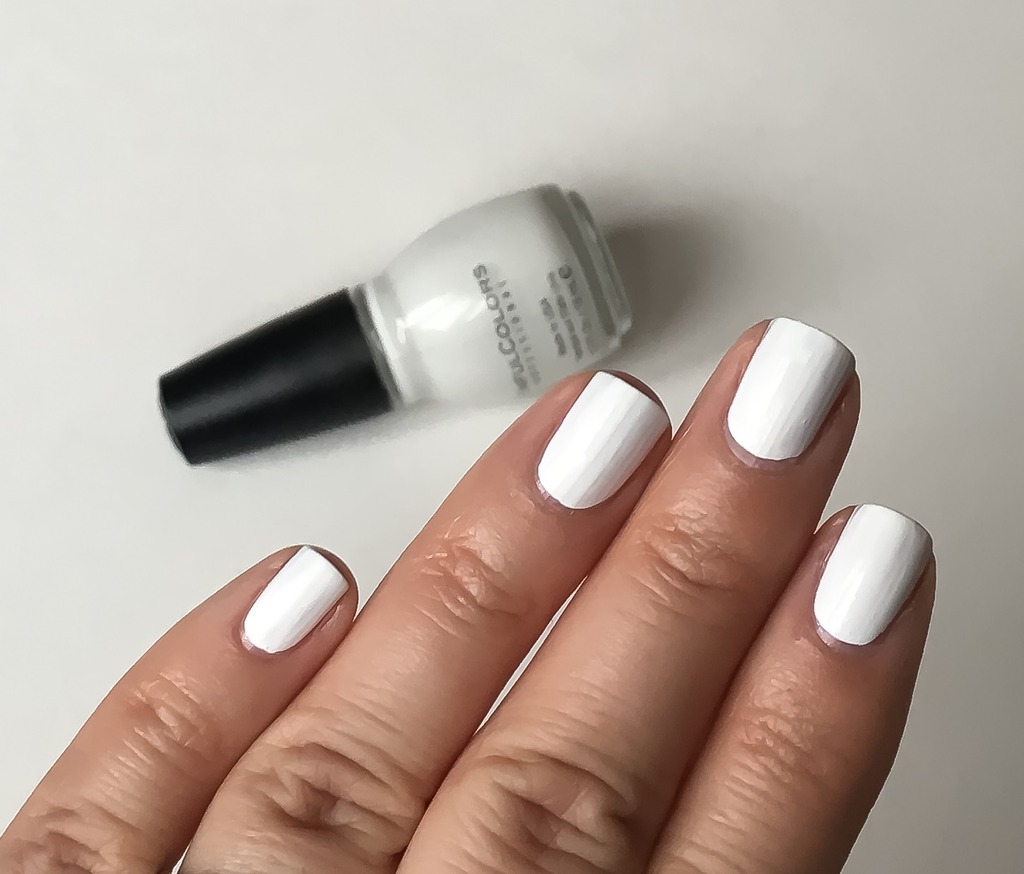
Step 2: Paint your nails 1-2 coats of a plain white polish and allow to dry. It doesn’t have to be perfect since you will be covering most of it up. The white base will also make the other polish colours really pop.
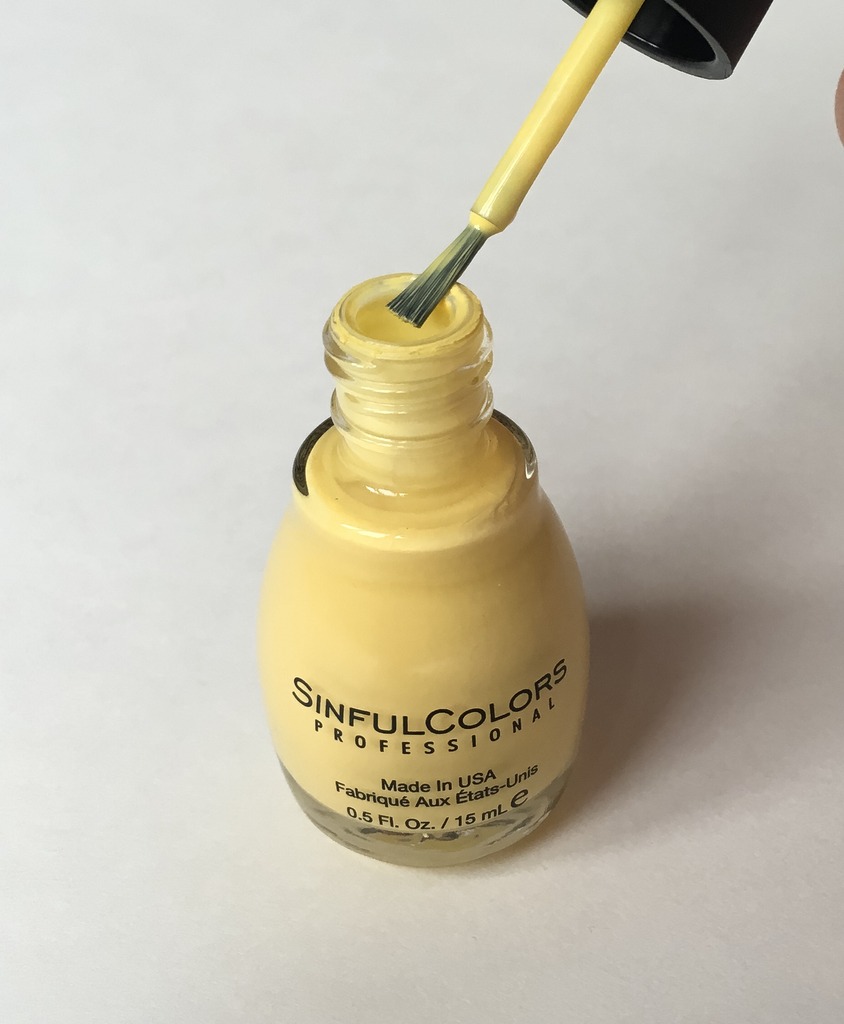
Step 3: Open one of the polish bottles (I started with the lightest colour because lighter colours are easier to cover than darker colours). Scrape off as much of the polish as you can, either onto the side of the polish neck like I’m doing, or onto a paper towel. You want the brush almost completely dry. You can always add more colour as needed.
Step 4: Gently brush your almost-dry polish brush over your nails both horizontally and vertically. Keep going until you get the effect you like. Allow polish to dry completely on nail (this won’t take long).
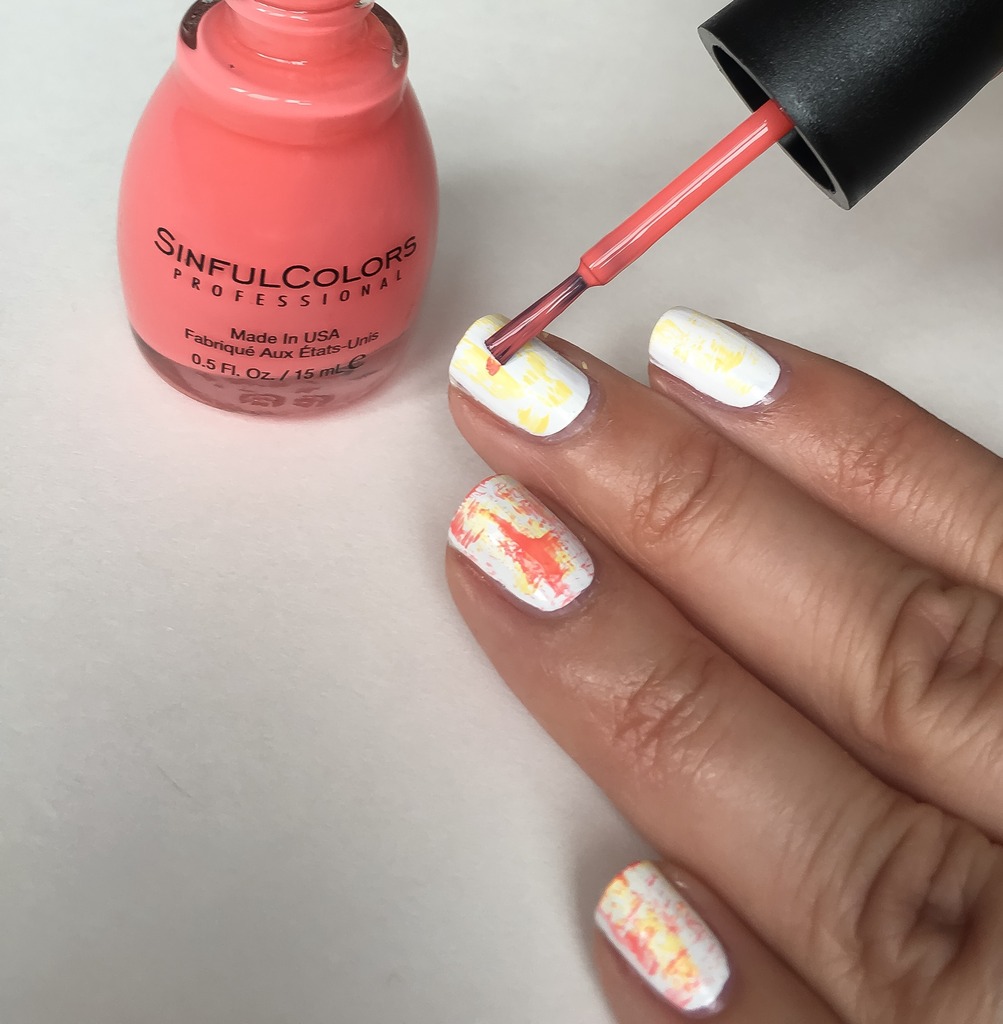
Step 5: Repeat step 3 with the second colour (and then the third). Remember there is no right or wrong way to do this! You can keep adding polish until you get exactly what you are looking for.
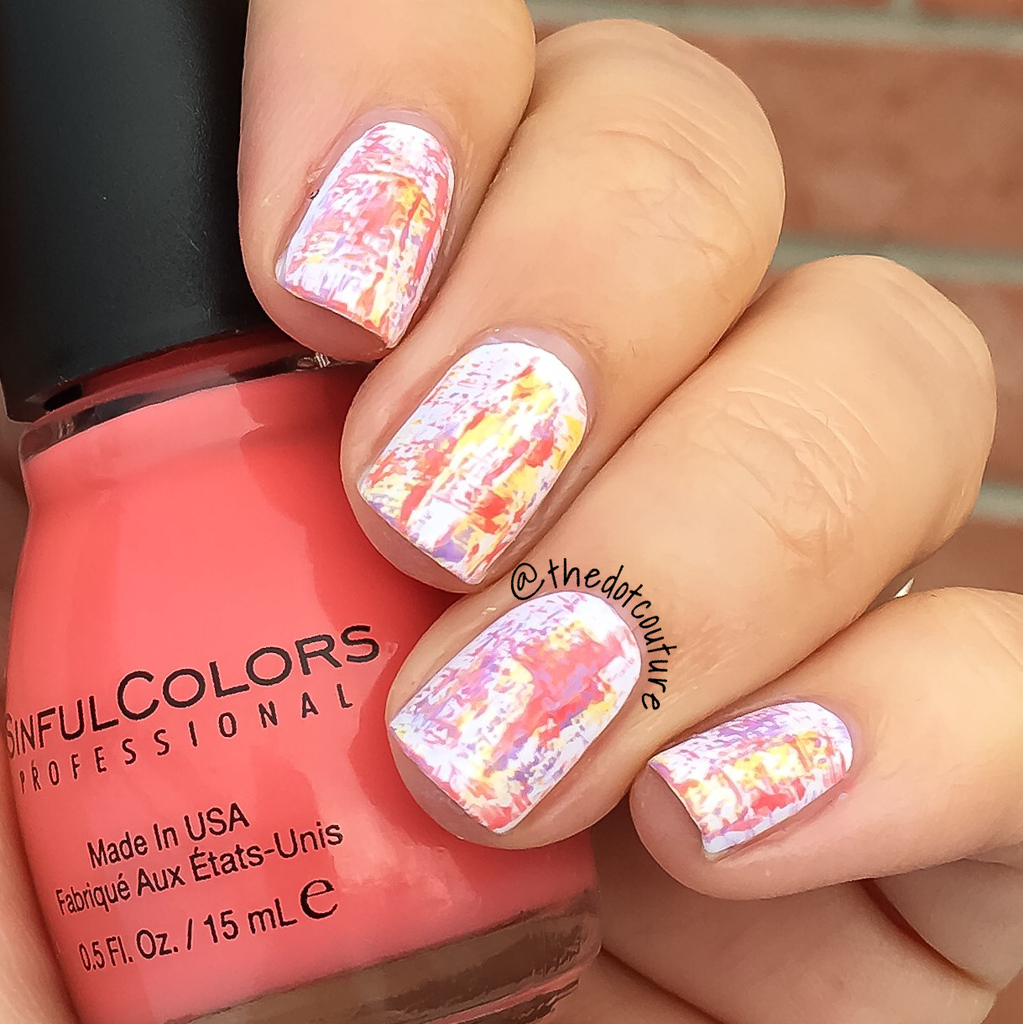
Step 6: Apply a quick dry top coat to help blend all the colours together and seal in your design. And that’s that!!! An eye-catching manicure that took a minimal amount of time!
The nice thing about this manicure is you can do any color combo. Last month I even did one with a black polish base and metallic polishes dry-brushed on top. If you’d like to check it out, you can visit me on my Blog The Dot Couture!
Until next time, happy painting!
This looks awesome! I love that you don’t need any tools for it either.
So cuteeee
So cute and I love easy designs!
OMG so trying this out!!
So cute! I’m surprised how easy it is!
this is so easy and cute! cant wait to try it!
So neat!
love this nail color
I love the look of dry brush nail art! These colors look great together.
Great tutorial Jenny! I haven’t tried dry-brushed nails yet… I need to get on that!