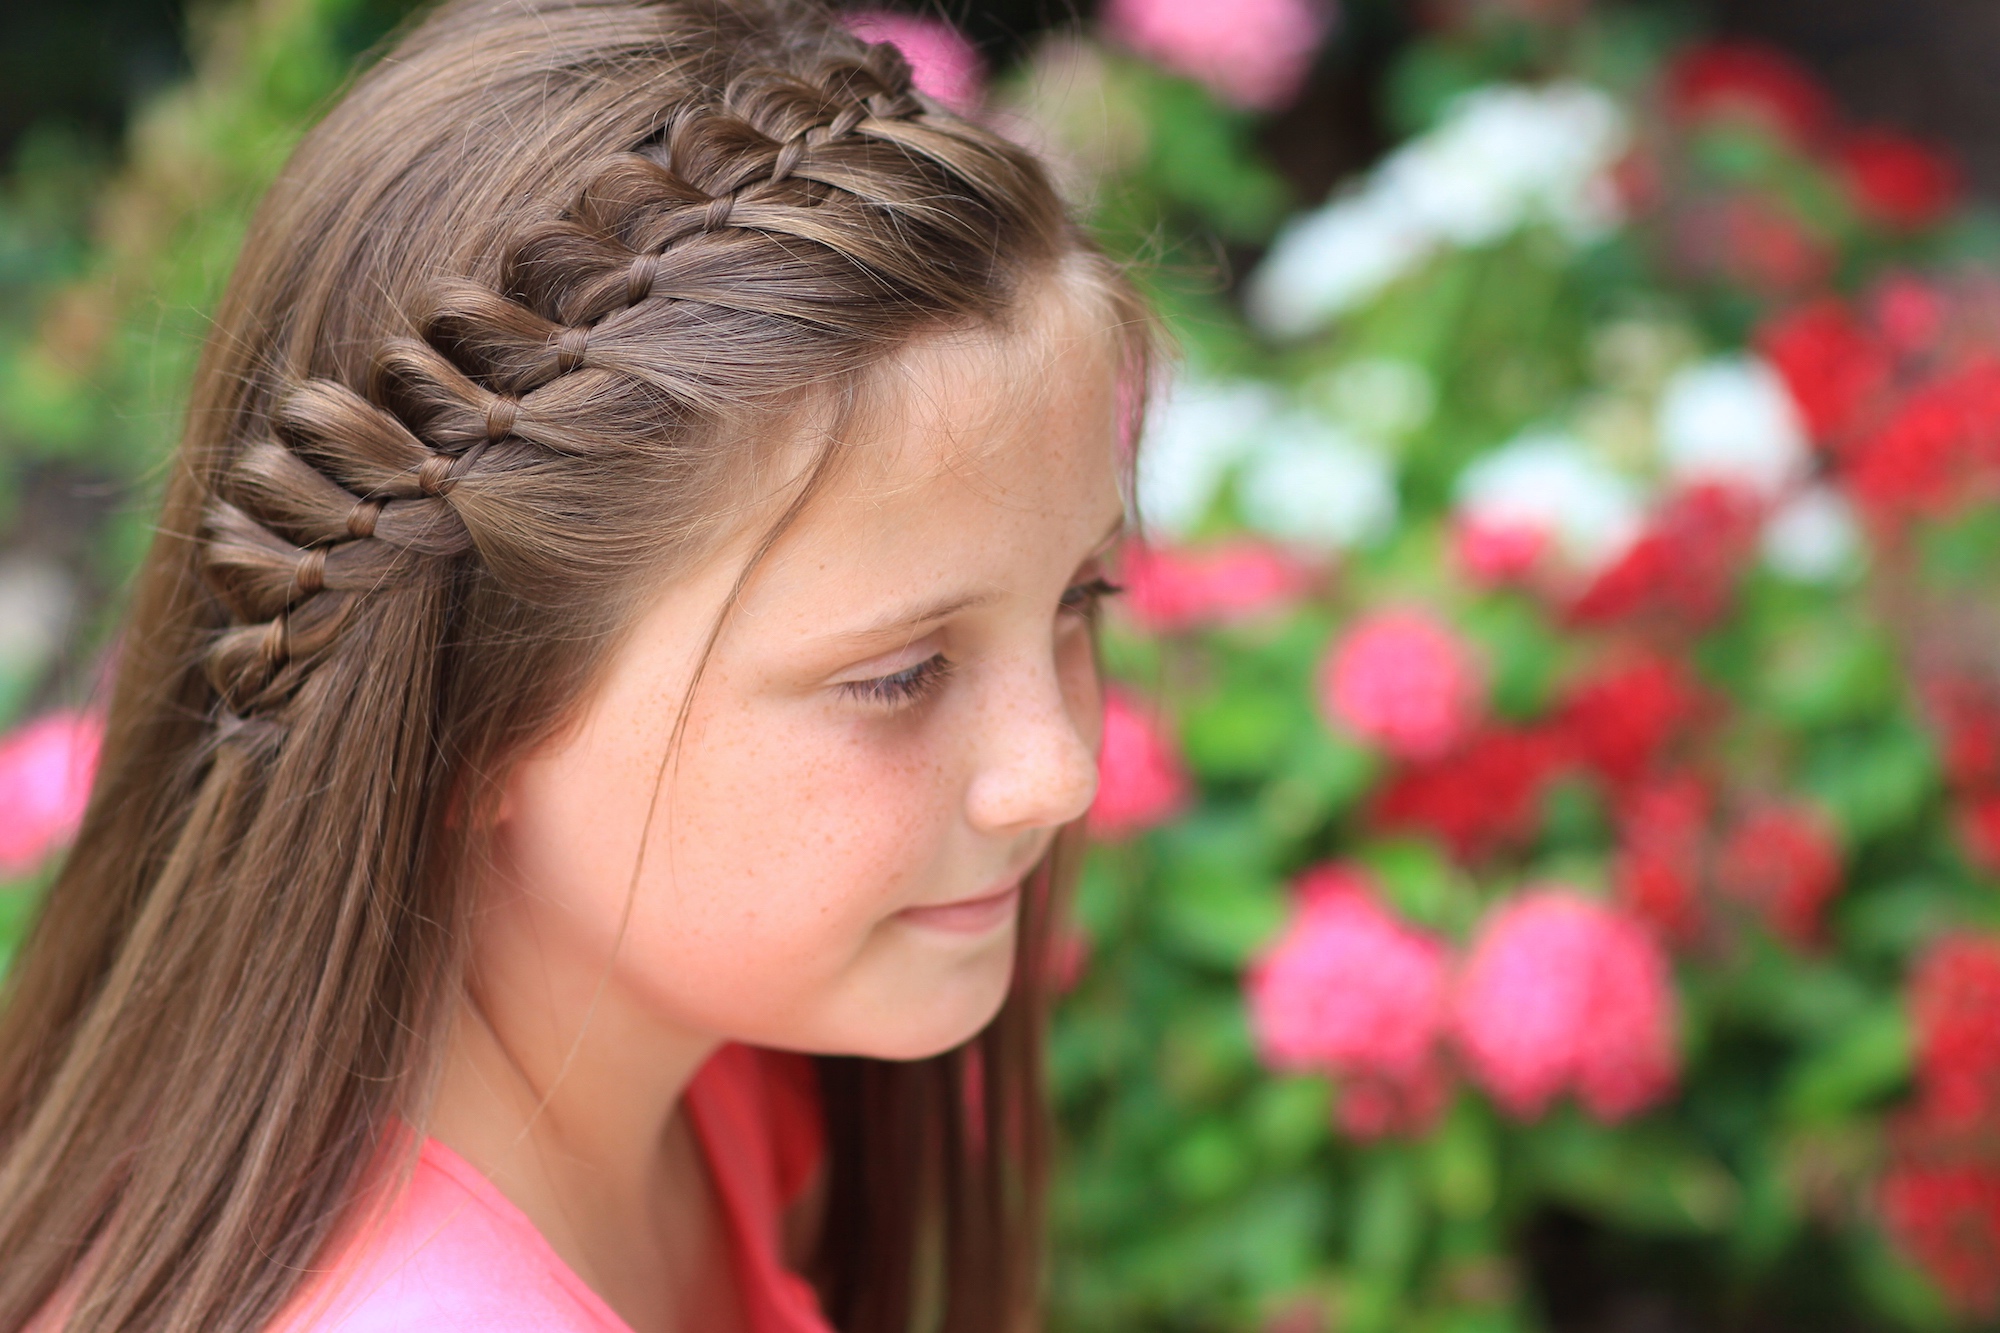
Rylan and I are here today to show you how to create a 4-Strand French Braid Pinback. This isn’t a new braiding style, as you’ve likely seen it all over on Instagram and Pinterest. This is, however, our very first time teaching you this cool technique here.
 The stranding for a multiple-strand braid, those greater than three strands, can be sometimes confusing. Be sure to pay careful attention below to my pattern, and then this braid will be easy to create. It just takes a little practice to get the stitching down right.
To see your own photo recreations of this style featured in our app, feel free to tag your photos on IG with: #CGH4StrandFrench
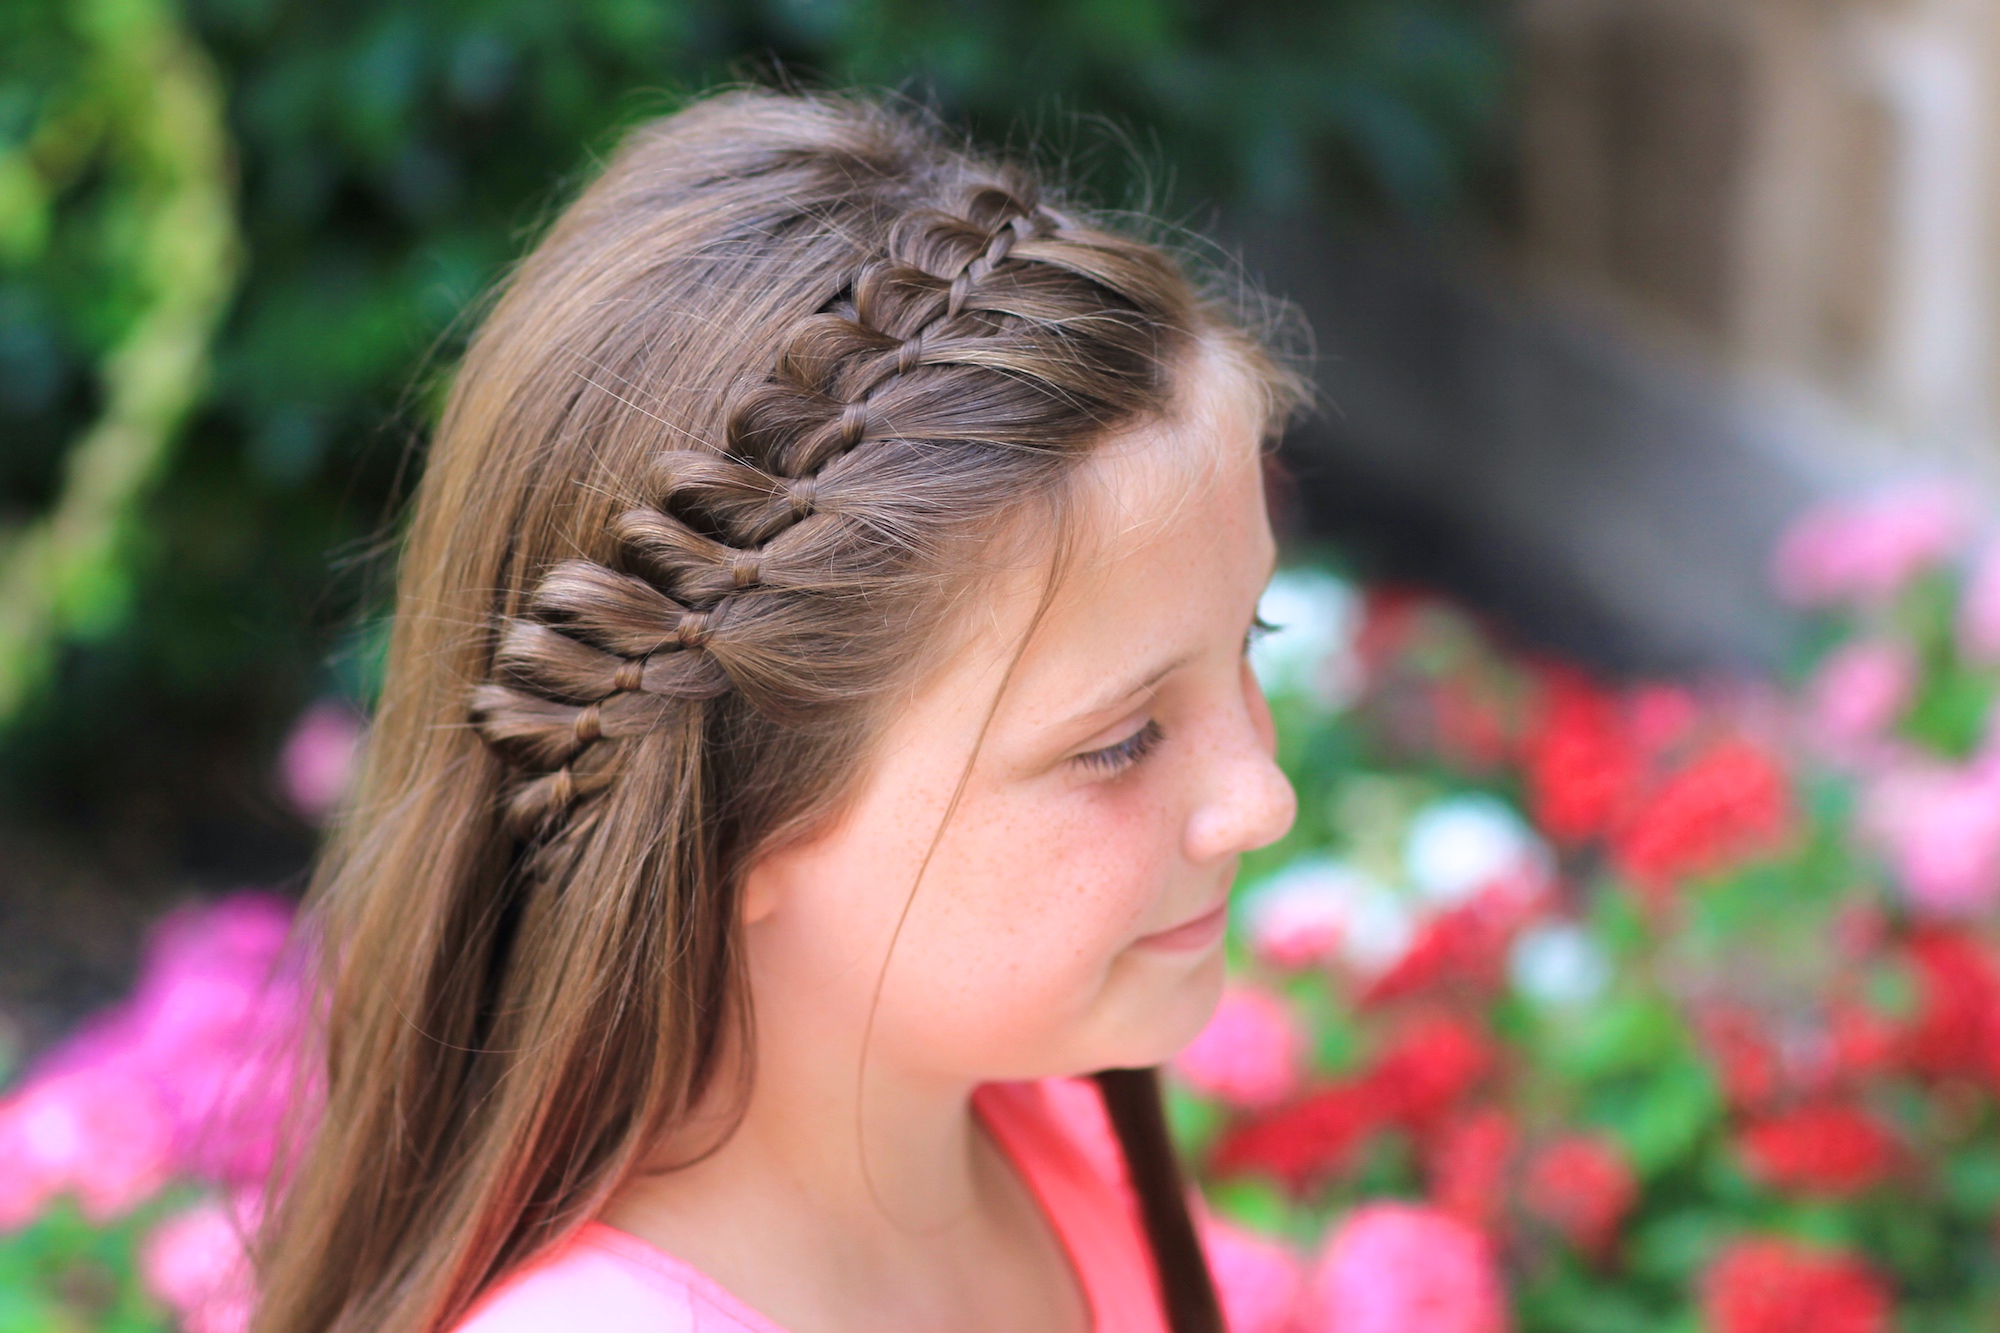
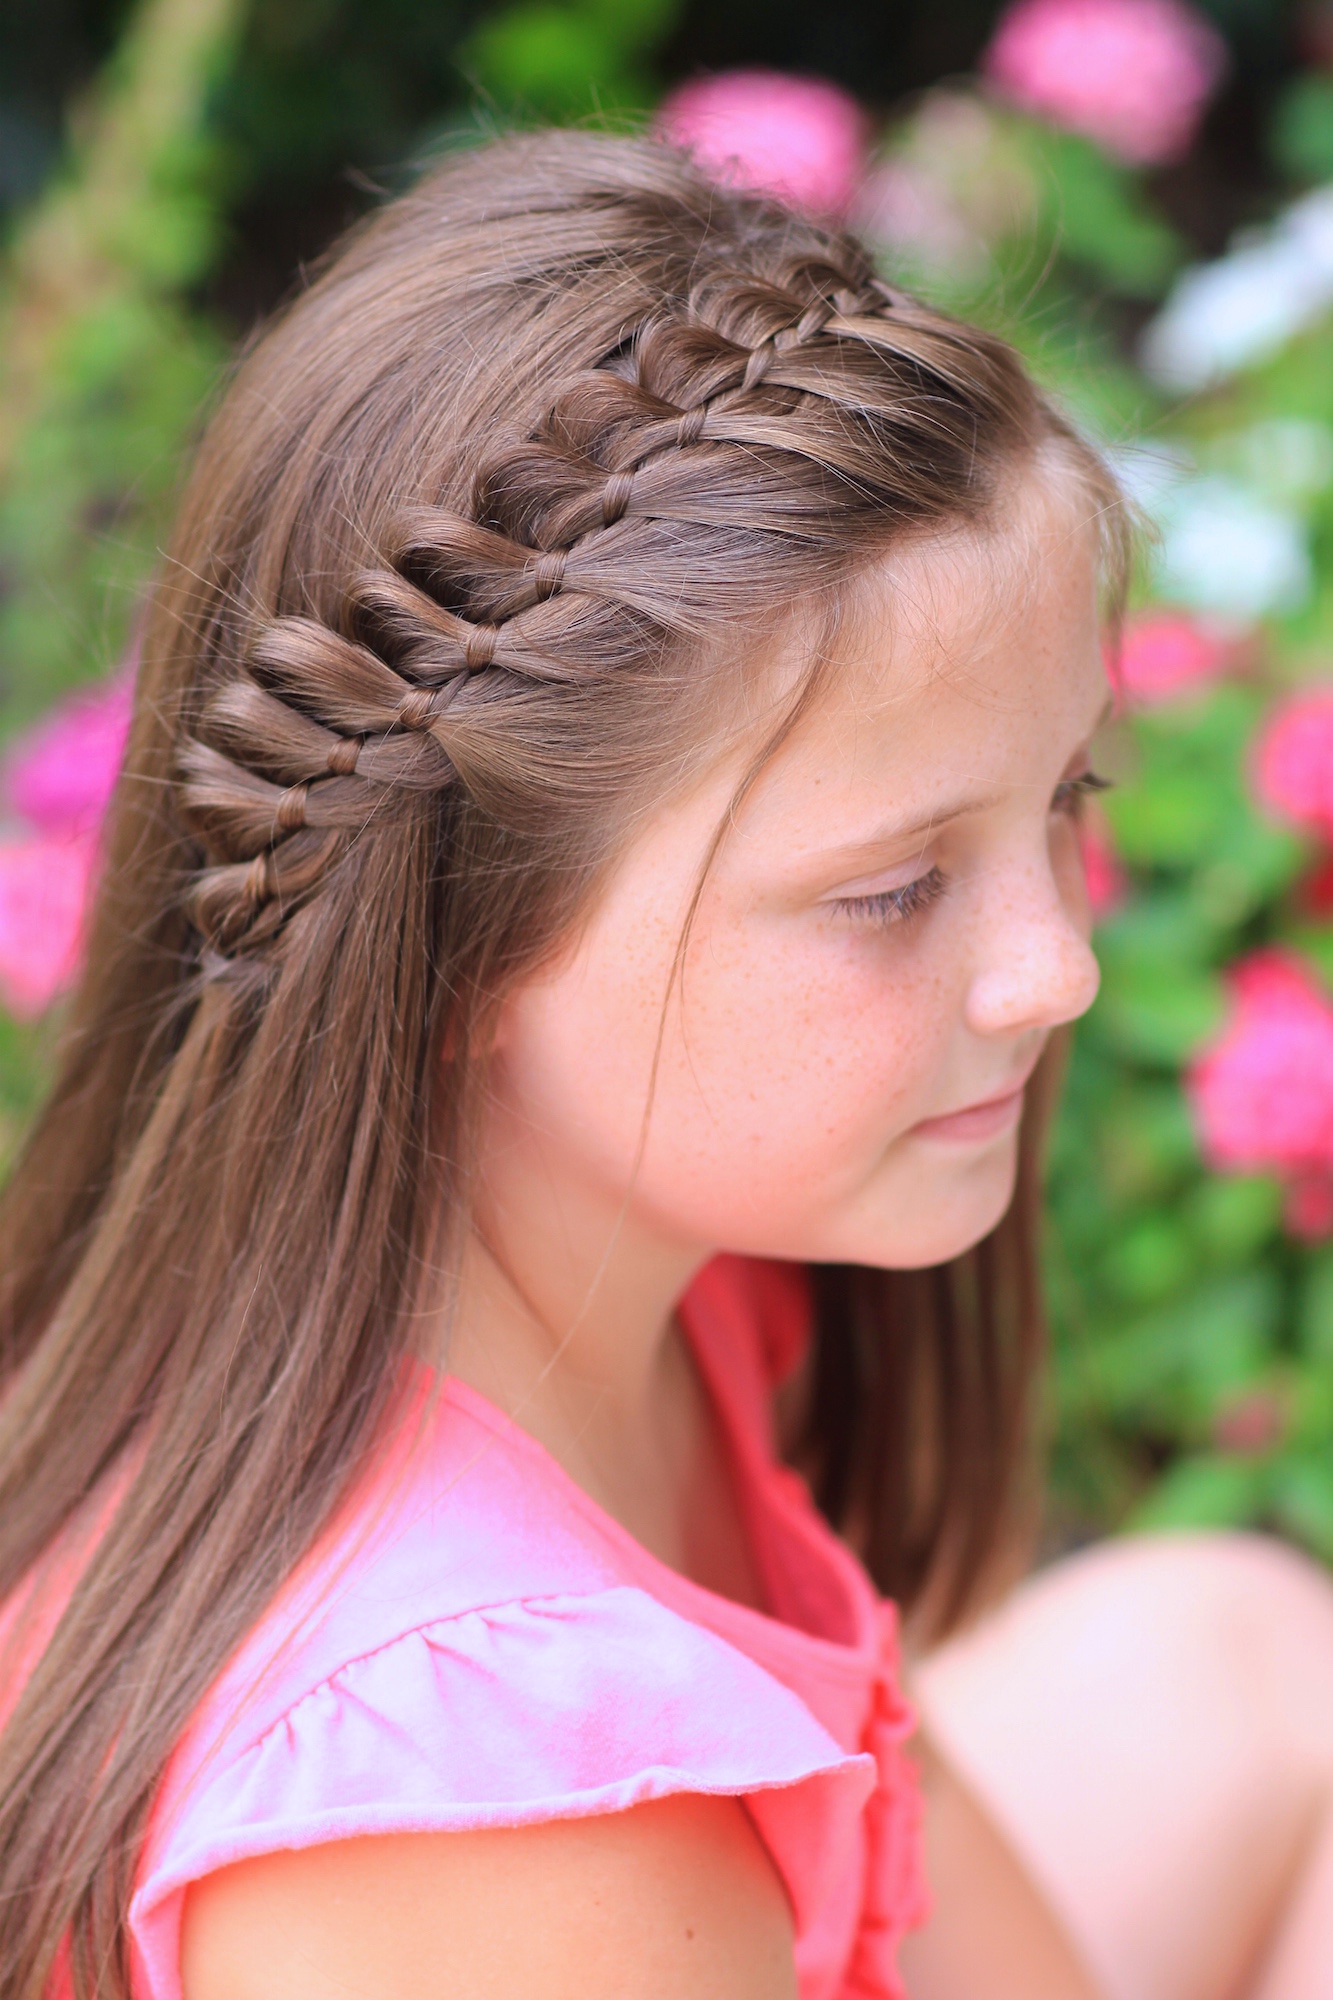
 I particularly love this 4-Strand French Braid as an accent, as seen here for example, in our pancaked headband pinpback. This braid would also look amazing going back into braids or ponytails on both sides. Simply Dutch the braids instead and you’ll have another beautiful look! They’re versatile braids that’ll look great in so many hairstyle combinations!
Items Needed: Brush, rat-tail comb, spray bottle, 1 small hair elastic, 2 bobby pins, hairspray {if desired}.
Time Requirement: 5-8 minutes
Skill Level: Medium {only due to stranding}
Video Tutorial:
Step-by-Step Instructions:
- Begin by creating a deep side part, and then creating a rectangle-shaped section that runs from that deep side part down to about 1 inch above the ear {pull all the other hair to the side out of the way}…
- Divide that newly-parted section into 4 strands {starting from left to right, I number them Strand #1, 2, 3, & 4}…
- Take Strand #1 under Strand #2, and over Strand #3…
- Then take Strand #4 {right-most strand} over Strand #3 and under Strand #2…
- Next, add in a little piece of hair to the left-most strand, your new Strand #1…
- Again, take Strand #1 under Strand #2, and over Strand #3…
- Next, add in a little piece of hair to the right-most strand, your new Strand #4…
- Then take Strand #4 {right-most strand} over Strand #3 and under Strand #2…
- You Steps #3-8 down the hairline until you run out of hair to add in on each side…
- Next, continue the same pattern down the remaining hair, but without adding hair into the outside edges…
- Secure the braid with an elastic, then lift up a small section of hair and secure the braid against the head by crossing two bobby pins…
- Allow the remaining hair to fall, hiding your bobby pins.
- Add hairspray {if desired}.
Feel free to leave a comment below telling us what other hairstyle tutorials you’d love to see here!
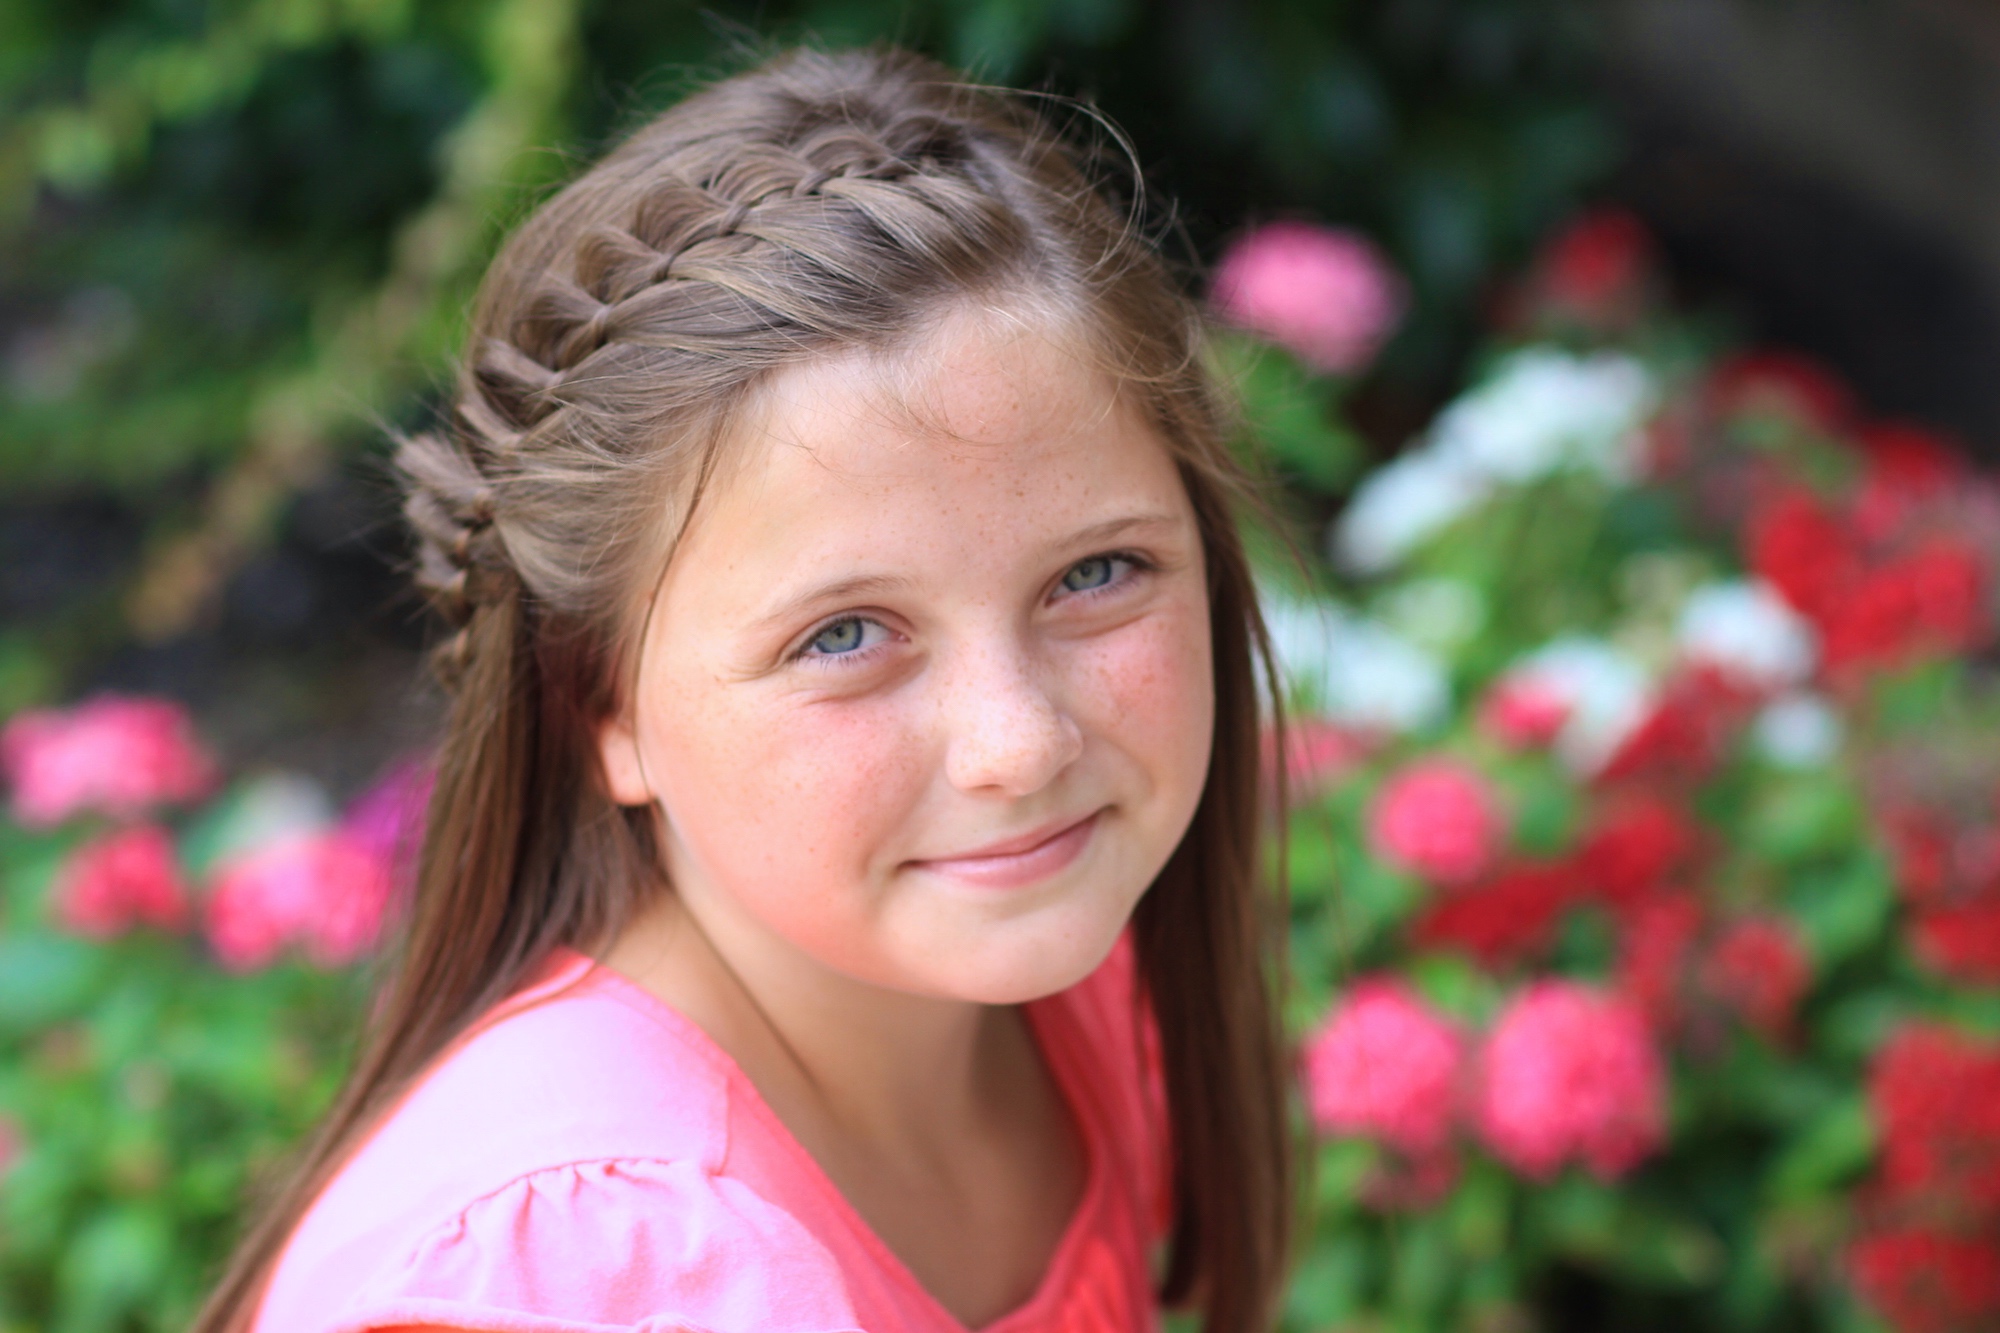
Happy Hairstyling!
Want to see what BrooklynAndBailey feel are some of the top things that annoy girls? Be sure to click their collab below with Eva from MyLifeAsEva to see what they came up with!


Beautiful! And very unique wish i could braid hairbands
super cute
Ever since I cut my hair I had to find new cute and simply hair styles, and this one I love !
I’m going to try this hairstyle! !!
Hairstyles should depend on the type of hair as well as with the structure of it. The first and foremost reason to select a good hairstyle is because they can enhance their look and personality by using the right hairstyles. Why settle for an ordinary hairstyle if you can look better? In some cases, the childhood and adolescence hairstyle might be the best hairstyle for the person’s face shape and hair quality.