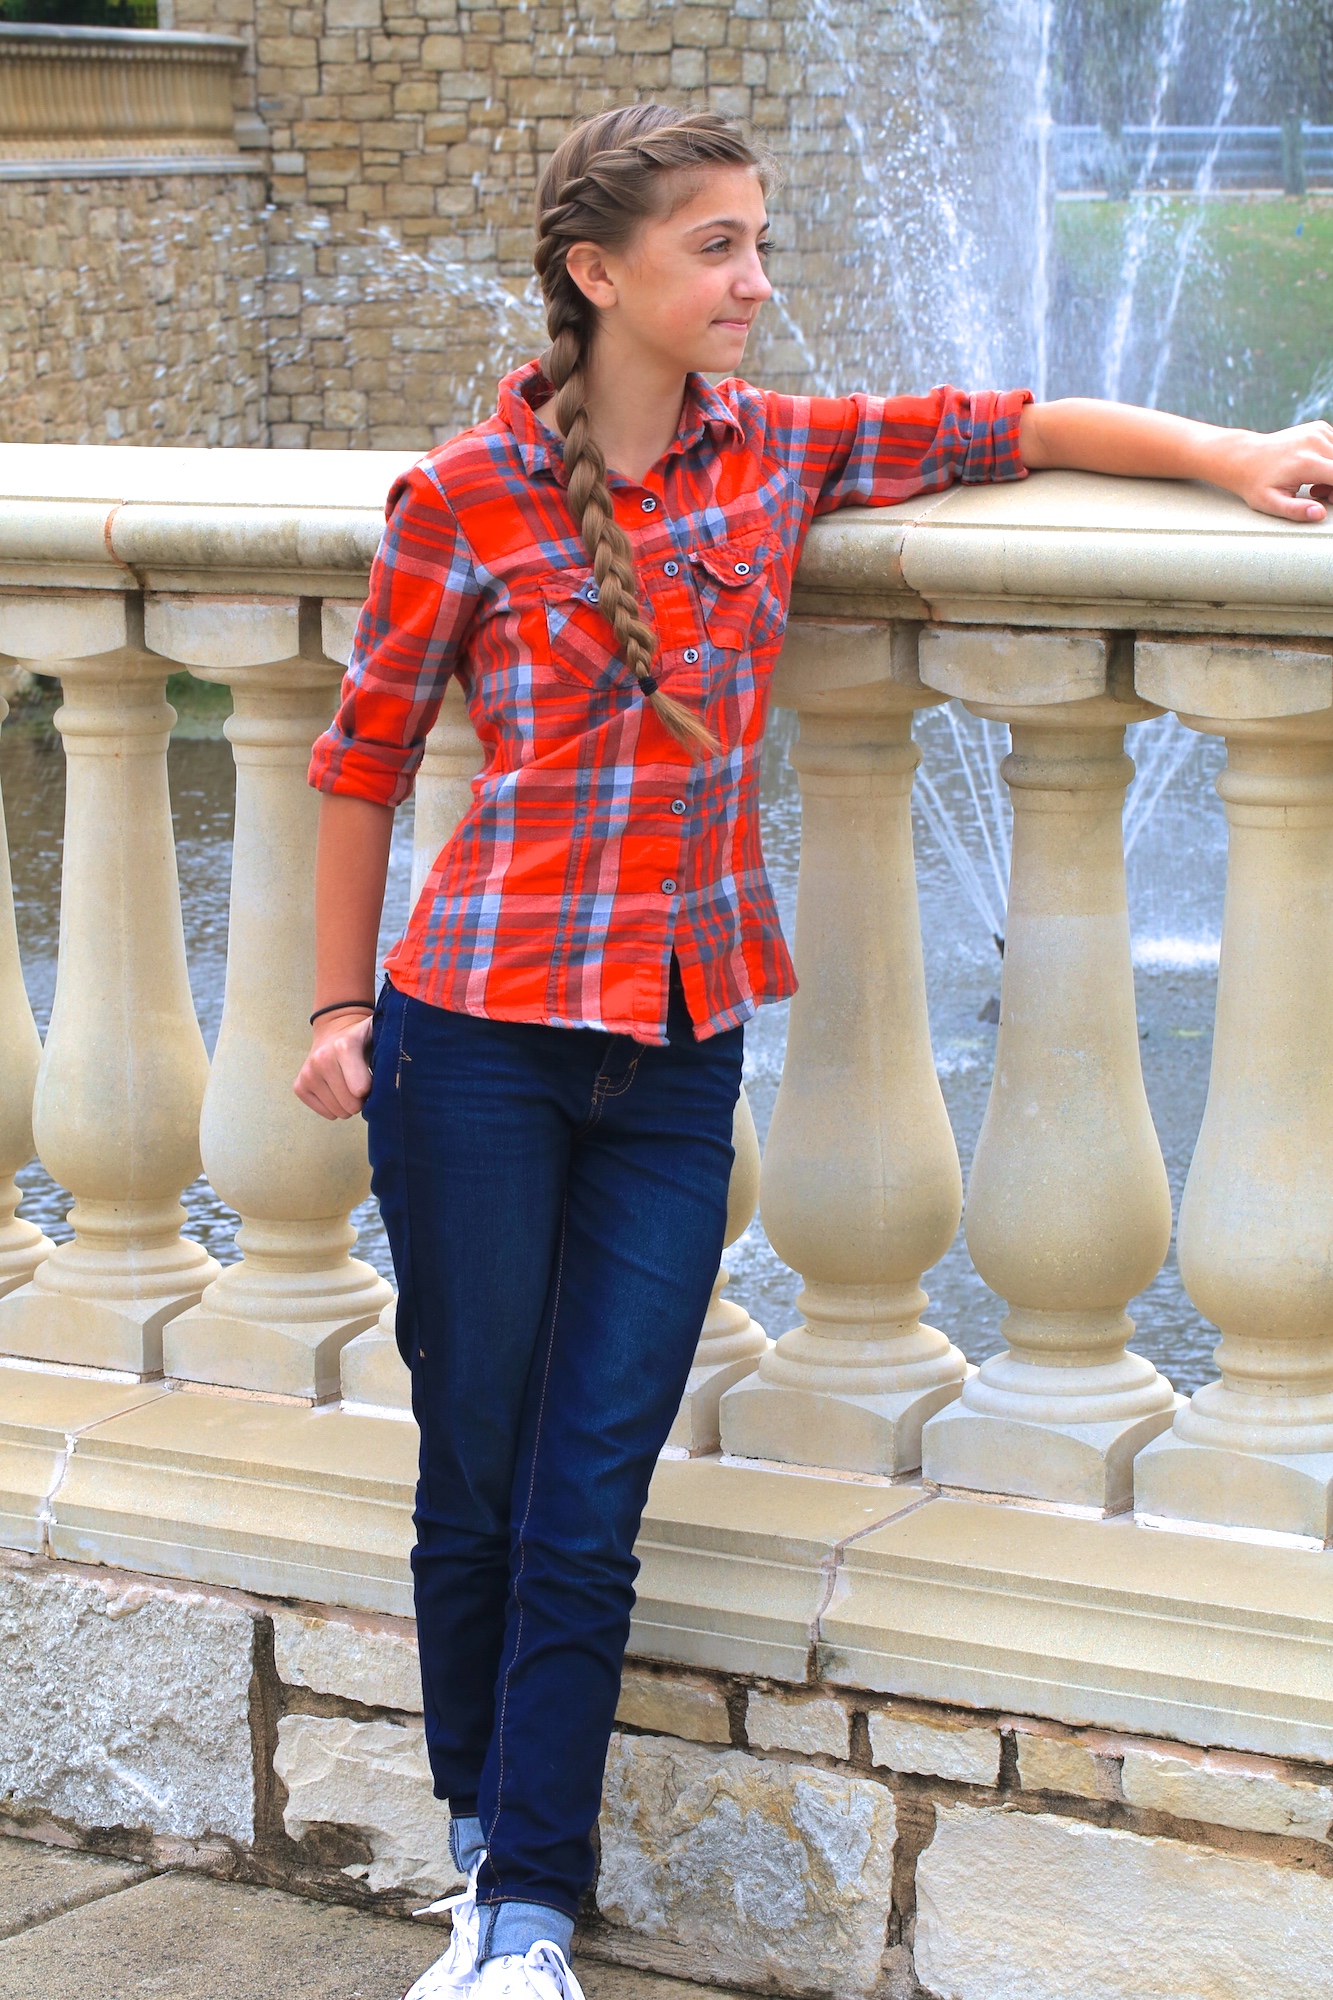
I am Mindy’s third daughter, Kamri, age 12, and today is my first ever tutorial on Cute Girls Hairstyles, and I will be teaching you how to create a French Twist into a Side Braid!
 This hair style is super easy to do, a true beginner style. From start to finish, this braid literally takes me only one minute to do. It is an easy one to do on those mornings where you have very little time before leaving for school or work. I’ve have been wearing this hairstyle on myself for the past year.
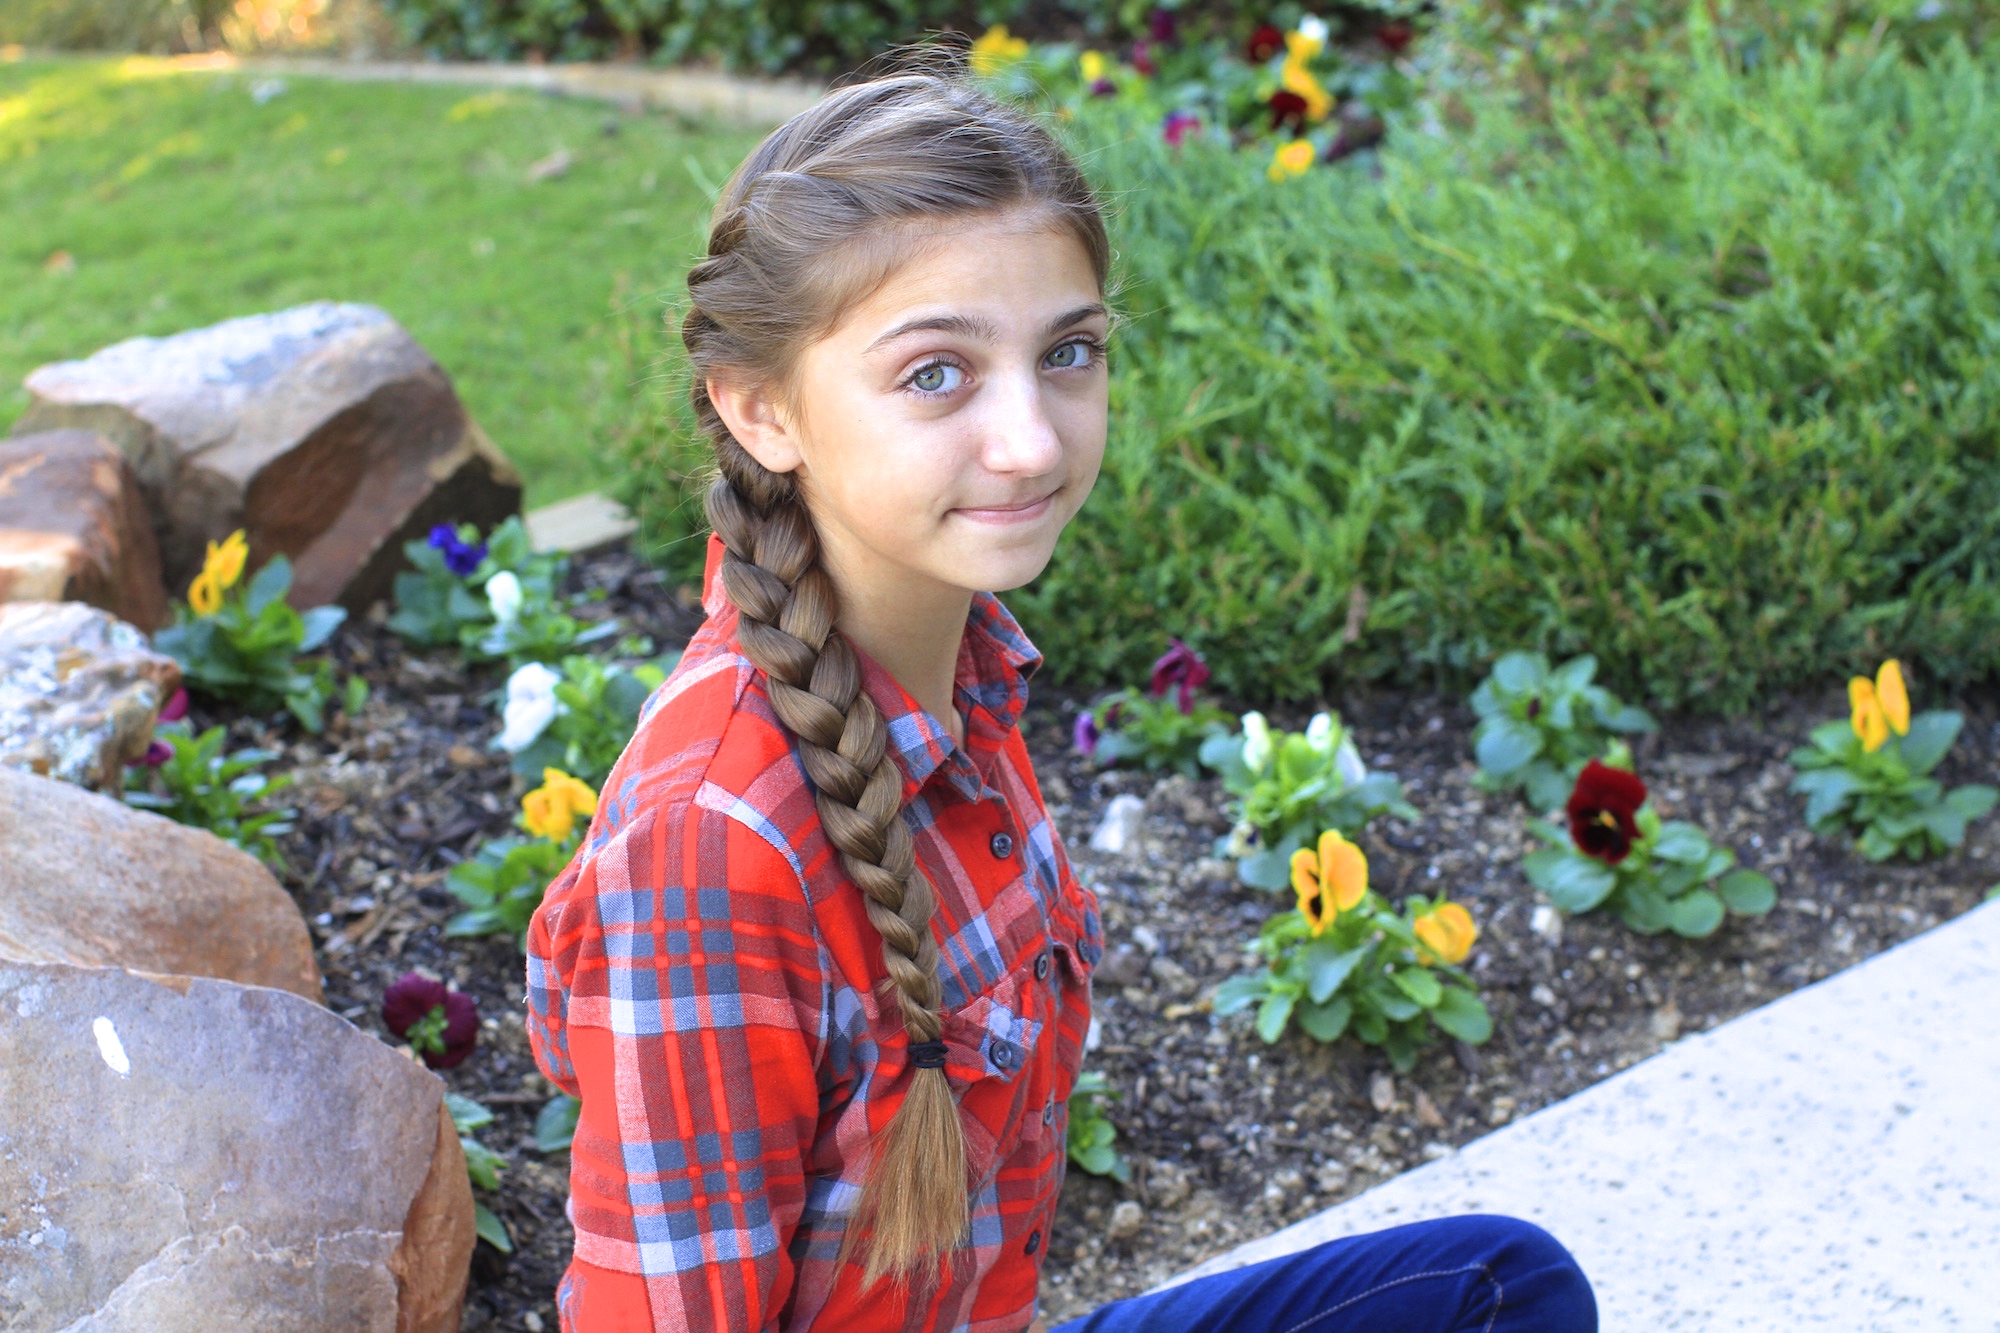
 You can begin with the hair wet or dry, either is fine. I then began with a French Twist, the bumpy kind, and then finished it off with a simple side braid. My friends at school know me for this hairstyle, and it holds up super well for sports, too!
 To see your own photo recreations of this style featured in our app, feel free to tag your photos on IG with: #CGHFrenchTwistSideBraid
Items Needed: Brush, rat-tail comb, spray bottle, 1 small hair elastics, hairspray {if desired}.
Time Requirement: 1-2 minutes
Skill Level: Easy
Video Tutorial:
Step-by-Step Instruction:
- Part hair slightly off to one side, your preference, and begin with your hair combed out to detangle any knots {can be done on either wet or dry hair}…
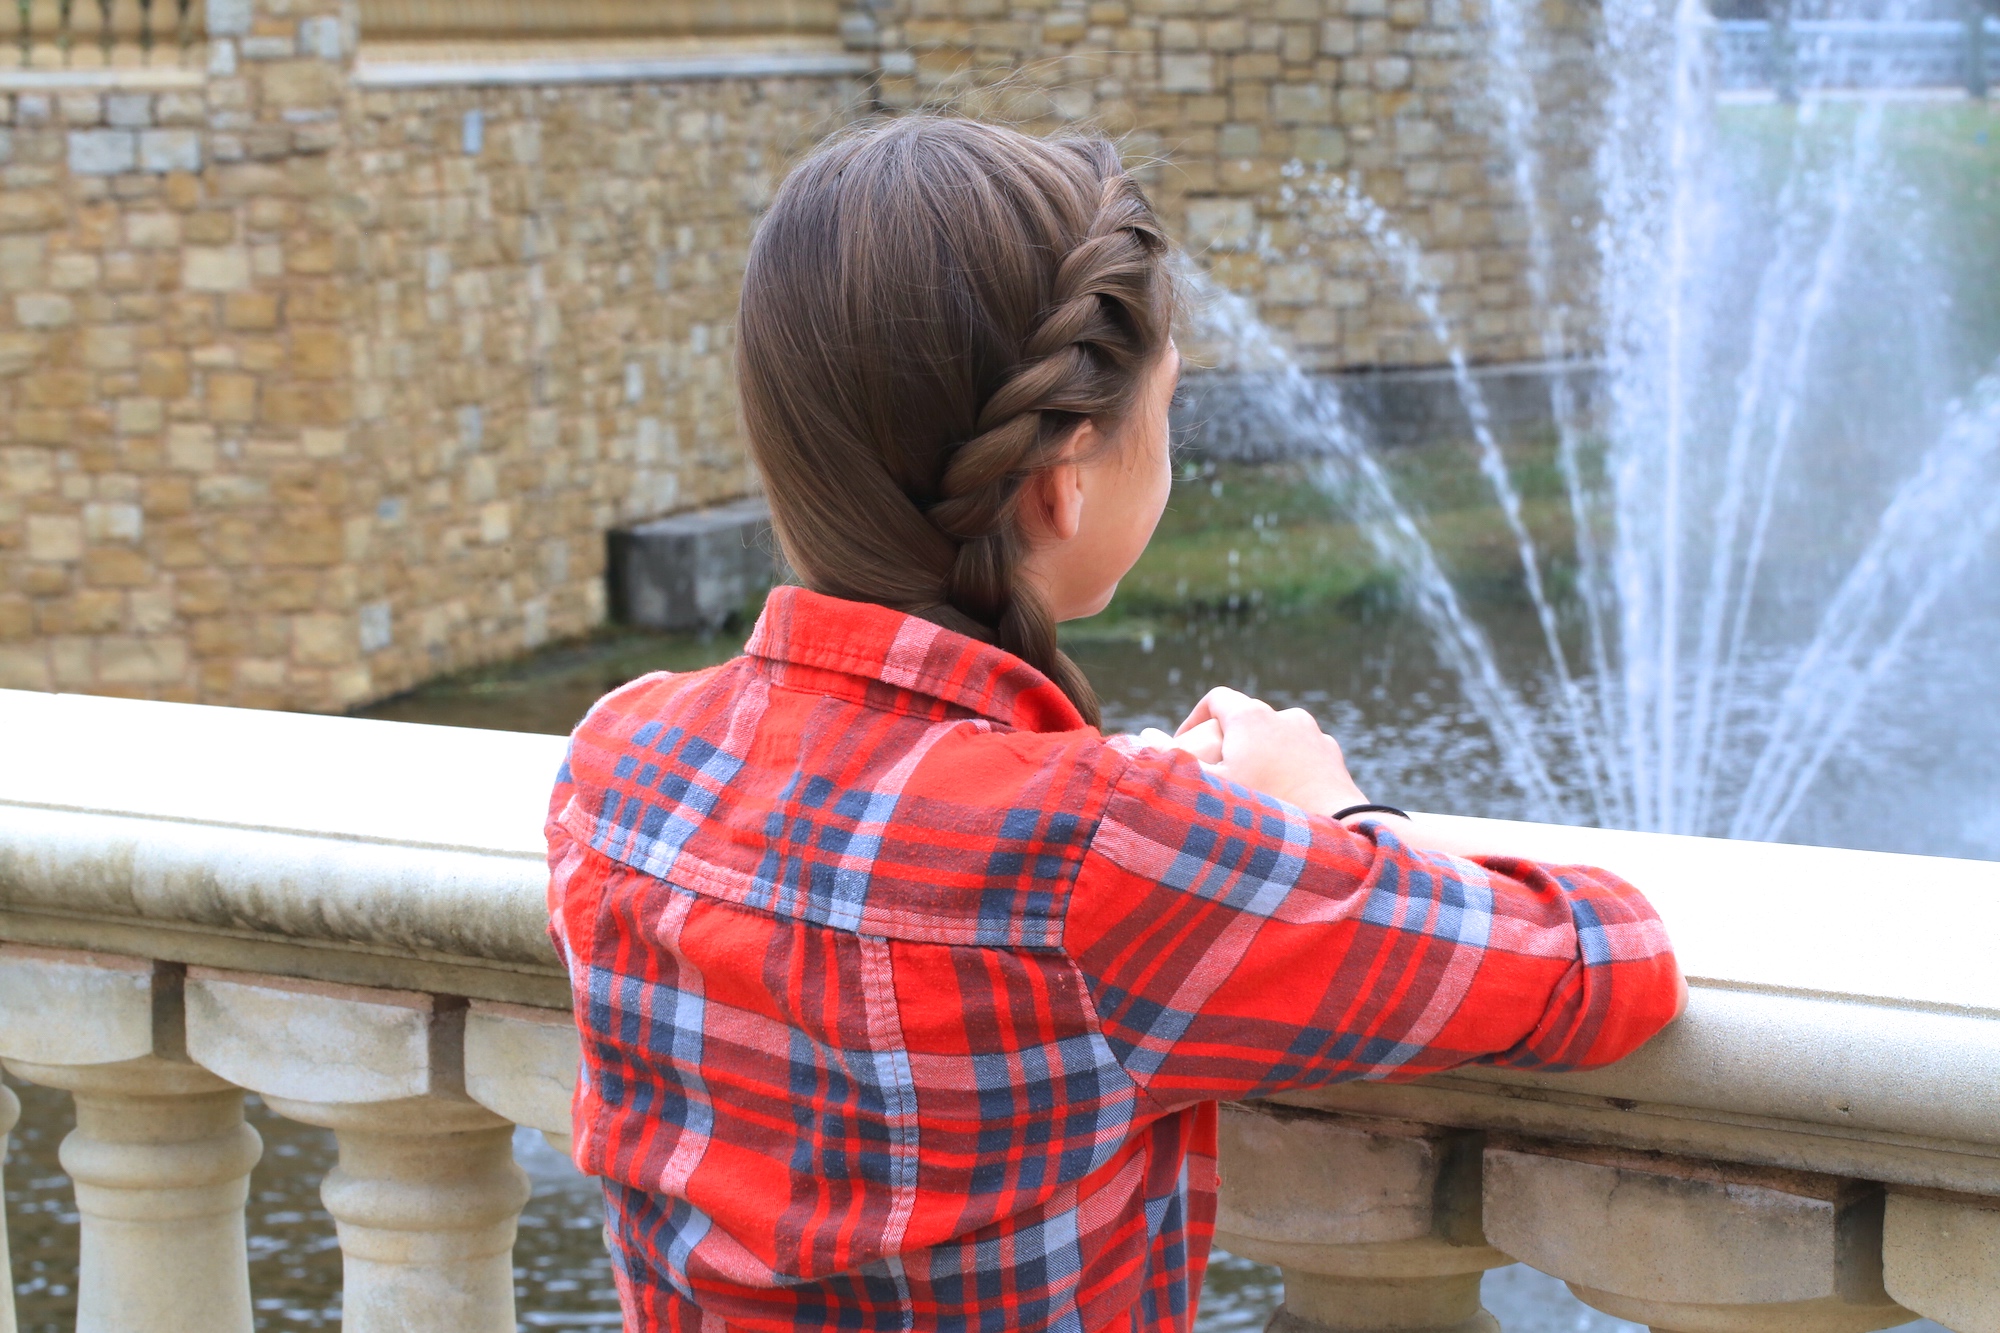
- Near the part line, pick up two sections of hair and begin French twisting one piece over the other {I twist away from my face}, with each time you cross the strands, make sure to add in some hair from the bottom into the front piece.
- Continue this technique, in Step #2, as you work your way down the hair line next to your face….
- When you get down to just right behind your ear, stop twisting the hair, and swoop all the remaining hair form the other side over your shoulder and add it into the bad of the twist {gathered like you were going to add a ponytail holder}…
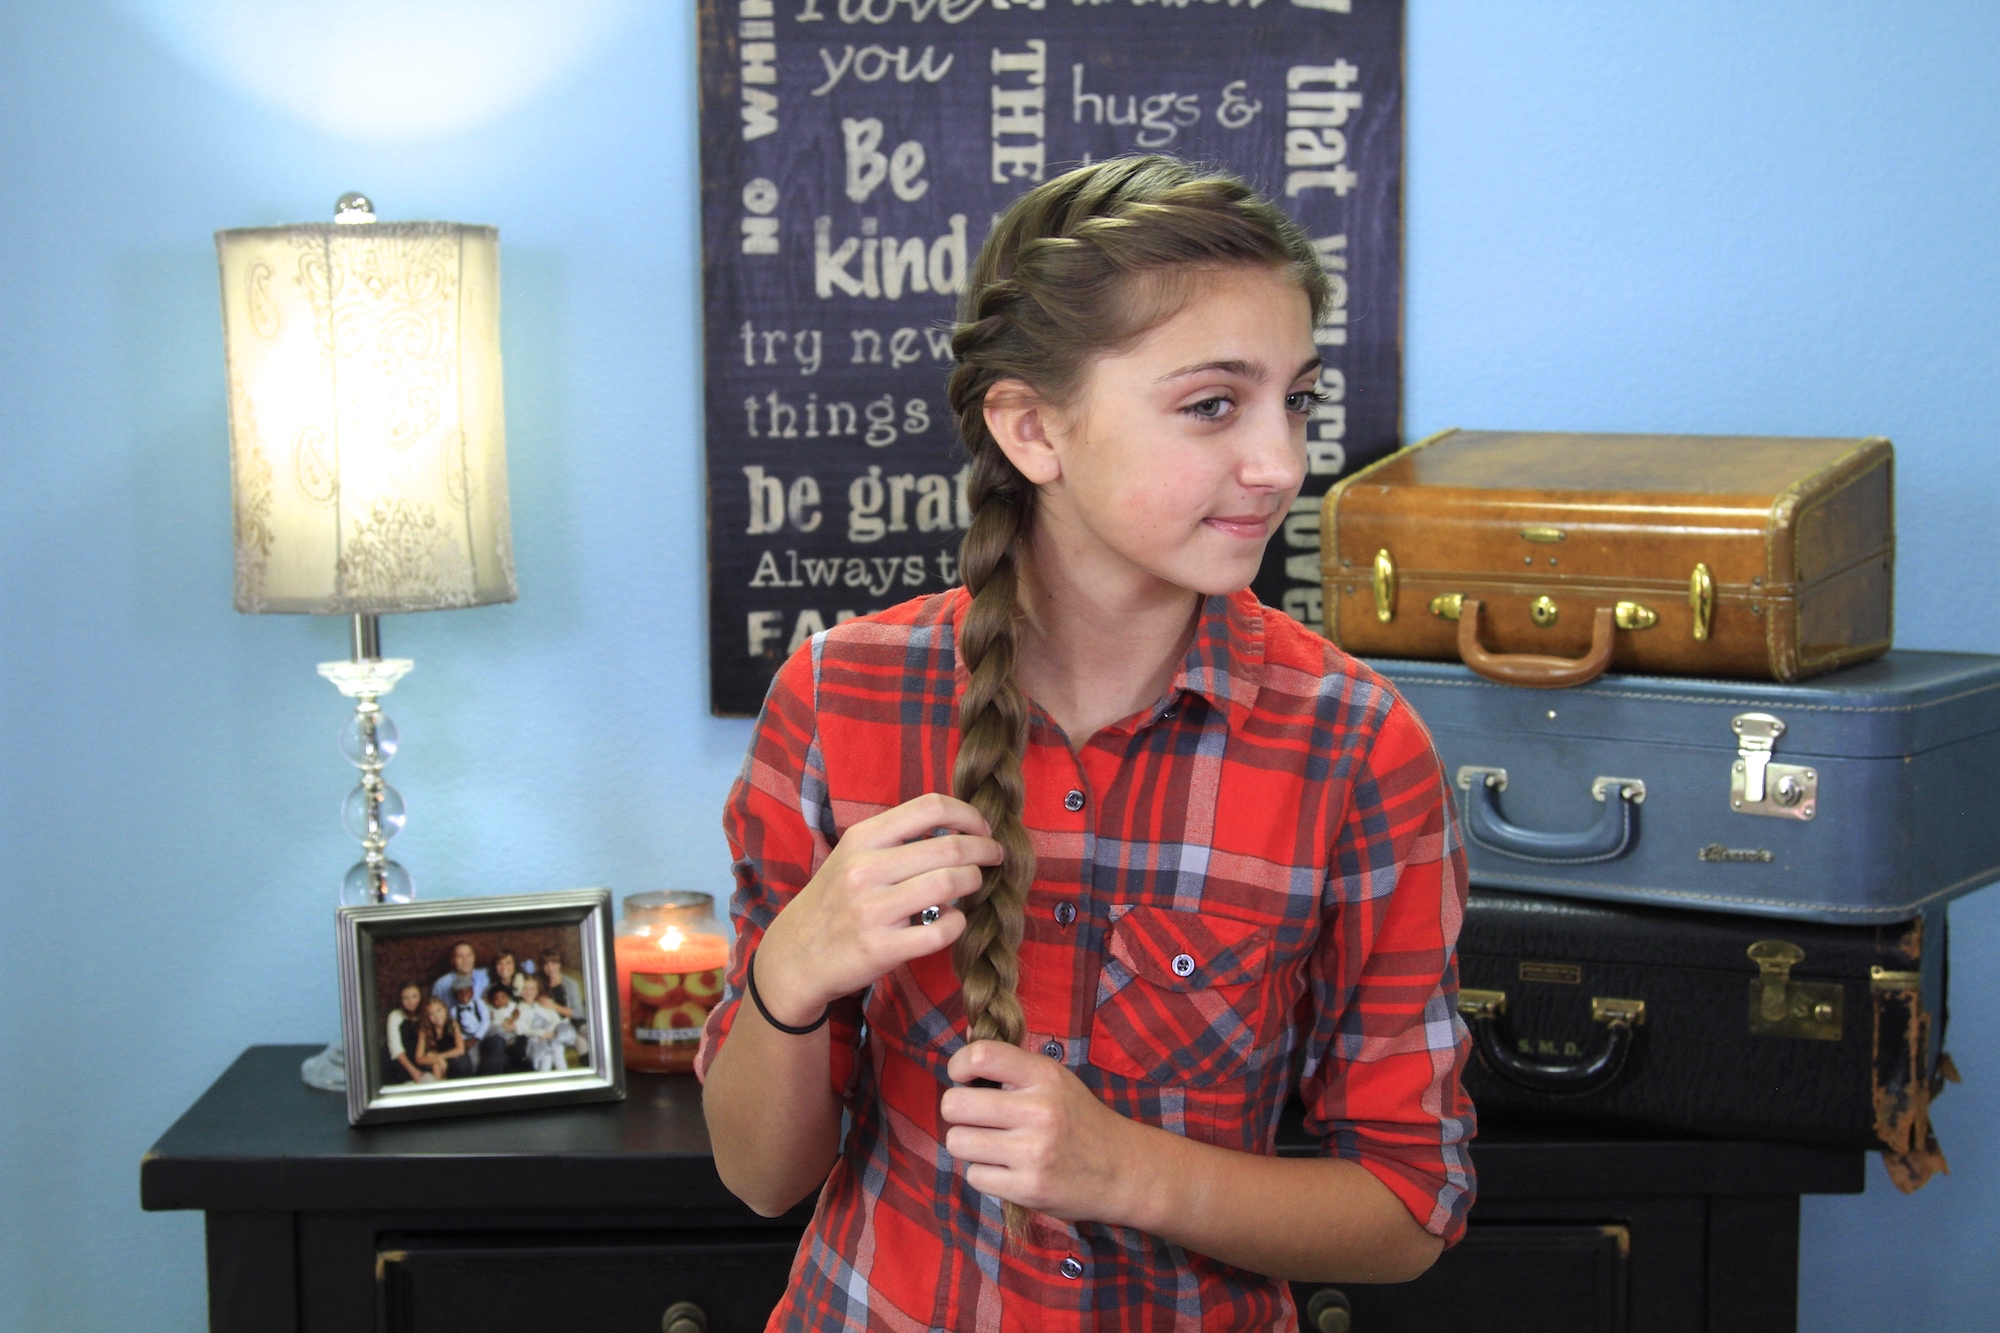
- Then, divide the hair into three even sections and begin a regular 3-strand braid…
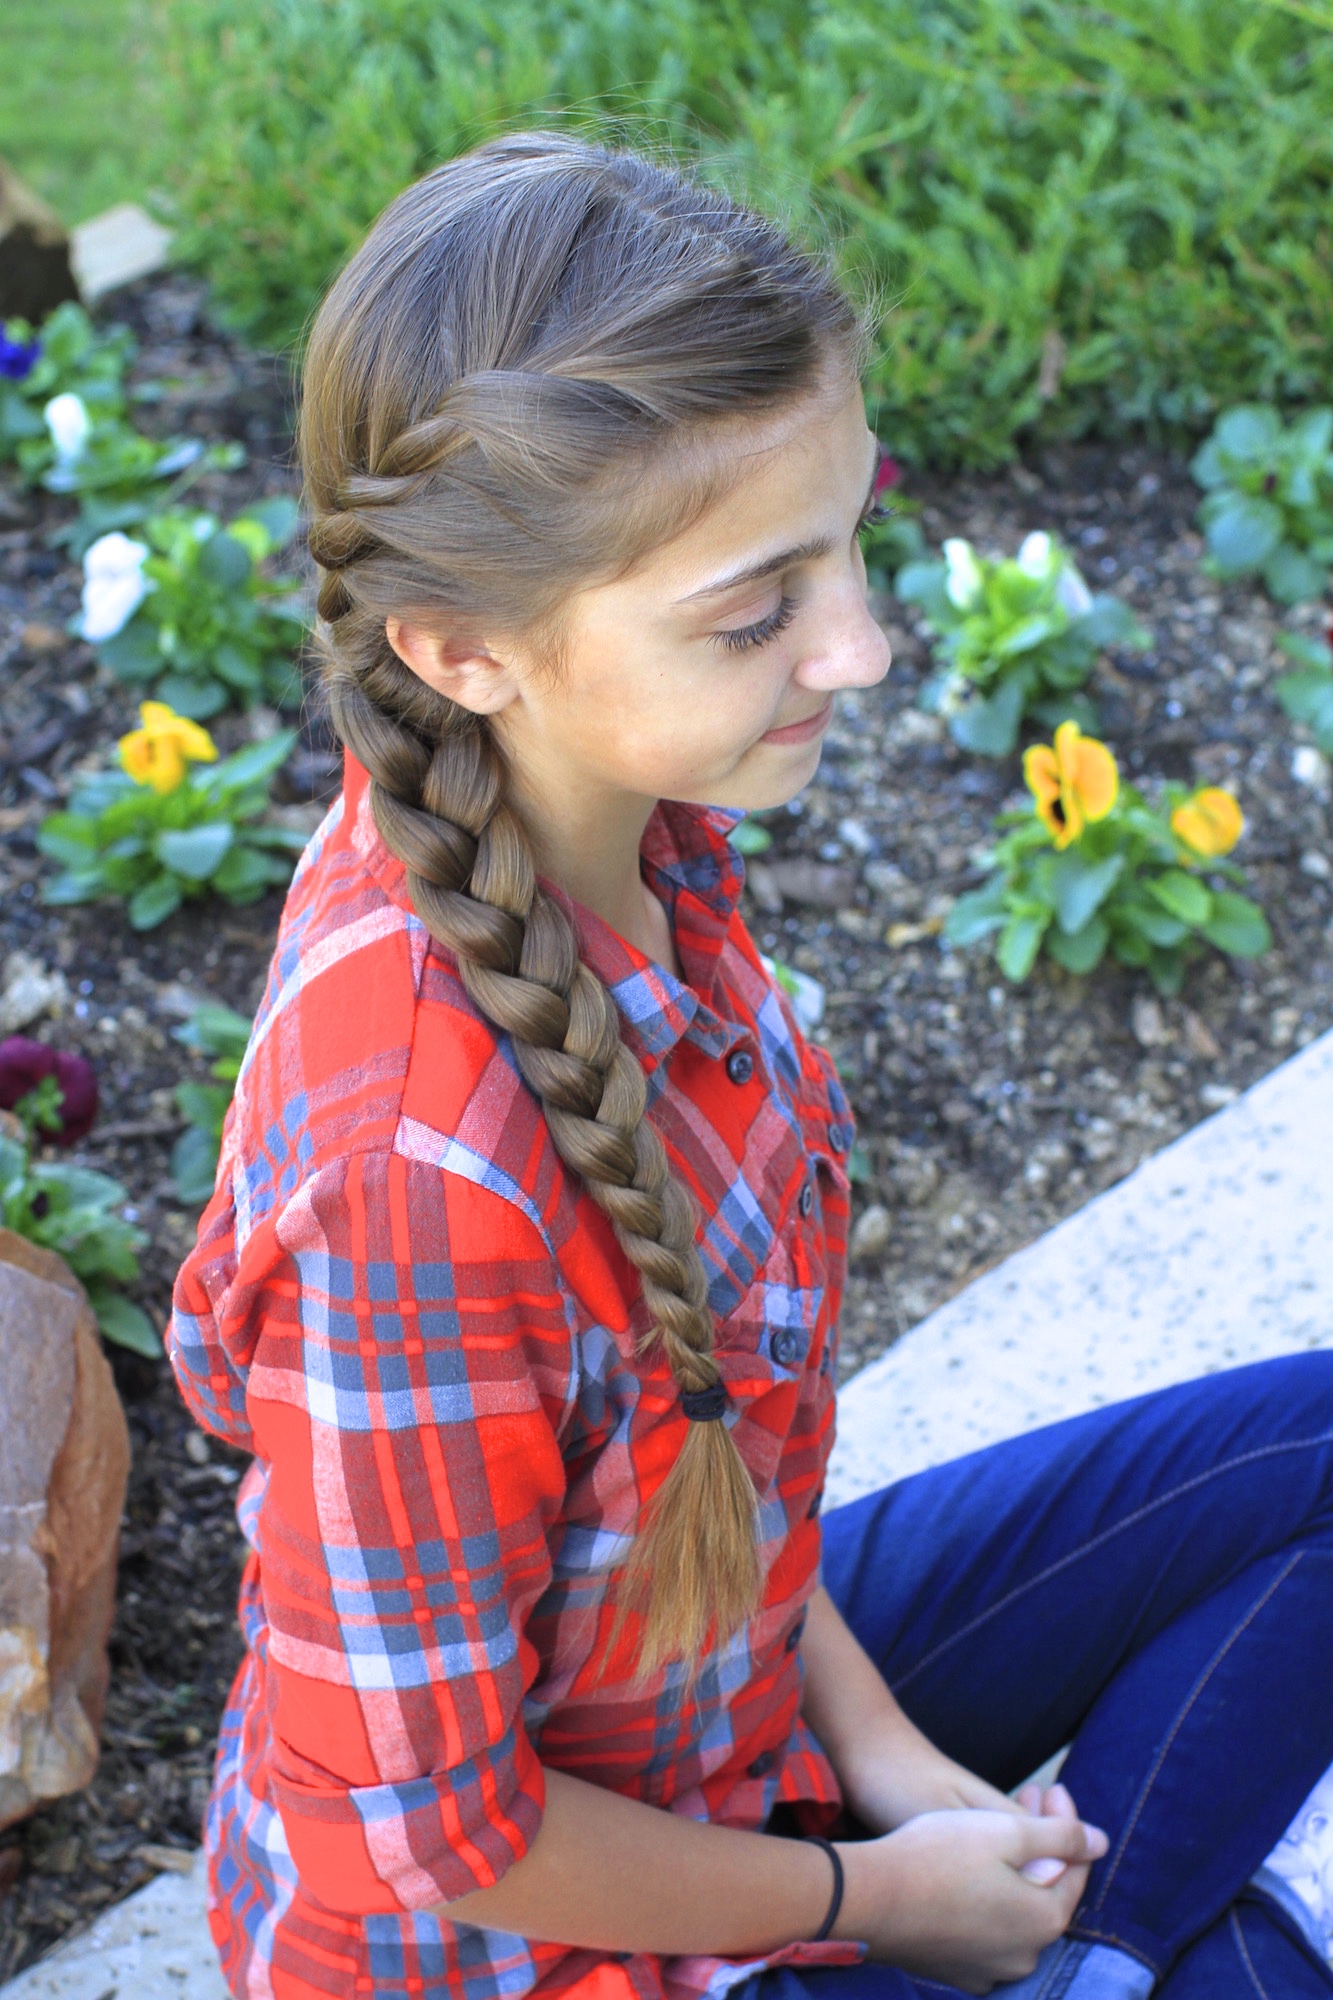
- Continue braiding until you run out of hair and secure with an elastic…
- Add hairspray, if desired.
How did I do? If you would like to see more tutorials from me, Kamri, please be sure to let me know in the comment section below!
Happy Hairdoing!
Click below to watch my sisters, BrooklynAndBailey, teach you how to DIY airbrush crafts at home! Rylan and I loved it!


I really love this hairstyle! It’s quick and simple but looks nice and put together! I do this hairstyle often!
Good job Kamri! 🙂
Since I’ve watched this video a long time ago, this has been my fav go to braid, it’s so easy and simple and I can’t mess it up ???? Thanks Kamri !
I LOVE THIS!!!! It’s simple but so pretty!!!!! Great job Kamri!!!!!!
I love this hairstyle. Can’t wait to try it!
Love this! I wear my hair like this all the time!
Such a simple yet stylish style that only takes a couple minutes! Love doing this for school!
This is a fast, simply and cool style to do everyday!
So pretty and simple!
I love doing this on my own hair! It is super simple after the shower and I love the way it looks after I take it out 🙂
I’ve done this braid sooo many times since I watched it! it’s great!!!
I’ve been doing this for about a month now on my own hair. It’s great and keeps most of my hair out of the way. It’s easy to do and looks way better than a regular old pony. I’m pretty good at doing my daughter’s hair, but I have a hard time doing my own. Can we have more hairstyles like this one that have big impact for the skill level and can be done by the wearer? Thanks!!
PS. I use your site a lot for ideas for my daughter’s hair and she gets a lot of complements at school. She now has to go see the school librarian every day because she wants to see my daughter’s hair!
Simple and super cute!
ISA Professional
Great job Kamri!
Thanks, Katie!