This week’s tutorial is for what we call the Dutch Loop Braid. This isn’t a new hairstyle, but is very beautiful… one that we wanted to learn and teach you today! {I’ve most recently seen a variation from our friend Maya Heart Hairstyles on Instagram.}
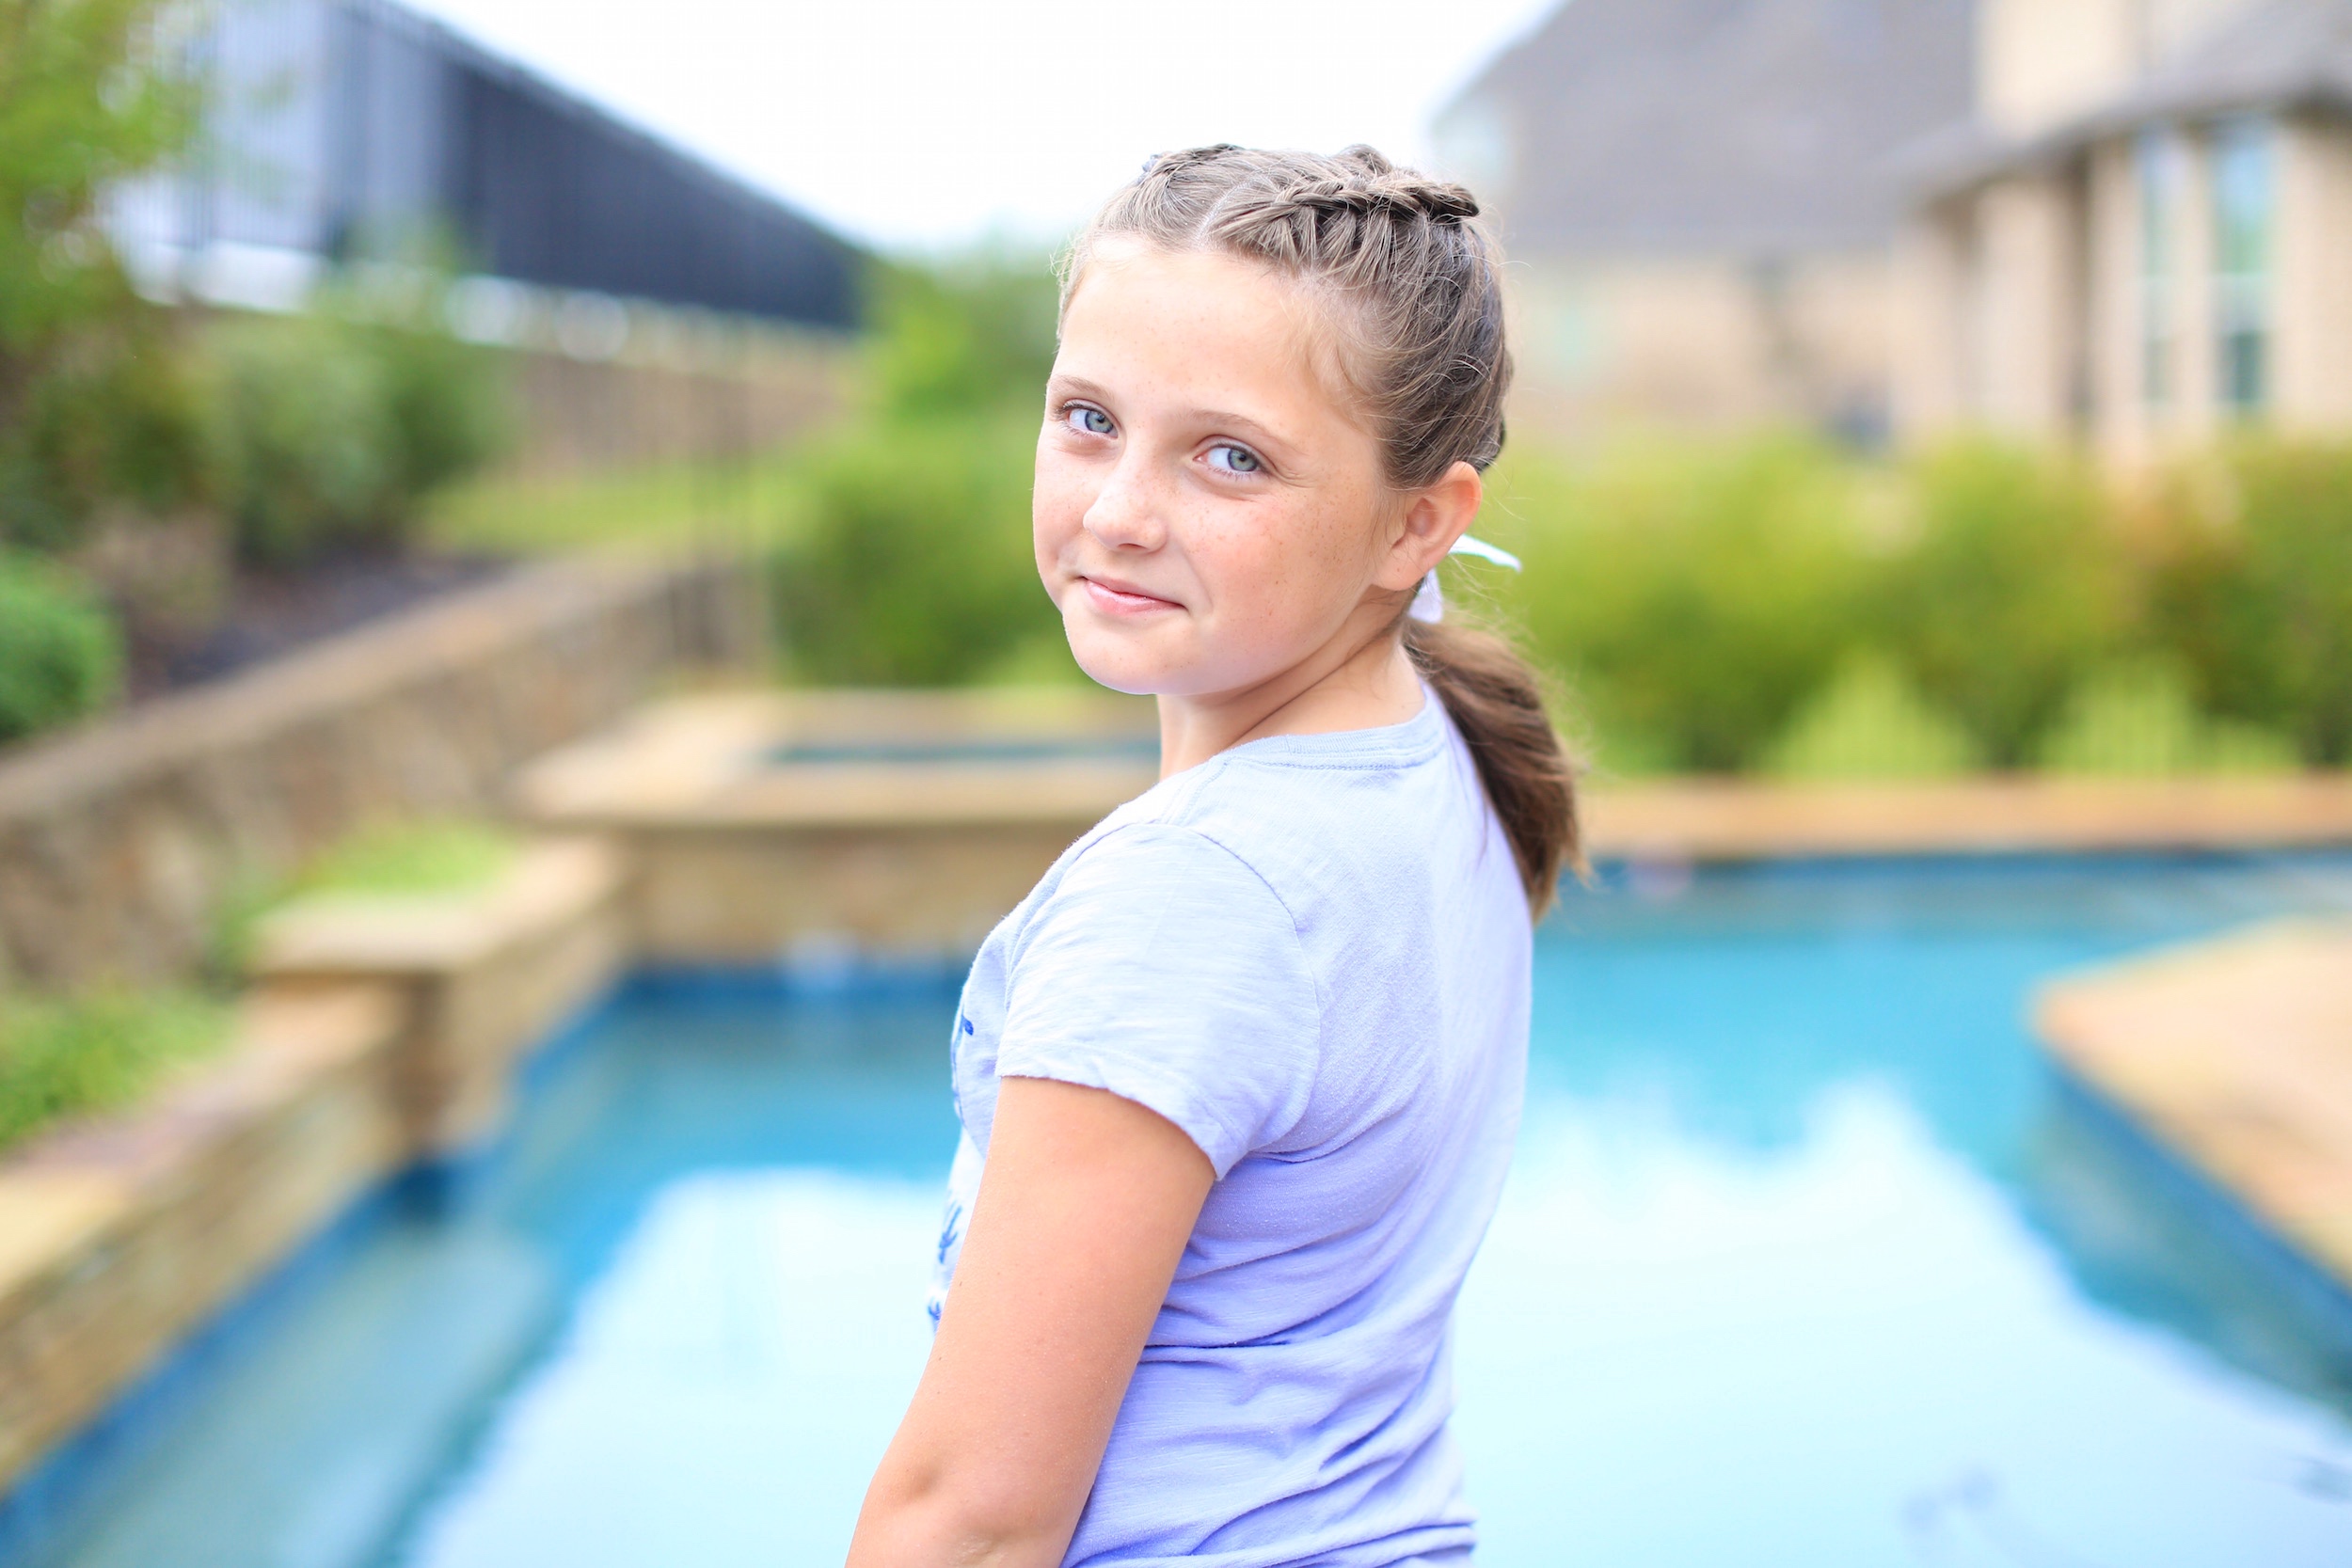
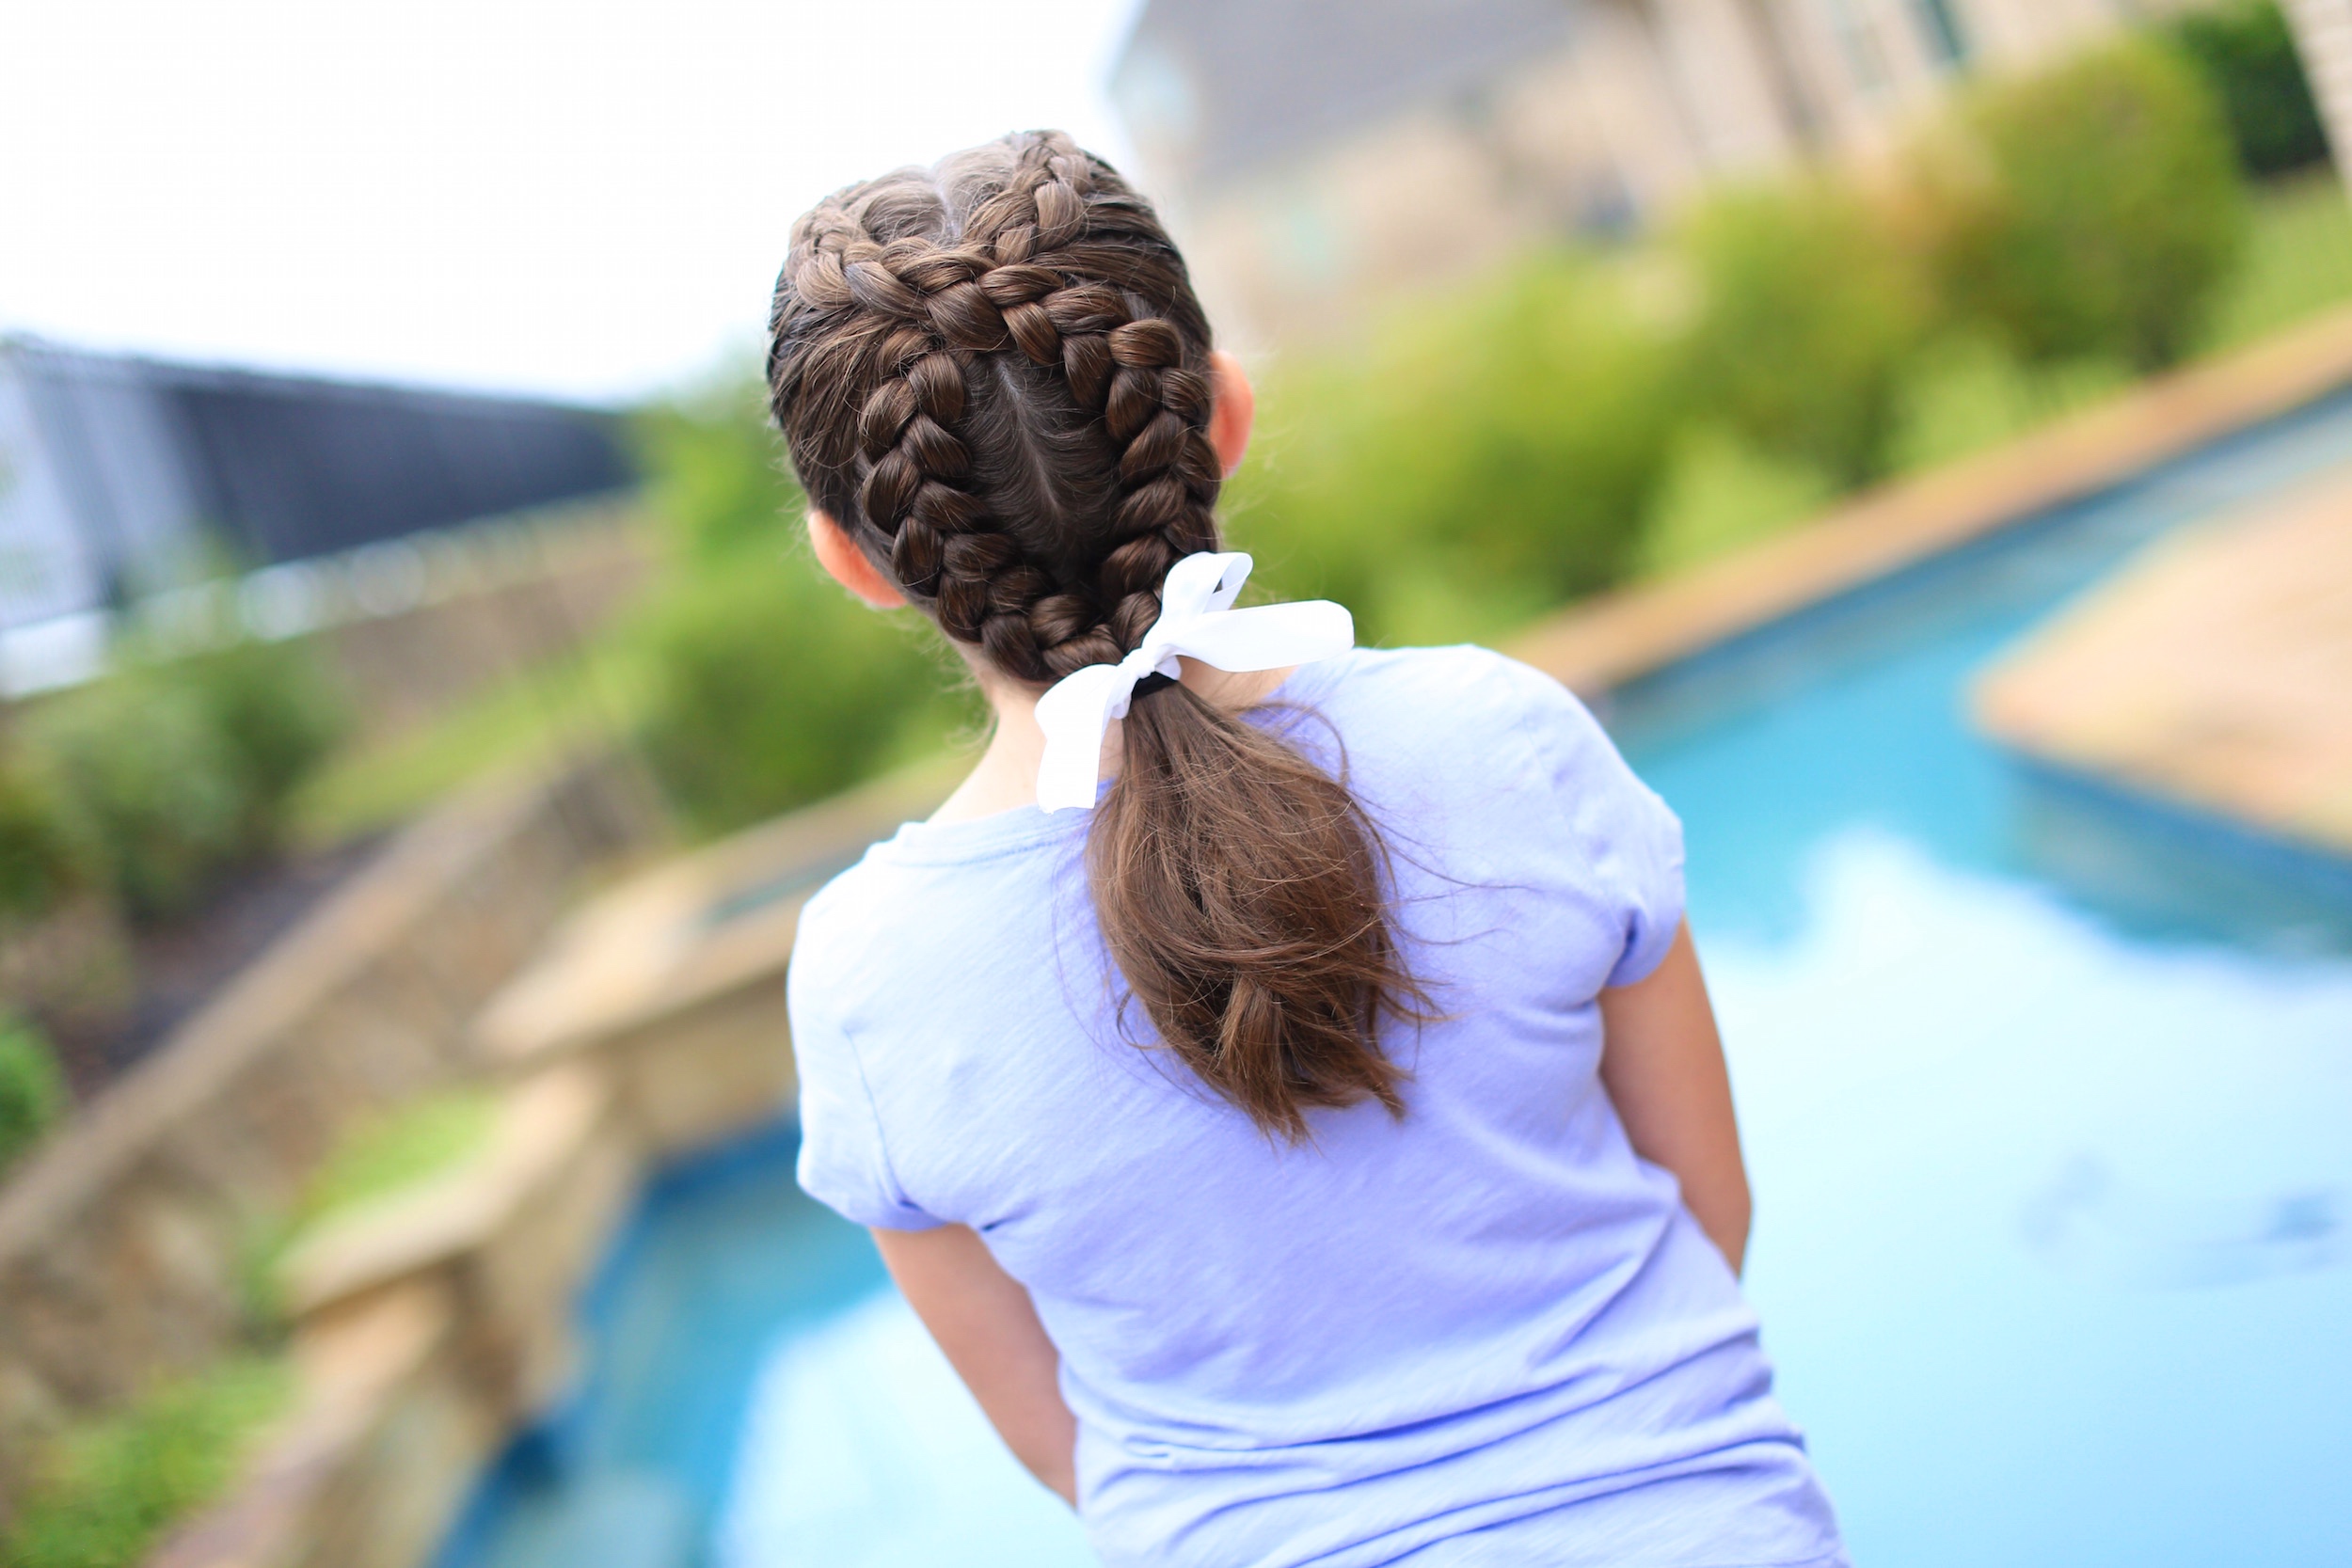 What I love about this Dutch Loop Braid is that it looks like a little like a Christmas wreath without being too over the top. This braid would also be perfect for Breast Cancer Awareness month, since the style also takes the shape of a ribbon.
To see your own photo recreations of this style featured in our app, feel free to tag your photos on IG with: #CGHDutchLoopBraid
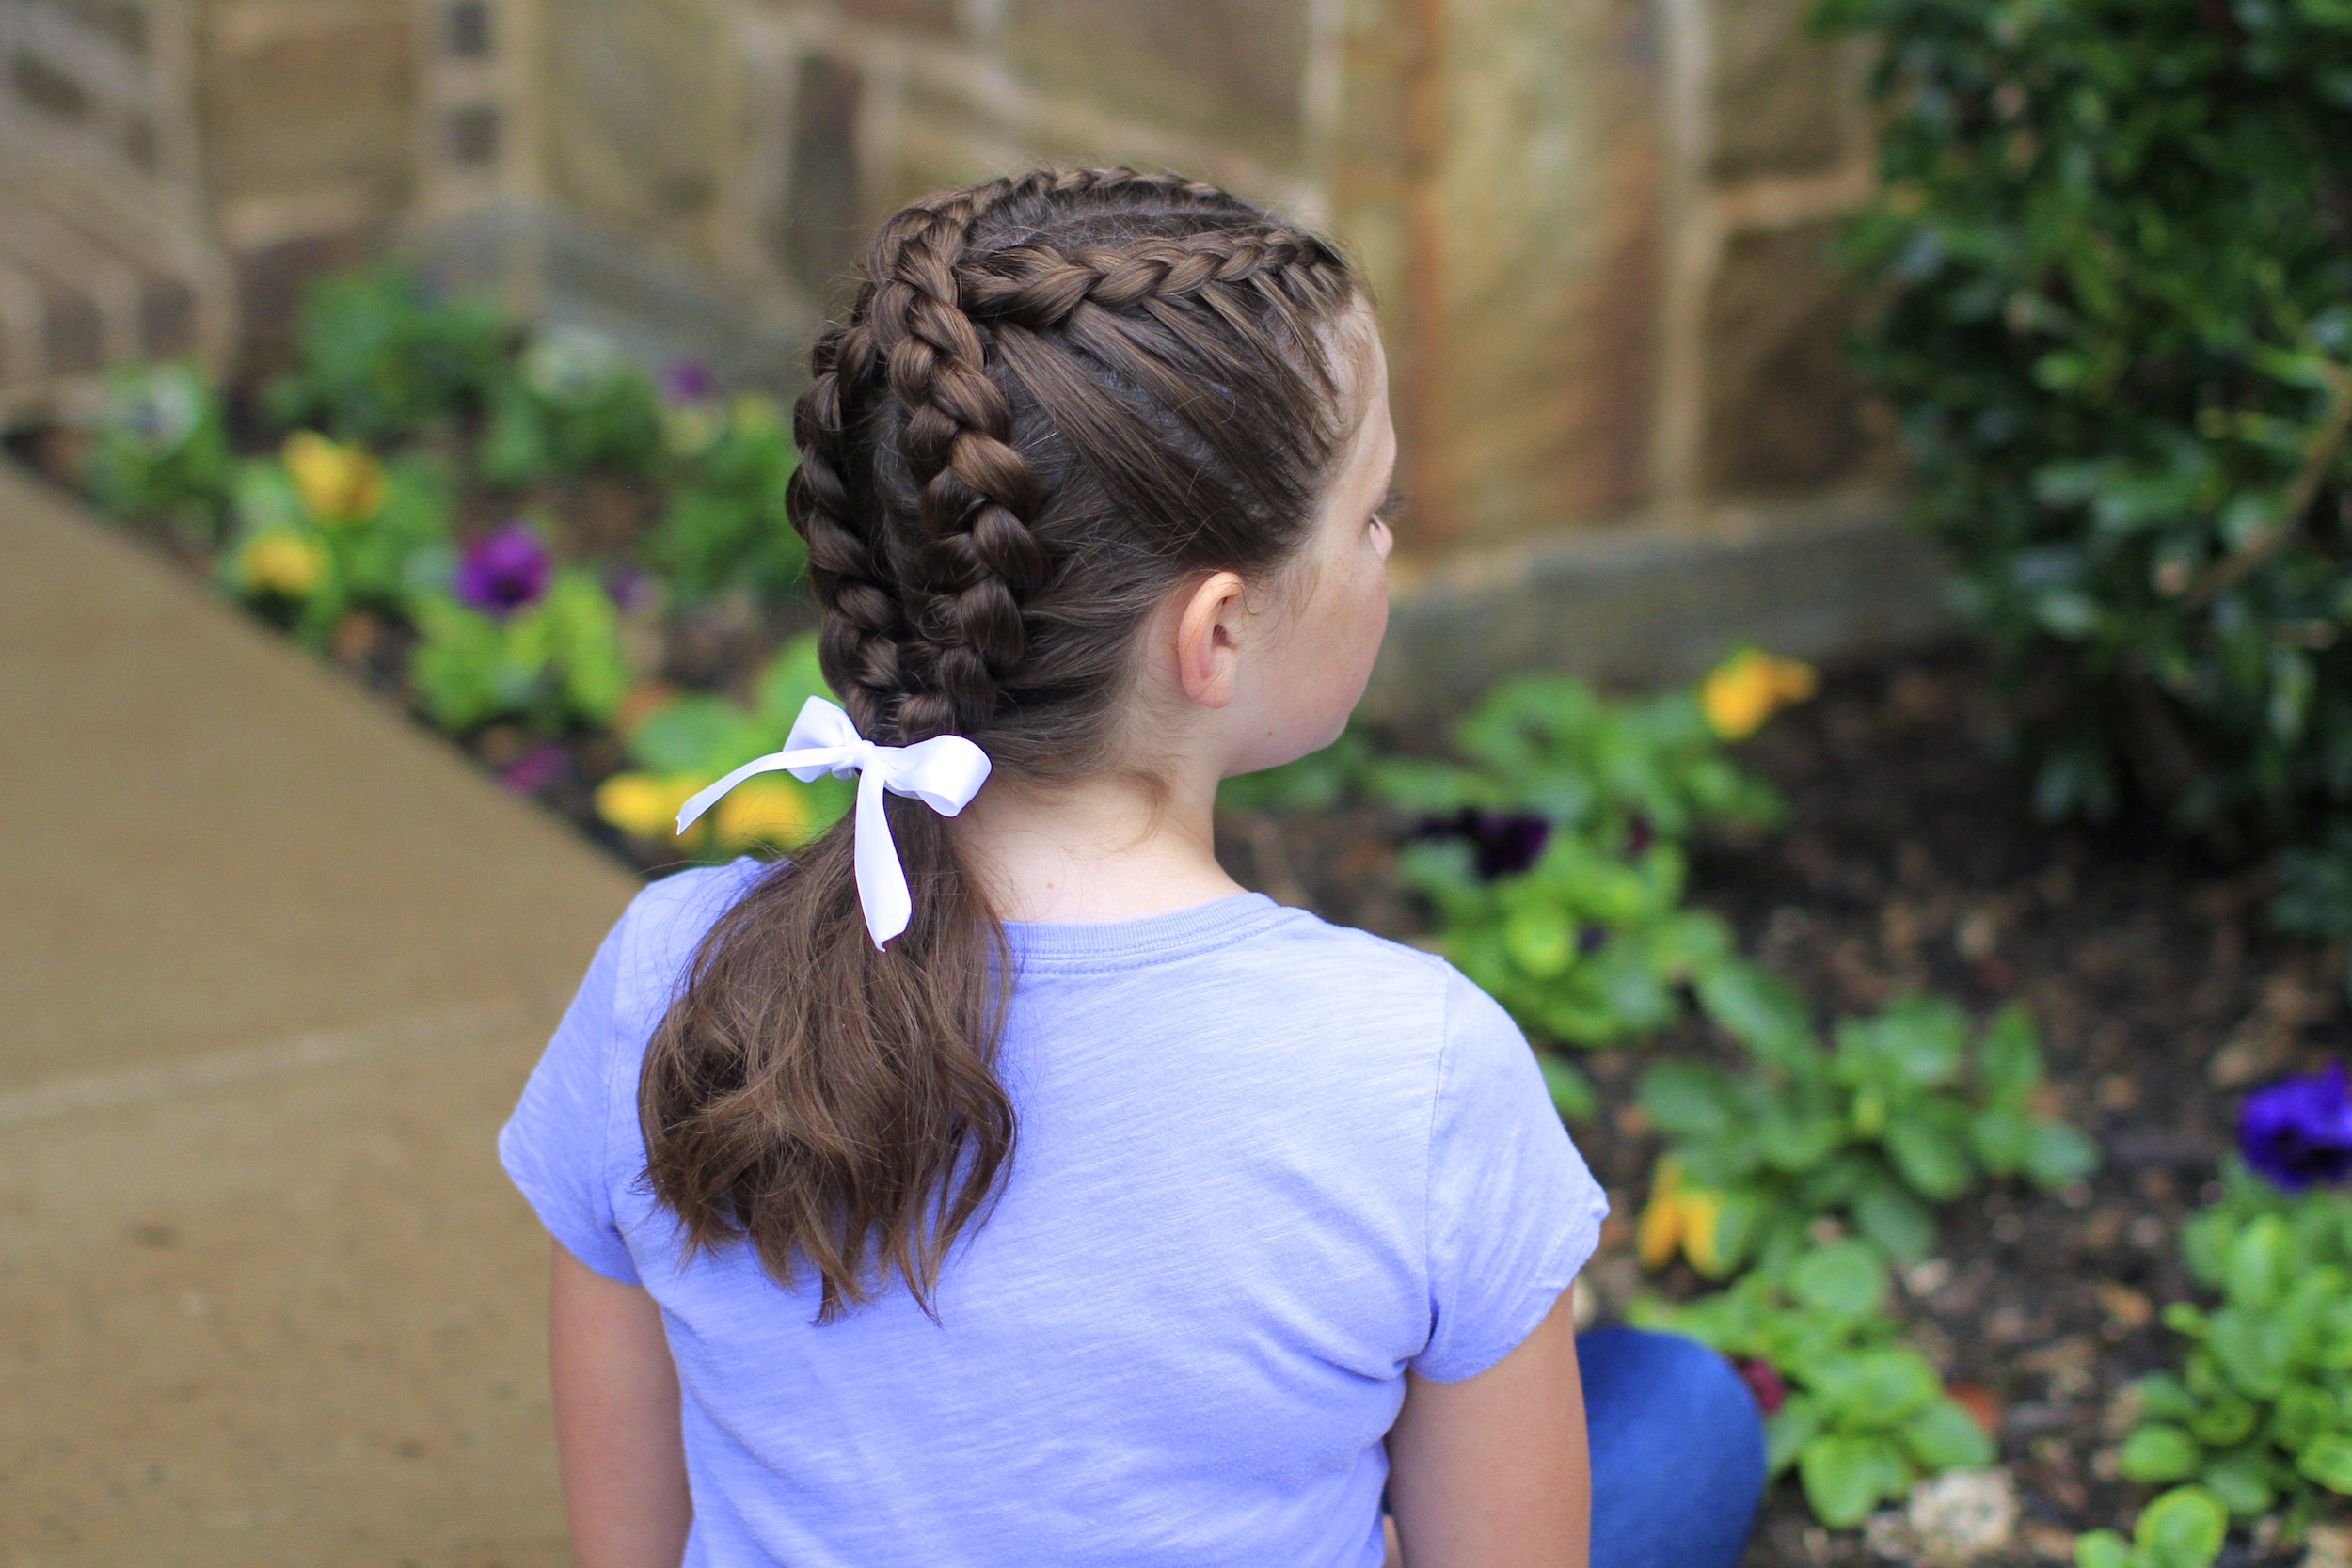
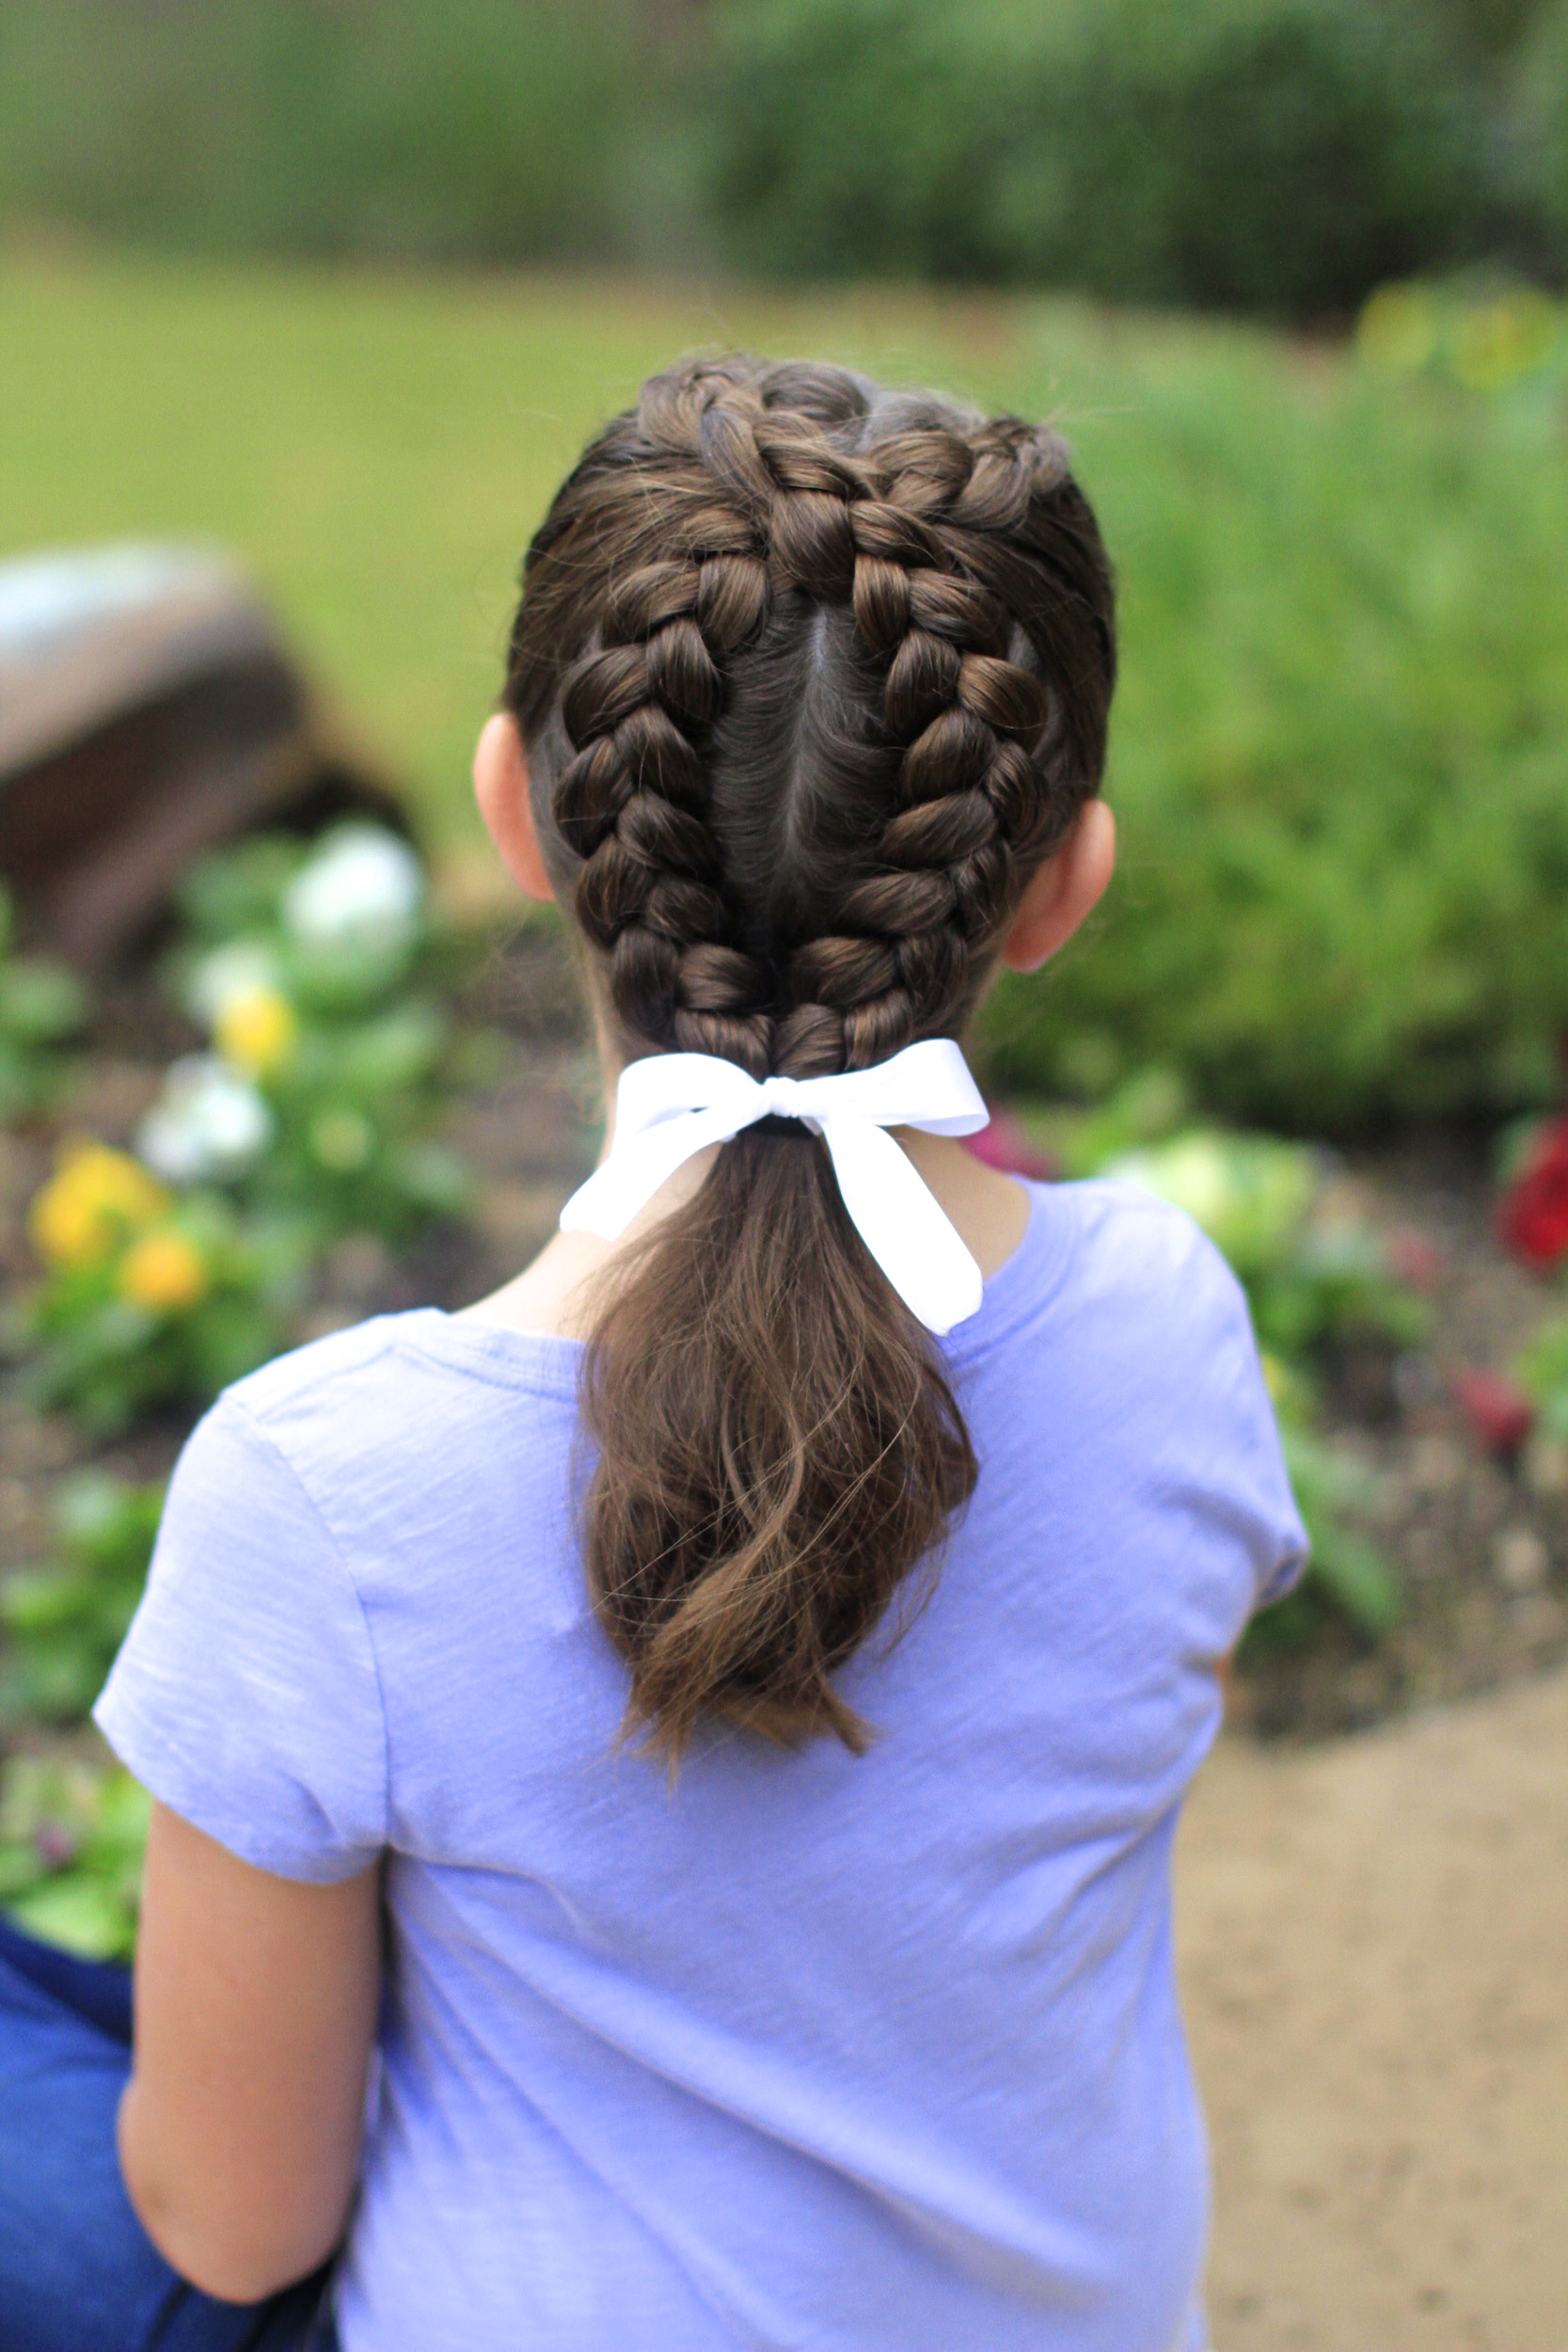
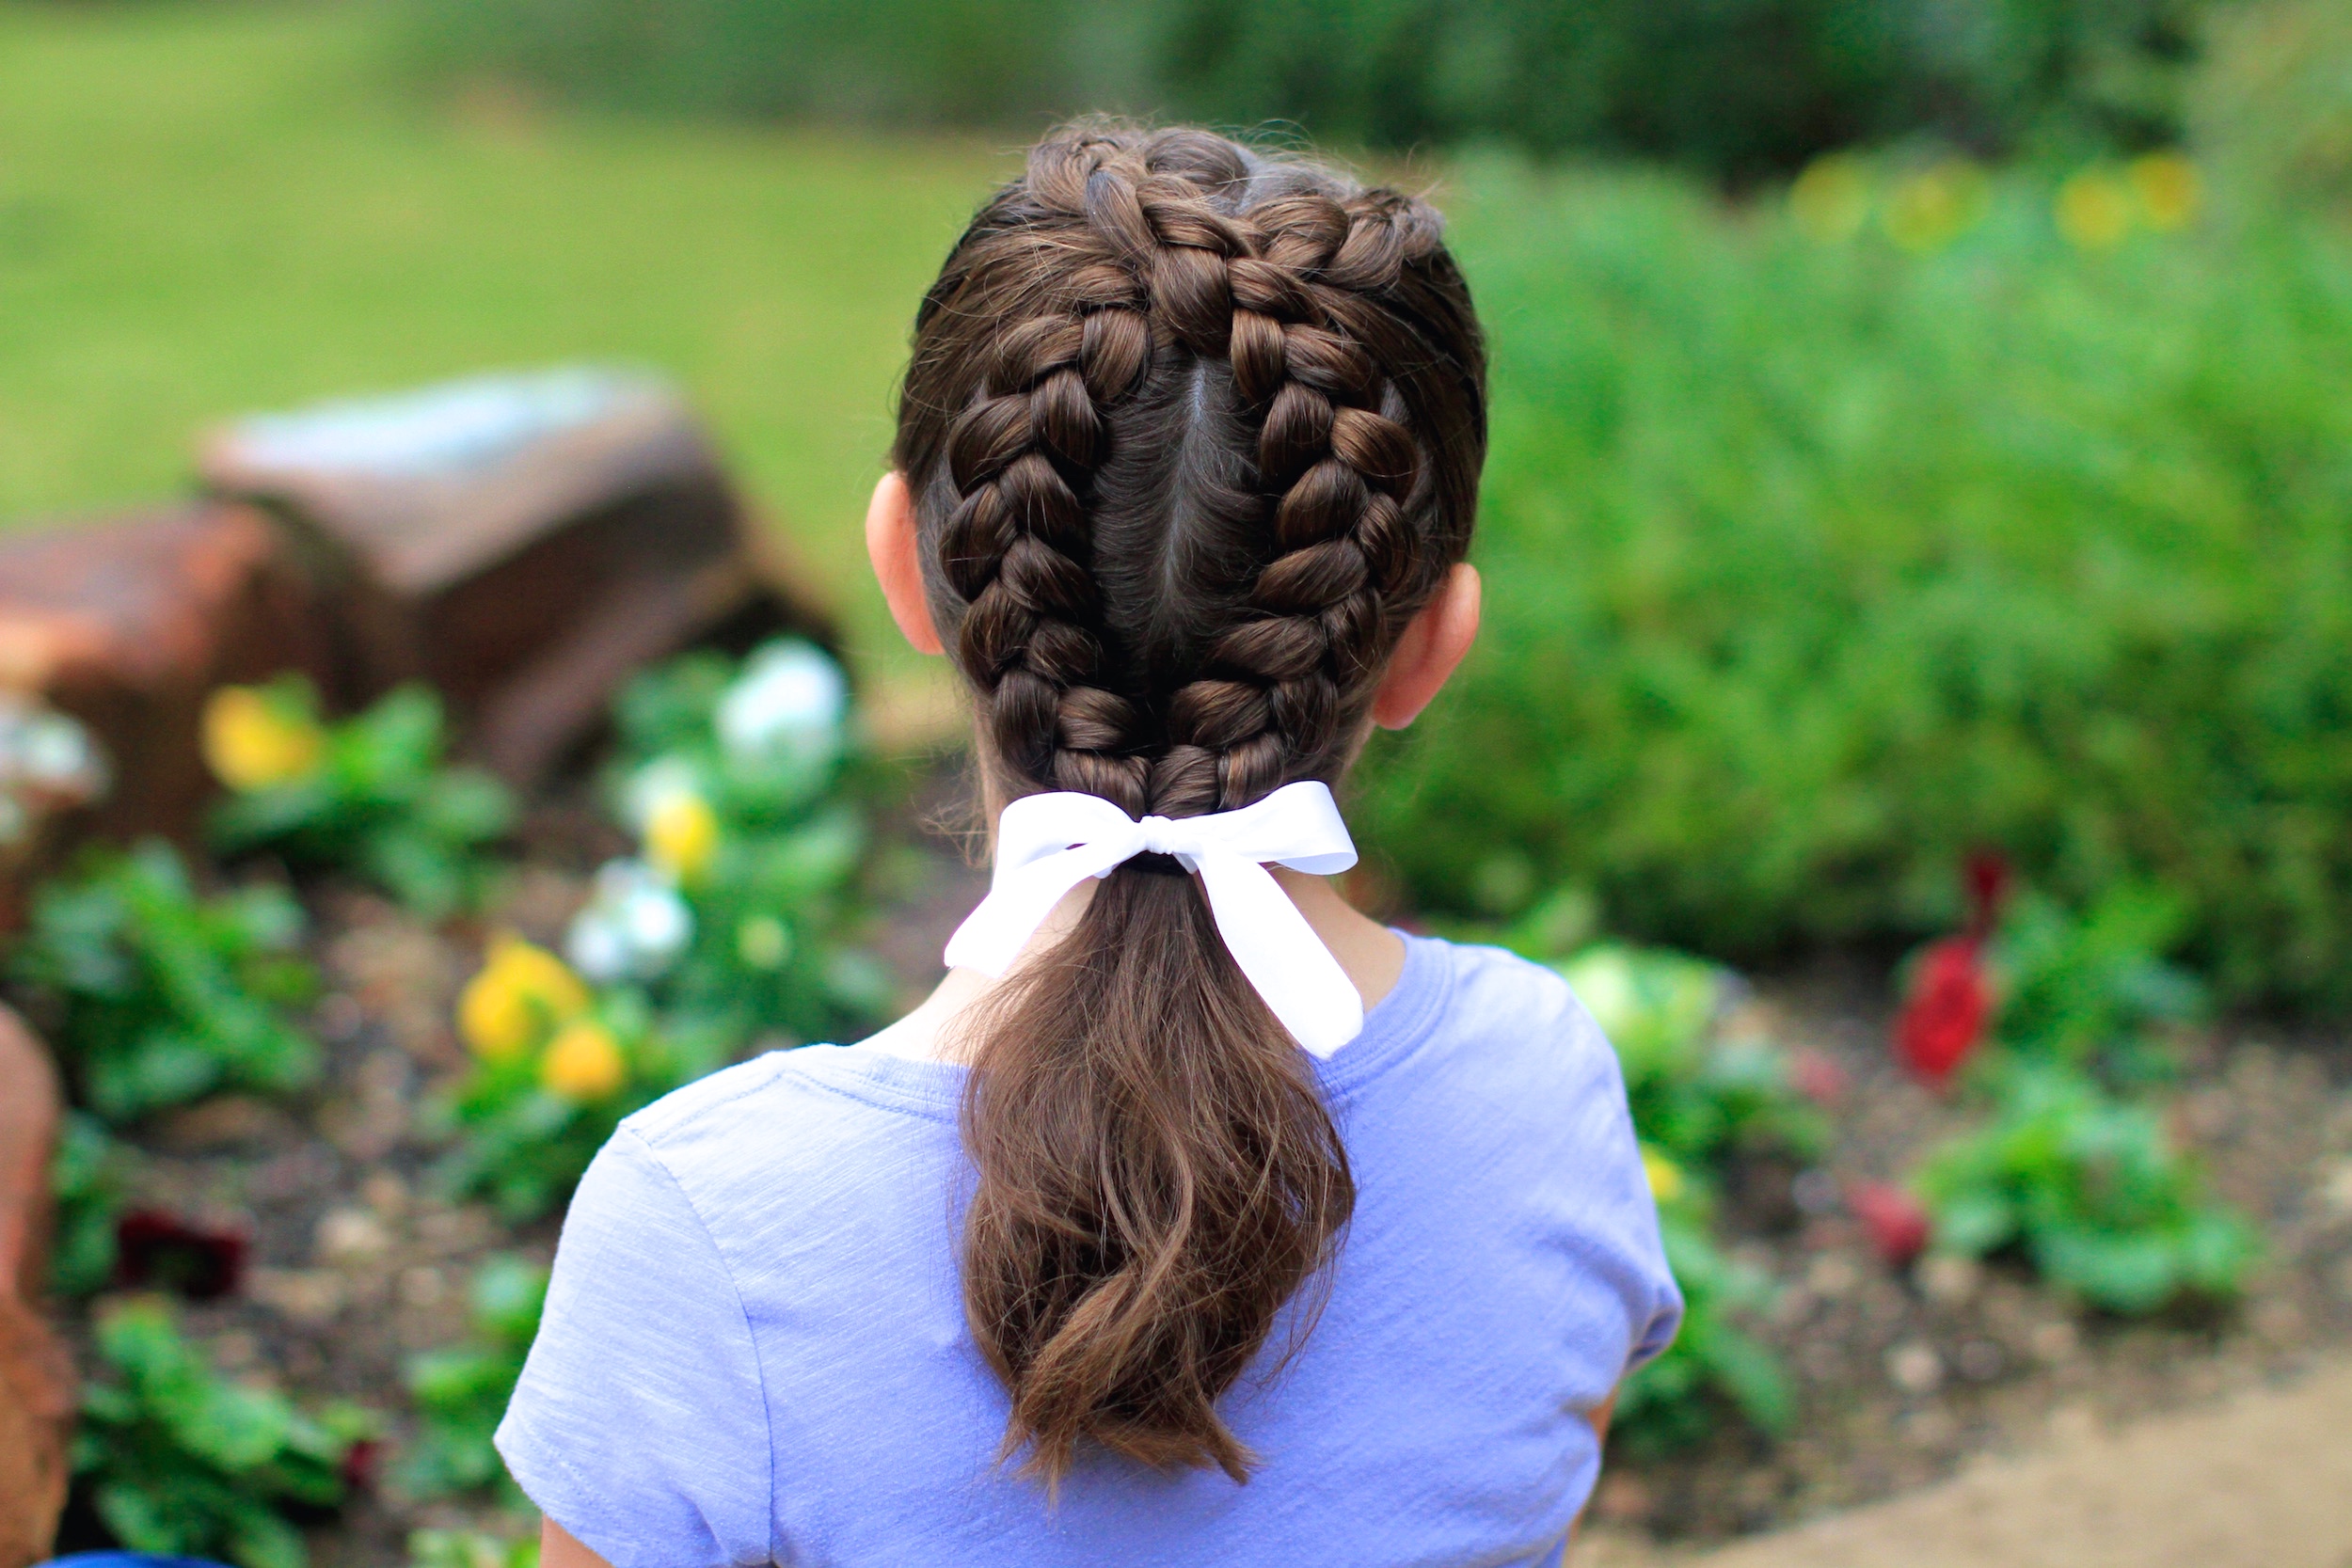 Although most Dutch braids are easy, I categorize this style has hard simply because of the extra care you have to take to wrap and cross the braids in back. This hairstyle is perfect for sports, dance, and gymnastics. It also keeps your hair back tight, out of your face, and holds up very well during an active day.
 Items Needed: Brush, rat-tail comb, spray bottle, 2 small hair elastics, 1 ponytail holder, hairspray and ribbon {if desired}.
Time Requirement: 5-7 minutes
Skill Level: Hard
Video Tutorial:
Step-by-Step Instructions:
- Begin with hair parted down the middle, and then part it from ear to ear to create 4 equal sections…
- Secure the front left section and the back right section temporarily out of the way…
- Now go to the front of the right section and begin a Dutch braid near the temple…
- Run the braid mostly straight back as you add in hair, but when you near the intersection of all the part lines, begin to turn/bend the braid slightly to the left}…
- When you run out of hair in the front right section, begin to add in hair using the hair from the back left section {this means that the Dutch braid will now cross over the part lines and continue diagonally across the back of the head}…
- Continue a few more stitches in the rear-left section and then begin to turn the braid to the right again so that when you run out of hair you in the middle of the base of the head…
- Continue a few stitches of a normal braid and then secure temporarily with an elastic…
- Go back to the front of your front left section and begin another Dutch braid near the temple.
- Run the braid mostly straight back as you add in hair, but when you near the intersection of all the part lines, begin to turn/bend the braid slightly to the right}…
- When you run out of hair in this section, begin to add in hair from the back right section {this means that your Dutch braid will cross over the one from before}…
- Continue a few more stitches in the rear-right section and then begin to turn the braid to the left again so that when you run out of hair you are again at the middle of the base of the head, meeting the other braid…
- Secure the two braids together with a ponytail holder, and add hairspray and accessory {if desired}.
If you loved this video, please be sure leave us a comment below!
Happy Hairstyling!
For a good laugh, see what our family did one day when we were bored including a few super funny bonus shots! You can find the video on BrooklynAndBailey’s YouTube channel, or by clicking below:


I like it when you do hairstyles on Rylan. I have done this hairstyle and it was easy and nice.
Love it. Did it on my sis and it worked out perfectly!
I love this hairstyle.
This hairstyle is super cute and easy to do.. Any one of any age can rock this hairstyle.
That kid is pretty much the cutest.