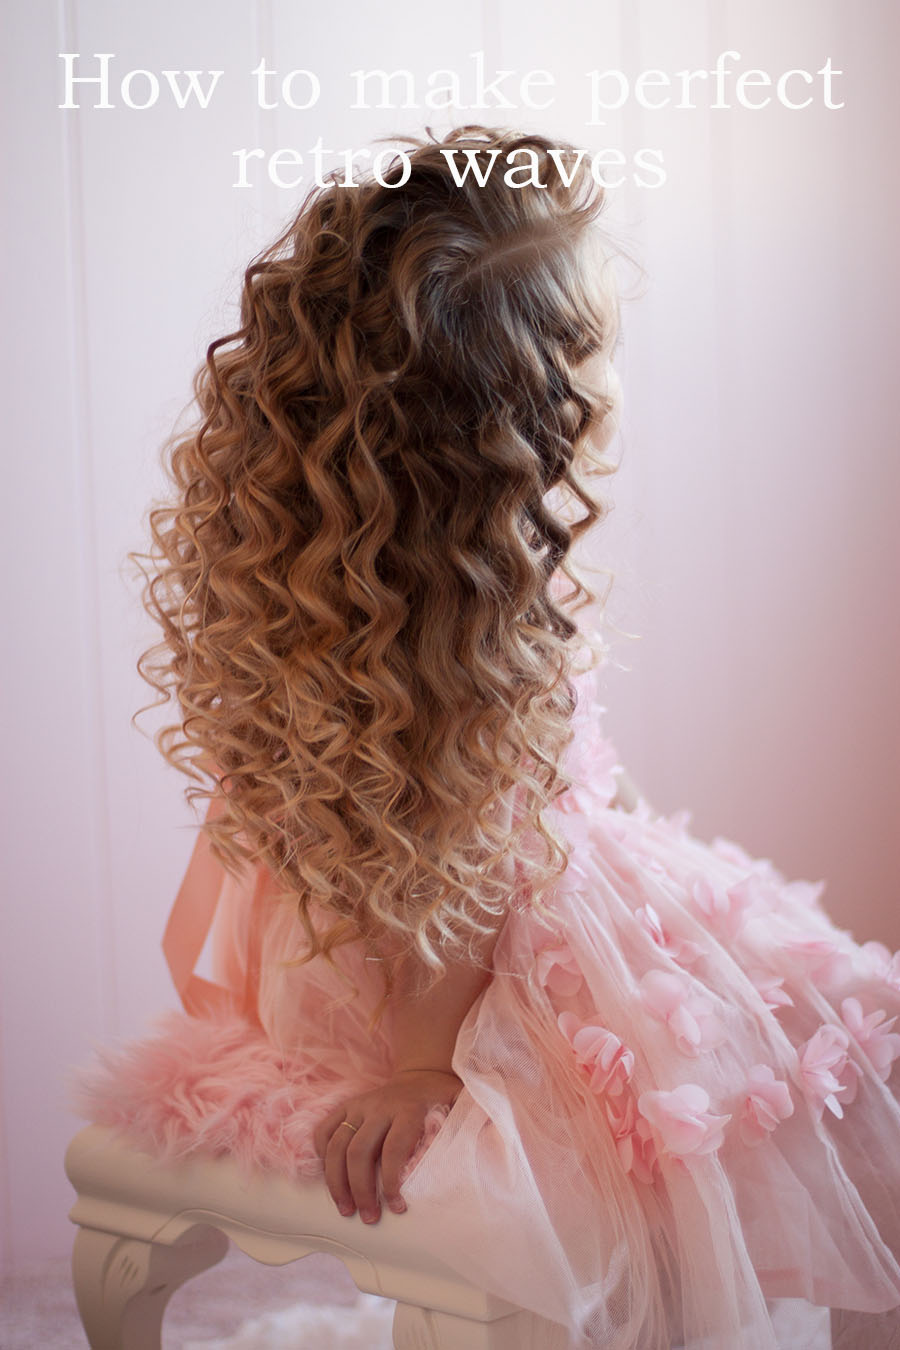
Hello! It’s Katie, again, with AbellasBraids! We’ve been getting a ton of requests for a tutorial on these retro waves, so I thought I’d finally get to it! These waves are perfect for any special occasion and you can customize them in many different ways, which I’ll show you right now!
I like to start out with freshly washed hair so it will last as long as possible! My daughter, Charlie (in the photos) is usually able to wear these curls for up to three days. This depends, of course, how careful I am to pull it back when she eats! 😉
Supplies Needed:
Curling Iron/Wand: The most crucial part is the size of curling iron/wand you use. If you don’t already have one, you will want to get yourself a 1/2″ curling iron. You can use other irons/wands but the effect won’t be the same. You want a nice tight curl so after brushing it out, you’ll have the perfect sized wave.
Comb: You’ll also need some kind of comb with a pointed edge for taking your sections out nice and tidy.
Brush: A boar bristle brush is the best type for creating a soft look to your curls but you can also use a paddle brush (this will be demonstrated later).
Clips: You’ll need a few clips for sectioning the hair and keeping it tidy while you work.
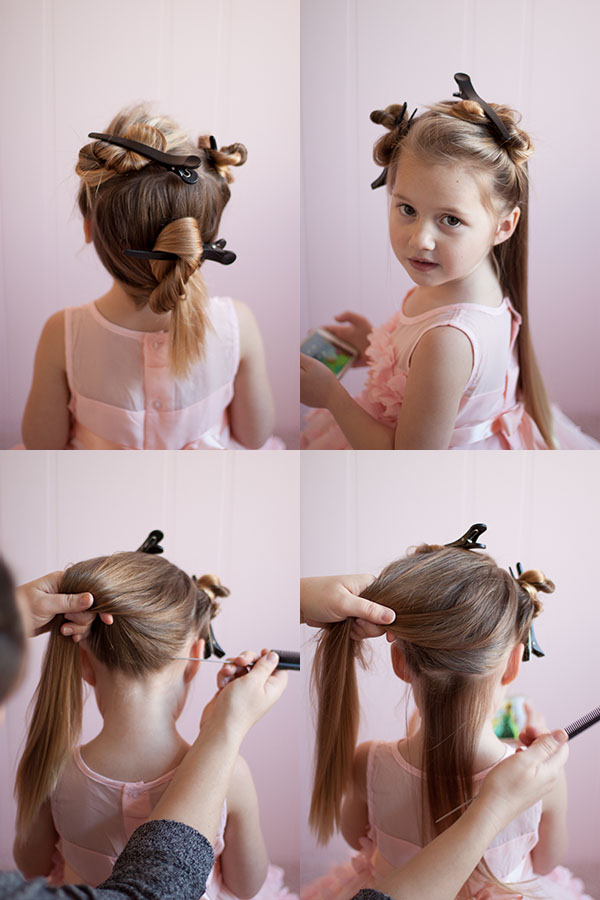
Section the hair into three pieces. Part the hair where you normally would on top, then take a section from the part down to just behind the ear on each side. The bottom section does not need to be clipped right away, I just wanted to show you the sections clearly. Next, take your comb and take a slice of hair out of the bottom that is 1/2″ long. Clip the remaining hair from that section back to keep it out of the way while you work.
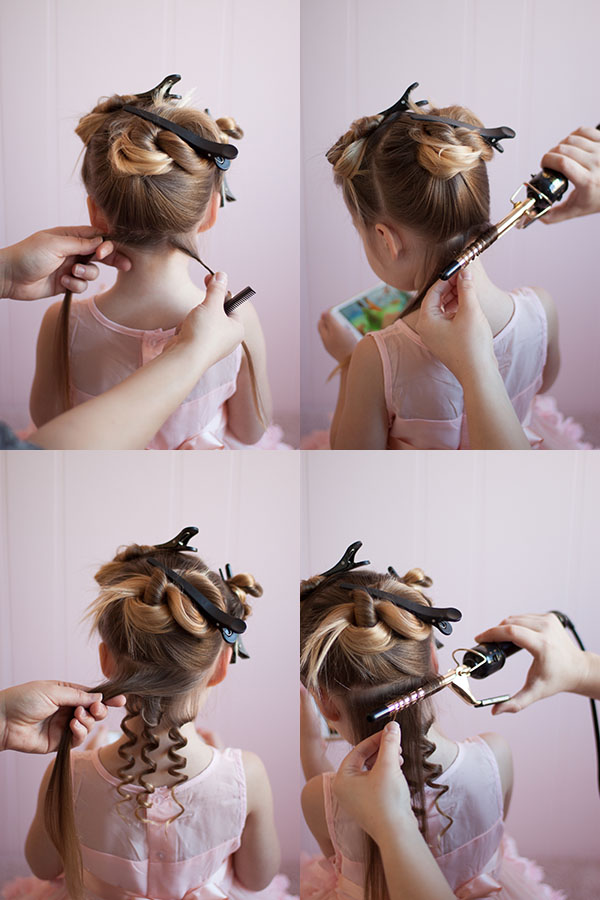
From that 1/2″ section you just took out, take another one 1/2 wide (top left) The rule of the curling is, your section should be a square the same size as your iron. So if you are using a 1″ curling iron, you want to curl 1″ sections. Another tip on curling is that the hair has to go around the barrel 2 1/2 times in order to make a full curl.
Now, whether you are using a curling iron or a wand, you are going to treat it like a wand. Do not use the spring, just wrap the hair around the whole thing. I have my thumb on the spring out of habit but I’m not actually using it.
I like to curl all of the head going the same direction so the waves go all the way around and there is no breaking point. So on one side of the face, the curl will be going toward it and the other side, away from it. To be sure your curls are going the same direction, when making your curls, make sure the bottom end of the iron is always up or always down, depending on how you are most comfortable holding it.
Curl the entire head this way! It’s going to take a while because you are using such small sections, but I guarantee, this is what makes the difference in the look and the hold! It took us about 30 minutes to curl Charlie’s. Thank goodness she’s so patient!
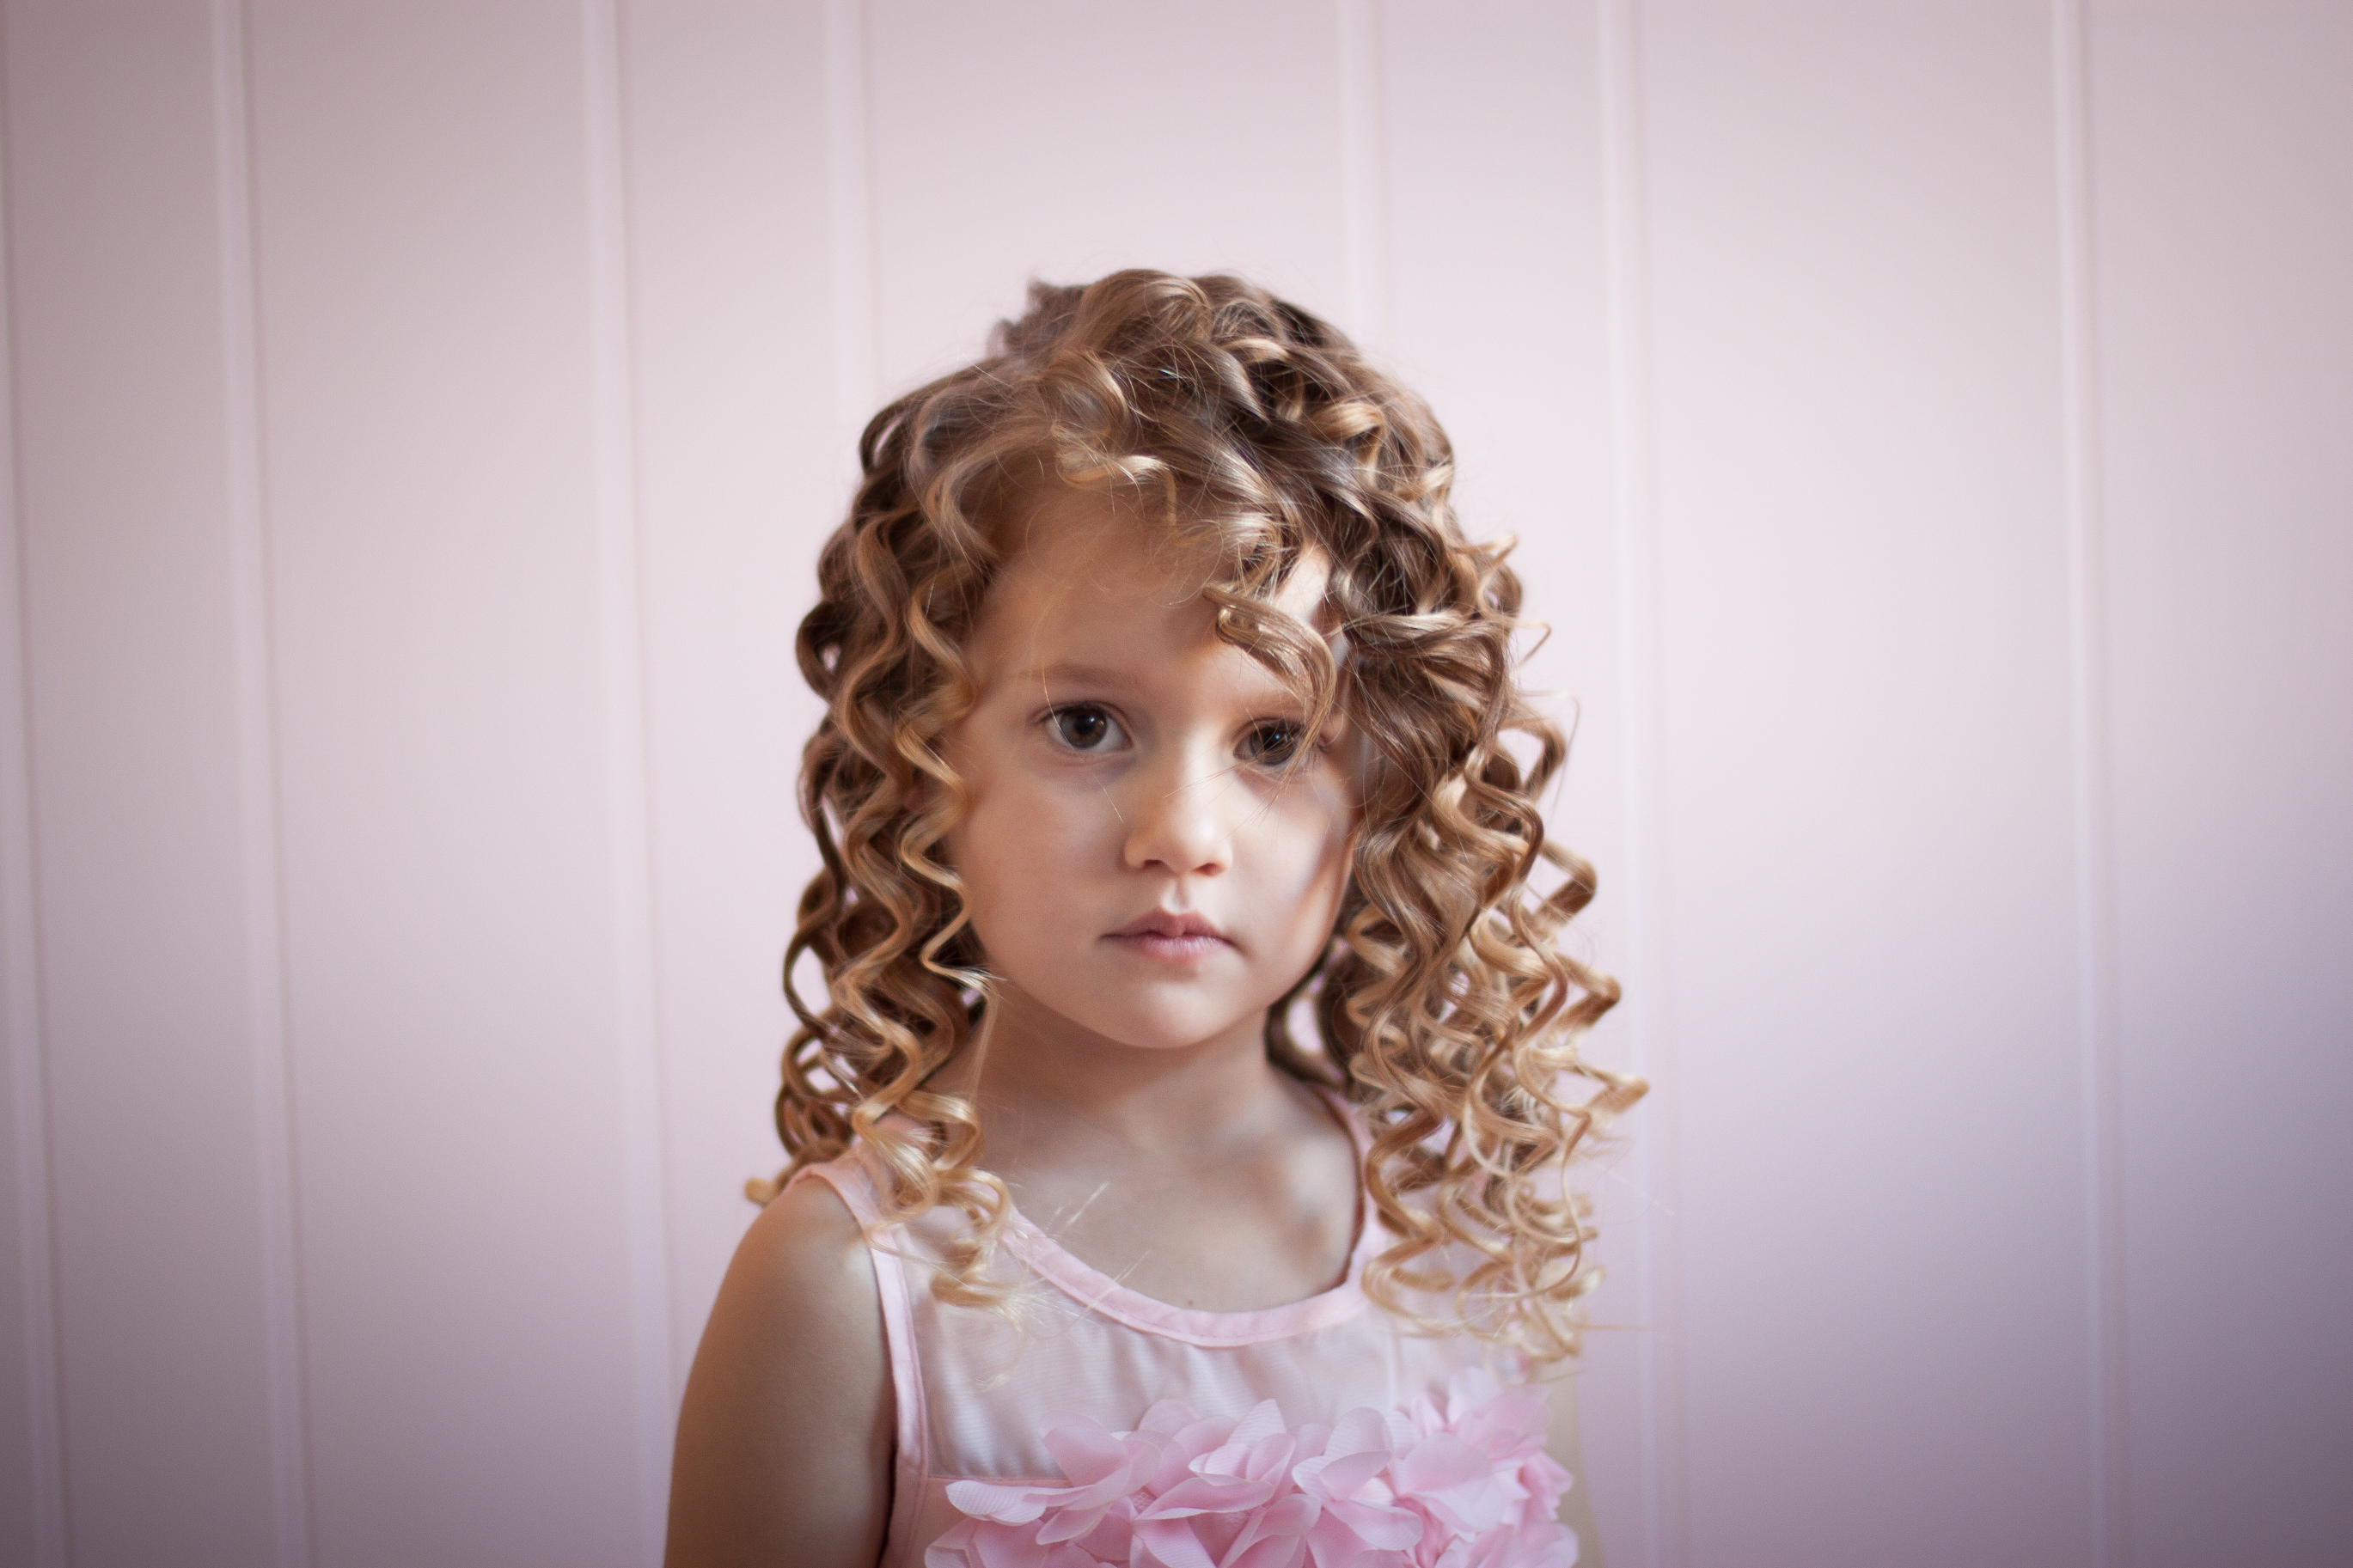
This is what the curls look like when you’re finished curling! They are super bouncy and fun! There are a few different ways you can finish it off when you are ready.
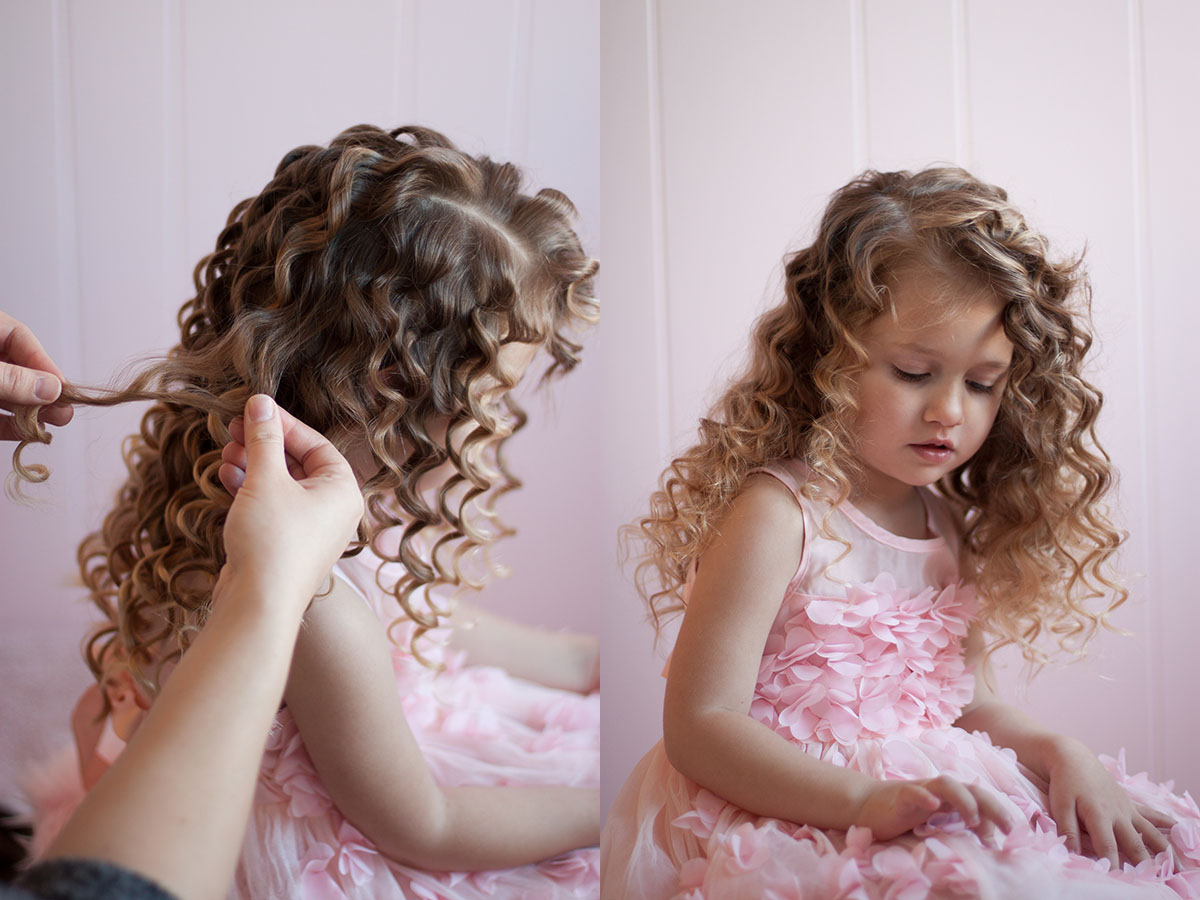
For a high volume look, take each curl one at a time, hold it at the very bottom and gently pull on the edges to fan them out and separate them a little.
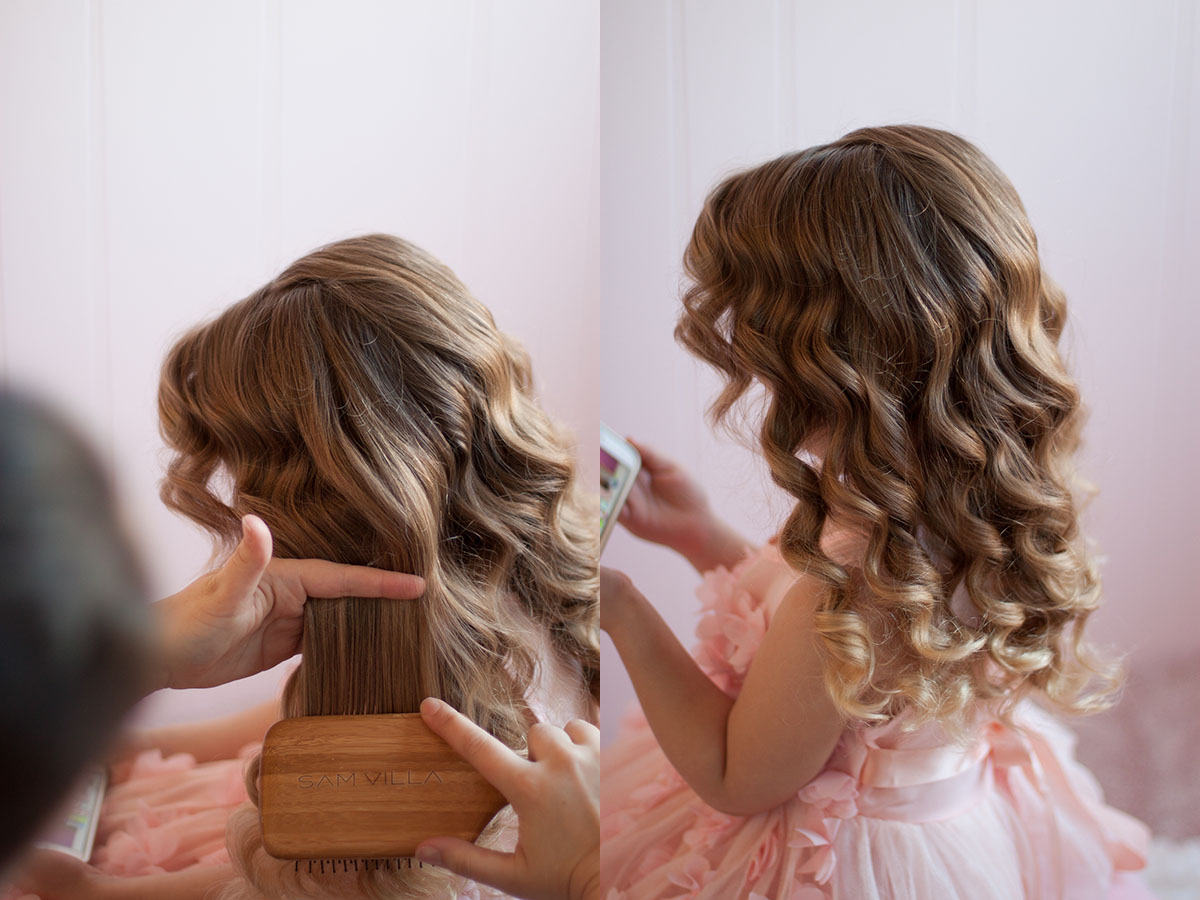
If you want a softer but more separated look, try using a paddle brush!
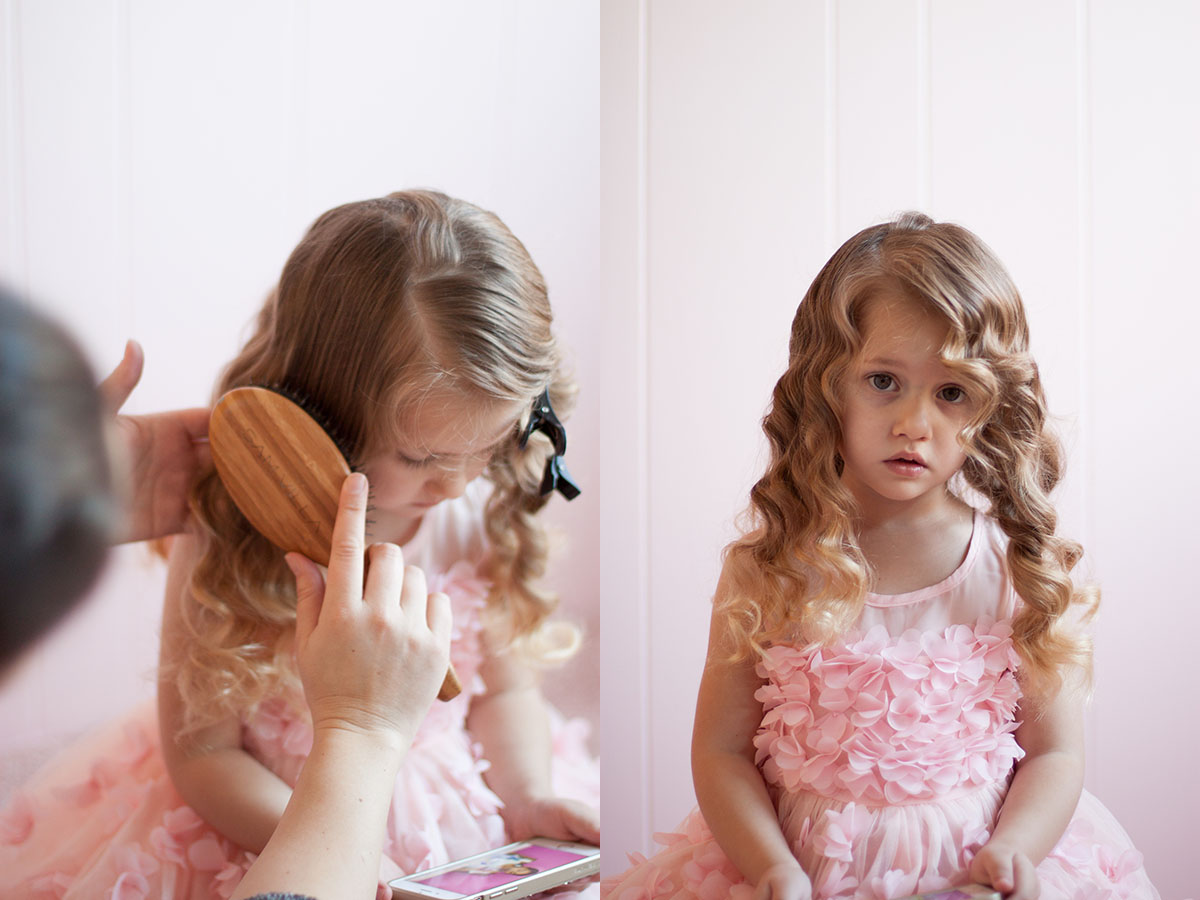
For a soft, romantic look, brush it out with a boar bristle brush.
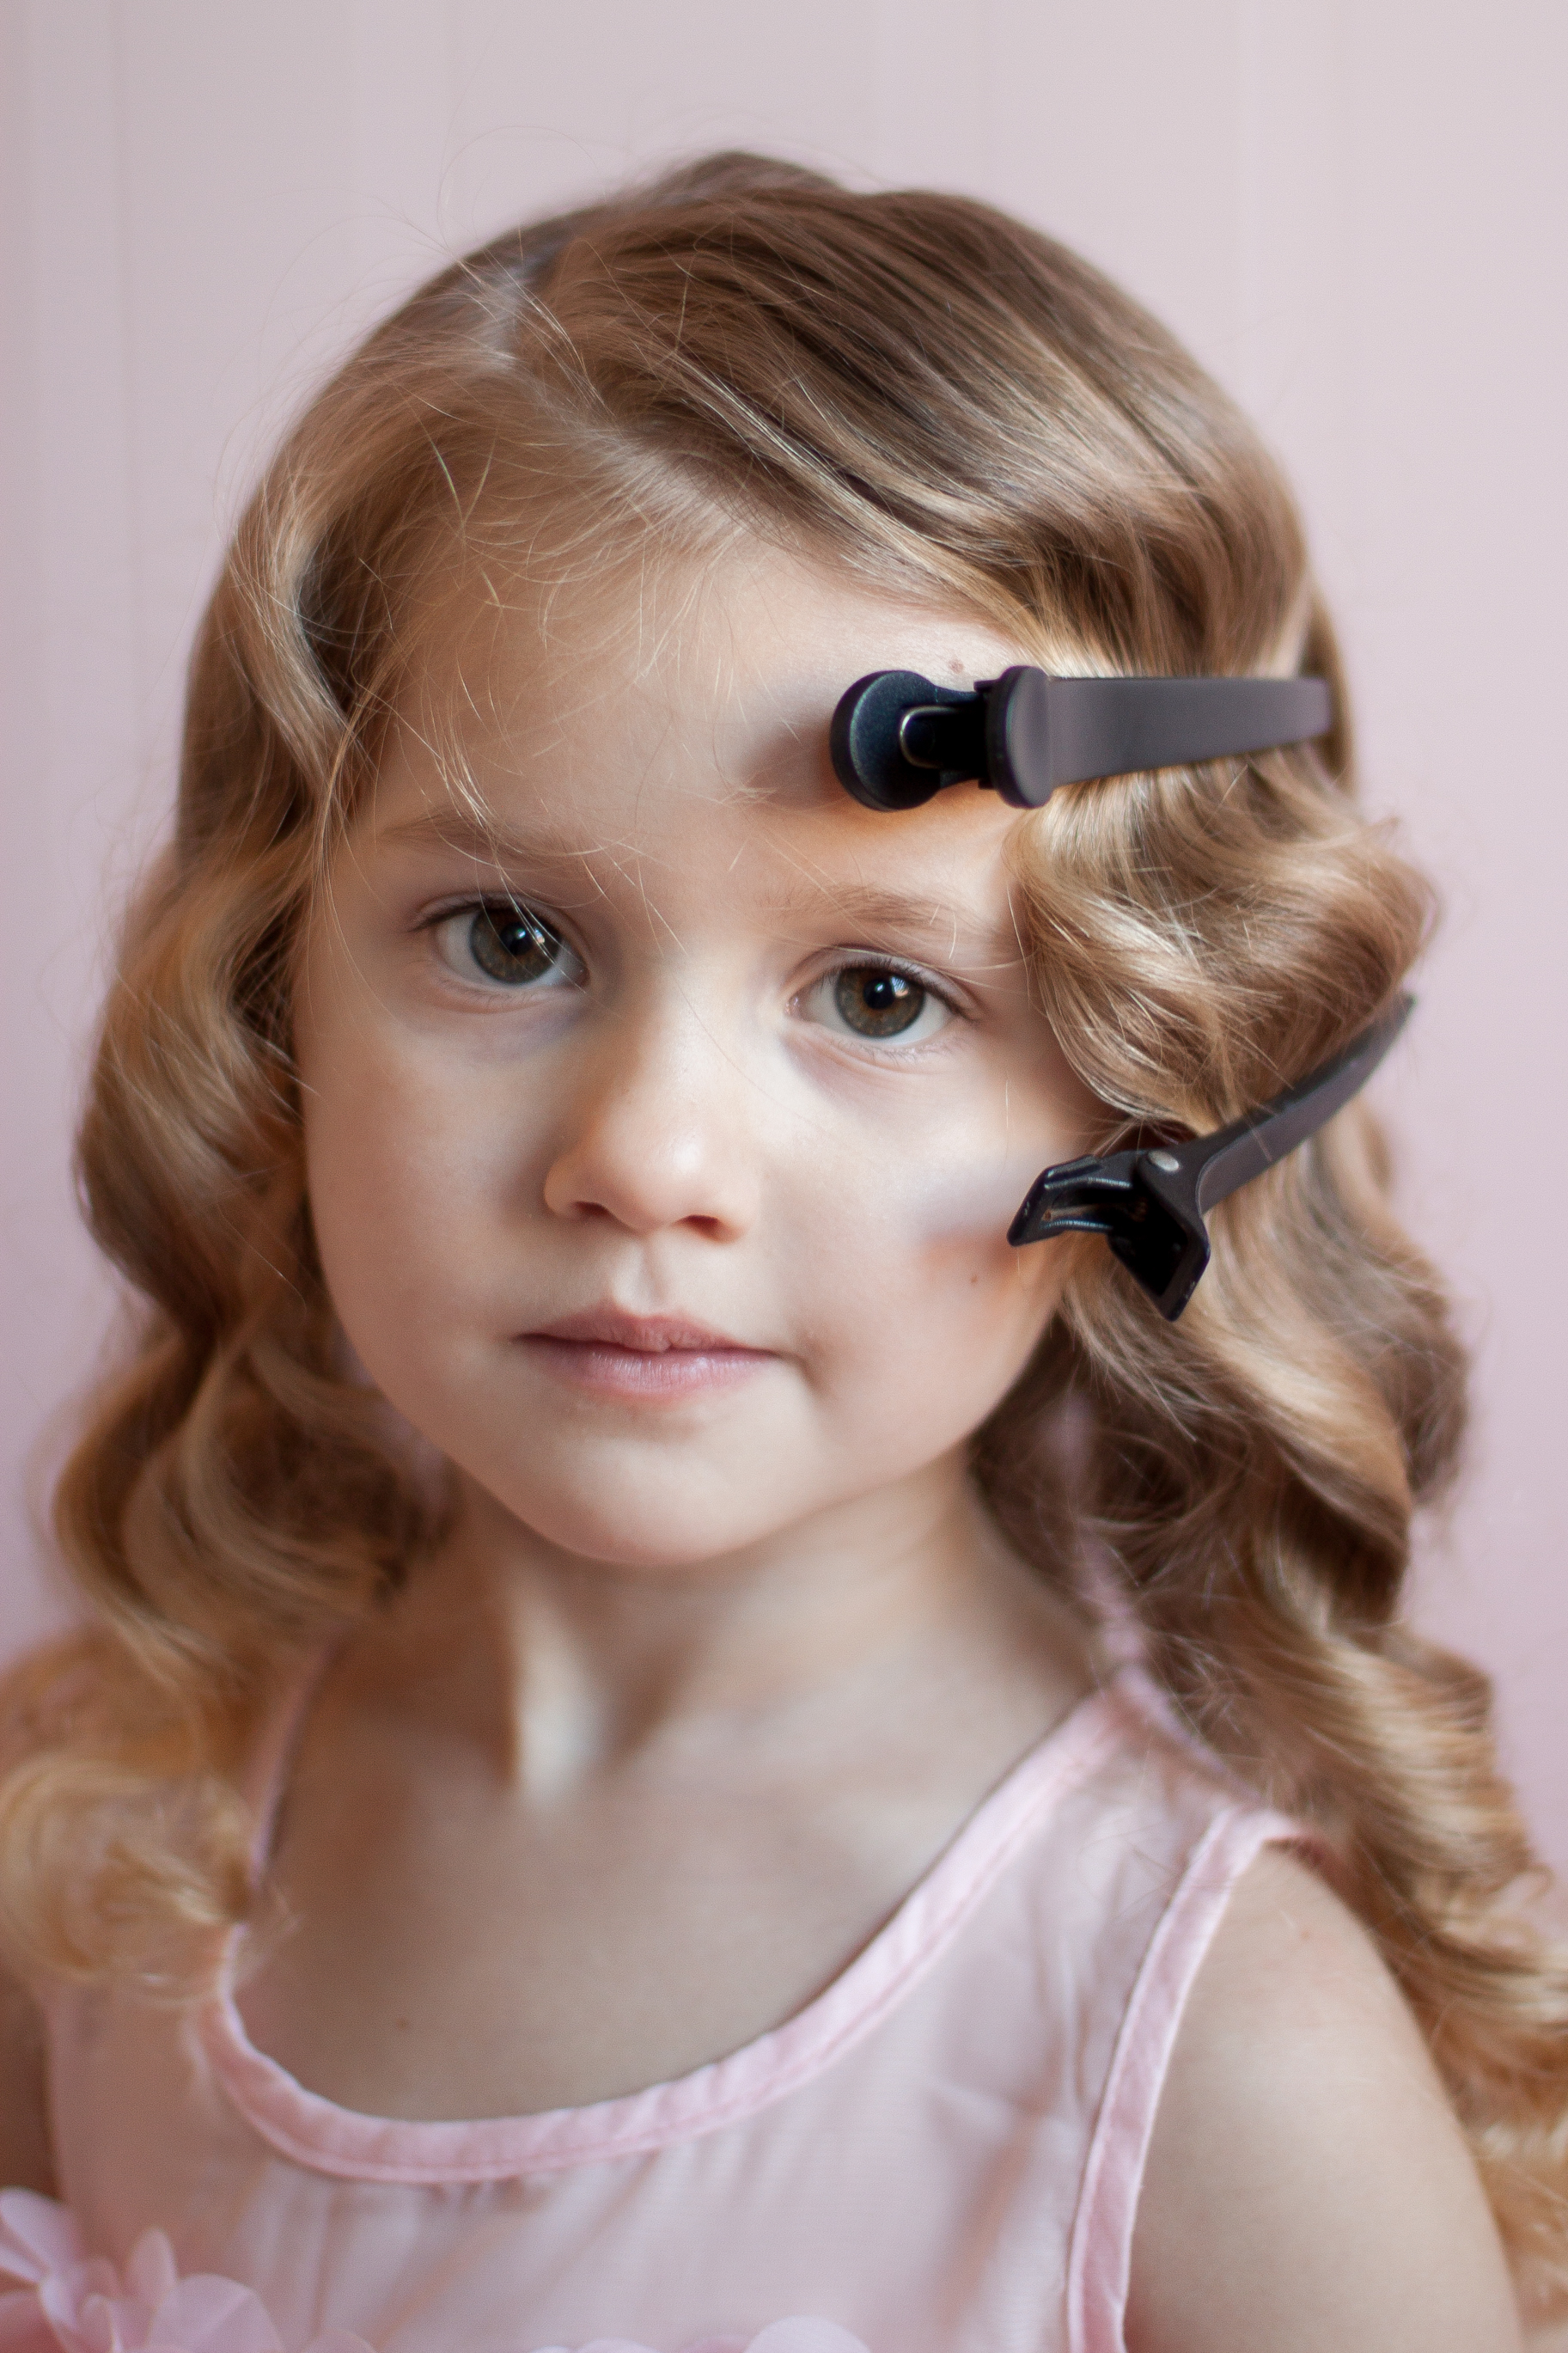
If you’re having trouble keeping the curls from separating when using a boar bristle brush, clip each wave down as you brush it, spray it with a light hairspray and let it set for a little while. This will make a more polished, finger wave look.
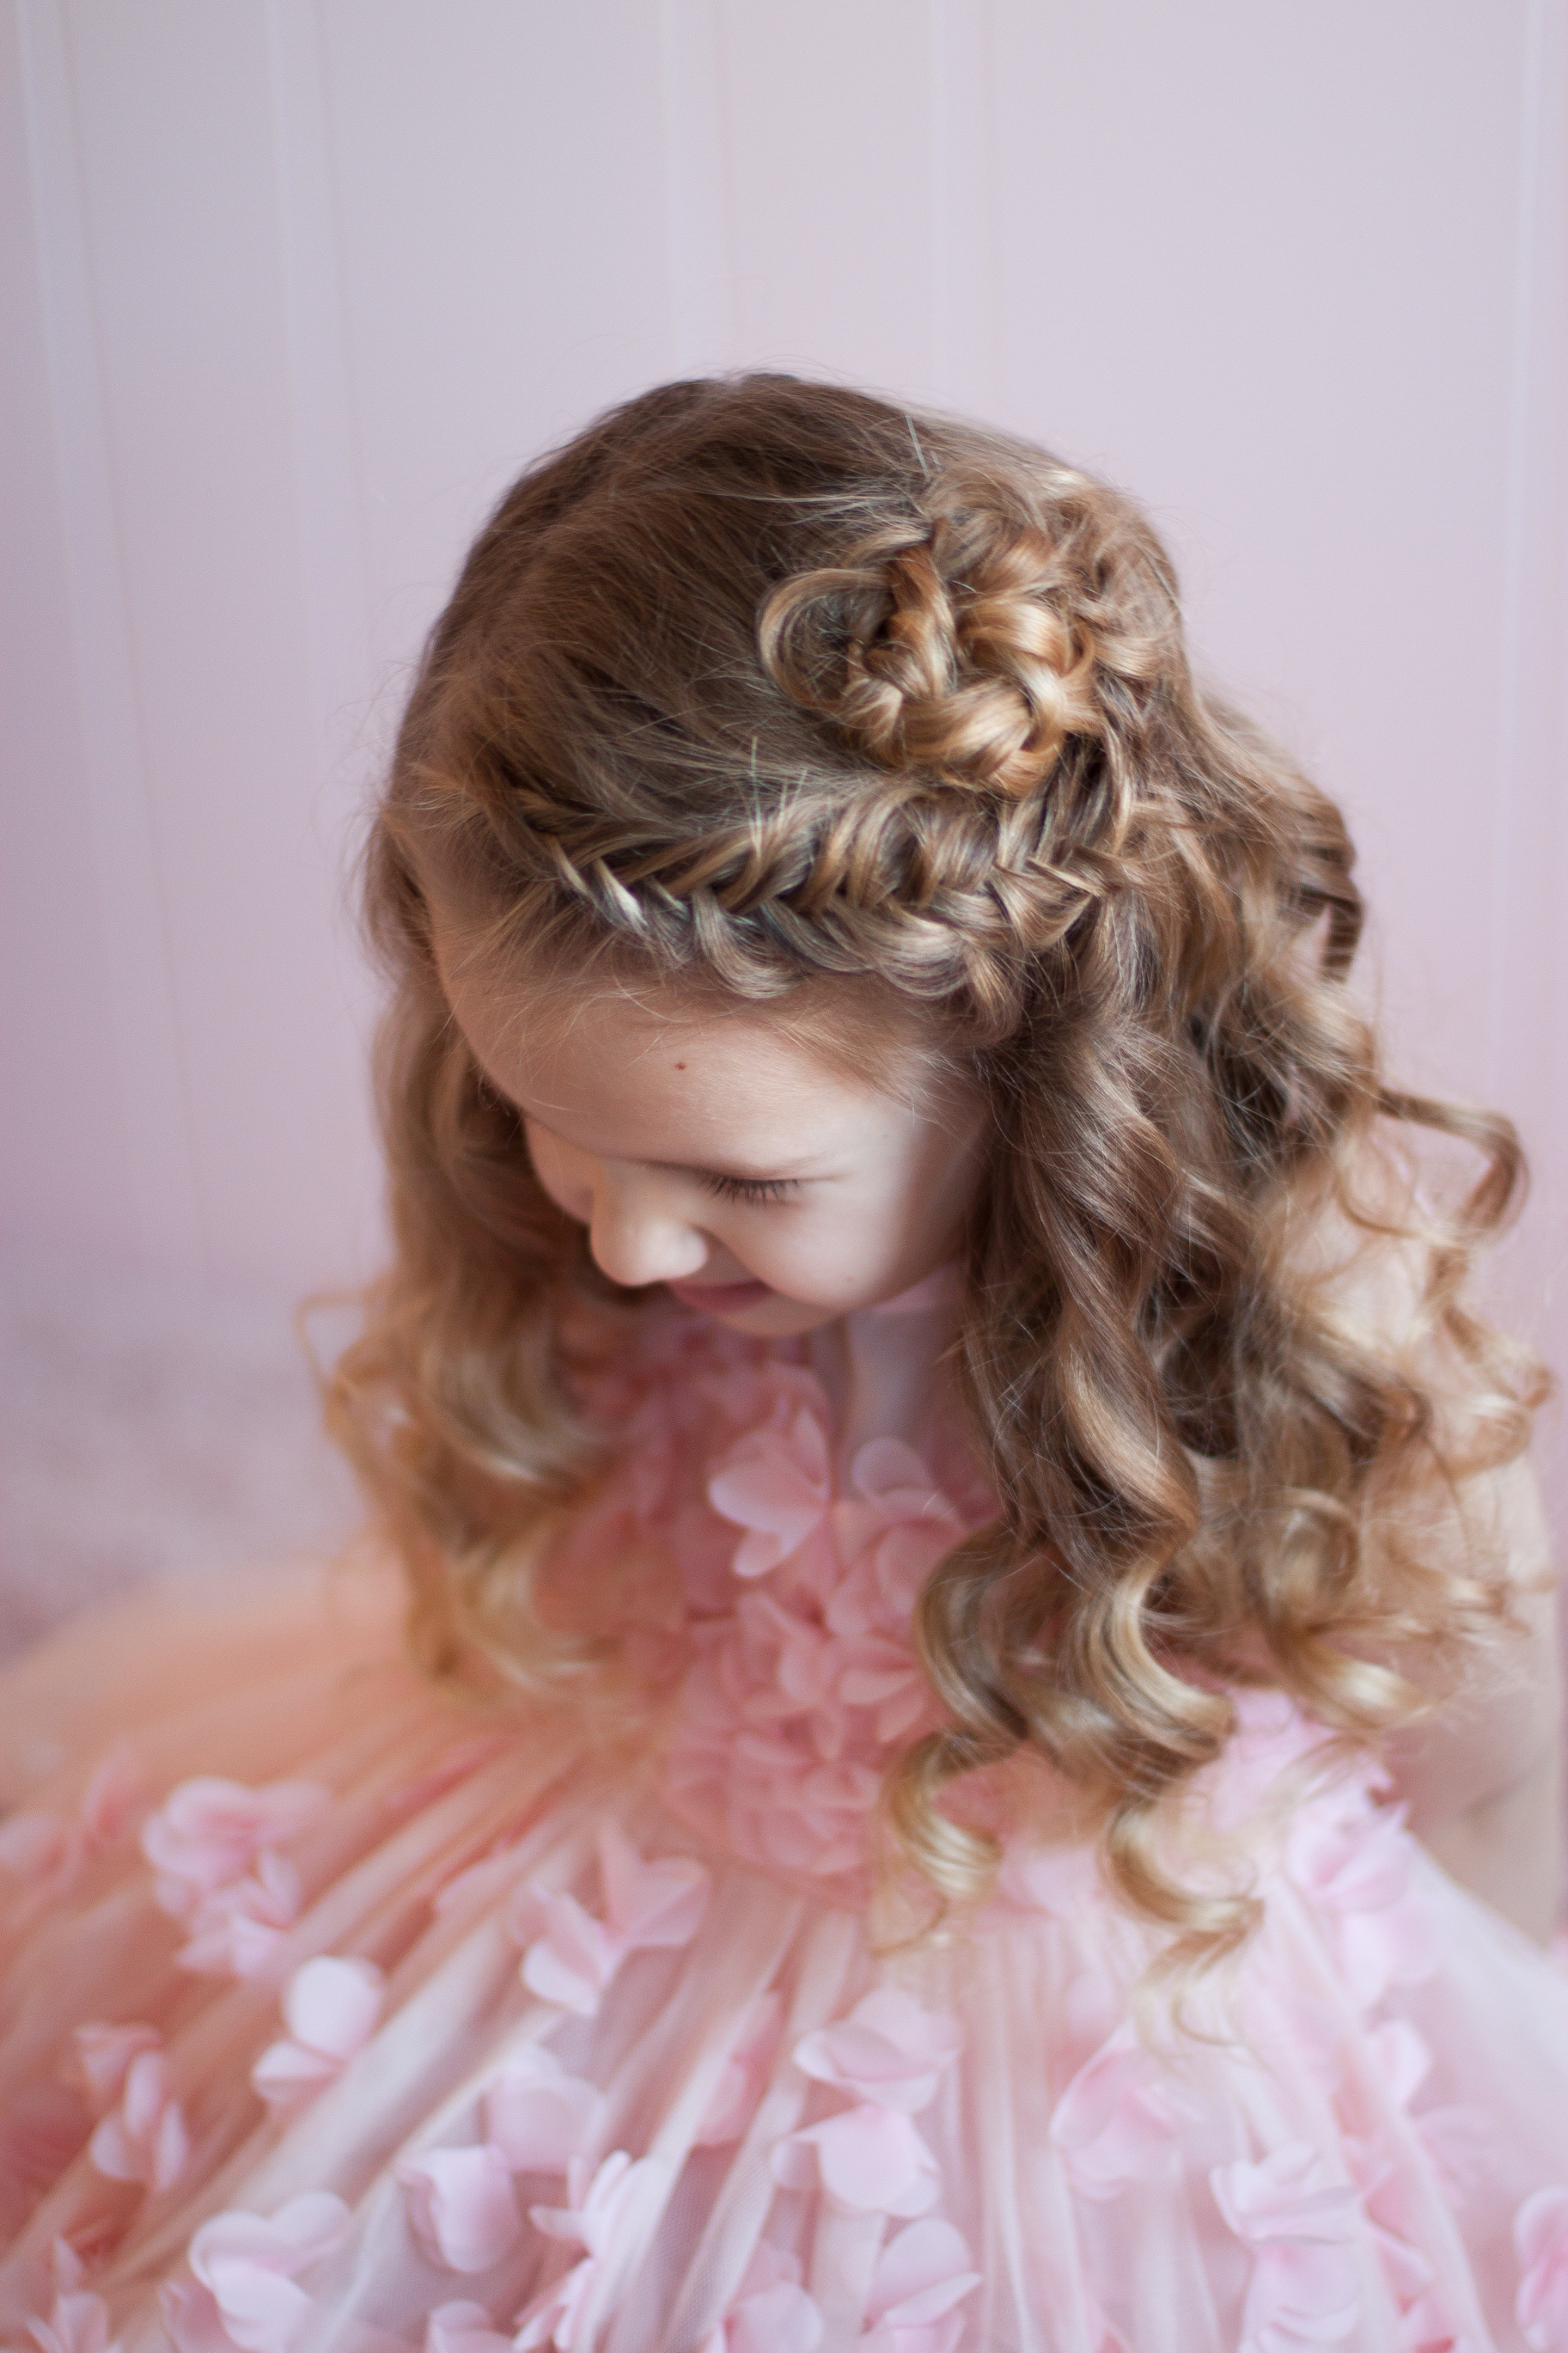
These curls are amazing when paired with a nice loose braid!
If you’re looking for more hair tips and tricks and girls fashion, head on over to my blog Abella’s Braids
We hope you enjoy creating the perfect retro waves!


what if you have thick, coarse hair, and it is hard to curl anyways, would you recommend putting some type of hair gel to keep the curl?
very cute
Adorable!!!
Cute!
super cute
when i curl my hair you can’t really notice it bc i already have wavy hair </3
Cute ❤️❤️
I love these curls, I just wish I could get big curls to stay in my hair. They just fall down straight with a slight kink.
so cute!
awww
Adorable!
I wish I had a curling wand that small. It’s so cute!!!!!!!!!
The curls look so good. I wish mine would do that but instead it’s a crazy mess
she is the cutest! and love the look!
So cute! She looks like a doll!
The hairstyle looks so cute!
These curls are gorgeous…..
Great look. Both before the curls are softened and after ☺ she is such a cutie!!
This is my favourite xxx
Love this hairstyle ????
that’s so cute 🙂
Cute
I just love this style so much!!!