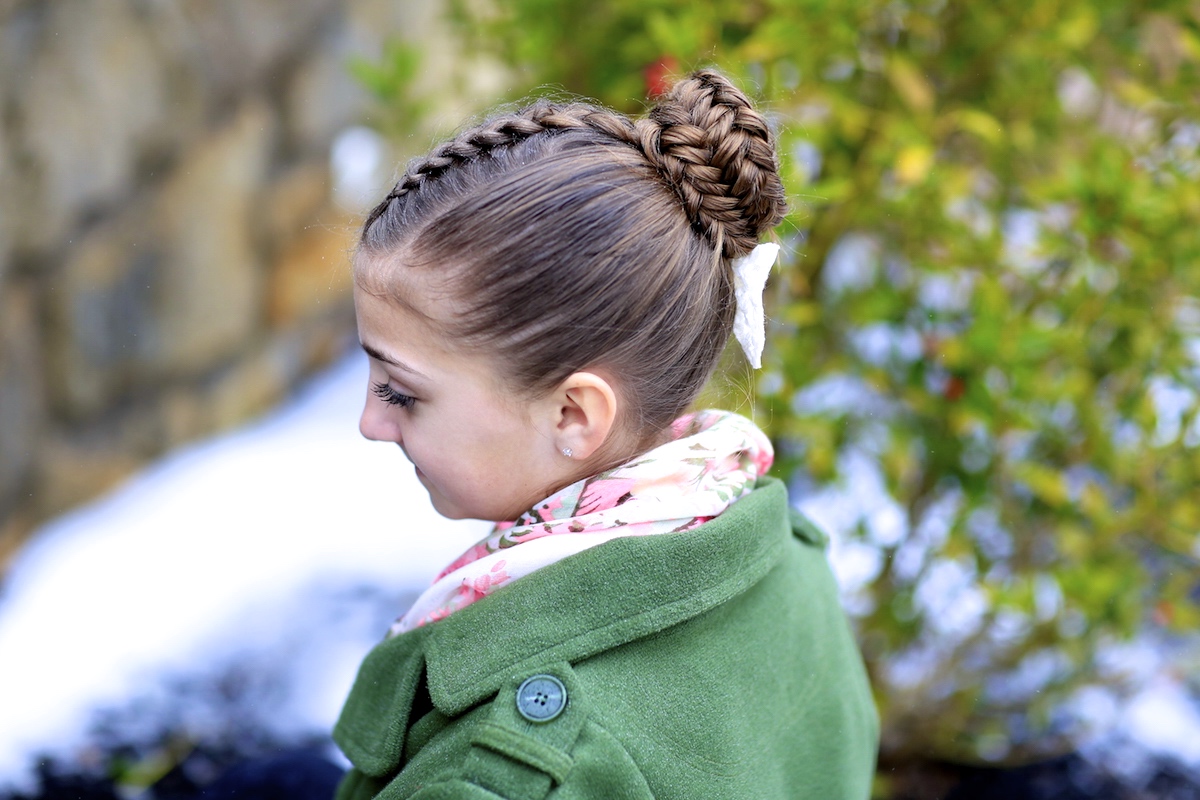
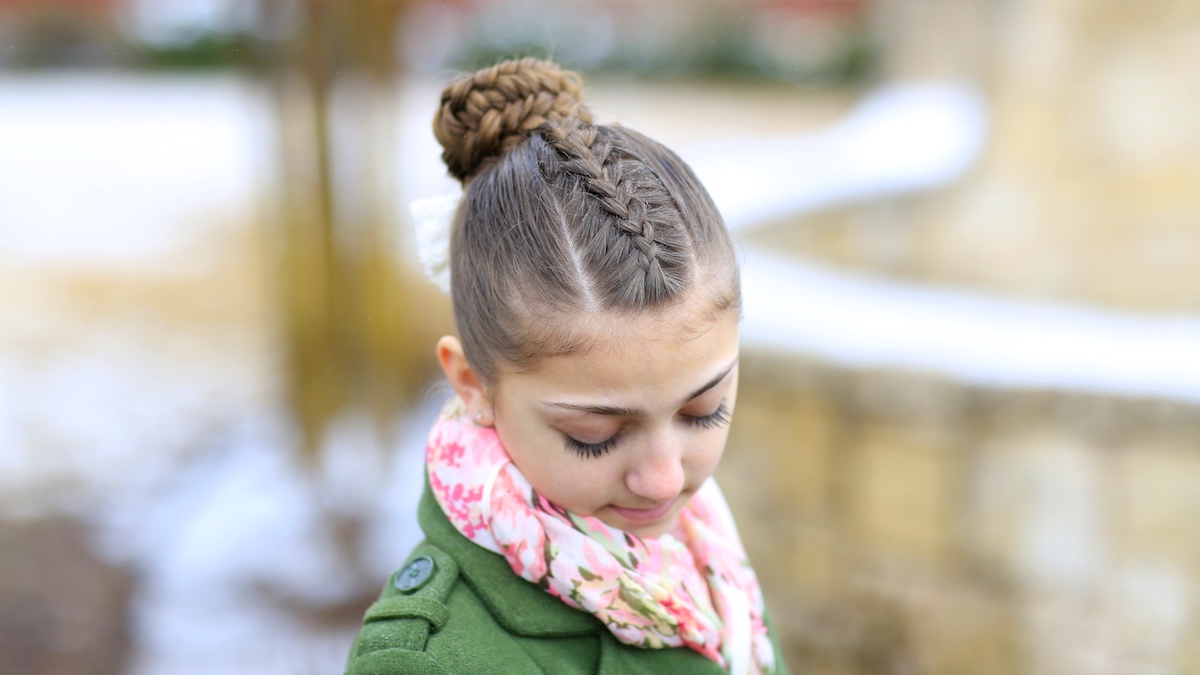
There have been so many viewer requests, sending in photos and asking for us to create a tutorial for this Twisted Edge Fishtail hairstyle. This isn’t a new technique, as it was inspired by my great friend at Princess Hairstyles late last year.

We love the braid so much, that we decided to develop a braid combo with it including an option for a beautiful updo! {Yes, its almost Prom season and everyone soon will be looking for Prom hairstyles!}
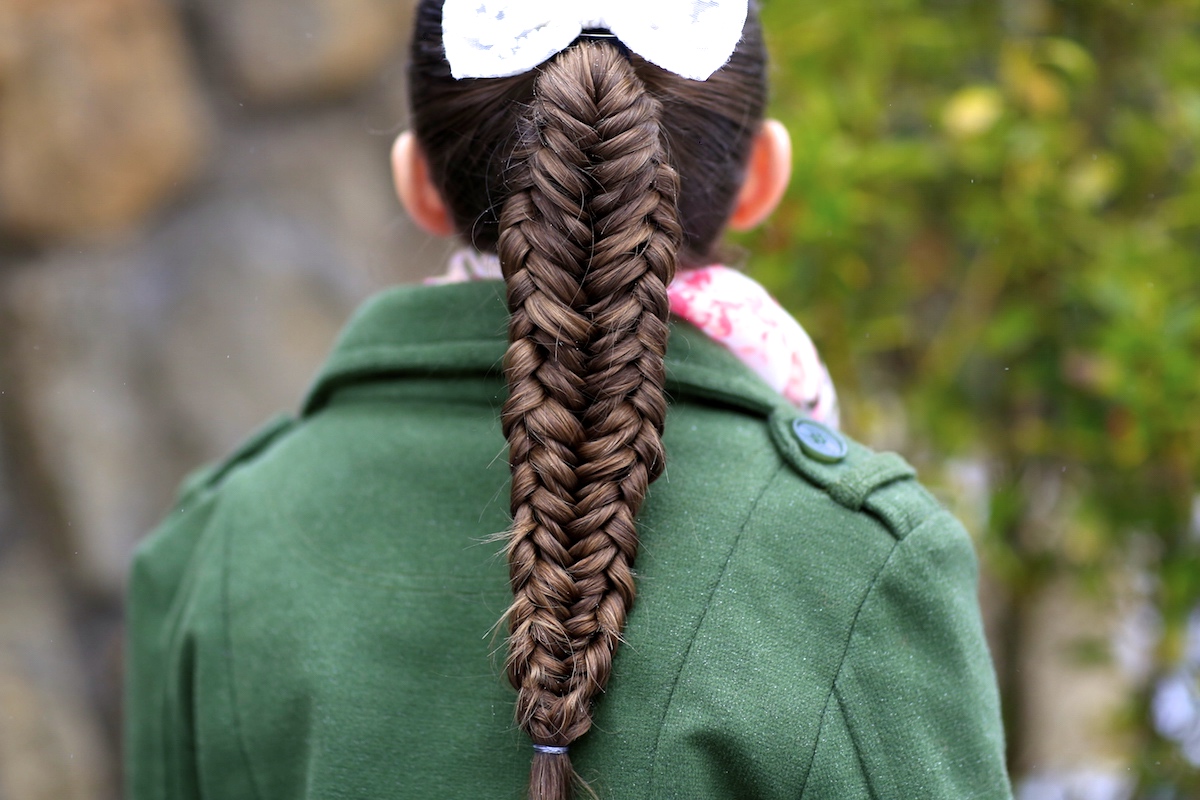
The stitching for this braid can be confusing, so pay careful attention to its pattern. Once you get it down, particularly on the edges, this braid is a cinch! The twisting comes in as you switch strands on the outer edges. Watch the video below and it will give you the best idea of what we are talking about…
To see your own photo recreations of this style featured in our CGH app, feel free to tag your photos on IG with: #CGHTwistedEdgeFishtail
Items Needed: Brush, rat-tail comb, spray bottle, 1-2 ponytail holders, 1 small hair elastic, 2 small bobby pins, hairspray and accessory {if desired}.
Time Requirement: 8-10 minutes
Skill Level: Hard
Step-by-Step Instructions:
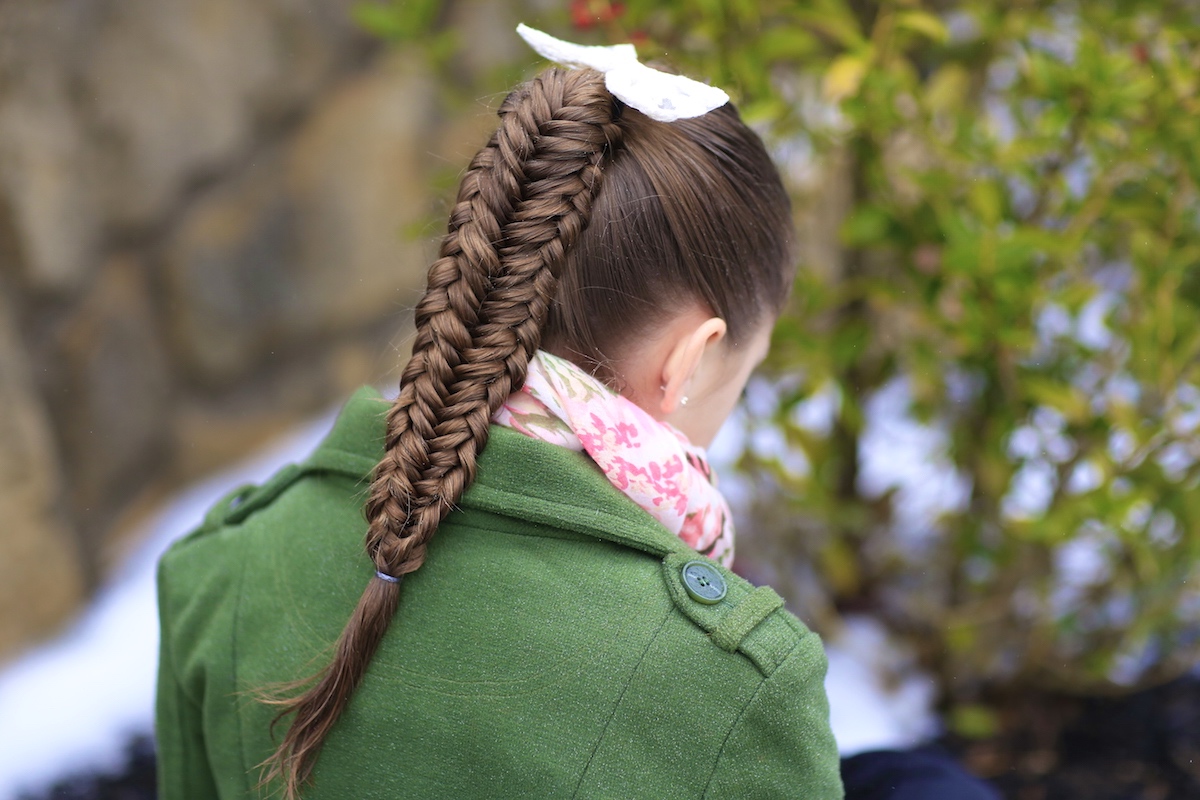
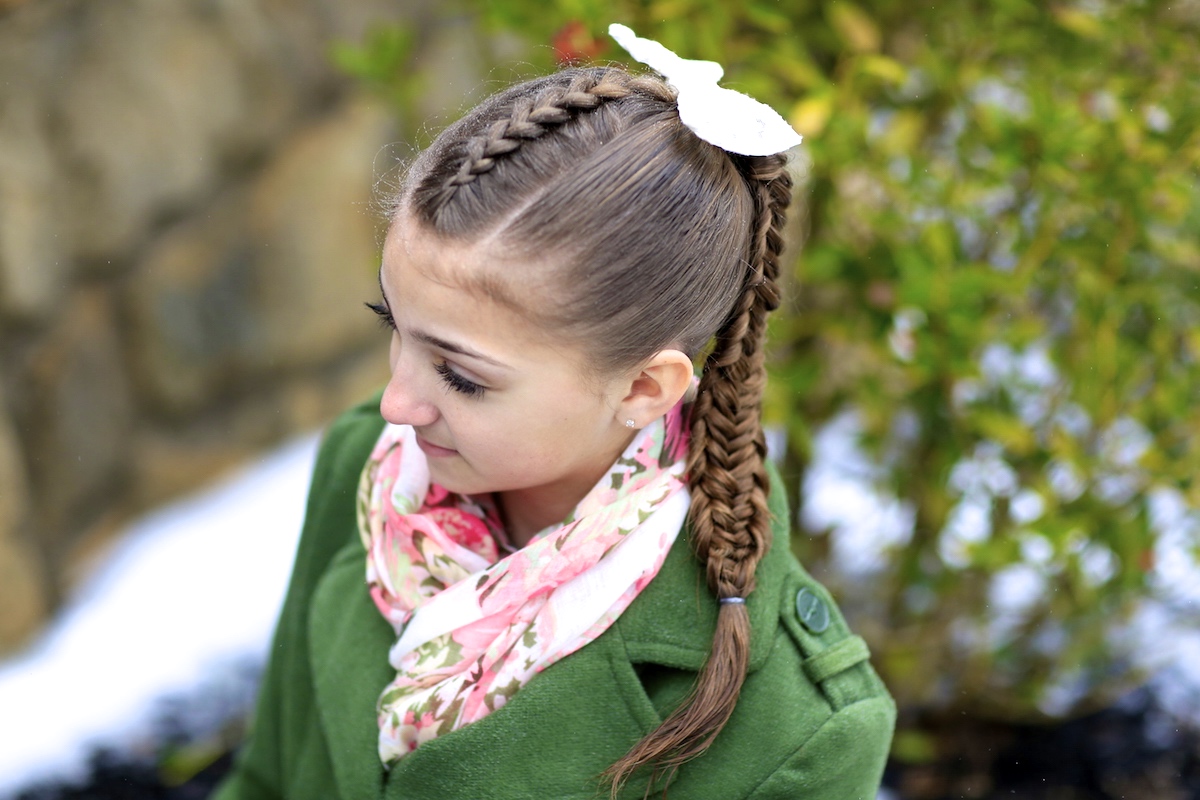
- Begin with hair in a high ponytail {can be done in wet or dry hair, I did it here with wet hair}, and, optionally, add a fun accent braid or twist leading into the ponytail {I added a Dutch Braid down the center of the head}….
- Split the ponytail into two sections…
- Now take a small strand from the outer-left section and cross it over the remaining left strand and add it into the right section, then do the same on the right {these two steps are necessary to create a regular fishtail braid stitch}…
- Then, take a similar small strand from the outer-right section and have your daughter hold it with her right hand…
- Likewise, take another small section from the outer left edge and have your daughter hold it with her left hand…
- Again, take a piece of hair from the outer-right strand and cross it over the remaining right strand, adding it into the left section…
- Then, similarly take a piece of hair from the outer-left strand and cross it over the remaining left strand, adding it into the right section {this completes the second regular fishtail braid stitch}…
- You next take another small section of hair from the outer-right strand, but this time trade it with the piece your daughter is holding in her right hand, and take it UNDER the new section…
- Add this traded piece of hair into the left section of the hair…
- Conversely, take another small section of hair from the outer-left section, but this time trade it with the piece your daughter is holding in her left hand, and take it UNDER the new section…
- Add this traded piece of hair into the right section of the hair {these two steps create the twisted edge in the fishtail braid we are looking for}…
- Now complete a regular fishtail stitch…
- Repeat Steps #7-11 until you run out of hair…
- At the end of the braid, add the last two pieces of twisted edge into the regular fishtail and secure with a hair elastic…
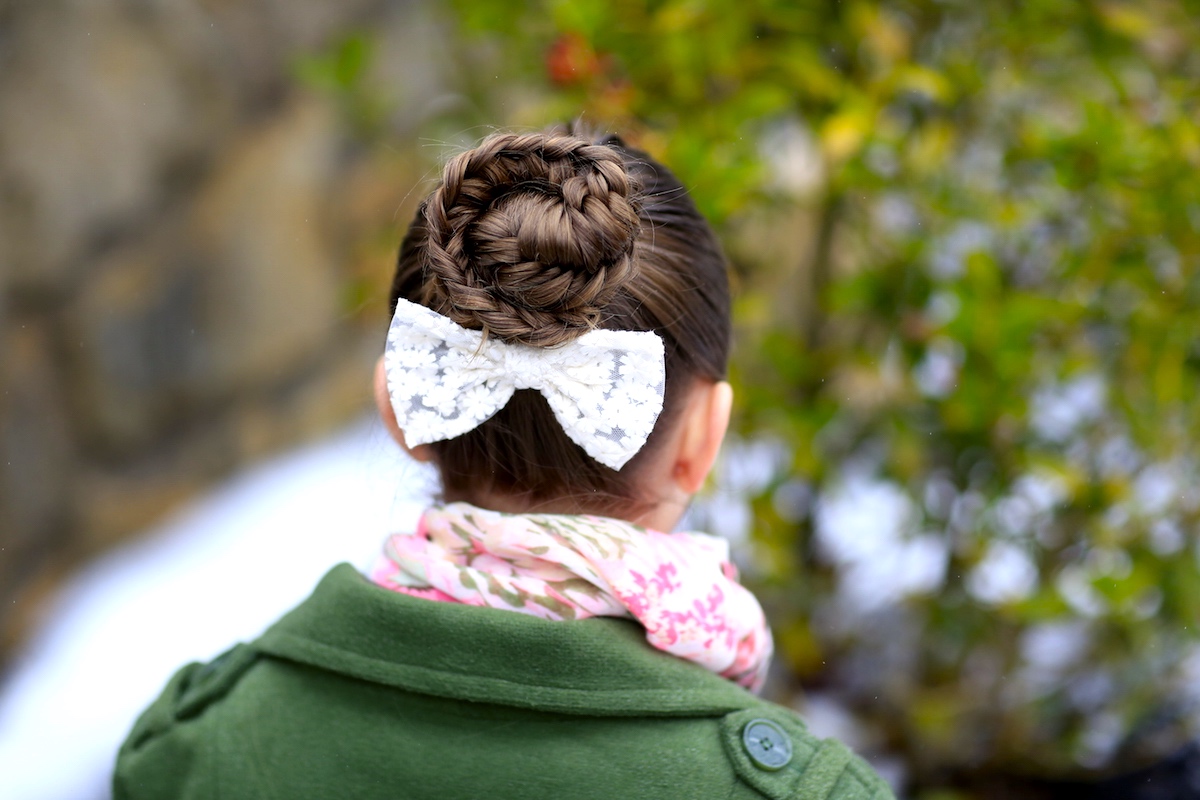
- Optional: At this point you can leave the braid as is or you can wrap it up into a bun shape. Use bobby pins to secure in place.
- Optional: Add hairspray and a bow/ribbon as an accent, if desired.
Thanks also to everyone who attended out meet-up at the PS from Aero store in Dallas yesterday, despite the icy roads! For those of you who couldn’t attend, you can still get 20% off your purchase by using coupon code CuteHair! We will be doing more meet-ups soon, so stay tuned!
Happy Hairstyling!
This week, Brooklyn and Bailey posted their February Favorites. Have you seen it yet? If not, feel free to click below… what are your current favorites?


this is beautiful
this is so pretty
This is so cute , wish my hair was longer lol ! Right @katie 4c styles
So fancy ????
I love this style, it’s great for Easter! Could you please do a tutorial (or a few) on some quick but pretty hairstyles for school? Thanks!
I love this! Could you do a hairstyles meant for frizzy/poofy hair?
OMGOSH I love Michael Vey! One of my Feb favs too!
Prom is coming up soon, so could do a series of updo’s for prom?
Please could you do a video on how to do different types of curls in one video or maybe one on a style for a disco or ball or maybe really neat bun types
Please subscribe to my channel Hannah-Laura The Dancer
(I am going to start hair tutorials so could you post a beginner hair styles like just a French braid or something cute )
Thank you always
Beautiful! Could you please do a hairstyle that would work with layers? Thanks, I love you guys, and it is so great you guys are Christian! I’m Catholic and proud!
xoxox, ~Claire
same.
funny we have the same name.
🙂
can you please do some diy’s for frizzy hair, like some half up half down and some other updos ect.
🙂
where are the step by step instructions????
please fix 🙂
I love your hairstyles really!!!!!! But please could you create a hairstyle wichyou can do yourself and very fast?