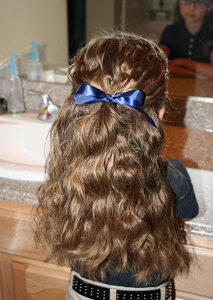
Beachy Combo | Teen Hairstyles
This style is nice because it is one of many hairstyles that can be a fancy “dressy do” or a…
Beachy Combo | Teen Hairstyles
This style is nice because it is one of many hairstyles that can be a fancy “dressy do” or a…
It’s time for another short hairdo! First I need to introduce you to one of my favorite hair tools…the 3-barrel…
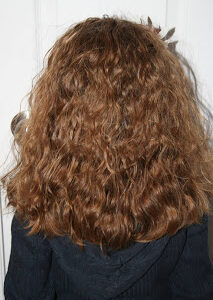
Second-Day Do: Curls After Triple Twists w/ Messy Buns
Here’s another “Second-Day Do”. This means you can do the the Triple Twists with Messy Buns hairstyle on Day 1,…
"2nd-Day Do’s": Curls from Double-French Braids
Second-Day Hairstyles are some of my favorites in terms of ease and speed! If you wear braids {simple, French, or…