4 Valentine’s Day Hairstyle Ideas
Valentine’s Day is right around the corner, and having the perfect hair is an absolute must! Whether it’s date night,…
4 Valentine’s Day Hairstyle Ideas
Valentine’s Day is right around the corner, and having the perfect hair is an absolute must! Whether it’s date night,…
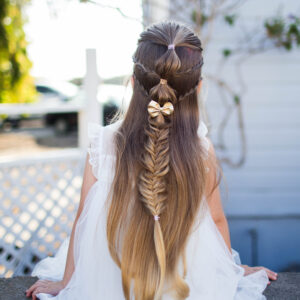
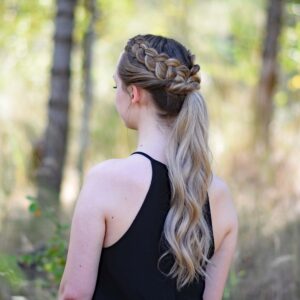
Today we have a NEW HAIRSTYLE! It has been awhile but we are very excited to share the #CGHFishtailPony with you!This…
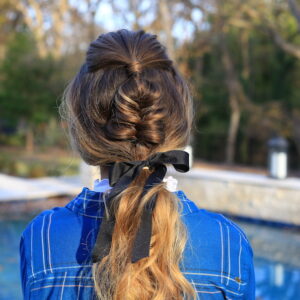
Have you been looking for a new holiday hair idea? We love this Twisted Fishtail for a cute option. This…
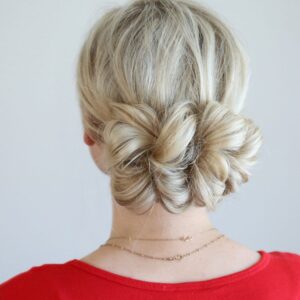
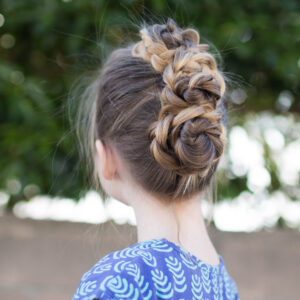
Today I decided to pull out some of my favorite hairstyles that would be perfect for your Holiday Parties! This…
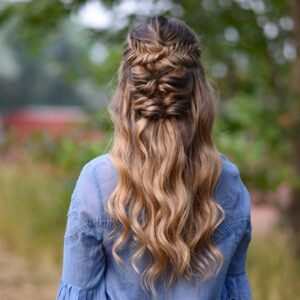
Today we are sharing a beautiful combo hairstyle that is great for every day or a special occasion. It is…
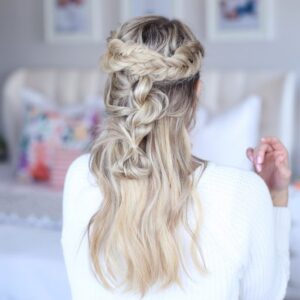
This cute hairstyle is going to be your new favorite! I LOVE this look! It’s simply french braids combined with…
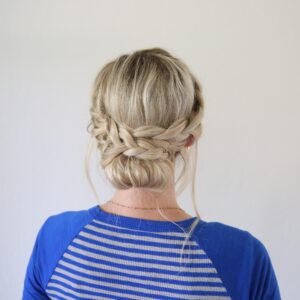
This week we have a very pretty French Lace Braid Updo. It is an elegant look that is perfect for…
Every girl needs a few “go to” hairstyles they can wear to work, school, a date, or even a special…
Girls like to have a running list of quick and easy DIY updo’s. Today we have one to share that…
If you live in a hot humid area, you know lots of easy updo hairstyles are necessary. It’s so hot…
Today I’m sharing this super cute French Braided Updo. It is perfect for a fancy event you might have coming…
We are in full swing of school and fall is right around the corner. School brings late night studies and…