We just wanted to take a quick second to say THANK YOU for loving our hairstyles and family! We are so excited for what 2016 brings, not just for our family, but for this website as well! You are a HUGE part of that!
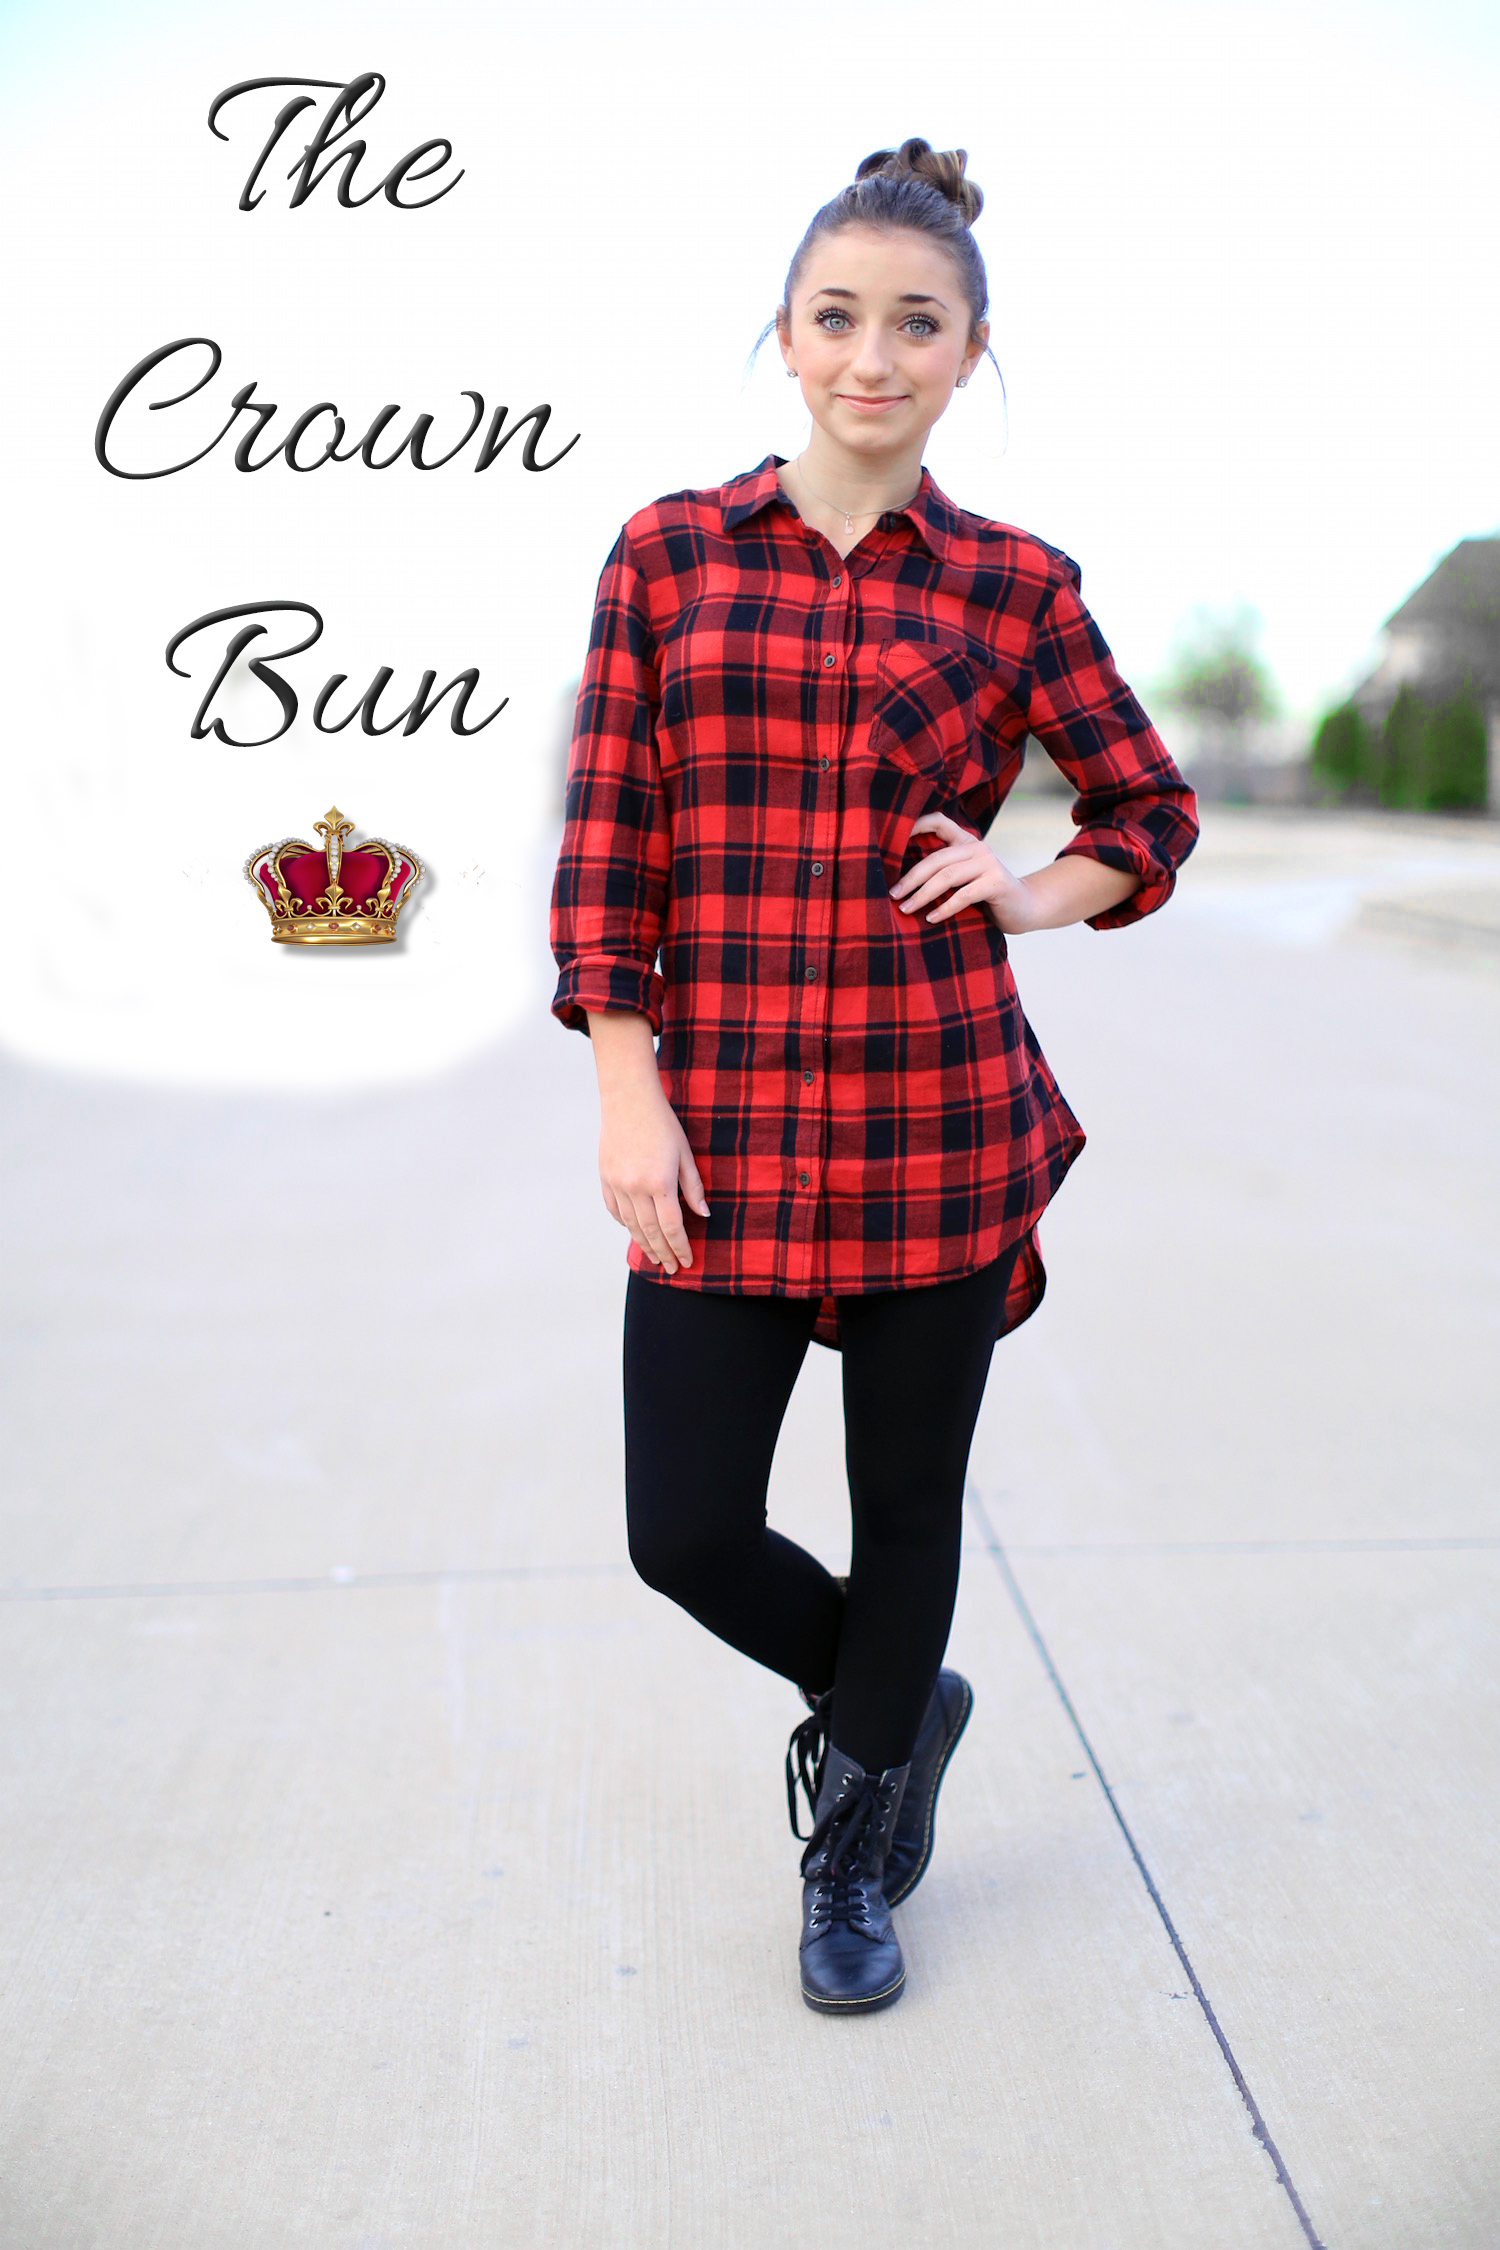
Today’s hairstyle is a variation of a bun taught to me by a friend. It looks similar to our 3D Flower Bun, only you create this one much differently. It ends up looking like a pinwheel, but Brooklyn calls this the Crown Bun, because it looks like a tiny crown on the top of her head. So, today we will be teaching you how to create a Crown Bun!
To see your own photo recreations of this style featured in our app, feel free to tag your photos on IG with: #CGHCrownBun
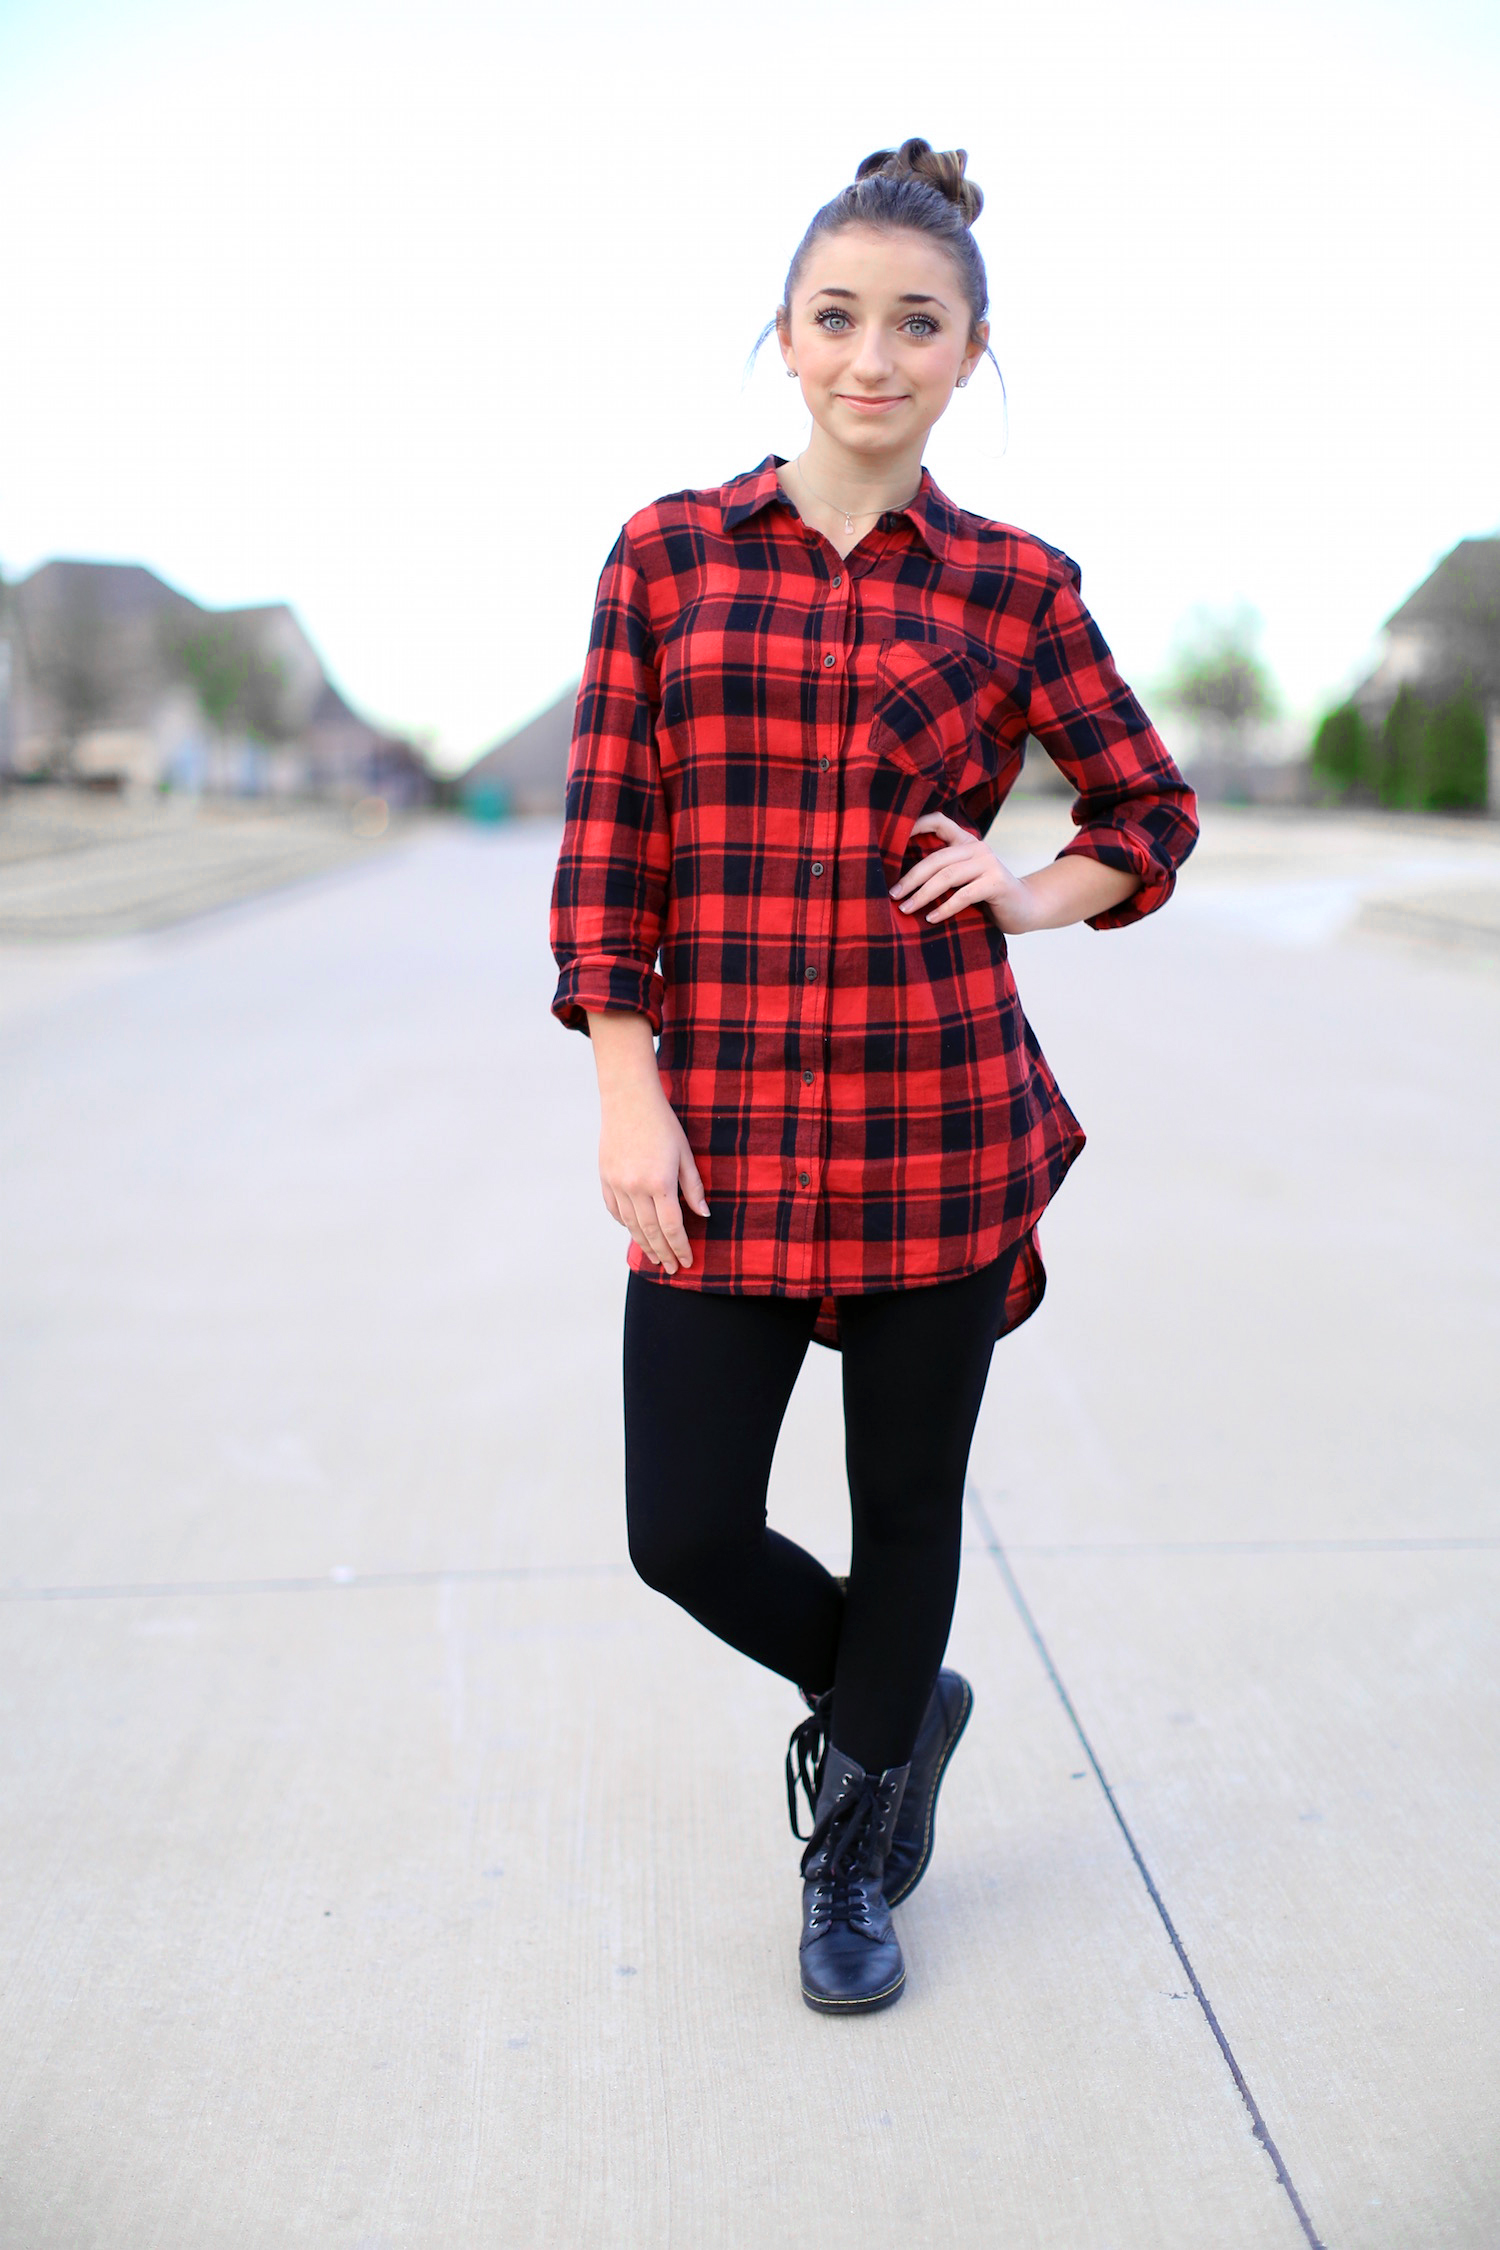
This hairstyle is perfect for prom, homecoming, weddings, baptisms/communions, work, or any other formal event. It doesn’t have to be only for those occasions, as you can see Brooklyn dresses this down with flannel, jeans, and a hoodie!
Items Needed: Brush, rat-tail comb, spray bottle, 1 ponytail holder, 6-10 small hair elastics, 3-5 small bobby pins, hairspray or dry wax {if desired}.
Time Requirement: 5-7 minutes
Skill Level: Medium
Video Tutorial:
Step-by-Step Instructions:
- Begin with the hair in a high ponytail {feel free to leave a few strands out around the ears to frame the face}…
- Section off a small strand of hair and add an elastic about 3 inches down {the entire ponytail will, in fact, be divided into 7 sections, so make sure to create small enough strands along the way}…
- Now section off a second small strand of hair, and push the first section upward until it arcs, and then add a second elastic about 1-2 inches down from the first {this time the elastic should secure both sections of hair together}…
- Next, section off a third strand of hair, and push the second section upward until it arcs, and add another elastic to combine the first and second sections with the newly formed third section…
- Continue Steps #3-4 until all the hair has been banded, leaving you a total of 7 sections banded together…
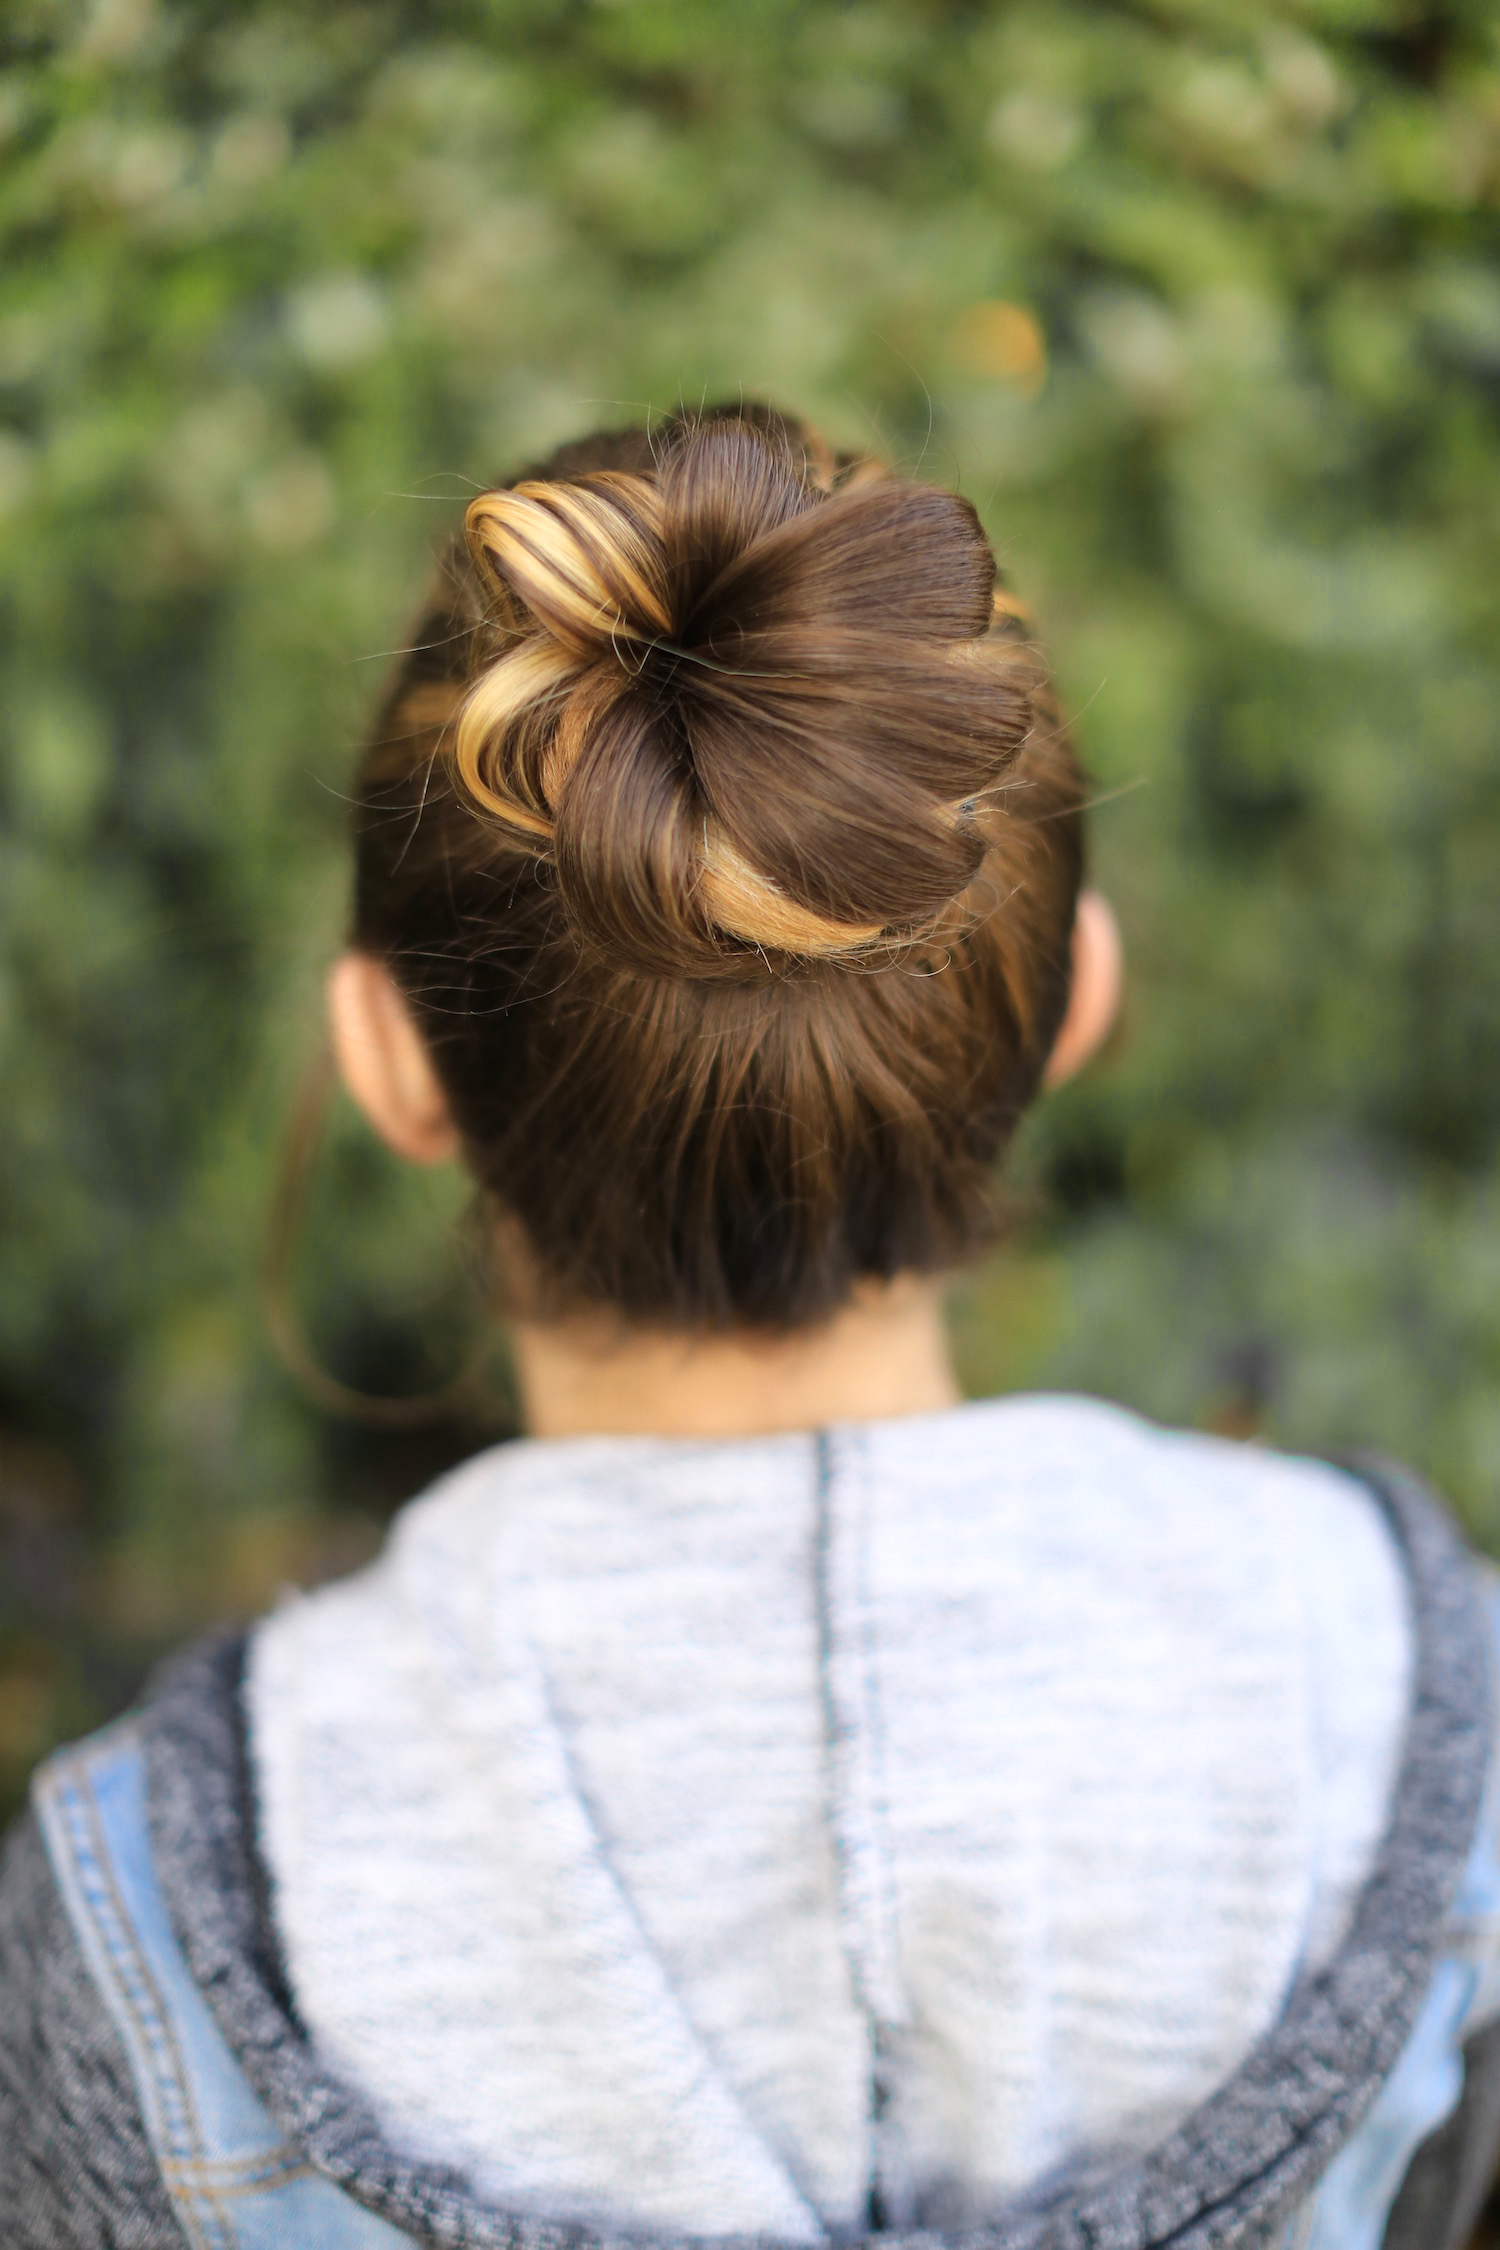
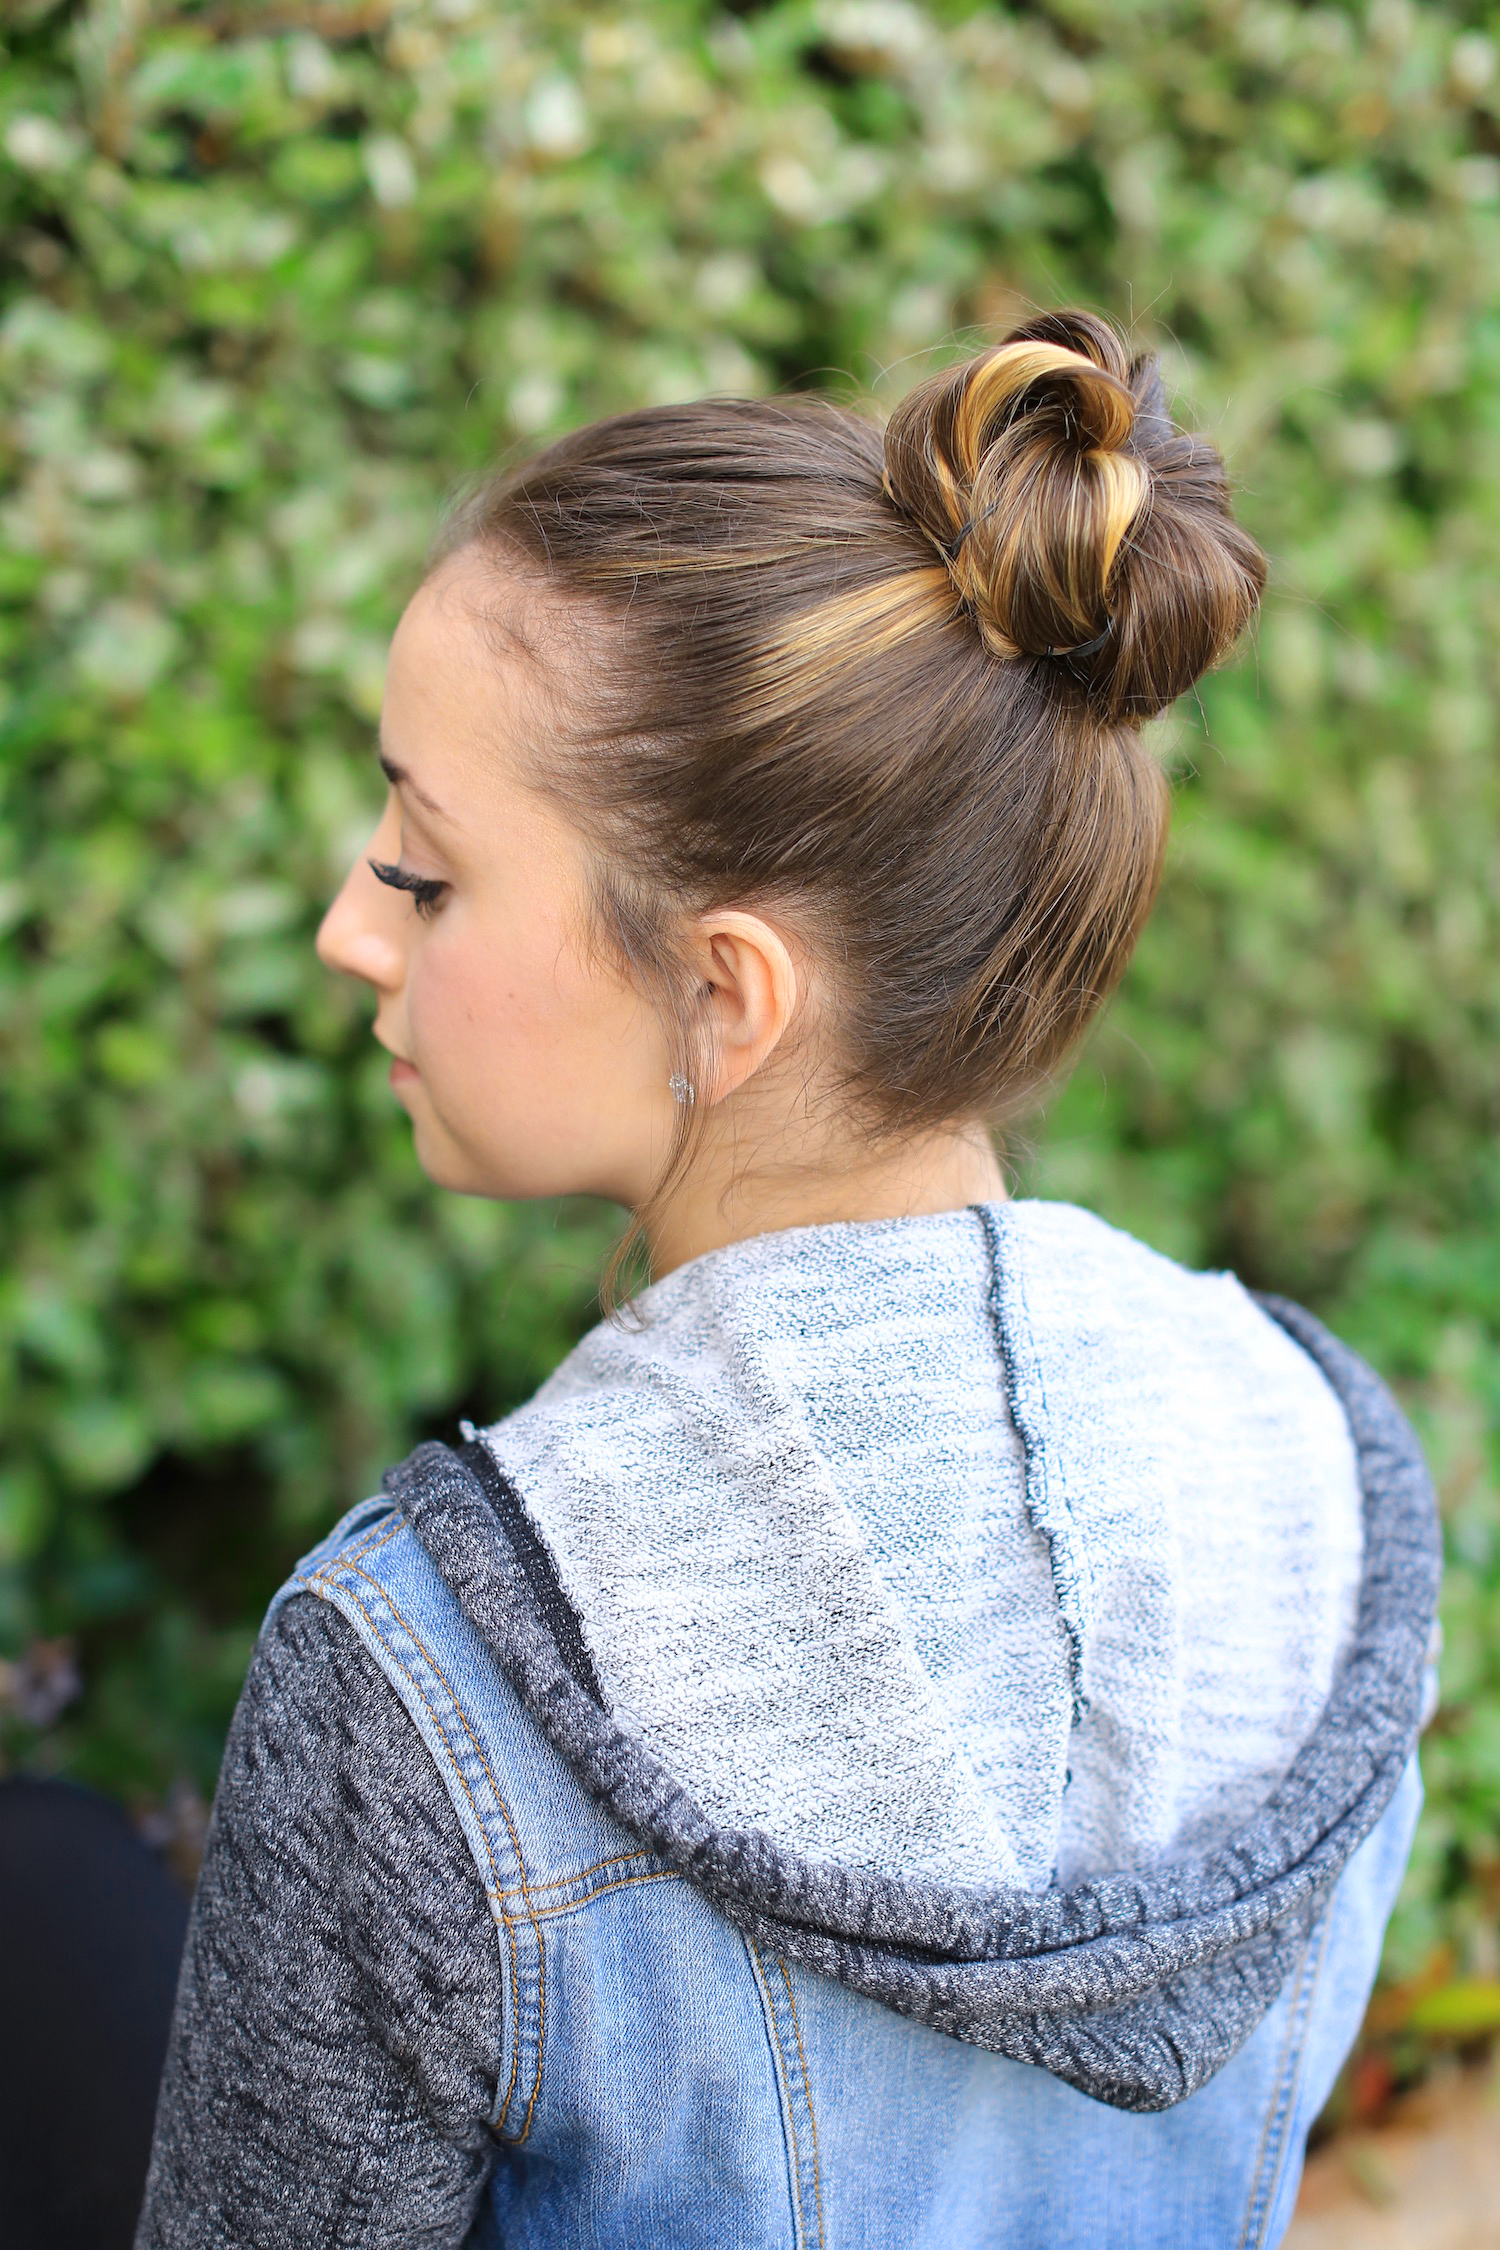
- Now lay the elastics against the head around the ponytail, and twist the hair around to form a bun shape {this is what gives you the crown/flower/pinwheel shape}…
- Feel free to wrap and tuck any hair ends under the bun and secure the bun with a few bobby pins…
- Add hairspray or dry wax {if desired}.
If you loved this Crown Bun tutorial, please feel free to let us know by leaving, and tell us what your biggest goal is for 2016!
Happy Hairstyling!
To see BrooklynAndBailey’s Christmas 2015 review video, please feel free to click below!


Super easy and pretty! <3
This is so pretty, I love the look of the bun!
So simple and pretty. Love it
Wish i have my long hair back just to try this
Looks elegant and pretty
Love this hairstyle!!!