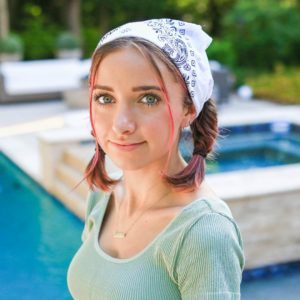
Today, I’m going to be showing you guys an adorable DIY hairstyle. Every time that I wear this 3-Strand Pull-Thru Braid, I have so many people asking me how to create it! Here’s the secret behind the complex hairstyle – It’s not that complex. Don’t believe me? Keep reading to try out this hairstyle yourself.
No Mirror Needed!
This hairstyle looks pretty intricate, but it’s actually incredibly easy to create! I really don’t even need a mirror to create this style, THAT’S how quick and easy it is! I paired this pull-thru style with a scarf, but you could accessorize it in so many different ways. If your hair is longer, you could even continue the style further down your back. It’s very versatile! I’ve been wanting to do this hairstyle for a long time, it’s so simple It’ll blow your mind, you’re gonna love it! It’s so easy that did it all completely blind. Hey! Take the risk with me and try it styling your hair with no mirror!
Items Needed: Brush, comb, hair elastics, hairspray, scrunchie/scarf (if desired).
Time Requirement: 5-10 minutes
Skill Level: Medium
3-Strand Pull-Thru Braid
- Pull a small section on the top of your head into a small elastic. Puff up slightly with your fingers so that it’s not slicked straight back on your head.
- Take the hair in the elastic, pull it forward and temporarily clip it out of the way.
- Move down the head about an inch and pick up the next section of hair, and secure with a small elastic.
- Divide the hair in the top elastic into 3 even sections.
- Divide the hair in the bottom elastic in half.
- Place the middle section of hair from the top elastic, and place it in between the 2 sections of hair from the bottom elastic.
- Bring the 2 sections of hair from the bottom elastic up and clip them out of the way.
- Pick up your next hair section, and include the 3 pieces of hair that are hanging down from the top elastic into this new section of hair. Secure with an elastic.
- Release the 2 pieces of hair that are clipped up, and turn into 3 even sections of hair.
- Repeat Step 5-8 as far down your hair as you desire! If you’re hair is long, you can continue down the length of your hair, or elastic it off at the start of the neck.
- Take texturizing powder (to add texture & grit).
- Gently pull each section out (pancake it) so that it takes on an awesome 3D effect!
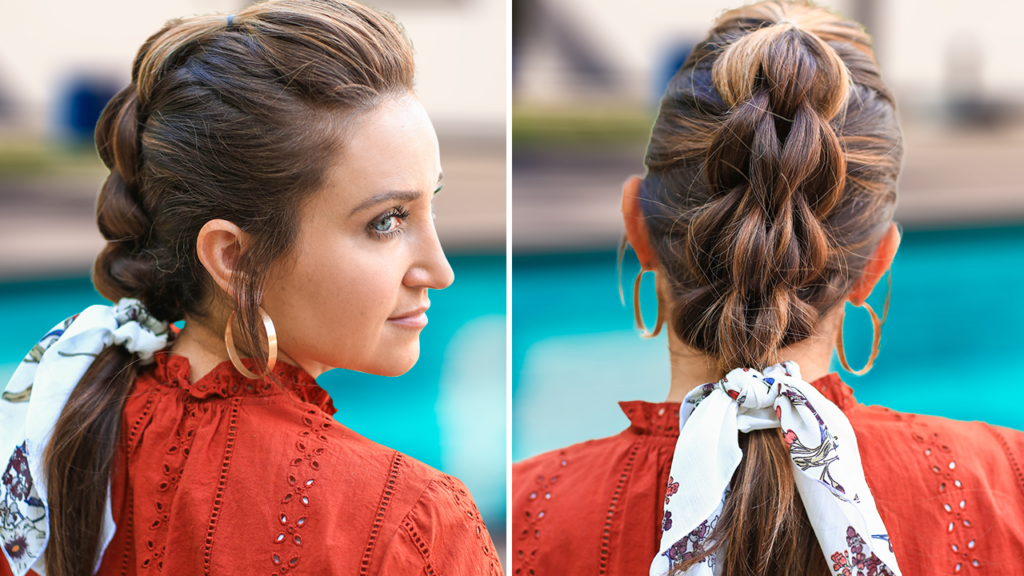
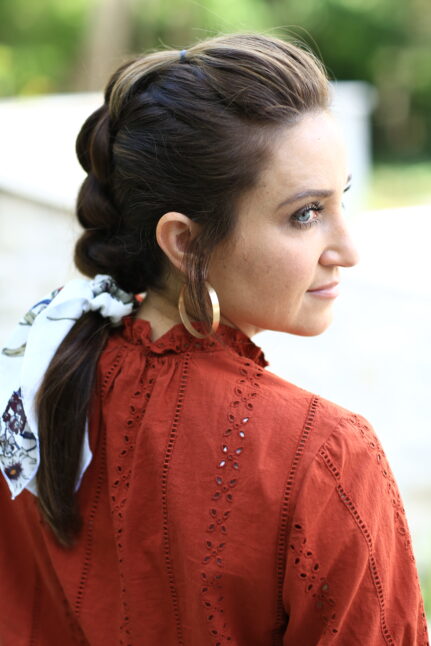
The Results
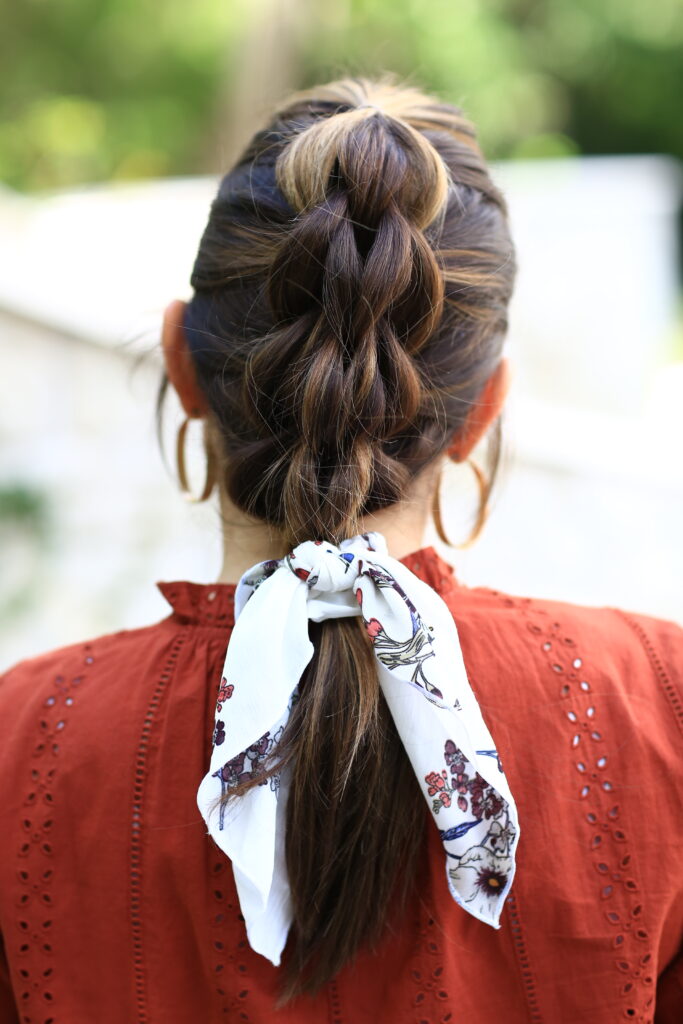
When you get done pancaking it all, then you can take a cute scrunchie to really bring the look together. There you have it! I personally like to pull hair out to give it a more messy look, but of course, you can always slick them back, and hairspray them if you want to. People are always asking me, like when I wear this one, how do you do that? Cause it looks like you’re using like six strands, and it looks super complicated and people can’t understand how you’re doing it, but it’s easy so you guys are gonna love it.
Watch the full tutorial:
To check out other cute braided tutorials, click here!