I still can’t believe it’s been six years since Frozen first premiered in theaters. My kids seemed so little when it came out. Where has the time gone?? That was the #1 go-to movie in our house for months and we were so excited to hear Disney was planning on making a part two. Fast forward to today – Frozen 2 is now available on Disney+! Then it hit me, “wouldn’t it be a great idea to do a hair tutorial on Anna’s new hair-do?” So moms and all my other Frozen fans, this one is for you!
Let It Go!
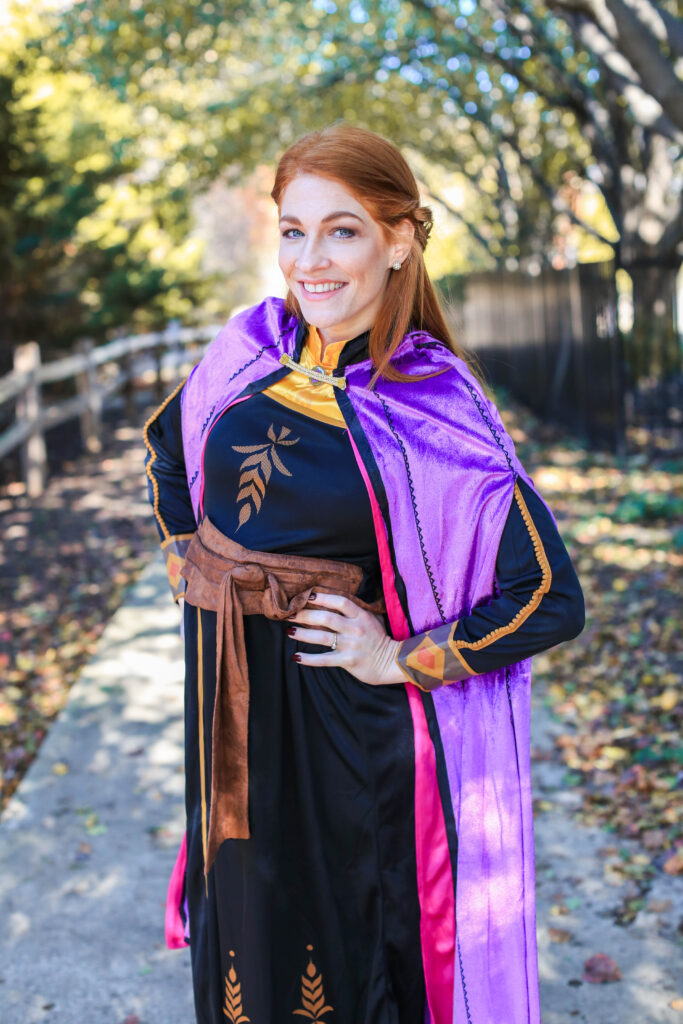
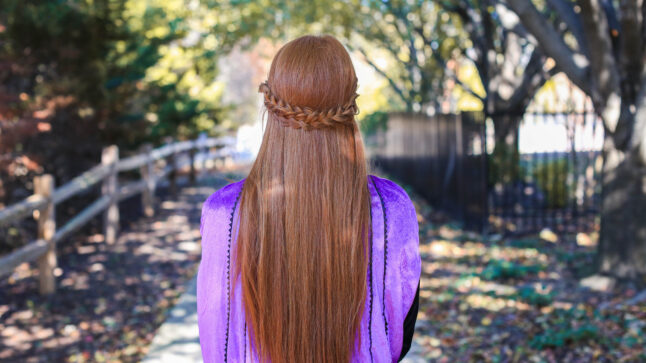
We went all out for this tutorial! We brought along costumes, and my good friend Jenn (@theramblingredhead) volunteered to be my Anna. I honestly couldn’t have picked a better model; she has beautiful red hair just like the character! Everyone loves to feel like a princess, and this hairstyle will bring royalty out of anyone. It’s easy to create, and it’s a darling way to style your daughter’s hair as you experience this movie together from the comfort of your home. Who knows, this could be a potential Halloween idea!
Let’s get to it – check out the step-by-step below or style along with the video.
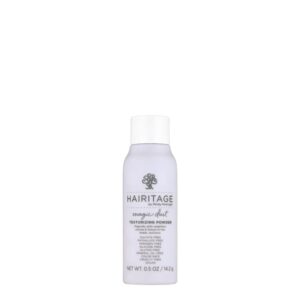
Items Needed: Elastic bands, a brush, bobby pins and texturizing powder, and flexible hold hairspray
Shop This Post
See All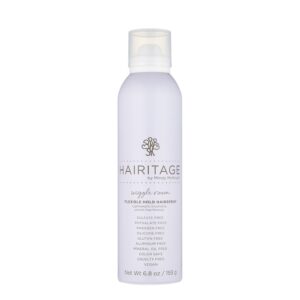
Skills Required: Easy
Time Requirement: 5-10 minutes
Watch the full tutorial:
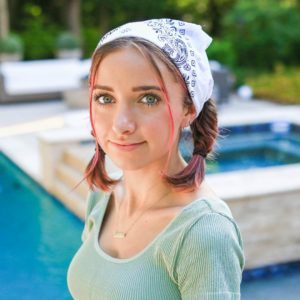
Frozen 2 Anna’s Double-Braid Back
Styling Method 1:
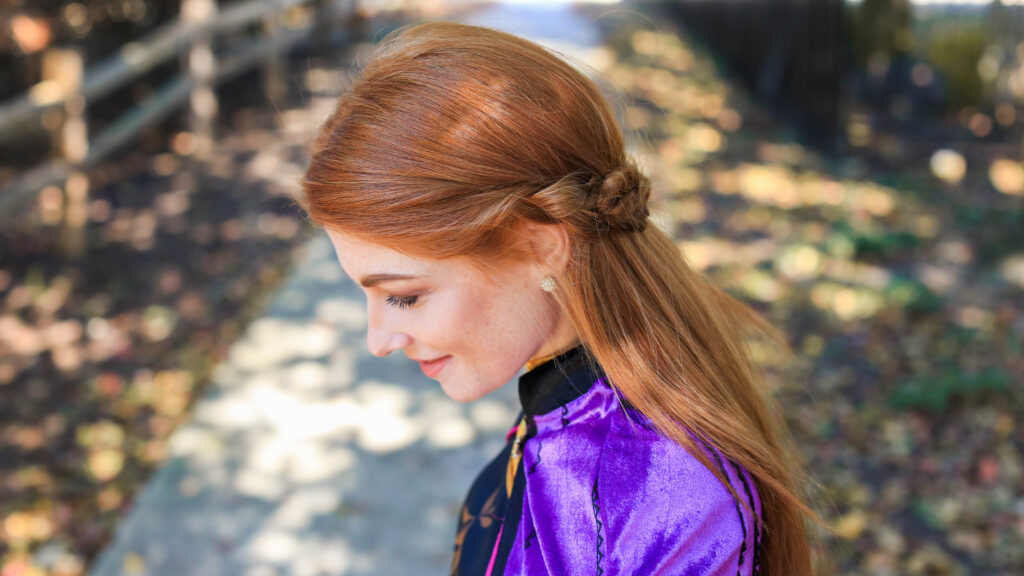
- Section off a piece of hair a couple of inches above the ear and go to the back of the ear.
- Divide that into three sections for a basic three-strand braid, but don’t braid it all the way down. Secure the braid with an elastic.
- Add some texturizing powder because it will allow the braid to look smooth and full.
- Pancake the braids for a full and fluffy look. As a result, the hairstyle will look much more aspirational.
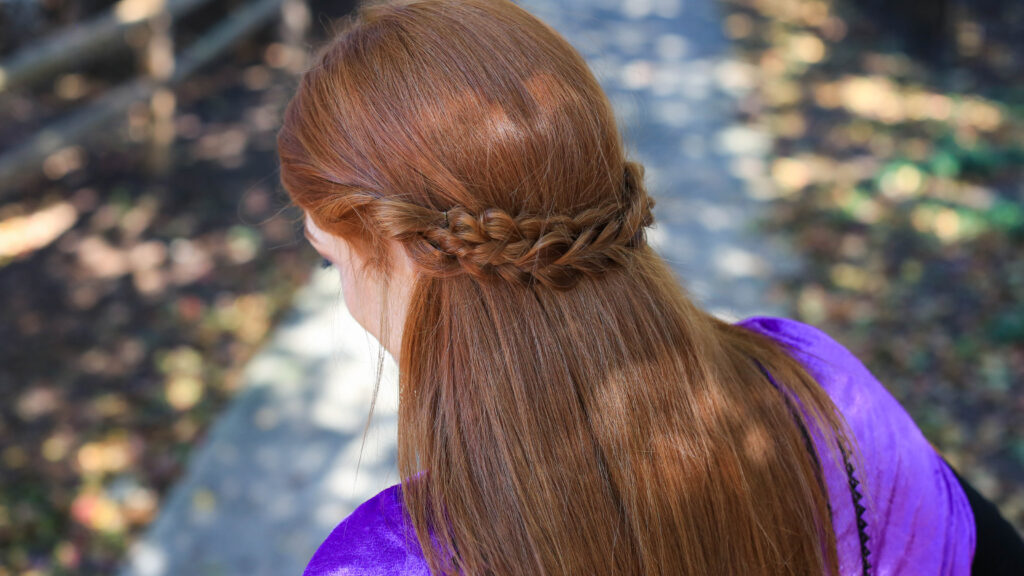
- Take one braid and wrap it around the head so it’s right below the ears. Position the first braid in front of the second braid and loop the first braid through to the back of the second braid.
- Take the second braid, pull it around the head (keep the braids together) to the front of the first braid and loop the second braid to the back of the first braid.
- Pull the braids to get them positioned the way you want.
- Right where the hair crosses behind the ears, take some bobby pins and secure the braids so you can take out the elastic.
- Comb the end of the braid together with the rest of the hair so it seamlessly fades in.
- If you choose, you can stack the braids on top of each other so it looks like one braid, or you can pull one on top of the other so it looks like a thicker braid. If you want the thicker braid, you can weave a bobby pin in and out of the hair to hold the look.
- Set your final style with flexible hold hairspray.
Styling Method 2:
- Repeat steps 1-4 from Styling Method 1.
- Cross the braids around the back of the head.
- Where the two meet up, you’ll take one braid and weave it in through the spaces in the second braid.
- Continue to weave the first braid in through the spaces of the second braid all the way up to the ear.
- Now take the second braid and weave it through the first braid all the way up to your other ear.
- When you get close to the end, you can take out the elastic and mix in the hair at the end of the braid with the rest of your hair.
- Set your final style with flexible hold hairspray.
Styling Method 3:
- Repeat steps 1-4 from Styling Method 1.
- Find where you want the braids to meet at the back of the head. Open up a loop in one braid and slide the other braid through.
- Take bobby pins and secure the point where the braids meet up. Make sure you cross the bobby pins underneath the hair.
- Once you have it secure, undo all the lower pieces below the meeting point.
- Set your final style with flexible hold hairspray.
Pick the way that works best for you and get ready to feel like a princess!
After watching the tutorial, you’ll notice each styling method will have its own unique finish to them so don’t be afraid to test them all out. Make sure to check out Frozen 2 on Disney+!
To check out more Disney inspired hairstyles, click here!