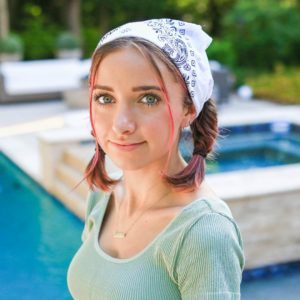
No one loves the milkmaid braids more than Brooklyn! It’s always been her go-to hairstyle whether she’s in a rush or just decides to skip a wash day (we can all relate to that). Every time she wears her hair like this, she gets so many compliments on it! So since many of us have long hair like Brooklyn and sometimes run out of ideas on how to style hair on a lazy day, I thought this would be a perfect how-to for this week!
When in Doubt, Braid it Out
Fun Fact: The Milkmaid Braids got its name from none other than milkmaids. When they would go milk cows their pigtail braids would fall into the milk bucket. The clever milkmaid would then just wrap it up really quick into this simple hairstyle. I don’t think they ever thought it would become the big trend it is now, but seriously, it’s such a darling look! Keep reading to learn to how re-create Brooklyn’s iconic look!
Items Needed: Brush, rat-tail comb, hair elastics, bobby pins, hairspray {if desired}.
Time Requirement: 5-10 minutes
Skill Level: Medium
Milkmaid Braids DIY
- Part your hair down the middle and separate into 2 sections.
- Complete a 3 strand braid (starting at the bottom of the ear) on each section of hair. Secure each braid with an elastic.
- Pancake the braids to make them look fuller (make them as fluffy as you like – the messier, the better!)
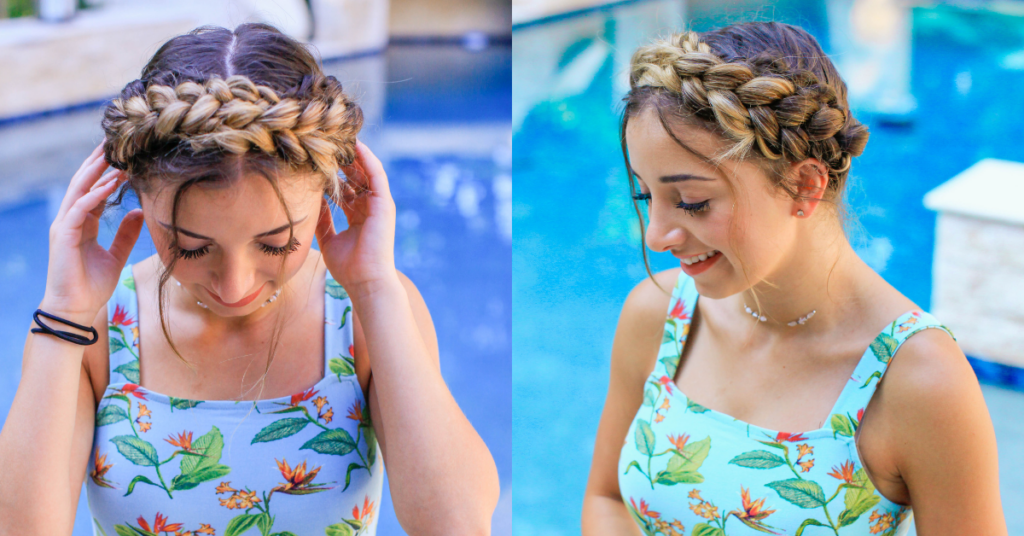
- Tuck up the right braid and pull the end of the braid over the top of the head to the other side. Secure with bobby pins.
- Tuck up the left braid, pulling the end of the braid over the top of the head to the opposite side.
- Hide the end of the left braid under the right braid (to give the illusion of a continuous braid). Secure with bobby pins.
Finishing Touches to Milkmaid Braids!
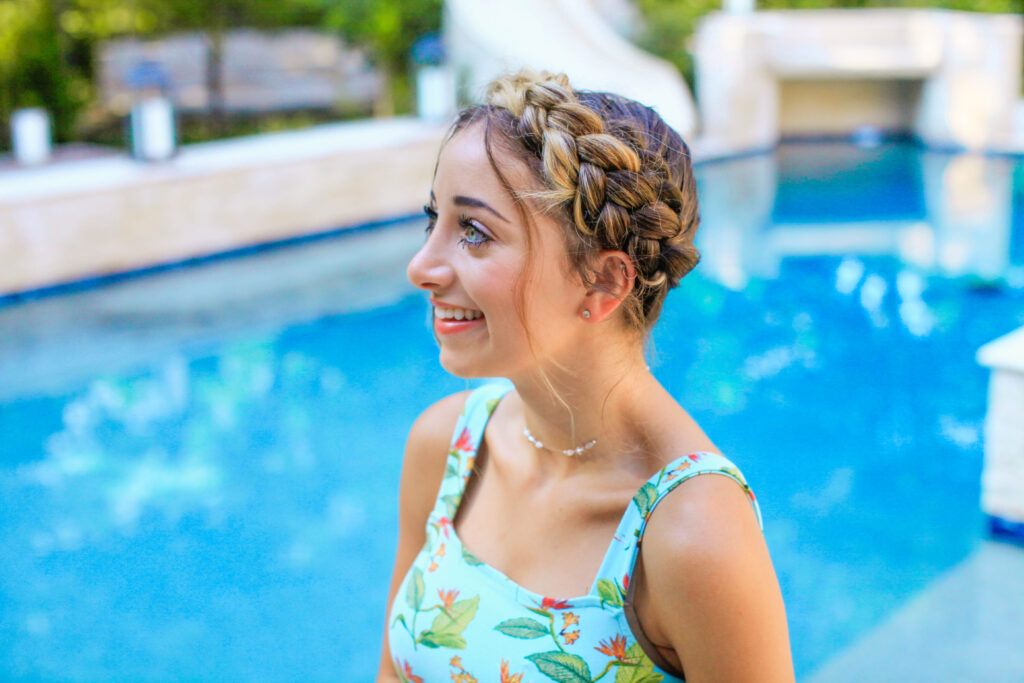
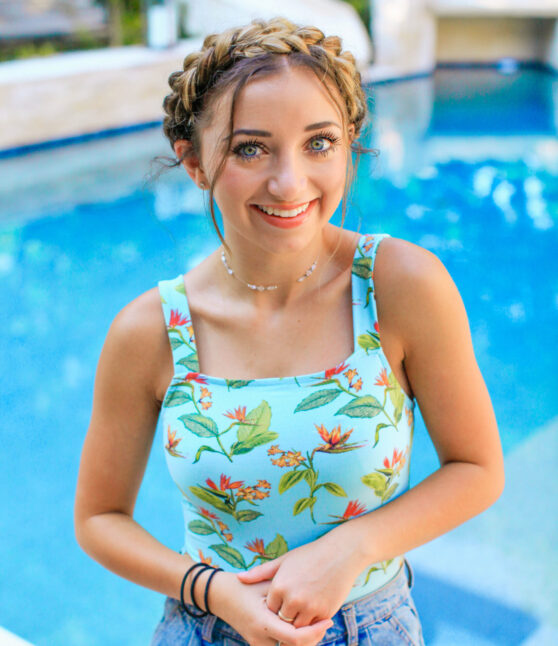
After you’ve pinned the hair in place you should have a very tight version of the braided look at the moment. You can keep it like that if you prefer a cleaner look or you can soften it up like Brooklyn’s braids. If a messier look is more your style, once you complete the basic steps, start to pull out some face-framing pieces to soften the look. You can also pancake the braid a little more with Hairitage Magic Dust Texture Powder if you desire more volume. Lastly, pin any flyaway hairs down with bobby pins. And there you have it – Milkmaid braid for long hair. Made for any occasion and easily adjustable to fit your personal style!
Watch the full tutorial:
To check out more hairstyles for long hair, click here!