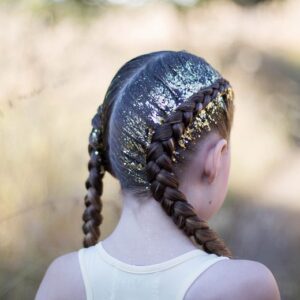
I have a question. What makes everything better (besides chocolate…)? Of course, GLITTER! In this tutorial we have combined dutch…
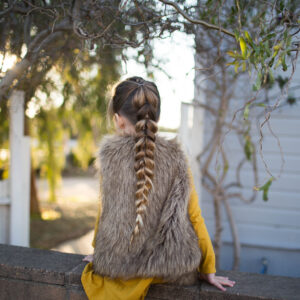
Dutch Braids
Page 2 of 6
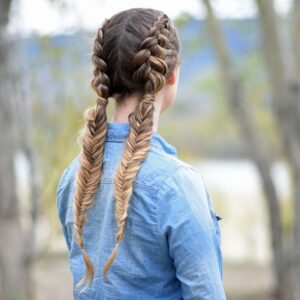
Today we have an adorable combo hairstyle for you. You can learn how to create the Double Dutch Fishtails.To see…
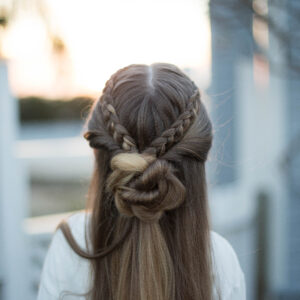
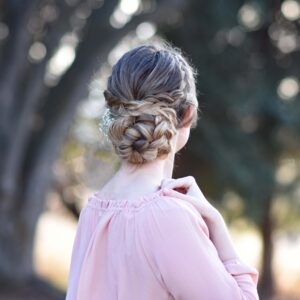
I am in love with this darling combo hairstyle! It consists of braids, a twist, flips, and a bun. I…
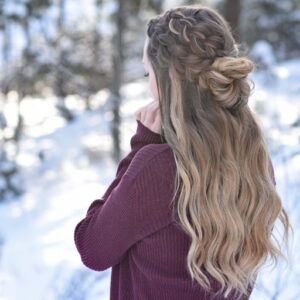
Summer is here, are you looking for a beautiful new hairstyle? This one is perfect for long hair. We combine…
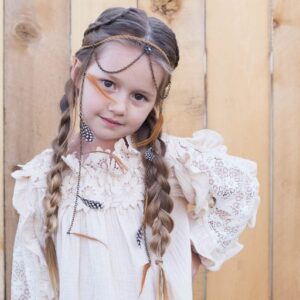
Summer time means festivals! Festivals are so much fun! I love the food, music, art and bringing out my boho…
Prom season is here! This means girls everywhere are watching makeup & hair tutorials trying to decide what will work…

This one is for all the short hair girls! Bailey loves her short hair and she is constantly experimenting with…
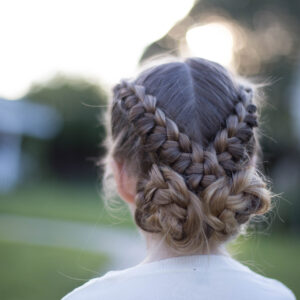
I love this pretty double dutch hairstyle. It is a perfect combo of braids to create an easy DIY hairstyle.…
I love a good combo hairstyle! You can use different braids and combine them to create a totally new look!…
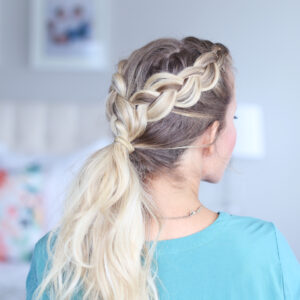
2-in-1 Dutch Braids | Day to Night
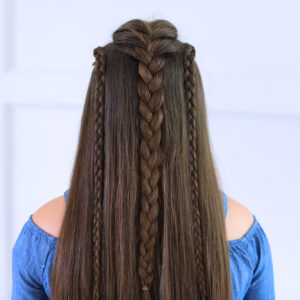
Today I am sharing how to style a simple half up style with Dutch Braids. It is quick & easy…

Christmas time means lots of things. One of those things is “Christmas/Holiday Parties”. Everyone wants to look their best and…
Katie from Abella’s Braids here one last time! You will still be to see our videos on Cute Girl’s Hairstyles YouTube channel…