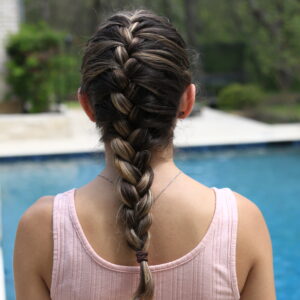
How to French Braid | Back to Basics 101
In order to become a skilled hair braider, you absolutely MUST know how to properly French Braid! Today, I’m going…
How to French Braid | Back to Basics 101
In order to become a skilled hair braider, you absolutely MUST know how to properly French Braid! Today, I’m going…
Easy Back to School Hairstyles | Do It Yourself
It’s that time of the year again – the beginning of the school year! Whether you’re in the comfort of…
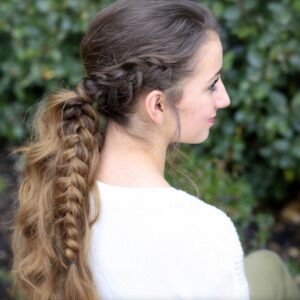
French Wrap Braid | Summer Hairstyle
As you know, the sweat-inducing summer heat gives anyone more reason to pull their hair back, out of the face,…
Cute Updos Perfect for Prom Night
I’m back with another round of prom updos! Y’all know that updos are my fav! If you’re looking to experiment…
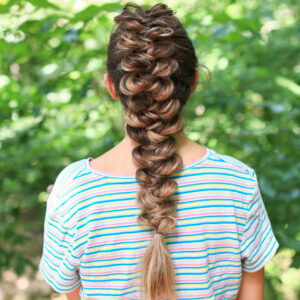
My Favorite French Braid Hairstyles
Ever have those days when you want your hair to look elegant but don’t want to spend all day doing…
This cute hairstyle is going to be your new favorite! I LOVE this look! It’s simply french braids combined with…
Today we have a simple dutch braid combined with a few “toddler proof” tricks to help your hairdo stay in…
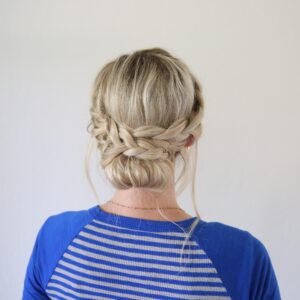
This week we have a very pretty French Lace Braid Updo. It is an elegant look that is perfect for…
Girls like to have a running list of quick and easy DIY updo’s. Today we have one to share that…
Today I’m sharing this super cute French Braided Updo. It is perfect for a fancy event you might have coming…
I can’t believe it’s time for school again! Time for shopping, school supplies and picking out outfits for the first…
I have a question. What makes everything better (besides chocolate…)? Of course, GLITTER! In this tutorial we have combined dutch…