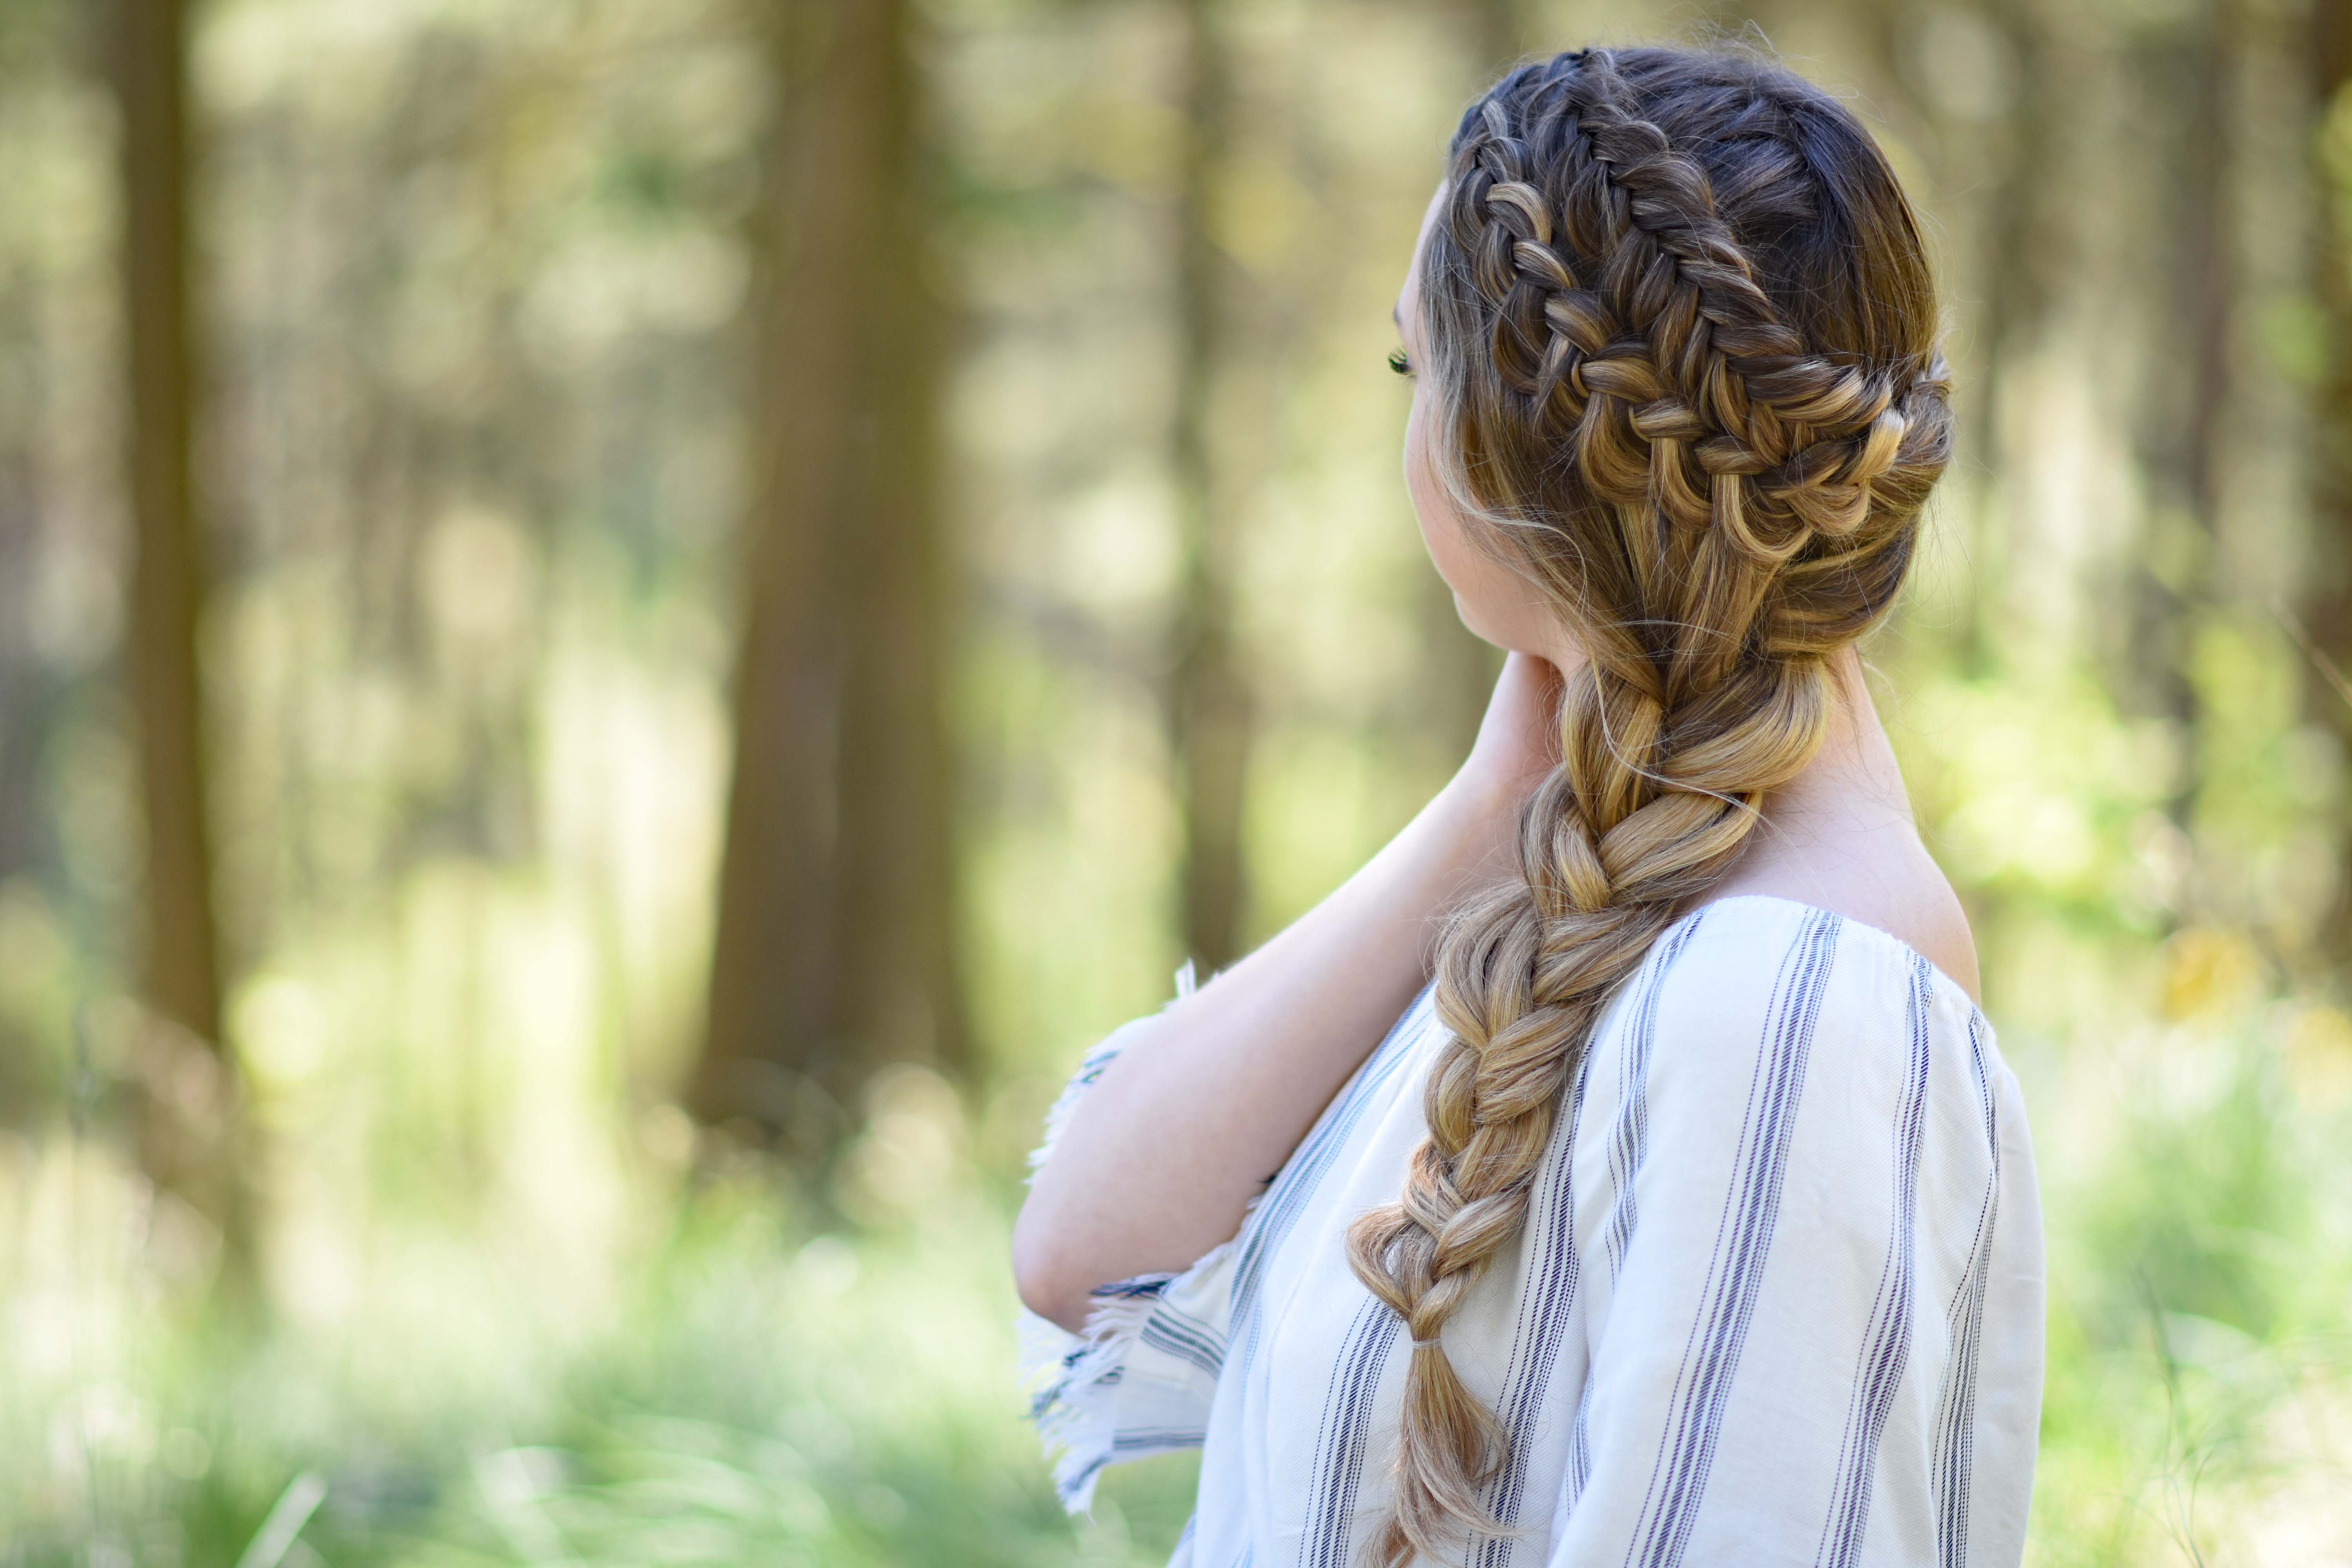


I can’t believe it’s time for school again! Time for shopping, school supplies and picking out outfits for the first week! If you are picking out what you are going to wear, you should pick out hairstyles while you are at it! This simple DIY will keep your hair out of your face and complete your back to school look! It’s a must try for a quick back to school morning!
To see your own photo recreations of this style featured in our app, feel free to tag your photos on IG with: #CGH2DutchSideBraid Items Needed: Brush, rat-tail comb, spray bottle, hair elastics, bobby pins, hairspray {if desired}.
Time Requirement: 5-8 minutes
Skill Level: Medium
Step-By-Step Instructions:
- Start by parting your hair to one side.
- Section off a piece of hair from the front going diagonally toward the back of the head. (as shown in video)
- Take your remaining hair and secure it out of the way.
- Pick up a small section from the front of the hair you’re working with. Divide into two pieces and begin a dutch fishtail.
- Create a dutch fishtail all the way back until you run out of new hair to add in. Continue with a regular dutch fishtail until your braid is long enough to reach the back of your head.
- Go back and pancake the edges of your fishtail braid and then secure with a small elastic.
- Release your hair that was pulled out of the way. Place your fishtail up and clip out of the way.
- Go back to the front of your hair and pick a small section just under your fishtail braid. Divide into three pieces and begin a dutch braid.
- After a few stitches, stop adding in new hair from the bottom of your braid. (This creates a dutch “lace” braid).
- Continue braiding until about the same point you ran out of new hair with the fishtail braid. At this point stop adding any new hair and continue a regular braid until it is as long as your fishtail braid.
- Go back and pancake the edges of your braid then secure with a small elastic.
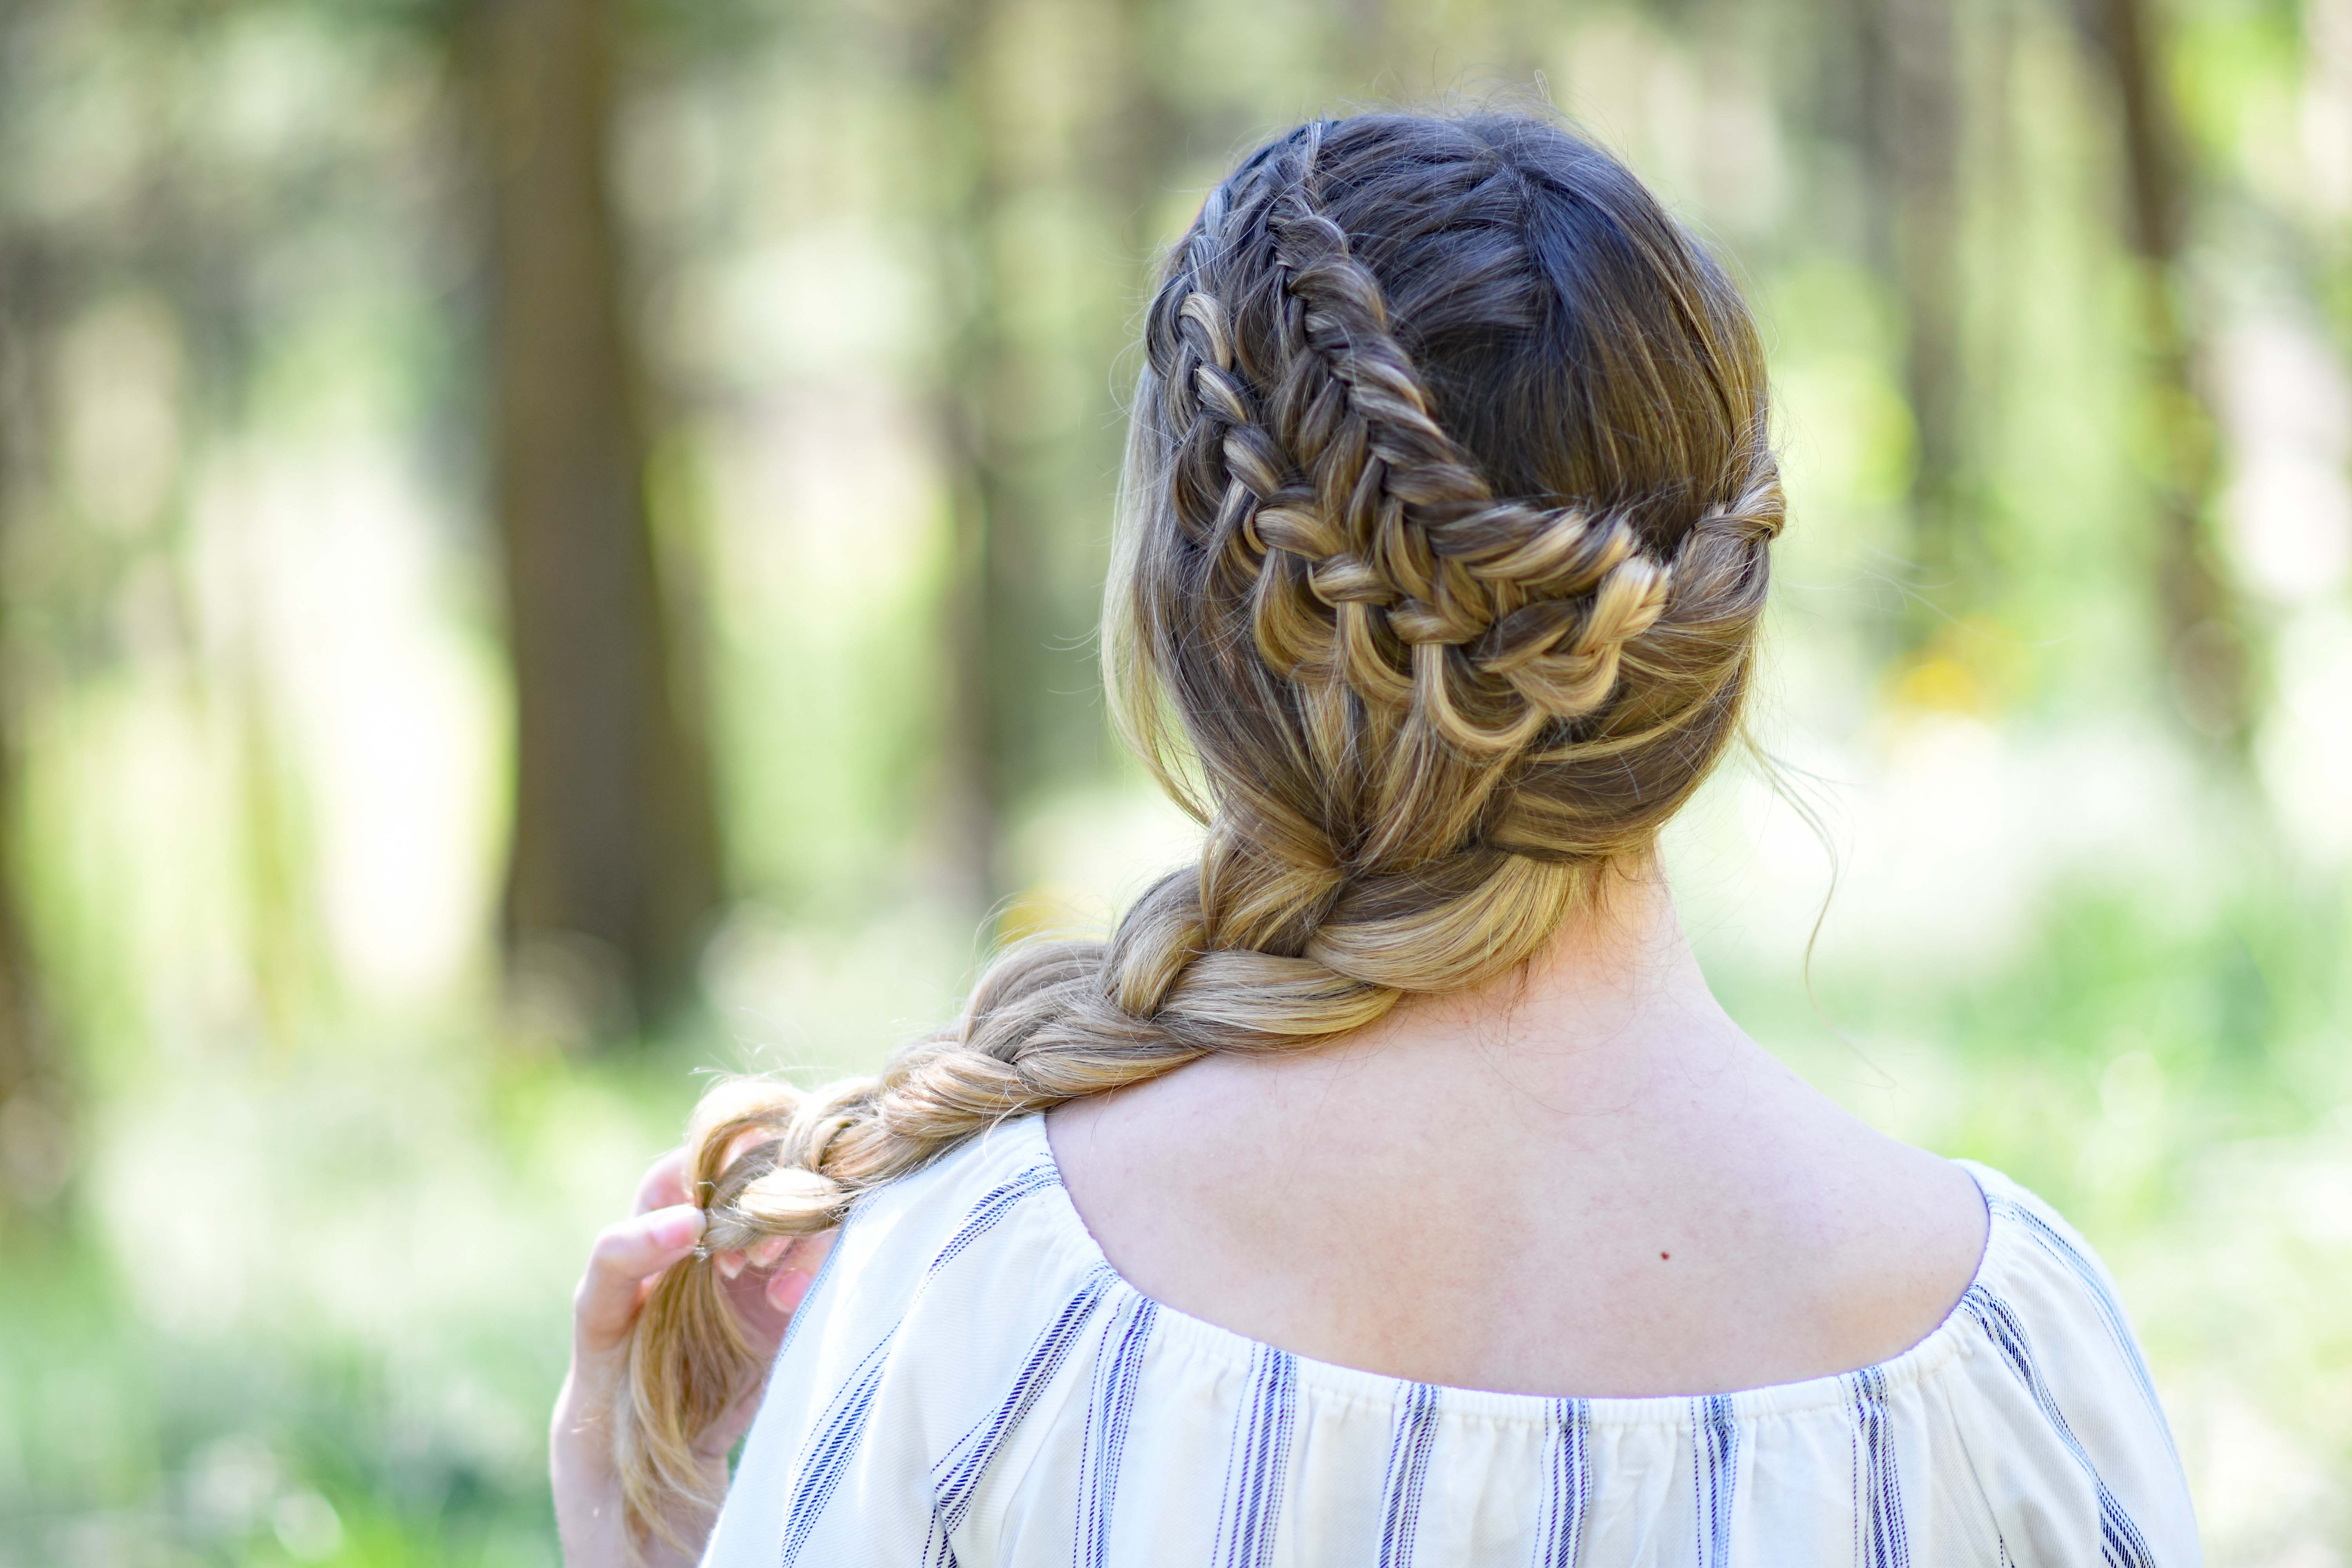
- Pick up both braids, bring them around the back of the head to the opposite side and combine them together with a small elastic.
- Remove your two temporary elastics at the bottom of your braids. Now secure your braids at the back of the head with bobby pins.
- Pick up a section of hair from the front (non- braided side) and twist backward. Twist and bring back and on top of where your braids are pinned in the back. Secure the end of your twist underneath your braid to hide pins.
- Now pick up your remaining hair and divide into three pieces and create a regular three strand braid. You want to pull it to the same side as your braids. After you have braided all the way down, go back and pancake the edges and secure with an elastic.
- Last but not least, carefully pull out a few little pieces in the front (wispies) to frame your face.
This week on Brooklyn & Bailey … “DIY Notebooks” for Back to School!
This week on Kamri Noel … “End of Summer Pool Party Ideas”


I saw many hair style video tutorials and photos. but I find your blog hair style photos very useful.
NIKAI Multi-Function Roller Automatic Rotating Hair Dryer Curling Hair Straight Fen-Brush Irons Styling Europe voltage 220v-240v 1500w
https://www.amazon.com/dp/B06WWMJ9BH