
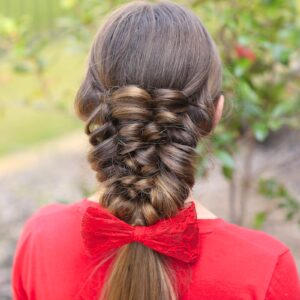
Today’s hairstyle takes inspiration from one we posted back in December 2013. That style was the French-Up High Bun. Since…
Hard
Page 2 of 5
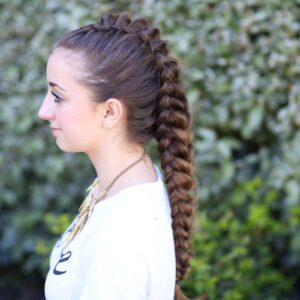
Happy Easter! This week’s hairstyle isn’t anything new, as you’ve likely seen it around everywhere from the catwalk to fashion…
Twisted Edge Fishtail Combo | Braid and Updo
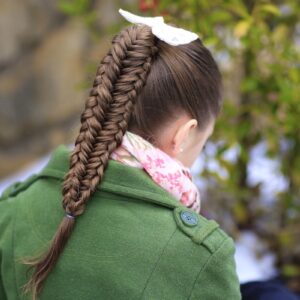
There have been so many viewer requests, sending in photos and asking for us to create a tutorial for this…
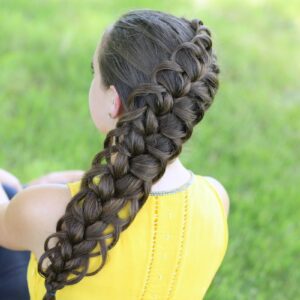
How to Create a Banded Puff Braid
A few months ago, Alicia, my friend from high school shared a photo with me on Facebook of this hairstyle…
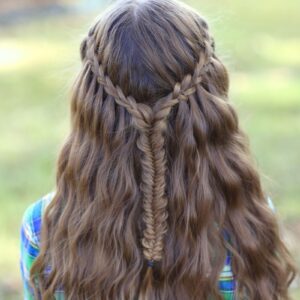
Scissor Waterfall Combo | Latest Hairstyles
I’ve noticed this cool new Scissor Waterfall Braid technique several weeks ago, and now a few YouTubers and Instagrammers have shown how…
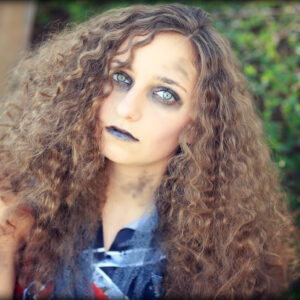
Zombie Cheerleader | Hair Pin Curls
Today we are going to show you how to create Hair Pin Curls, a tutorial that we’ve been waiting nearly…

Monster High’s Sirena Von Boo | Halloween Hairstyles
Monster High videos are some of the most popular videos on YouTube, and the YT channel behind the most viral…
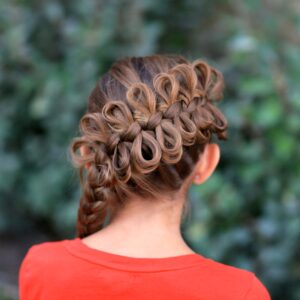
Diagonal French Loop Braid | Cute Braid Hairstyles
Today’s hairstyle is inspired by the combination of the Diagonal Bow Braid and the Zipper Braid. Brooklyn volunteered to be…
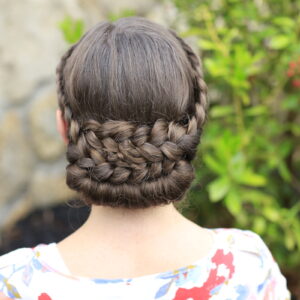
How to create a Lace-Rolled Updo
Time for another beautiful updo hairstyle! It is Summer, and it is hot, and we are always looking for ways…
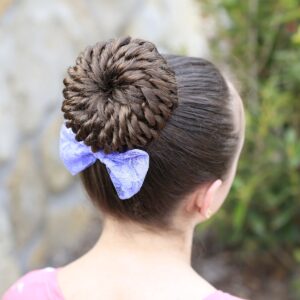
Rope-Twist Pinwheel Bun | Prom Hairstyles
Brooklyn has been a bun lover for ages! We joke that she is the most likely to become a librarian,…
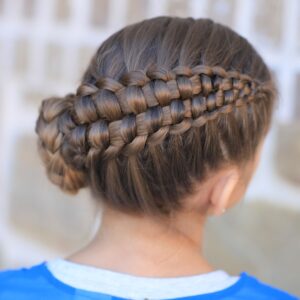
How to Create a Zipper Braid | Updo Hairstyles
This braid is similar-looking to a conjoined double Cobra Braid, only the stranding is different and very tricky. This is…
Diagonal Bow Braid | Popular Hairstyles
In May 2012, we posted our Bow Braid tutorial which was a hit, with now nearly 4.3 million views! In…