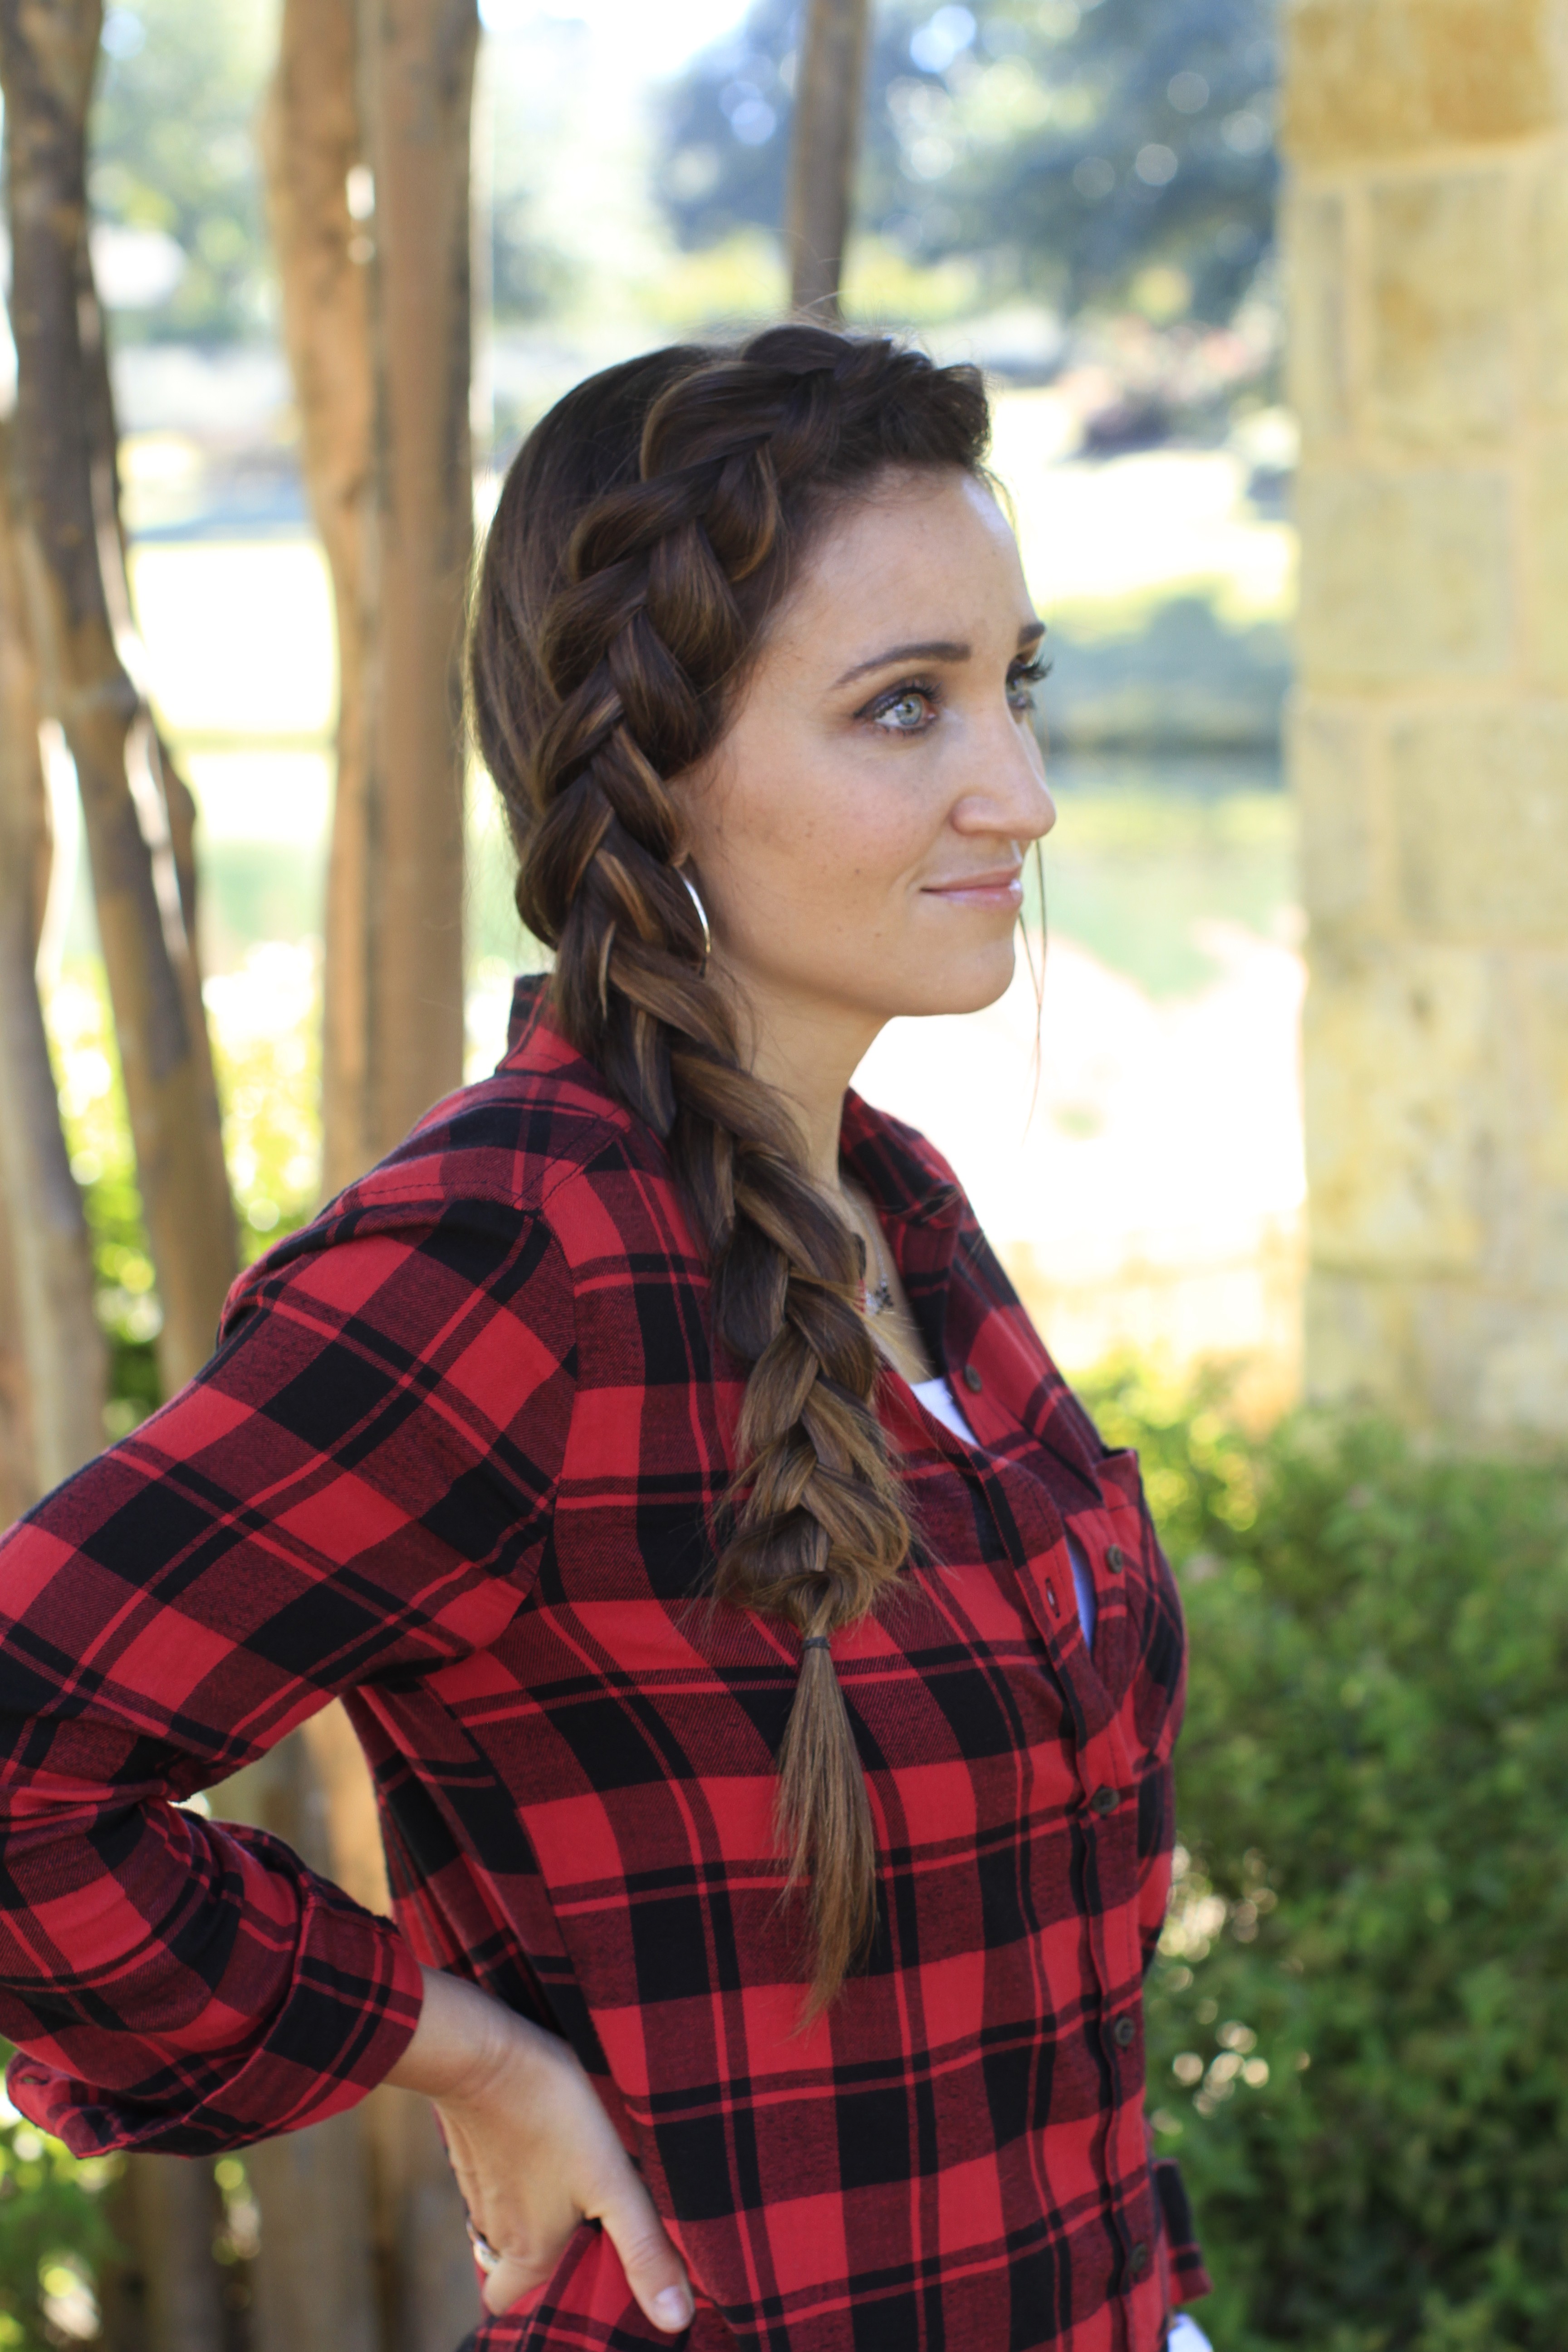
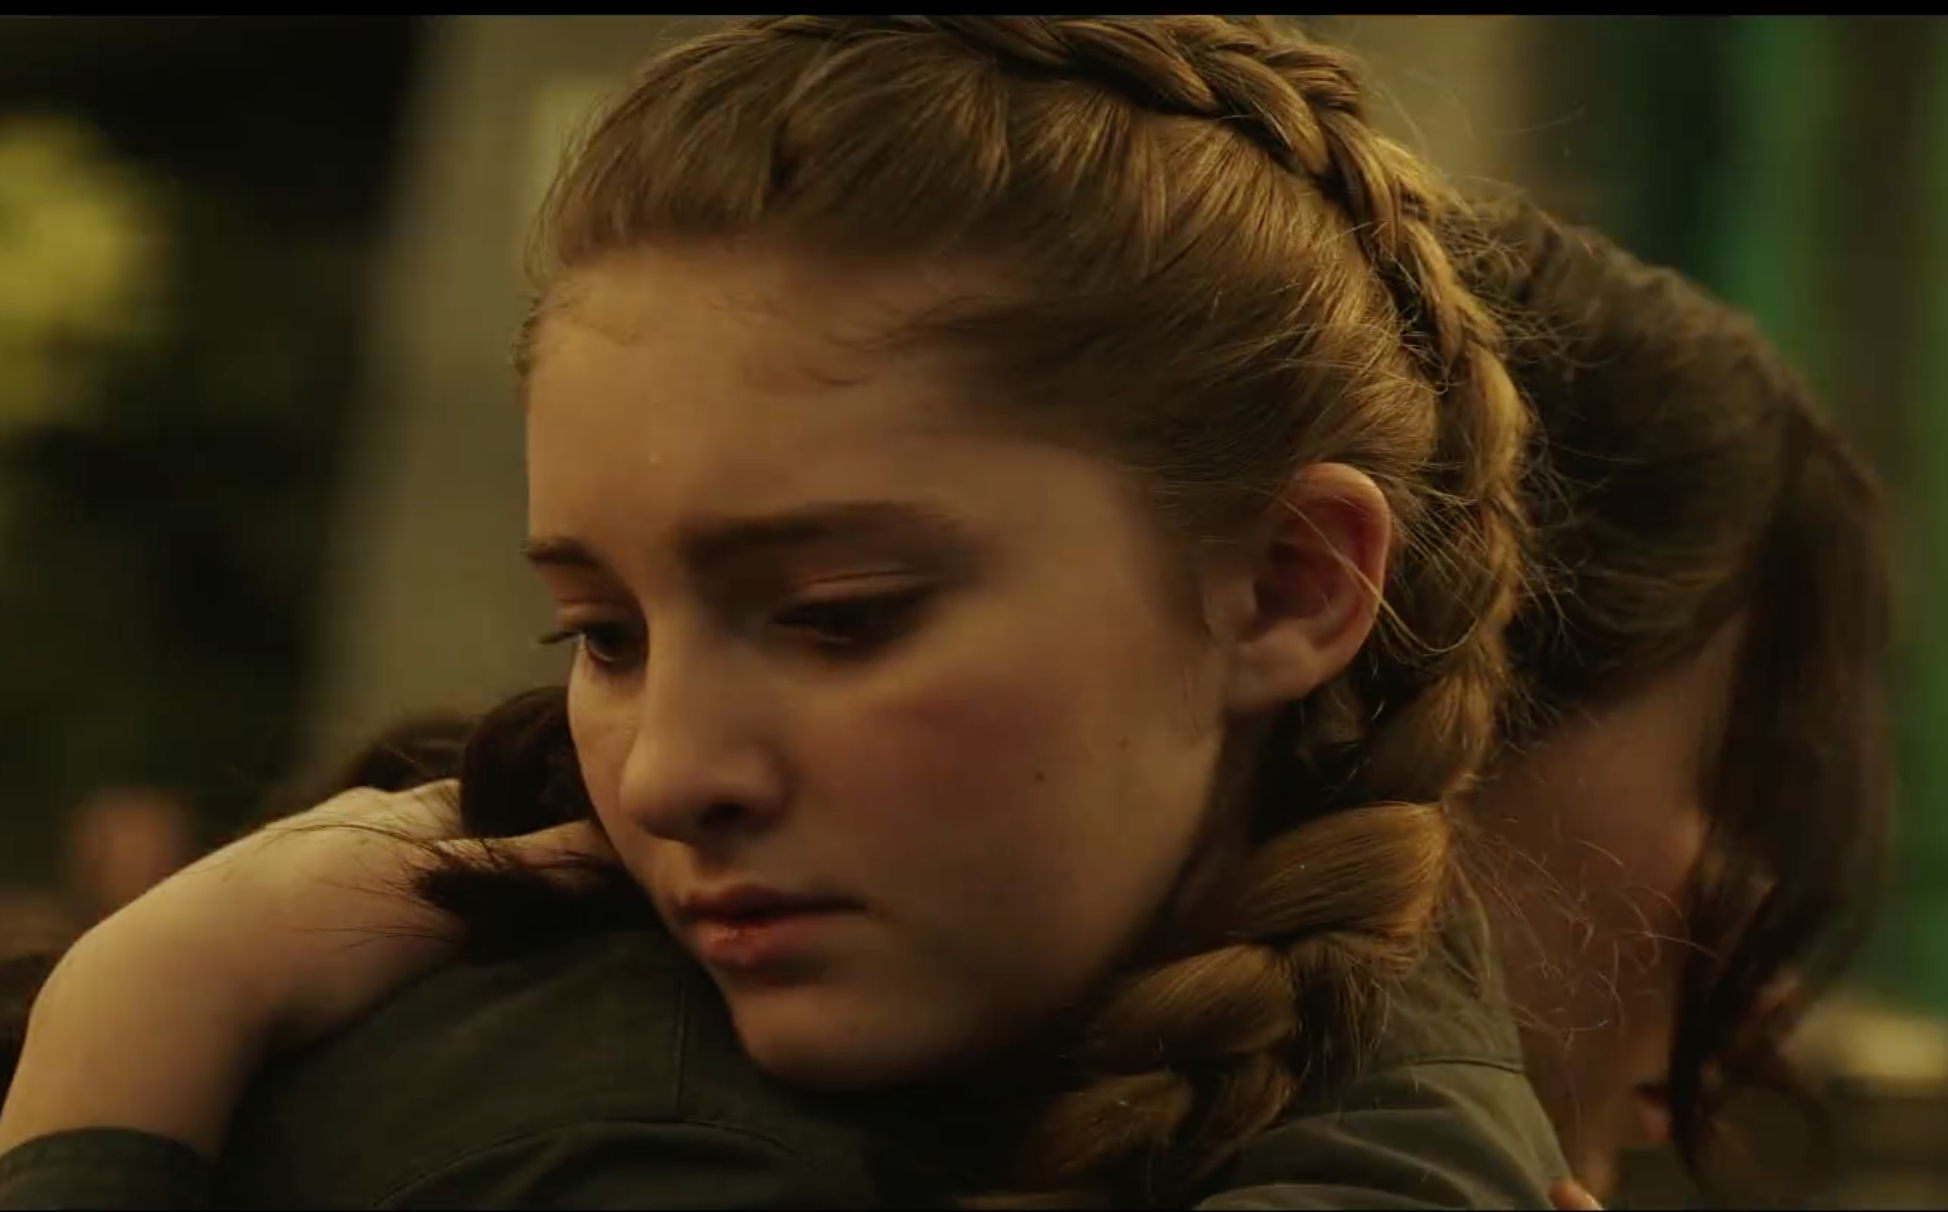
With Halloween now past us, its time to get back to realistic hairstyles! In honor of the upcoming movie, The Hunger Games: Mockingjay – Part 2 that releases this month, we have decided to do a DIY Dutch Side Braid inspired by a style worn by Prim in the sequel.
DIY Dutch Braid by CuteGirlsHairstyles
 A few months ago, I noticed in one of the new trailers released by Lionsgate, that Prim was wearing a hairstyle similar to one we taught several years ago. We called it the Same-Side Dutch Braid.
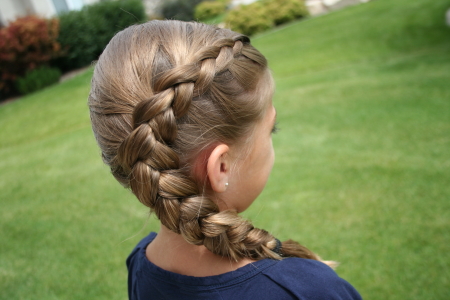
Here’s our photo of the style on Kamri from back in August 2011:
 You can see below the tutorial we have for this Same-Side Dutch Braid:
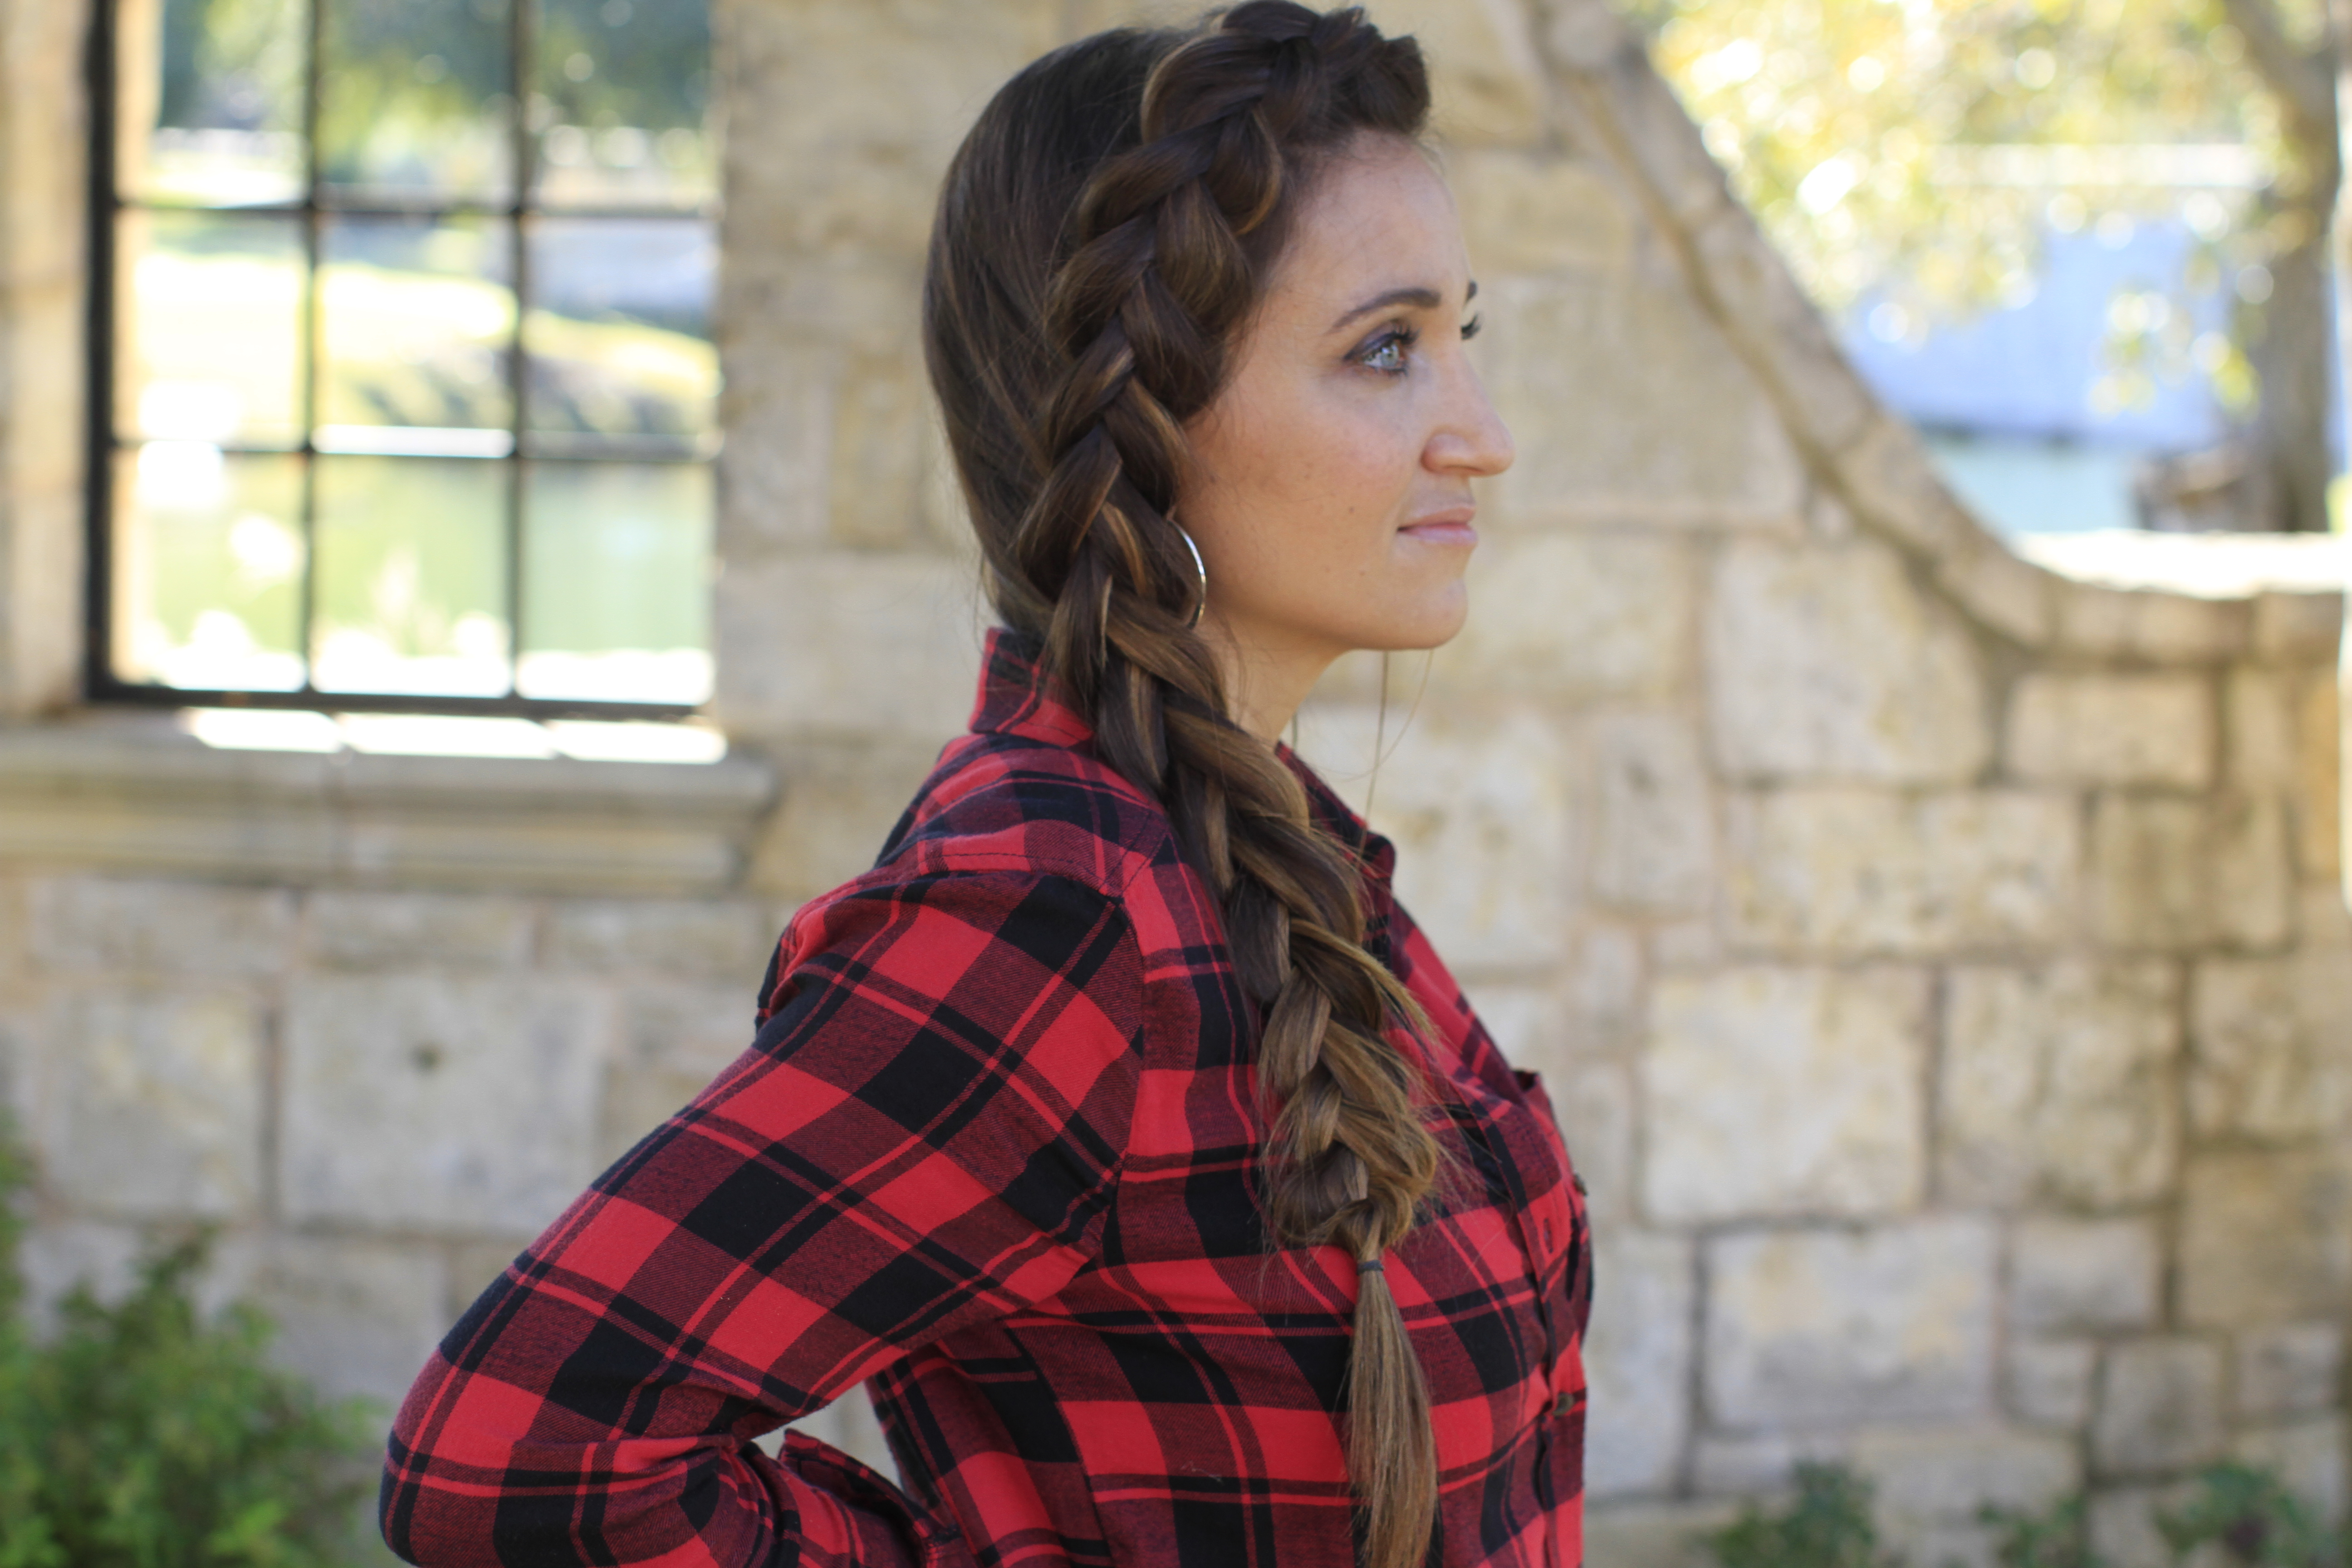
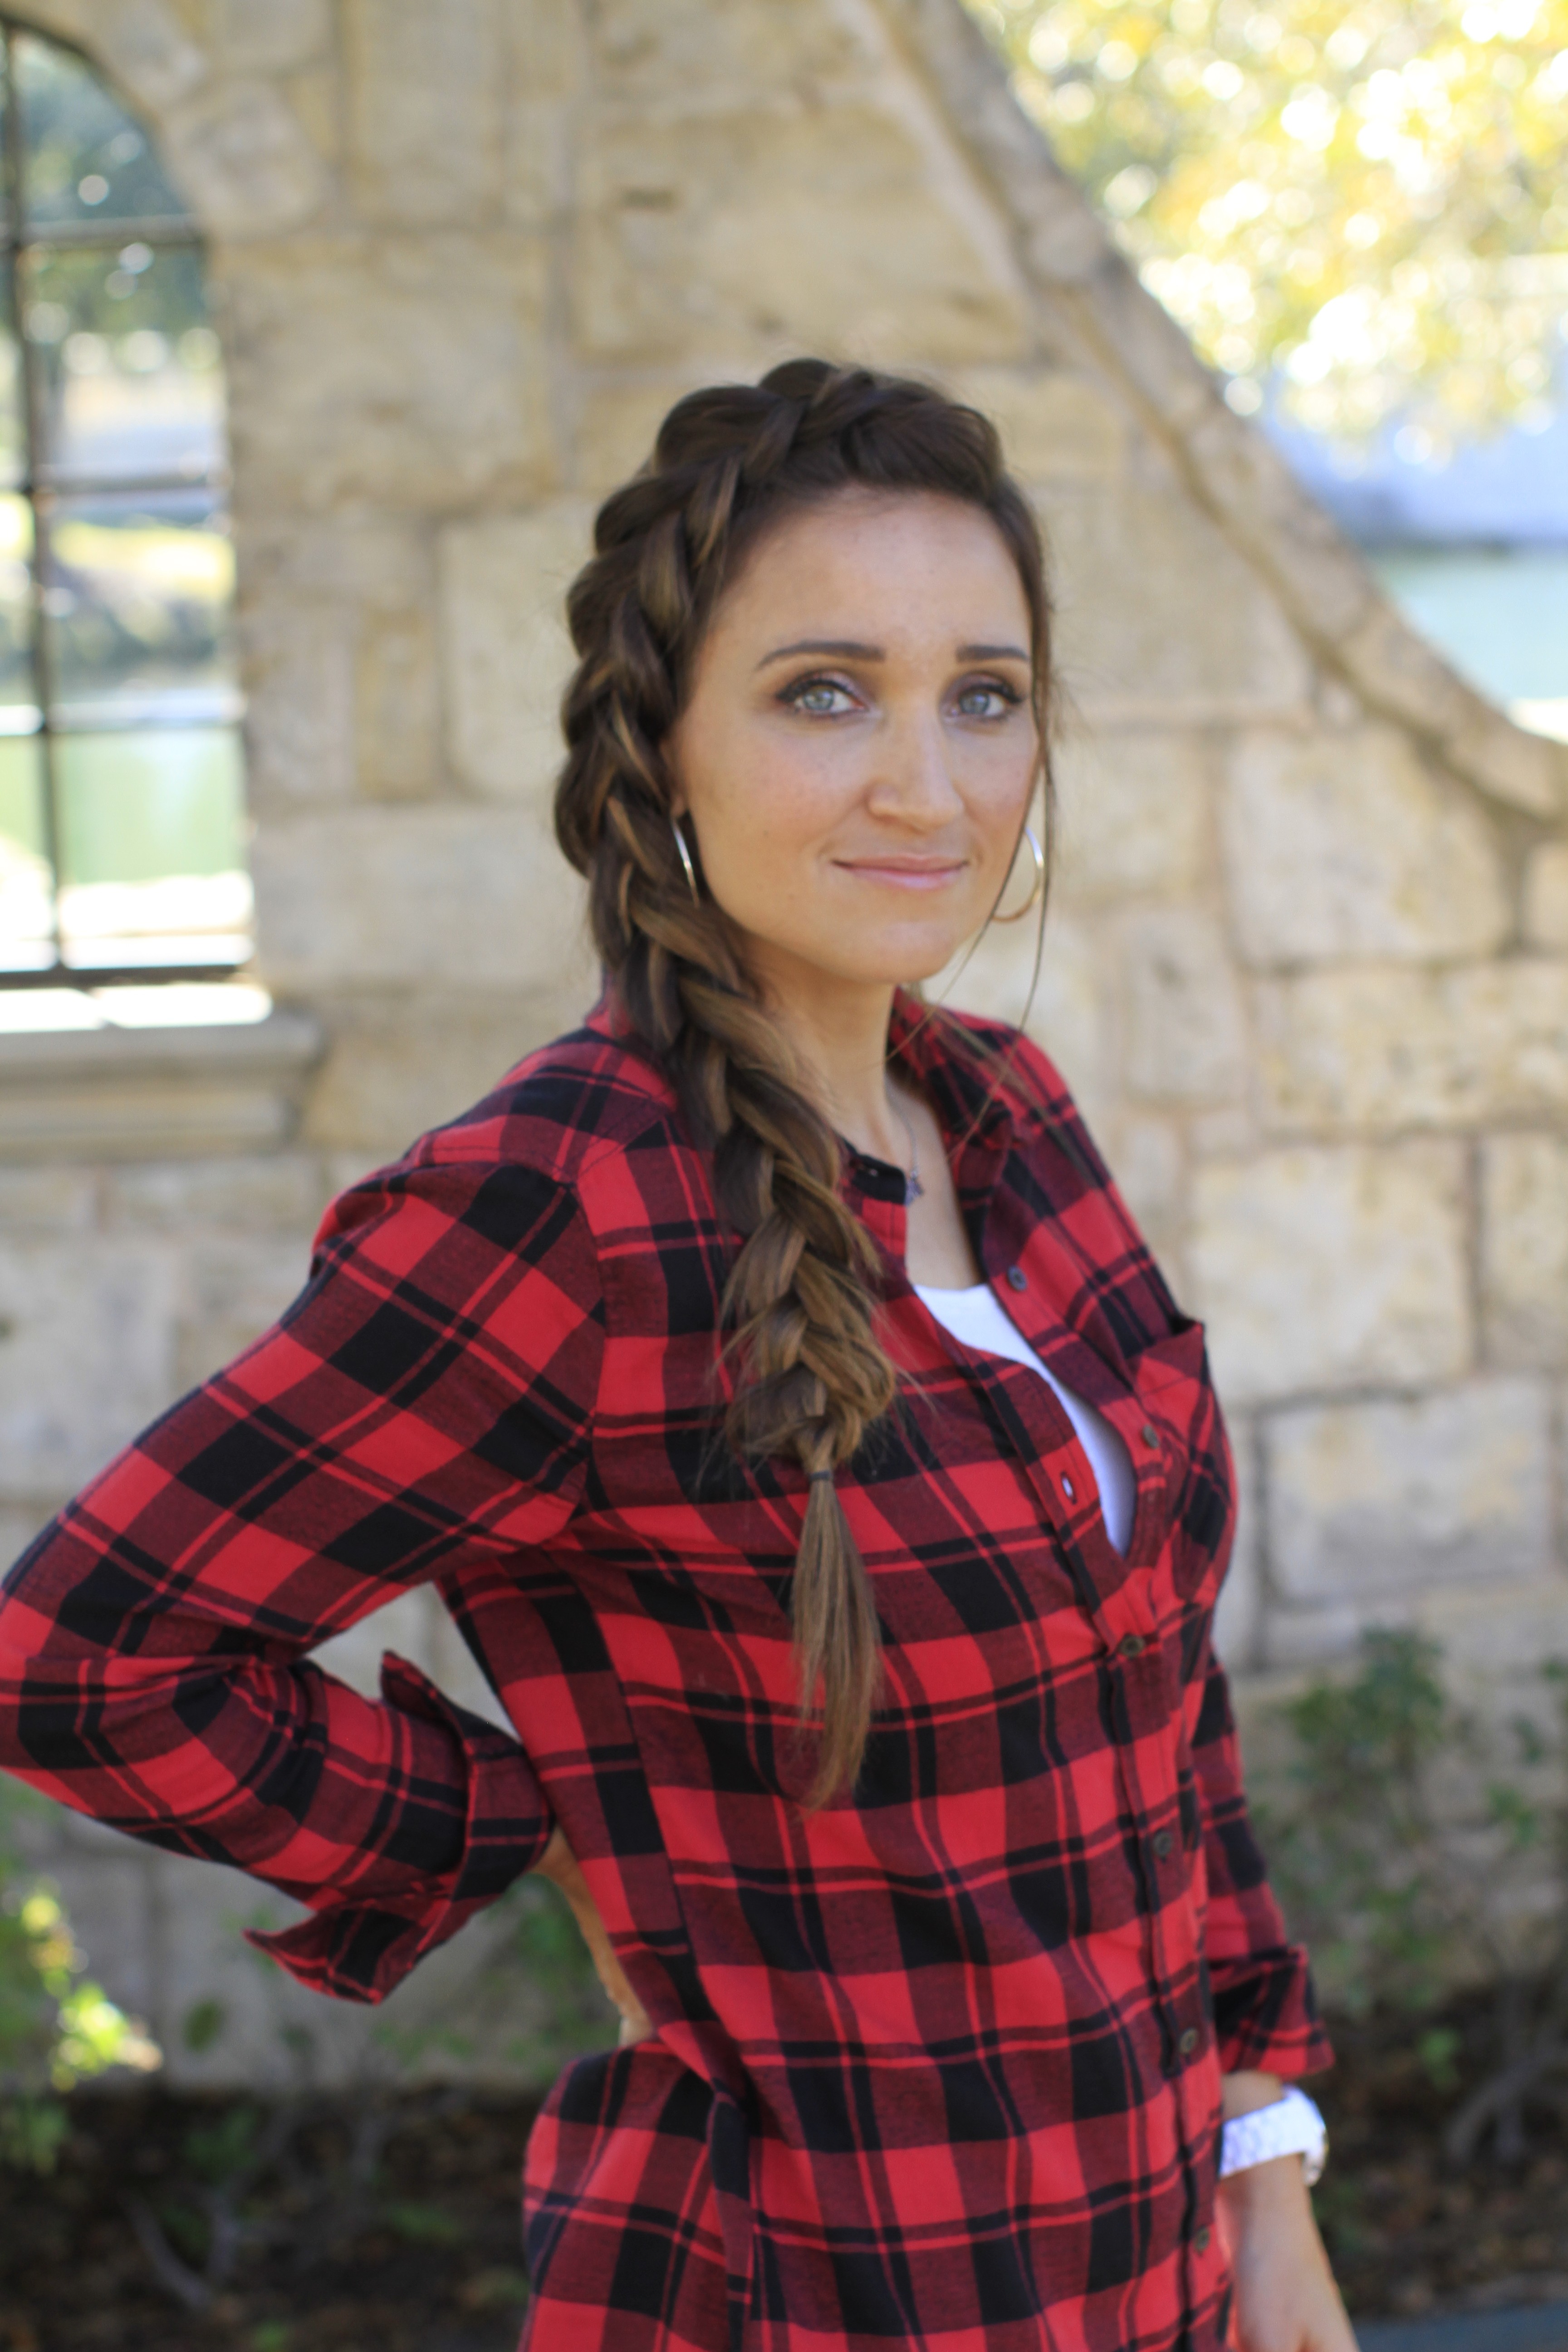
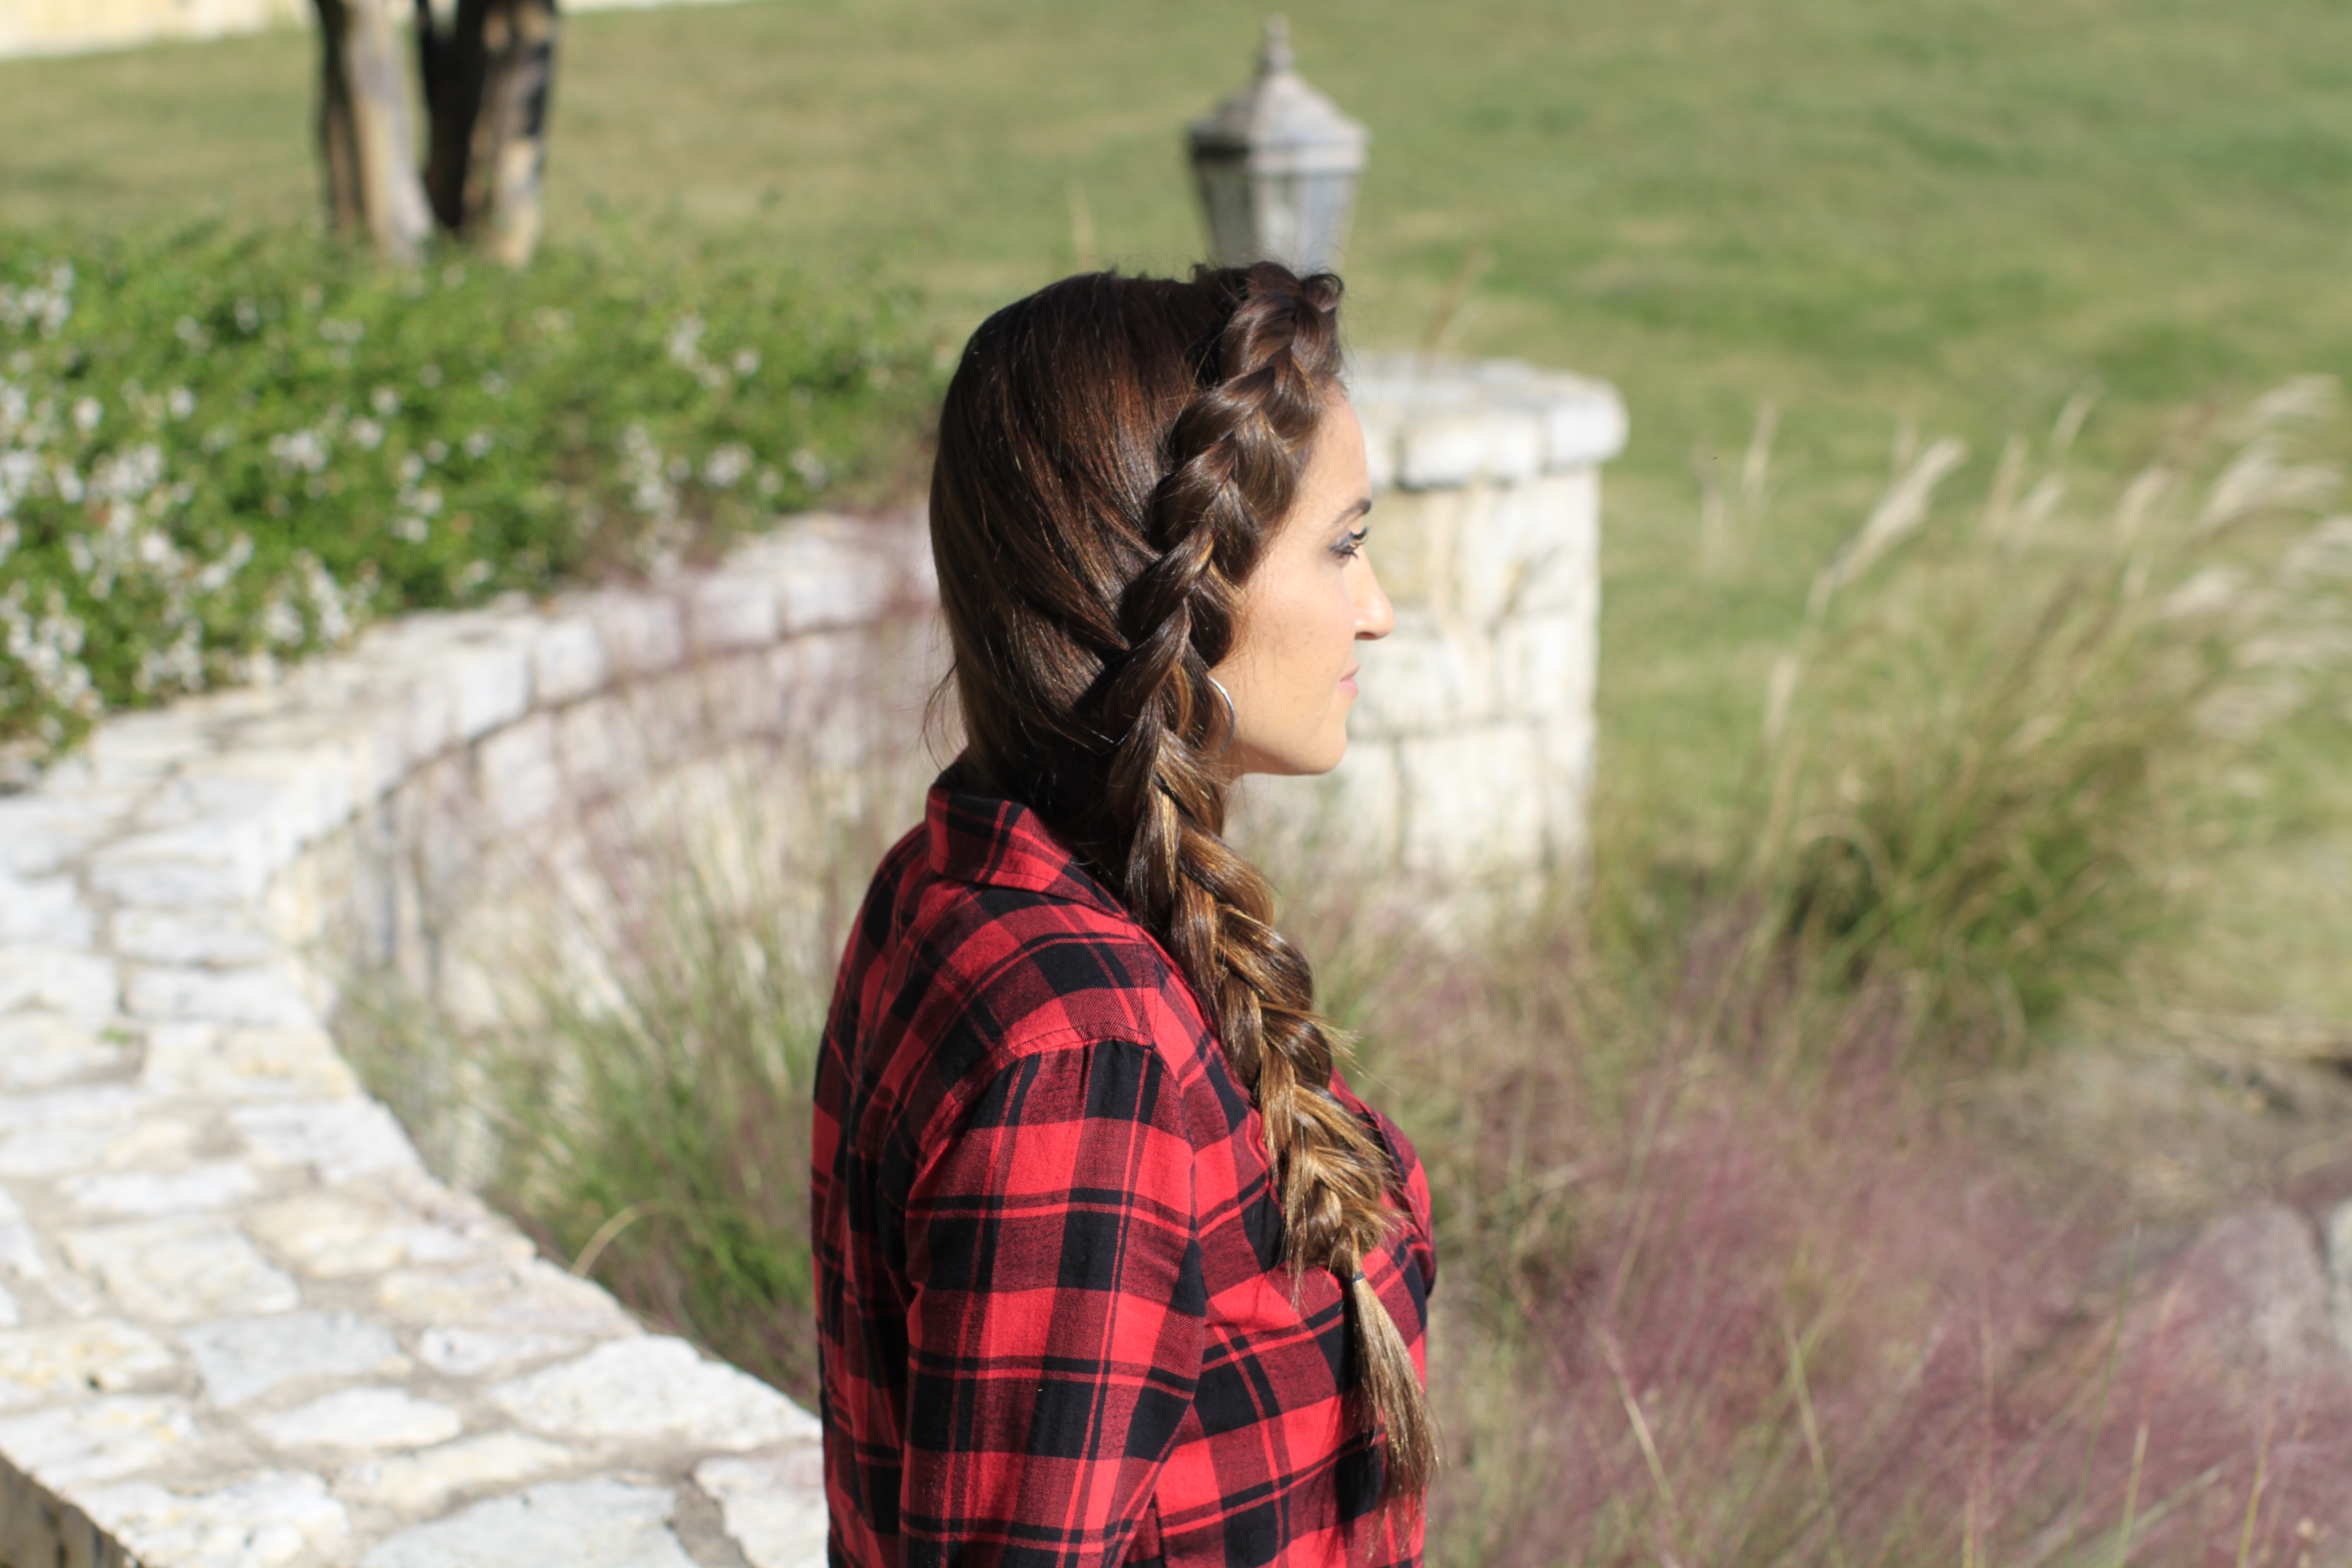 This time I decided to each a DIY version, so that all of you can learn to create this gorgeous braid on yourselves. But since I’m a little older then Prim, I decided to mature the style up by shaping the braid slightly different and pancaking the braid for volume. You will definitely get a lot of compliments when you wear this awesome braid!
 Items Needed: Brush, rat-tail comb, spray bottle, 1 small hair elastic, hairspray {if desired}.
Time Requirement: 3 minutes
Skill Level: Easy
Video Tutorial:
- Begin by creating a part line right above the middle of one eyebrow…
- Pick up a good sized section of hair, and divide it into three strands…
- Begin a Dutch braid stitch, essentially a reverse French Braid, adding hair into both sides of the braid, and keep the braid running as close to the hairline as possible…
- When you reach the crown of the head, sweep all remaining hair over your shoulder and carefully add in pieces of that hair making sure that it runs smoothly into the braid…
- Continue adding in strands to both sides of the braid until you run out of hair, and then continue a normal 3-strand braid down remaining hair….
- Secure the braid with an elastic…
- Lastly, go back and pancake the braid by tugging on the elbows of the stitches, which will add volume and puff the braid {you want it to look really big and full}…
- Add hairspray {if desired}.
Please feel free to leave a comment below telling us which of all the Hunger Games hairstyles has been your favorite!
Happy Hairstyling!
Watch below how Brooklyn and Bailey prepare to go to Disney World, including some of their best in-park tips! You can also watch a recap of our family blog as part f Disney World’s Best Day Ever campaign!


Loving your braids, have tried some before ^^
cute
I love doing this hairstyle! Quick and simple for when I need to do something with my hair but don’t have lots of time.
This hairstyle is beautiful!
I love this look! So pretty:)