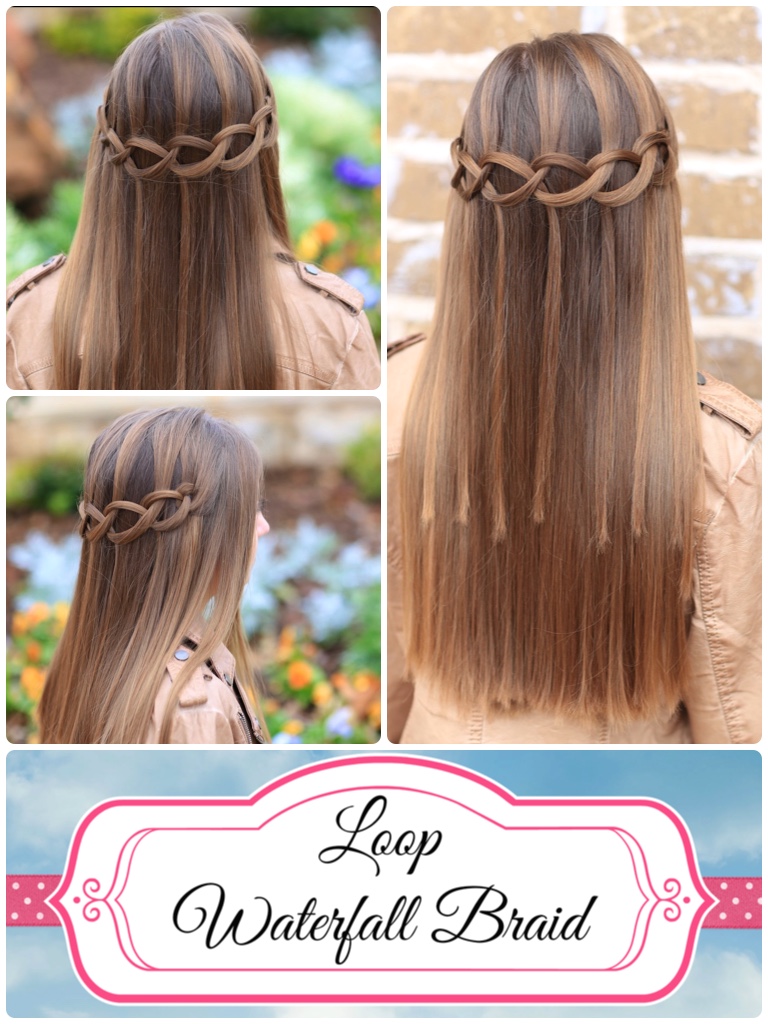
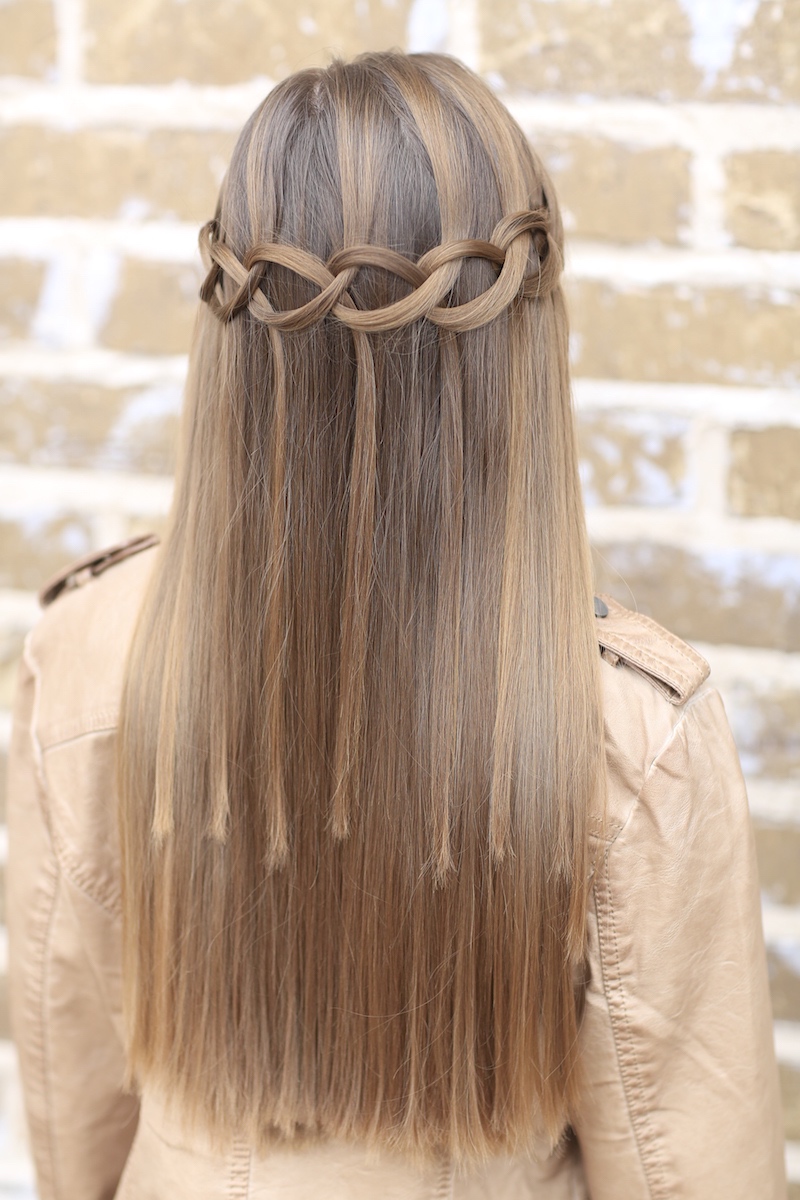
Do you love the Waterfall Braid? Today we are going to teach you how to create this beautiful Loop Waterfall Braid that is sure to get you compliments all day.

A week or so ago, one of our viewers, Bethany, emailed us a photo of this hairstyle that she found on Pinterest and it wasn’t easily evident to me how to recreate it. In fact, it ended up being Shaun who figured out the braid stranding and technique after looking at the picture for only 15 seconds. I didn’t believe him at first when he said he knew how, so I guess I’ll have to eat my words!
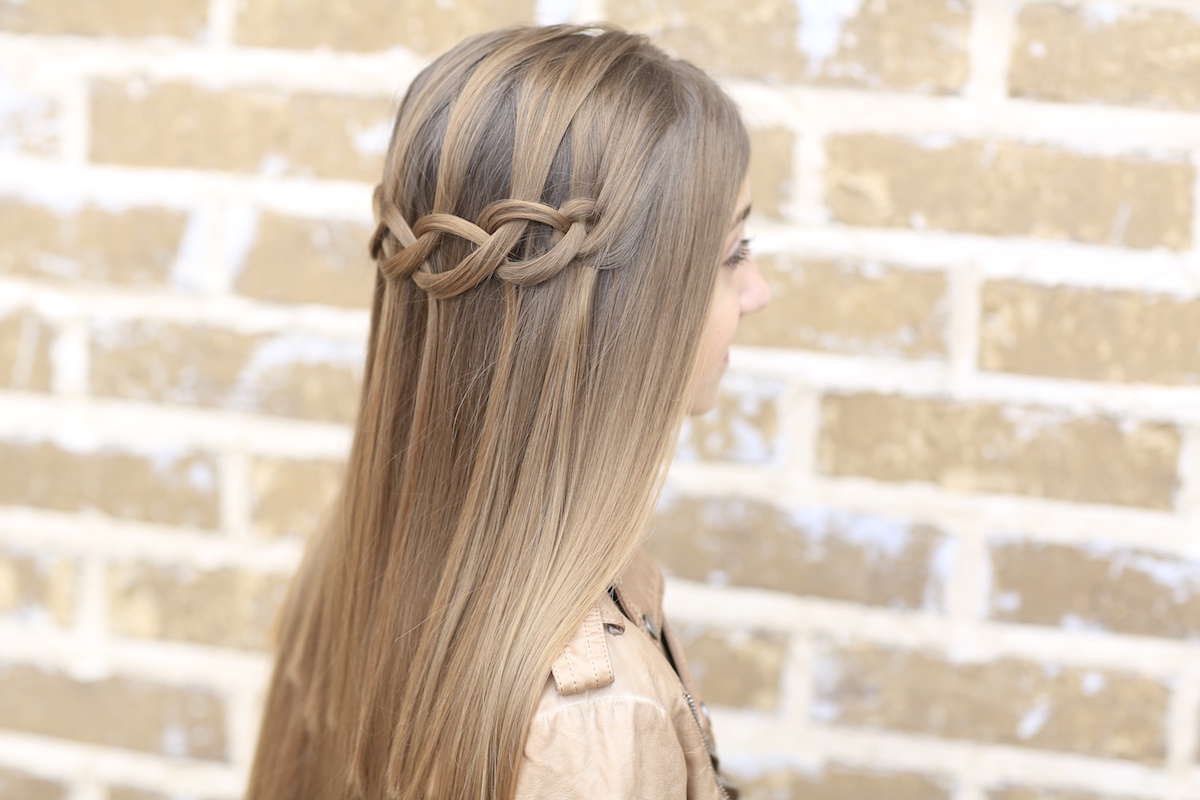
The technique essentially involves creating a loop with one small strand of hair. Then by reaching through that initial loop and pulling half-way through a new small section of hair, and flipping it upside down to create your next loop. You then repeat the process goes on across the back of the head. When you are finished, simply go back and adjust the size of the loops and falling strands to fit your taste.
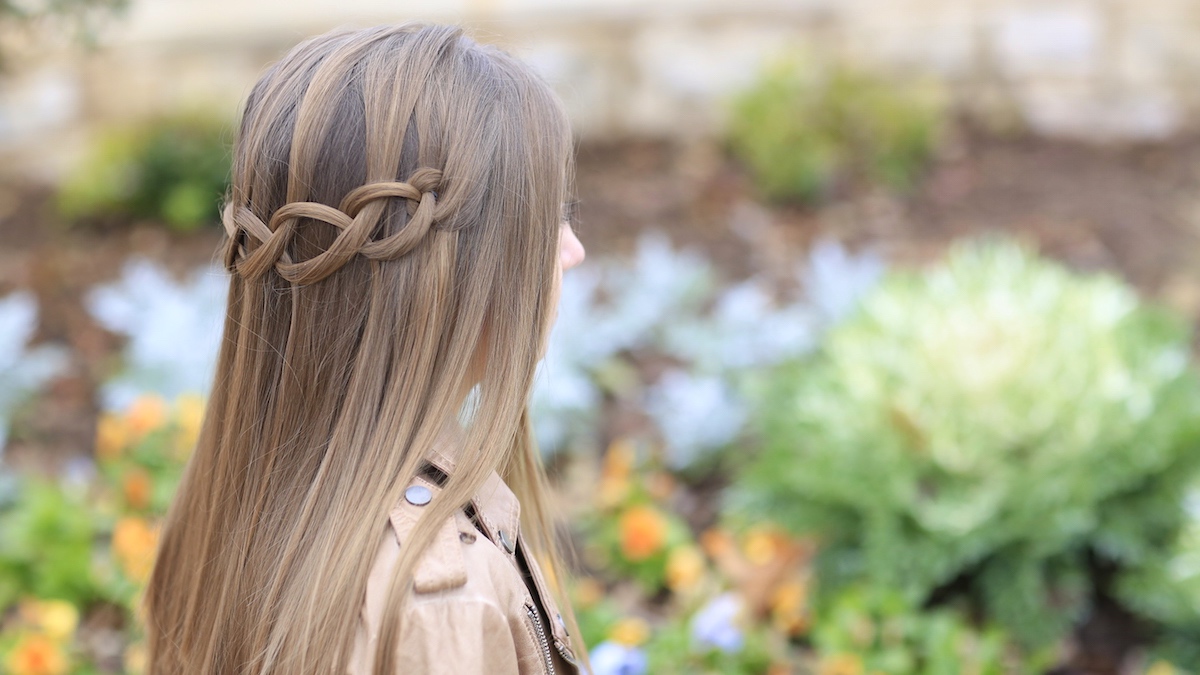
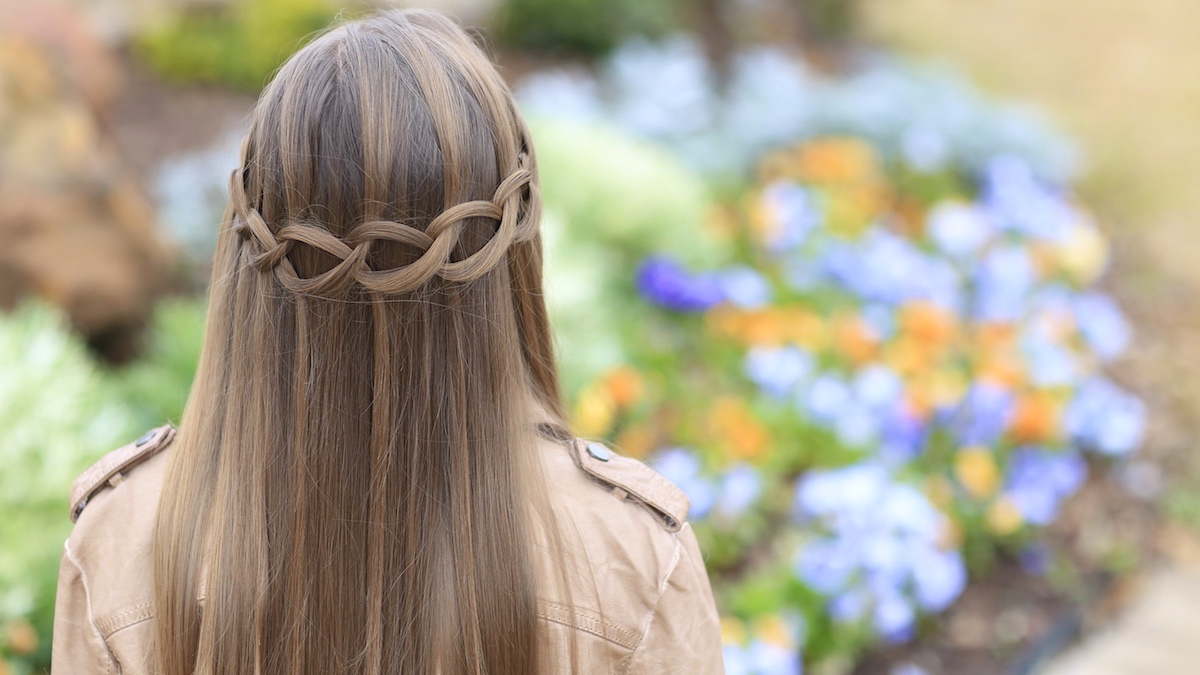
 If you plan on being super active that day, we wouldn’t recommend the Loop Waterfall only because the loops and bobby pins will fall. This hairstyle is simply one that is meant to stand out, better said, pop out, on days where you want to wear something gorgeous in your hair!
To see your own photo recreations featured in our CGH App, feel free to tag your photos of this hairstyle on IG with: #CGHLoopWaterfall


 My mind is already running on various hairstyle combinations in which you can use this Loop Waterfall as an accent, especially in updos! Good thing that Prom season is coming up, so be sure to check back in a few months to see what we come up with!
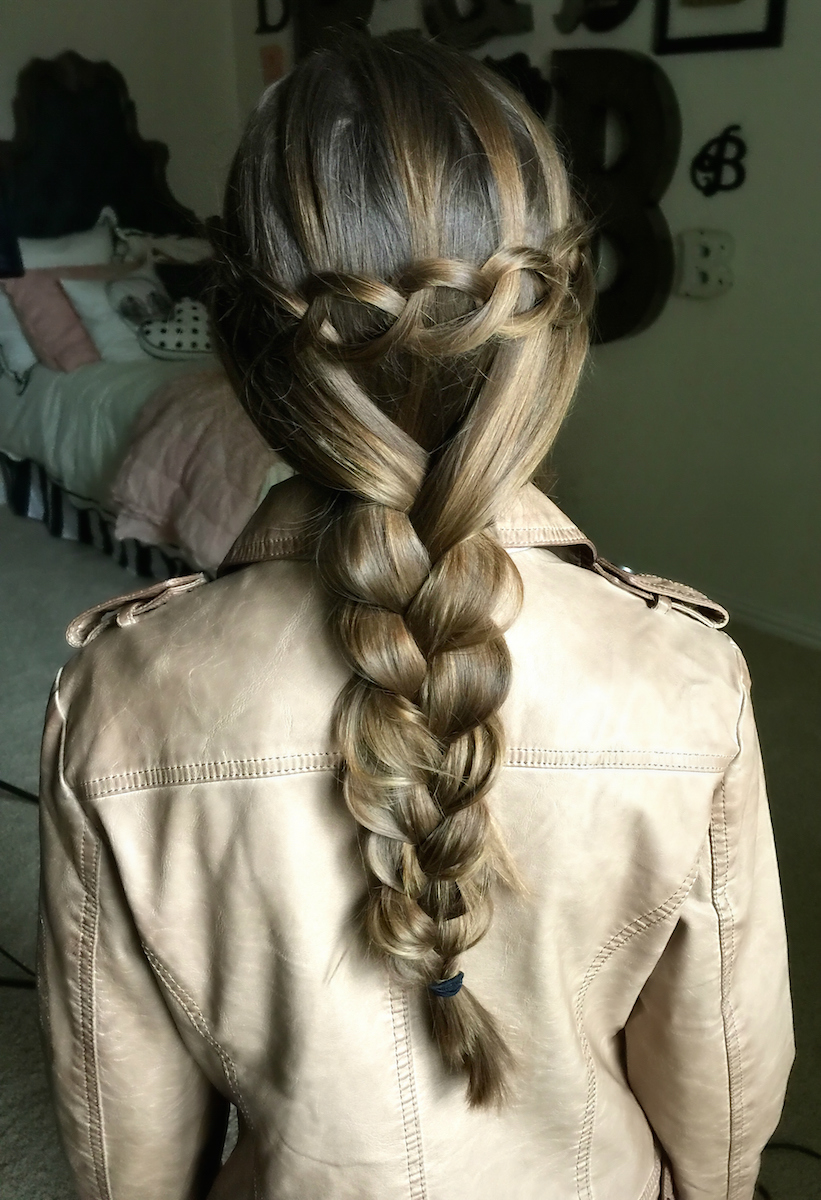
Here is one look that I quickly put together to show you how you can use this braid to accent any combo. I loved how it turned out!
One thing I can promise you… you will be stopped all day as you wear this hairstyle! It won’t only be because your friends, and women in general, love how it looks, but that they will want you to teach them how you did it. Kamri knows what I am talking about! Enjoy!
Items Needed: Brush, rat-tail comb, spray water bottle, spray hair wax, pomade, 4 small bobby pins, hairspray {if desired}.
Time Requirement: 5 minutes
Skill Level: Medium
Step-by-Step Instructions:
- Begin with hair wet or dry {we did dry here, but some people find it easier to section off strands of hair when it is wet}, and part the hair in the middle…
- If your hair is fine or silky, add a little bit of spray wax to the hair to add texture and grip, which will firm up and help hold the loops in place…
- I like to start about 1-1.5 inches back from the front of the hair, pick up a decent size section of hair and wrap it around your pointer and middle finger, giving the loop a twist counterclockwise to create your first perfect loop {the looping direction should have the hair going downward, then back up and around creating a loop, and then the hair should fall straight down behind the loop as your waterfall strand}…
- Keep your two fingers in the middle of the loop and pinch the falling strand of the hair with your thumb against your ring finger…
- With those two fingers, reach through the loop and pick up another same-sized section of hair {feel free to add some pomade to each strand of hair if you need help controlling flyaways}, pulling it half-way through the first loop…
- Then twist that hair counterclockwise to create a second matching loop…
- Have your daughter {or use your teeth for DIY} to hold the fallen strand of the first loop for extra security as you work your way around the head…
- Repeat Steps #4-6 all the way across the back or the head…
- One your last loop, pull the new strand completely through the loop and let it fall…
- Then, using two small bobby pins to pin that loop in place, being careful to pin under the falling strand to help hide the bobby pins out of the way}…
- If your loops have stretched or fallen out of shape, you can now go back and gently adjust the falling strands to either tighten or loosen up the loops to the desired look…
- With the first strand that your daughter is holding, or you in your teeth, use two small bobby pins to pin the first loop in place just as you did on the other side {this will secure the front of the braid}…
- Add a setting spray or hairspray {if desired}.
- *Optional: Pull remaining loose hair into a loose braid or fishtail to secure the ends and help the style last all day.
What do you think about this Loop Waterfall Braid? Please leave a comment below letting us know where you would wear it!
Happy Hairdoing!
To see what BrooklynAndBailey got for Christmas, be sure to click the video below!


Kind of obsessed with waterfall braids… too beautiful! All my friends asked me to do one for them yesterday :))))
This is really cool!
So cute!! I tried it on my sister and it was amazing! Thanks for the hairstyles!
me fascinan son bellos peinado de trenzas gracias Dios los bendiga
thank you this made me really happy after my german shepherd bit me
Hope you get better soon, Kimberly! xoxo
Hi my name is Alexis (I’m 13), I was just wondering what do you think is the best way to leave your hair for the night? In a a braid, ponytail, down…?
For curls or waves, we always sleep on slightly damp braids. Don’t braid the hair too wet, or the hair will not accept the curl. We are big fans of 2nd Day Curls in our home! xoxo
I tried this style this morning on my daughter. The loops kept falling out. Her hair is to the middle of her back, so I thought it would work on her, but even when I pulled the strands tighter, they kept sliding out. I used a tiny bit of pomade. Do you think using more would help it stay in place?
Regardless of my failure, it’s a lovely style. Thanks for the tutorial!
Were the bobby pins on both sides holding up? Yes, you can try a light gel, too! xoxo
This hair style is so stunning! It looks beautiful on Kamri. Could you do another tutorial on waves/ curls?
How would you do it if you had curly hair? Also, what are some hairstyles, for curly hair, that look very nice and doesn’t take long to do?
We have a birthday party to go to with rich people gotta dress good gonna do this hair style realy pretty
I am going to try out the loop waterfall braid. However, Mindy, I would like to know how you styled your hair in this video? I only remember one video where you talked about how you usually style your hair…it was a few years back and it was with a curling wand. I actually do this all the time now and could use some other ideas.
Oh gosh, that braid is beautiful!
I can’t wait for the new video!!!!
This is soo beautiful! Thanks for posting!
just wondering could you wear this hairstyle with a side part, because i hate wearing middle parts
thanks Mindy.
🙂
cute hairstyle, just wondering if you could do Astrid’s hair from how to train your dragon 2. If you can’t do it please tell me so i don’t keep asking 🙂
I found a tutorial online that I was able to use for Astrid’s hairstyle. =) Hope it helps.
https://www.youtube.com/watch?v=3XEafTyAThI
thank so much, but utube doesn’t work for me. 🙂