With St. Patrick’s Day just around the corner, we wanted to upload a tutorial to celebrate our family’s Irish/Scottish heritage {yes, from both sides of the family}. This is a hairstyle that I have wanted to film for a long time… the Celtic Knot. The Celtic Knot has been around for centuries, and the style was traditionally used to adorn religious sculptures and various kinds of artwork. You have likely seen several versions of this knot in hairstyle form on Pinterest, as well as a few YouTube tutorials.
Today, Brooklyn and I wanted to create fun variations of this knot using curls as the base. {Brooklyn just used her NuMe curling wand to achieve the curls}.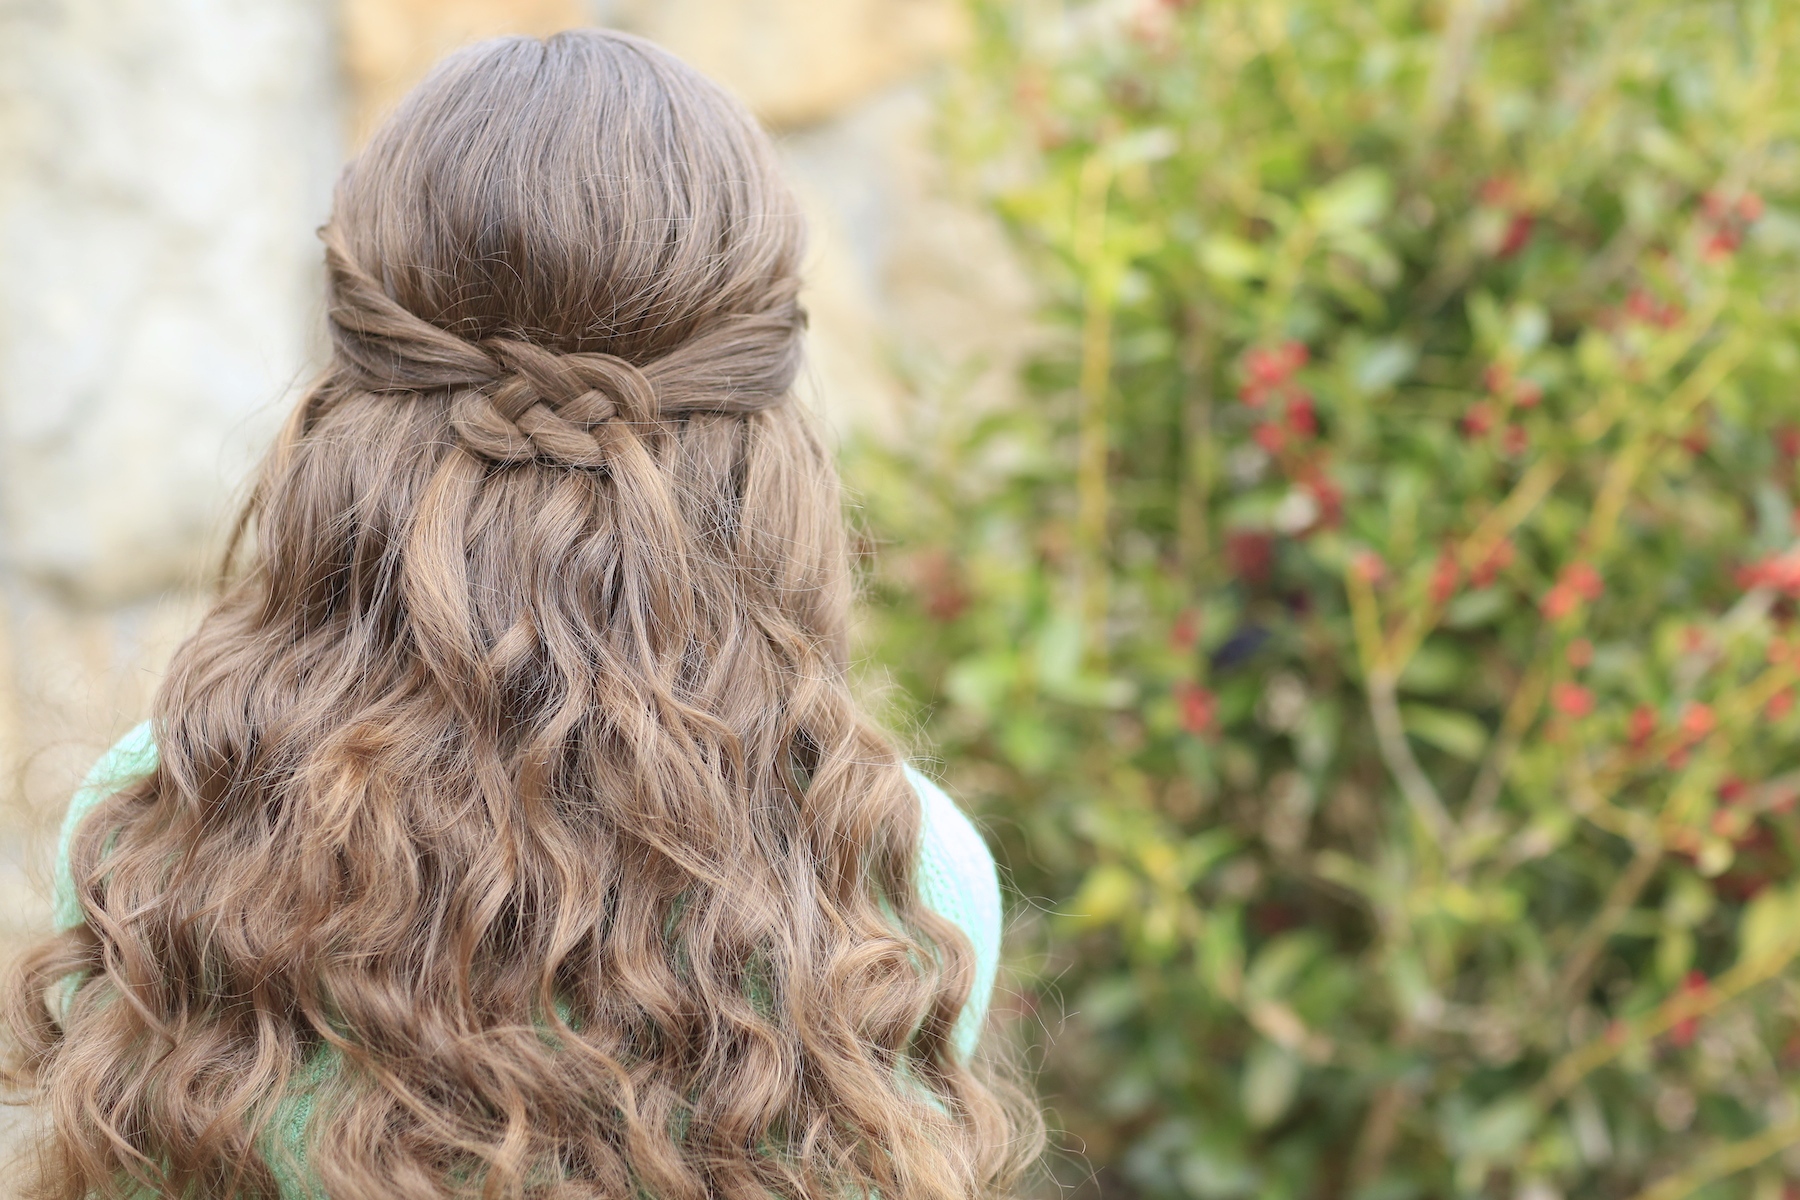
 Tag your own photos of this hairstyle with: #CGHCelticKnots
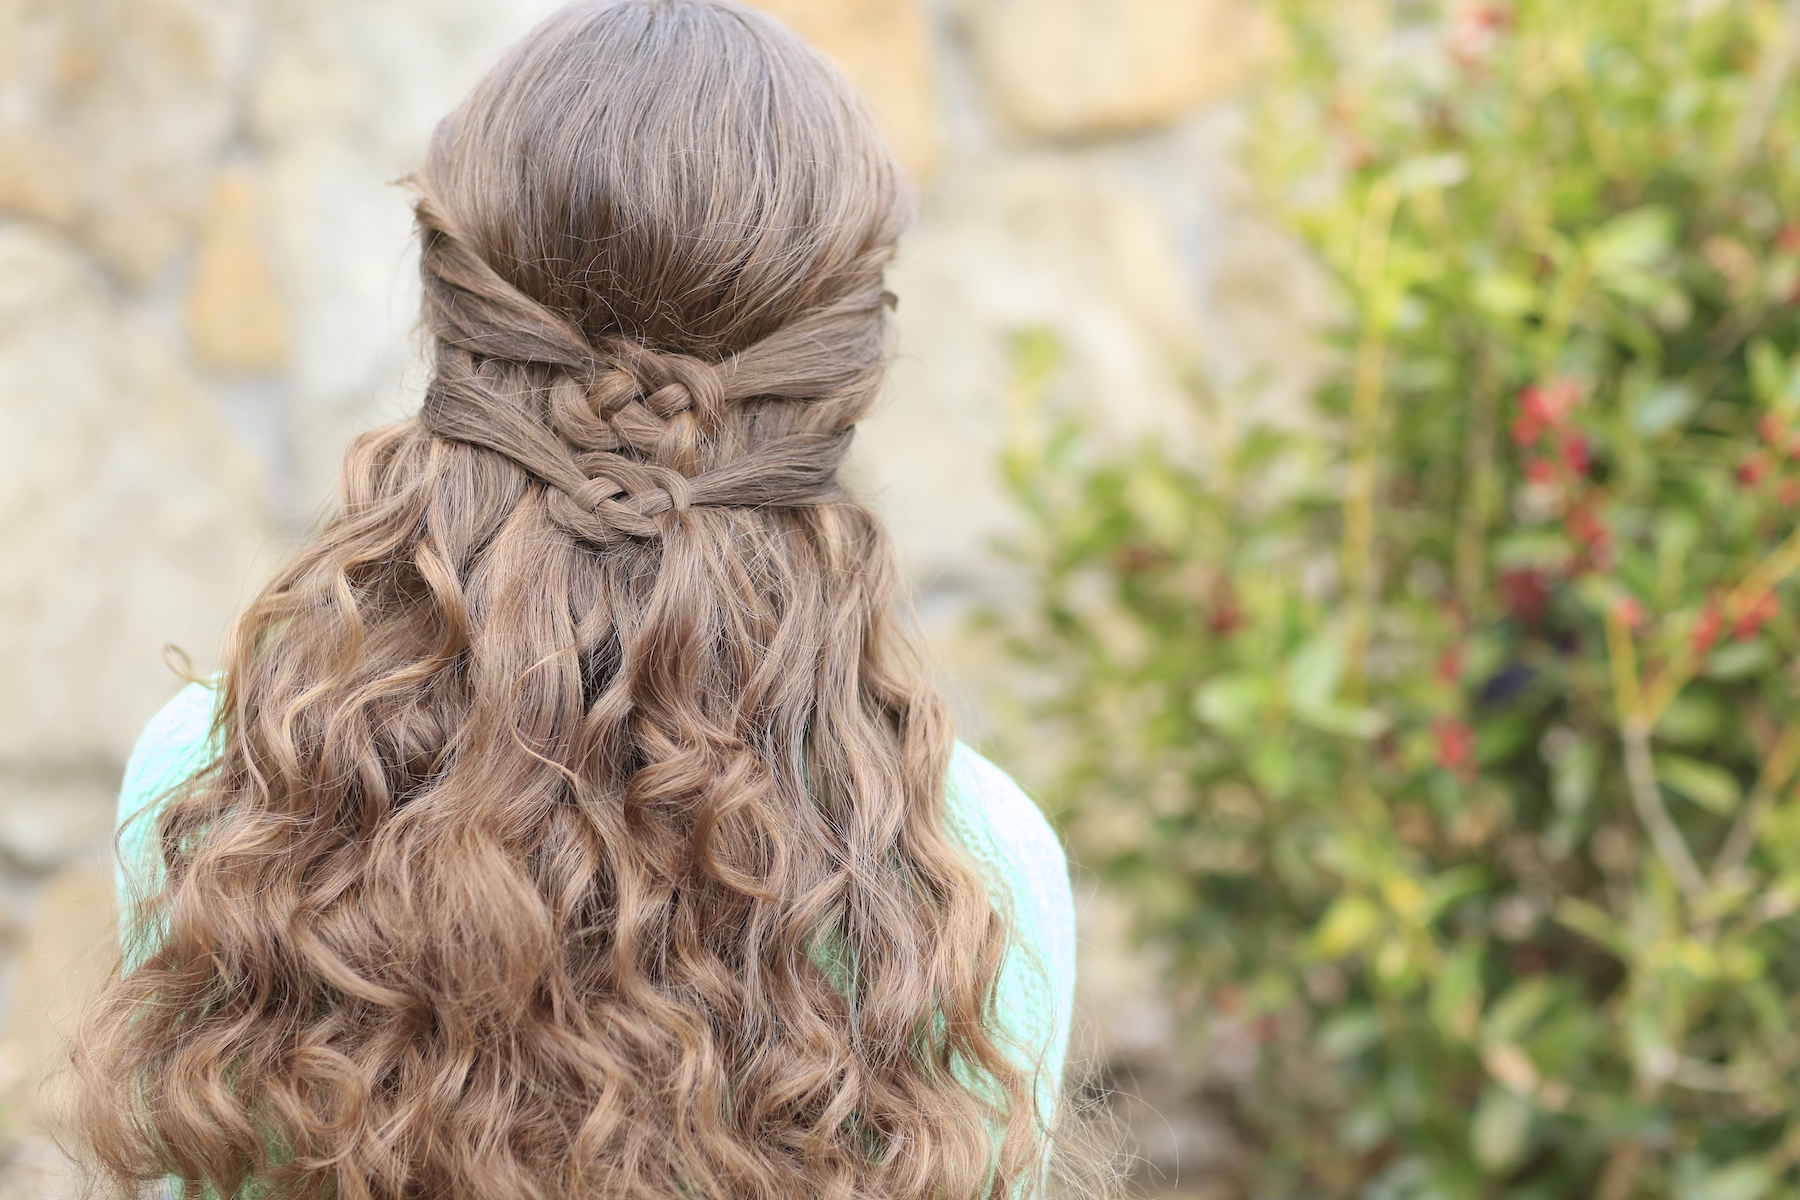
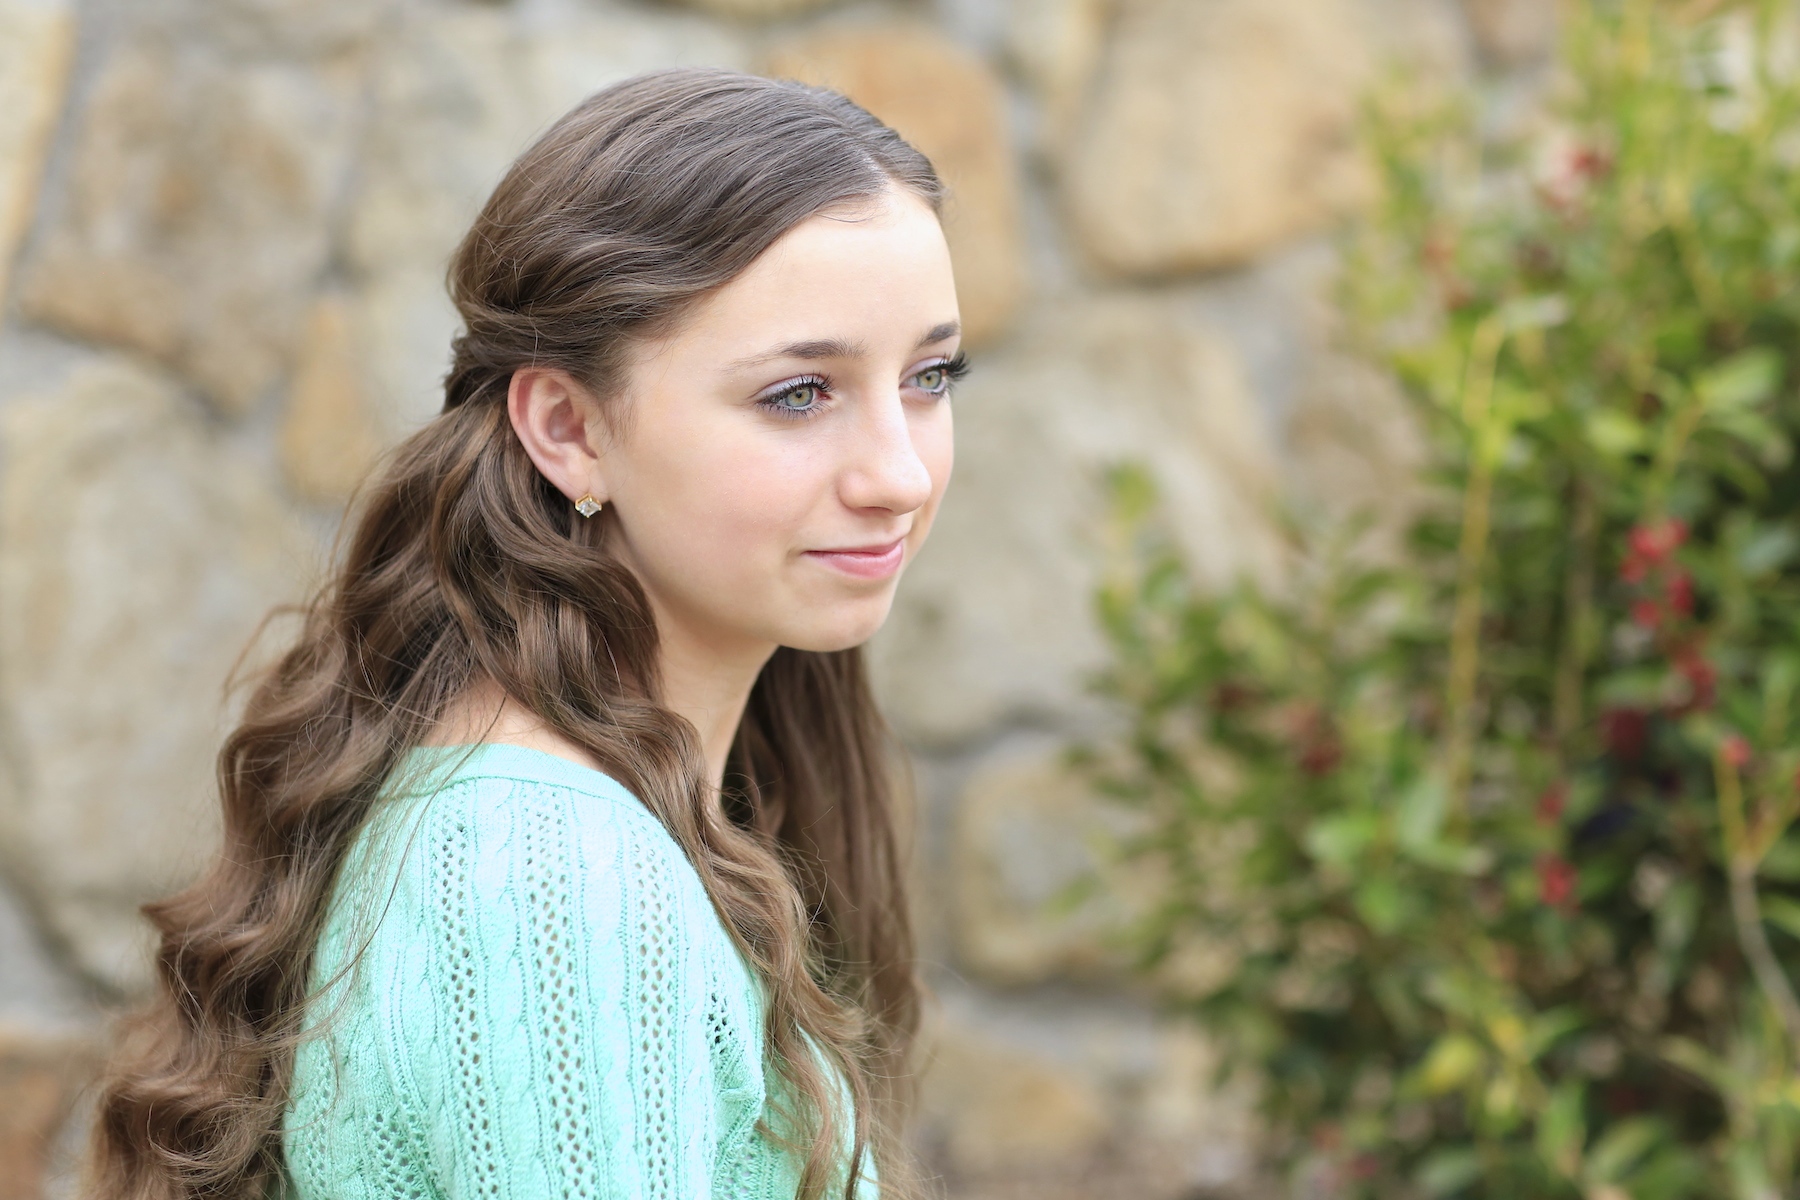
For today’s tutorial, we want to show you how to create three versions of a Celtic Knot. The Single Celtic Knot, a Double Celtic Knot, and a Side Celtic Knot. {Believe it or not, the side version is my favorite! I really love subtle accents!}
Now, because this is a winding-loop knot, using only two strands, it can be very confusing to learn how to tie. Normally I would show you once how to create it, but I actually show you how to do this three times in the video below. As confusing as the knot may be at first, it does get easier and this really is a fun and beautiful knot to tie!
 I also show you a helpful tip, using a flat iron, which is useful in helping the knot to keep its shape and its tassels laying flat.
Enjoy!
Items Needed: Brush, rat-tail comb, spray bottle, pomade, and hairspray {if desired}.
Time Requirement: 2-3 minutes
Skill Level: Medium
Step-by-Step Instructions:For the Single Celtic Knot~
- Begin by grabbing one section of hair from each side of the head right by the ear. These will be used in a tieback, for your knot, so you want these to be medium-to-small sized sections about the thickness of a pencil or smaller…
- Add some water, dry wax, or pomade to the hair strands to prevent fly-aways and frizz as you work with the for the knot…
- Take the left strand near the center of the back of the head and make a loop forming upward {hold this loop with the thumb and forefinger of the left hand}…
- Now take the right strand and place it between your third and four finger of the left hand…
- Next, take the end of that strand up and over your left hand so it lays on the top of your forefinger near the knuckle…
- Now take your pointer finger and middle finger and slide them behind the left strand between your ear and the loop…
- Grab the end of the right strand and pull it up through {the right strand should now go under the left strand and be in an upward position on the head}…
- Taking the same right strand ends, bring them over the top of the loop where your fingers are pinched together…
- Push the end through the loop going towards the head…
- Now take the ends under the right main strand {where it comes in a straight line from the ear}.
- Take the same ends back through the loop, this time going away from the head…
- Now release all your fingers and tighten up the knot a little to hold itself.
- Gently, shape the knot to your liking.
- Next, take a flat iron and carefully clamp the knot to help the knot and strands lay flat…
- Add hairspray {as desired}.
 For the Double Celtic Knot~
- After completing the first knot, simply grab one more section of hair on each side of the head and repeat the same Steps #1-15 directly below the first knot.
- Add hairspray {as desired}.
For the Side Celtic Knot~
- Part the hair on one side.
- On the smaller-parted side, grab two small sections of hair and repeat Steps #1-15 above to create a Celtic knot accent.
- Add hairspray {as desired}.
Please feel free to leave me a comment below letting us know what you think of these Celtic Knot hairstyles! As always, if you loved the tutorial, please feel free to share it!
Happy Hairstyling!

Also in honor of St. Patrick’s Day, my twins BrooklyAndBailey, decided to share with you their favorite Mint Chocolate Cookie recipe using only four ingredients. You are going to LOVE this one! Simply click below to see the recipe…


Can you do this on your own hair
I love your videos and your website I am not very good at hair I am still working on a french braid and a fishtail braid thank you bye!
how do you know all these stuff!
hello, i love your website and all the tutorials you do! they are all so beautiful, I particually liked the Celtic knot.
Philippa Davison, England, UK
I LOVE your website, my 11 year old visits as often as I do 🙂 This knot is great but I was wondering if there was a way to make it tighter. I put some bobby pins in to secure. But she said it still felt like it was going to fall out. Thank you so much for the wonderful videos!! We love all of them!
you share a awesome way of knots haircut
Great tutorial!
aw thats adorable
🙂