Happy Easter! This week’s hairstyle isn’t anything new, as you’ve likely seen it around everywhere from the catwalk to fashion magazines, but we’re just now getting around to filming a tutorial on it. This has been one of Brooklyn’s favorite braids for a few months now, which is why she volunteered to be our model today.
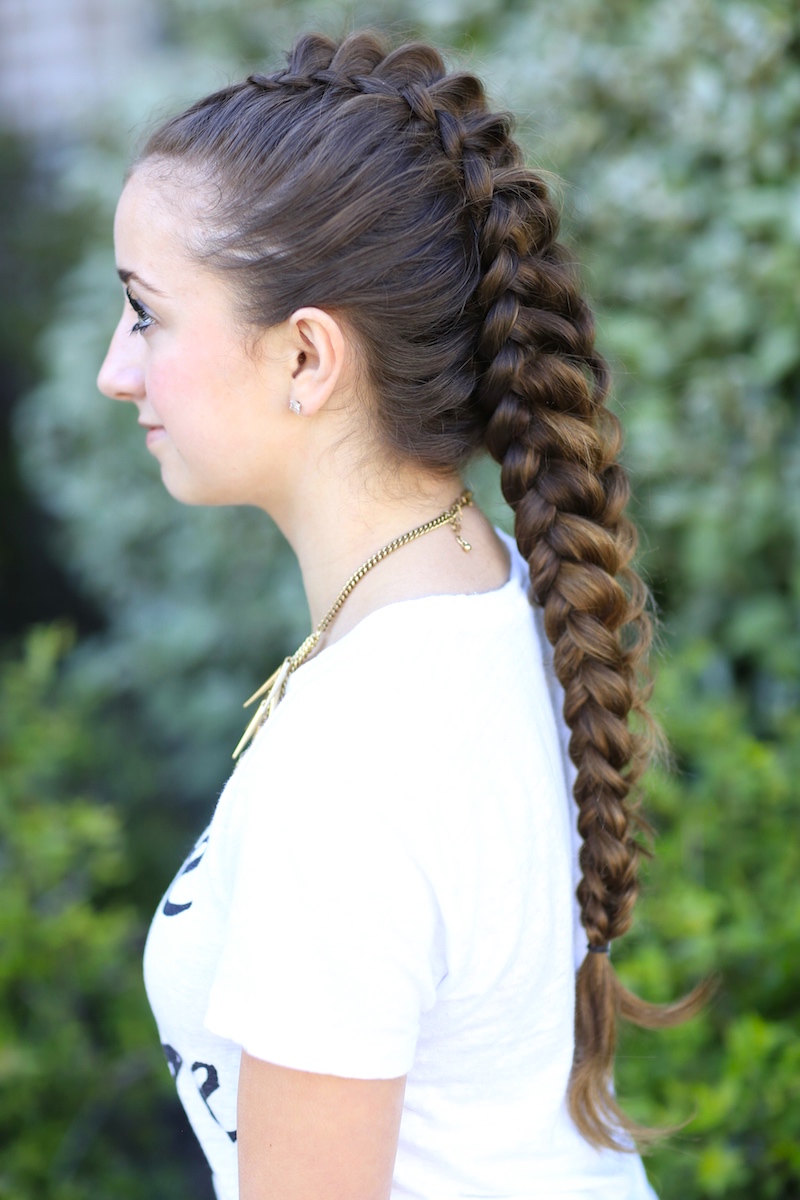
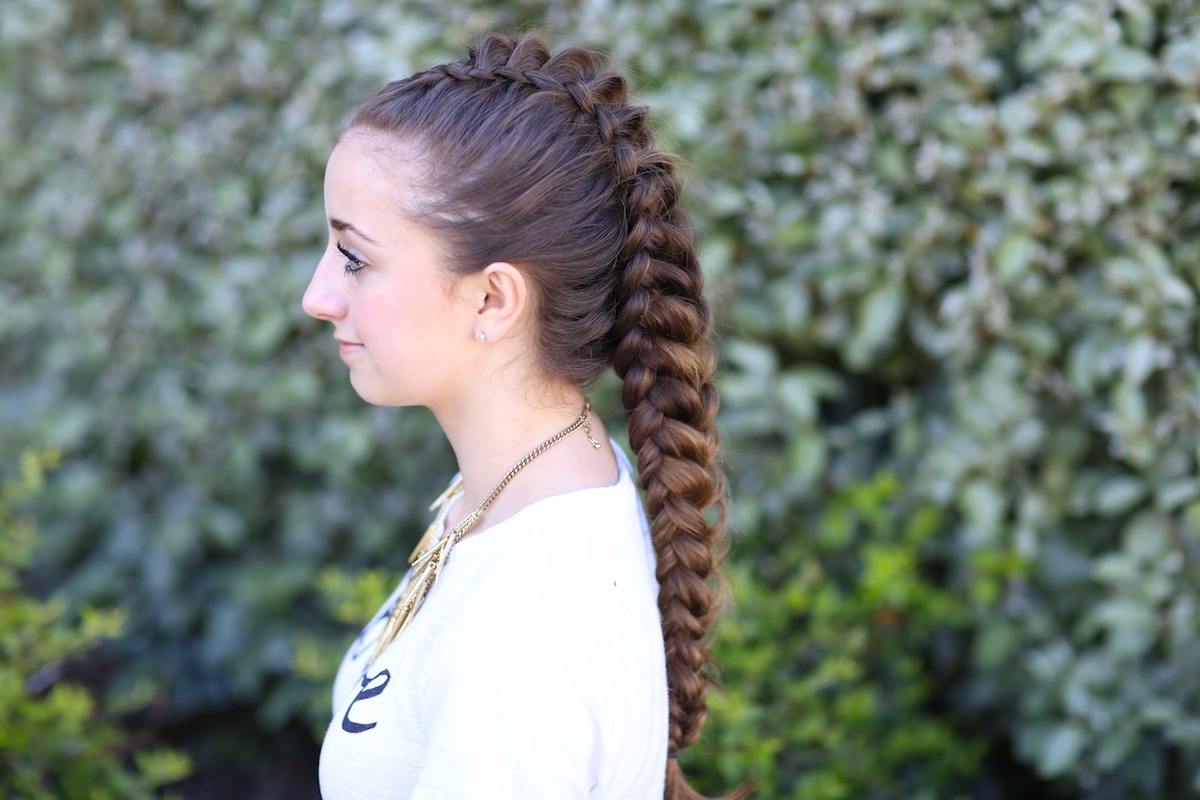
This hairstyle is generally called the Dragon Braid, as it mimics the bumpy scales down the spine of the dragon. You know, a lot like you’d see down the backs and tails of alligators and crocodiles today?
To see the video, click below!
I would recommend this hairstyle for an edgier outfit, or for sports, as it holds nicely. It can be done either wet or dry, depending on the final look you want, and how many flyaway you have. {For the latter, I would recommend a good hairspray or spray wax to hold the flyaway down.}
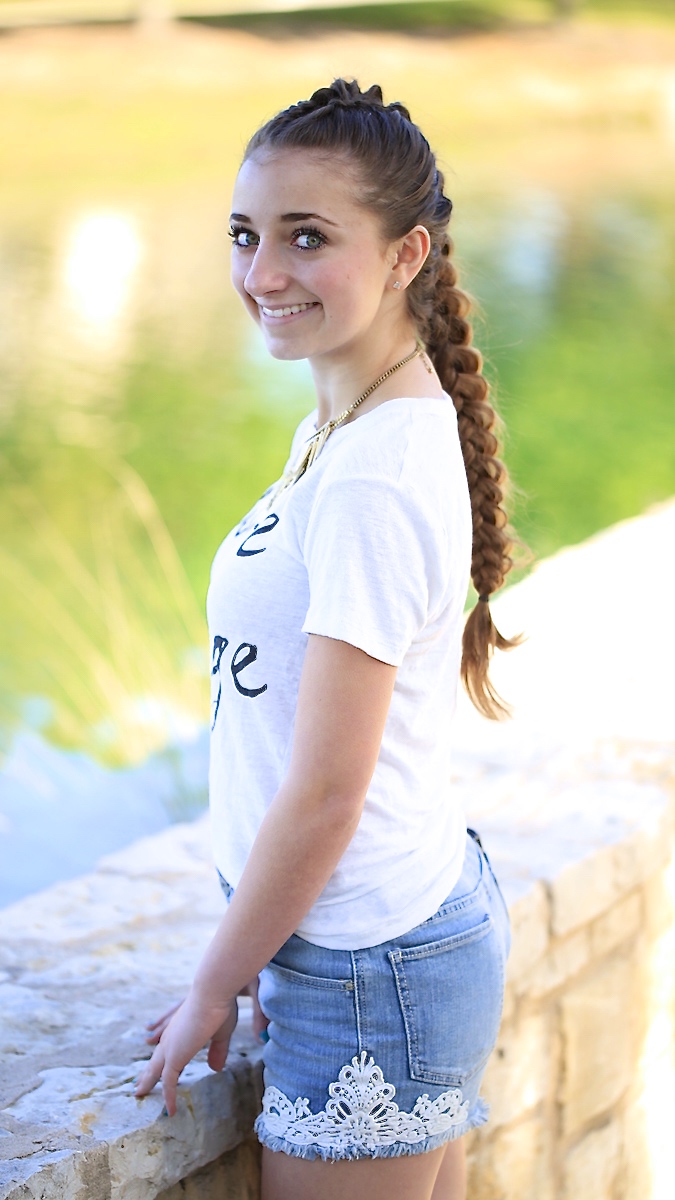
Brooklyn’s Outfit Details:
Shirt: Forever 21 | Shorts: Cherokee @Target | Necklace: Forever 21 | Earrings: Nordstrom

We are categorizing this hairstyle as Hard, due to the overdirecting of the braid along the part lines. It seems easy to do, but my first try it took me two to three attempts before i got it down! After that, this braid was easy to create!
To see your own photo recreations of this style featured in our CGH app, feel free to tag your photos on IG with: #CGHDragonBraid
Items Needed: Brush, rat-tail comb, 2 ponytail holders, 2 hair elastics, spray bottle, 4-6 bobby pins, hairspray or spray wax {if desired}.
Time Requirement: 10 minutes
Skill Level: Hard
Step-by-Step Instructions:
- Begin by parting the hair straight down the middle of the head, and securing one section out of the way temporarily with a ponytail holder….
- Next, just above the eyebrow on one section, begin a 3-strand Dutch Lace Braid, by only adding hair to the outside edge {it’s very important to keep the edge of the lace braid right next to the middle part line, as you don’t want any space between the braid and the part line itself}…
- To do this, I will overdirect the hair by braiding with my hands actually on the opposite side of the part line {I find that when I do this, my braid lays right on the part line nicely, which is essential to this braid}…
- Continue to braid dow the head by adding hair only the outside strands of your Dutch Lace Braid, being sure to overdirect the braid so it lies next to the part line…
- When you run out of hair at the base of the head, go back and pancake only the inside edge of the lace braid, the side closes to the part line, {I like to make my pancaked elbows really big on this braid, so that they stand up high and really shows off the dragon scale effect we are going for}…
- When you finish pancaking the one side, go ahead and continue the remainder of the hair in a simple 3-strand braid, pancake those inside edges only, and secure with a hair elastic…
- Now repeat Steps #2-6 on the other side of the head, and then securing both braids together at the end with only one hair elastic…
- VITAL STEP: At the top of the braid, gently squeeze together the two braids so that the pancaked edge pop up off the head, then, using a bobby pin, grab a little of each braid’s side and then secure the pin firmly so that the braid sits tightly together…
- Continue down the braid line, gently squeezing the braids together, as you did in Step #8, pinning as you go so that the braid begins to look like a row of dragon scales all the way down to the elastic…
- Go back and adjust your pancaked edges so that the braid is to your liking, then add hairspray or spray wax to help keep down flyaways.
If you loved this tutorial and video, please do let us know below! Also, comment below with what is your favorite part of Spring!
Happy Hairstyling!
Mindy’s Outfit Details:
Shirt: Merona @Target | Pants: American Eagle | Necklace {similar}: Forever 21 | Earrings: Target
If you missed the super-cute recap of our Spring Break to Dubai trip, Brooklyn and Bailey uploaded it to their YouTube channel this week! To watch it, simply click below!


Edgy and cool, like a rocker braid:)
Oh wow! this one looks tricky but so cool! Gotta give it a try.
Ok this is my favorite hairtstyle of yours for real. Is it possible with fishtail braids? I think that could look even greater.
Love this Hairstyle alot! thanks CGH for sharing how to do it!
the way you have guided us to get create a dragon braid hairstyle is very superb. I also want to share one of the best braided hairstyles http://www.fashionsstyles.com/hairstyles/long/braid-in-with-open-hair-with-long-hairs/
I’d really love to see some styles for shorter hair Love It!!!
I’d really love to see some styles for shorter hair. Thanks For Sharing 🙂
Great tips. I tried this braid hairstyle many times but never succeed. Hope your tips works for me. It looks really stunning.
Hello, CuteGirls!
I’ve kinda been silently stalking this blog for over a year…
Could I make a request? I work in a cheese factory which requires me to wear a hair net with all of my hair inside, and I am running out of quick updos that fit under that. Any ideas?
Thanks, Rebekah! Happy that you finally commented! We will be showing more tight undo styles soon. xoxo
Hey do you think you could do a easy hairstyle to do one a rainy day?
Thanks 🙂
perfect outfit, love the denim shorts!!
Hey Mindy! I watch your video’s every Sunday, what can I say – I love ’em! I usually give up on hairstyles because I only have the patience for one or two tries, and I’m not exactly the best braider. But this hairstyle is SO pretty, and I’m going to HAVE to learn how to do this. Do you have any tips on getting it down? Especially if I can’t get the two braids close enough together, and how I’ll know what I’m even doing back there. Hopefully I can just remain calm and try to tackle this, but I’ll have to get better at Dutch braiding. Thanks – Julia.
Hi Julia! This one really just takes practice. I think I worked on it for about two days, trying to figure out how to get the braid in a Dutch Lace version. I know you can do it! xoxo
wow- braid looks stunning but i have given up after trying thrice. I’ve got straight hair so end up messing up the braids every single time. Have to give this a try after giving my hair a bit of volume.
Hi Lisa! It may be easier to try it on someone else first, because the overdirecting of the braid is the hardest part, and more difficult to do on yourself. xoxo
Ok I have tried many many hairstyles on my daughter but we have very thin very fine hair and its not thick like your guys hair. How can we get hair styles for that type hair
Have you tried using a texturizing iron? They are like micro-crimps that add grip and volume to thinner hair. My friend Jill from @jehat does this all the time on her twins’ thin hair, and works perfectly! I think Sam Villa is the one everyone is using now. xoxo