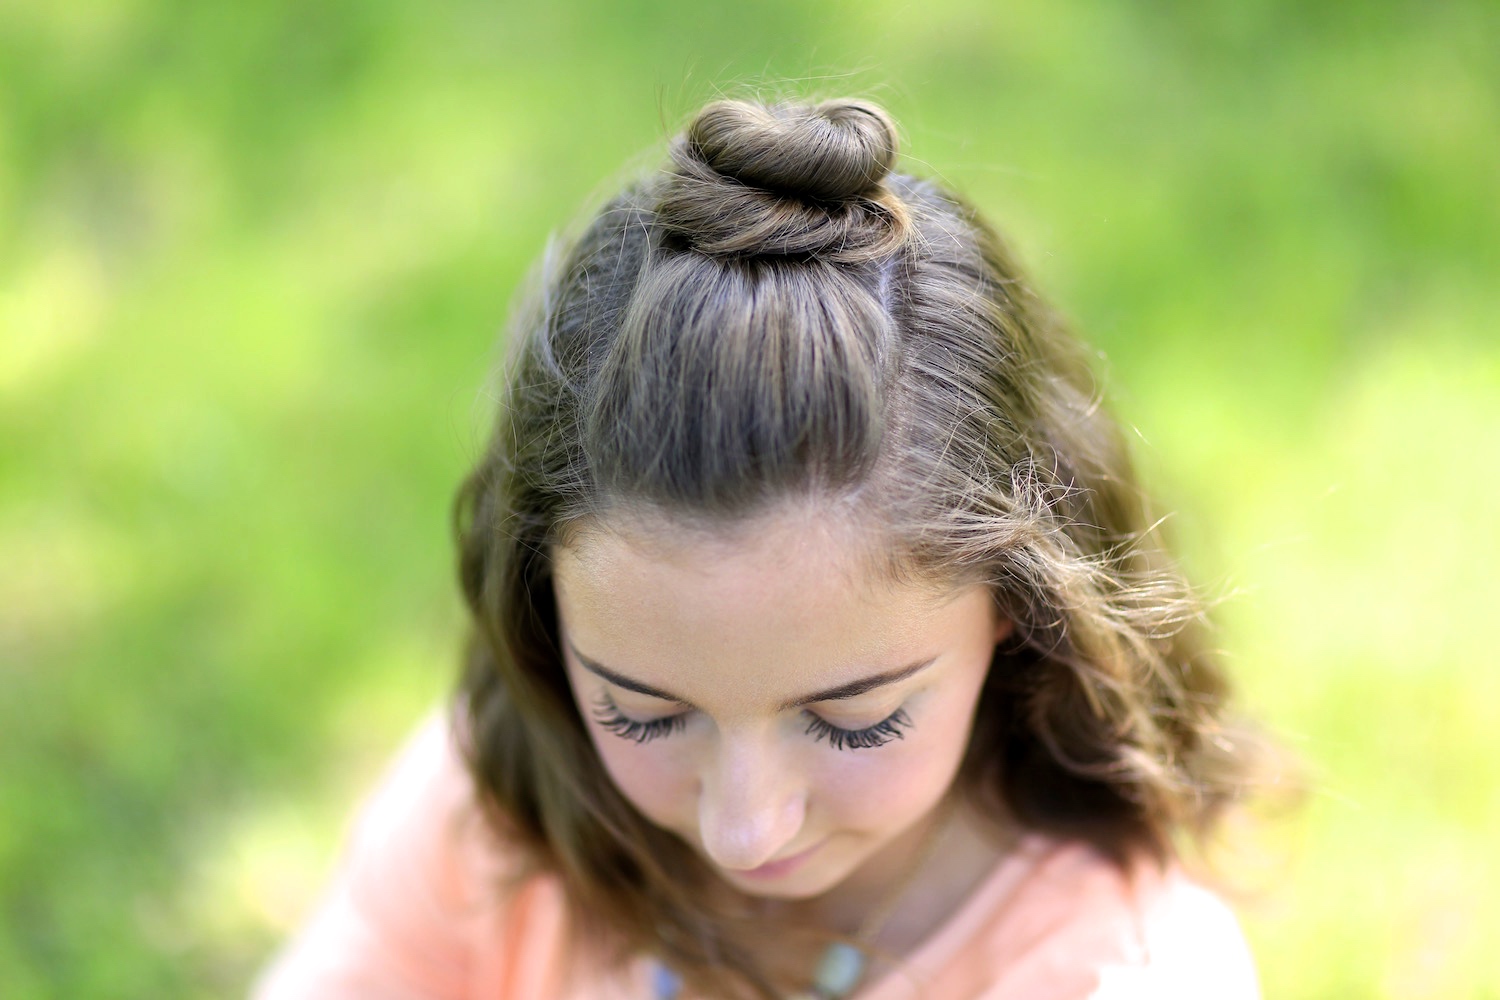
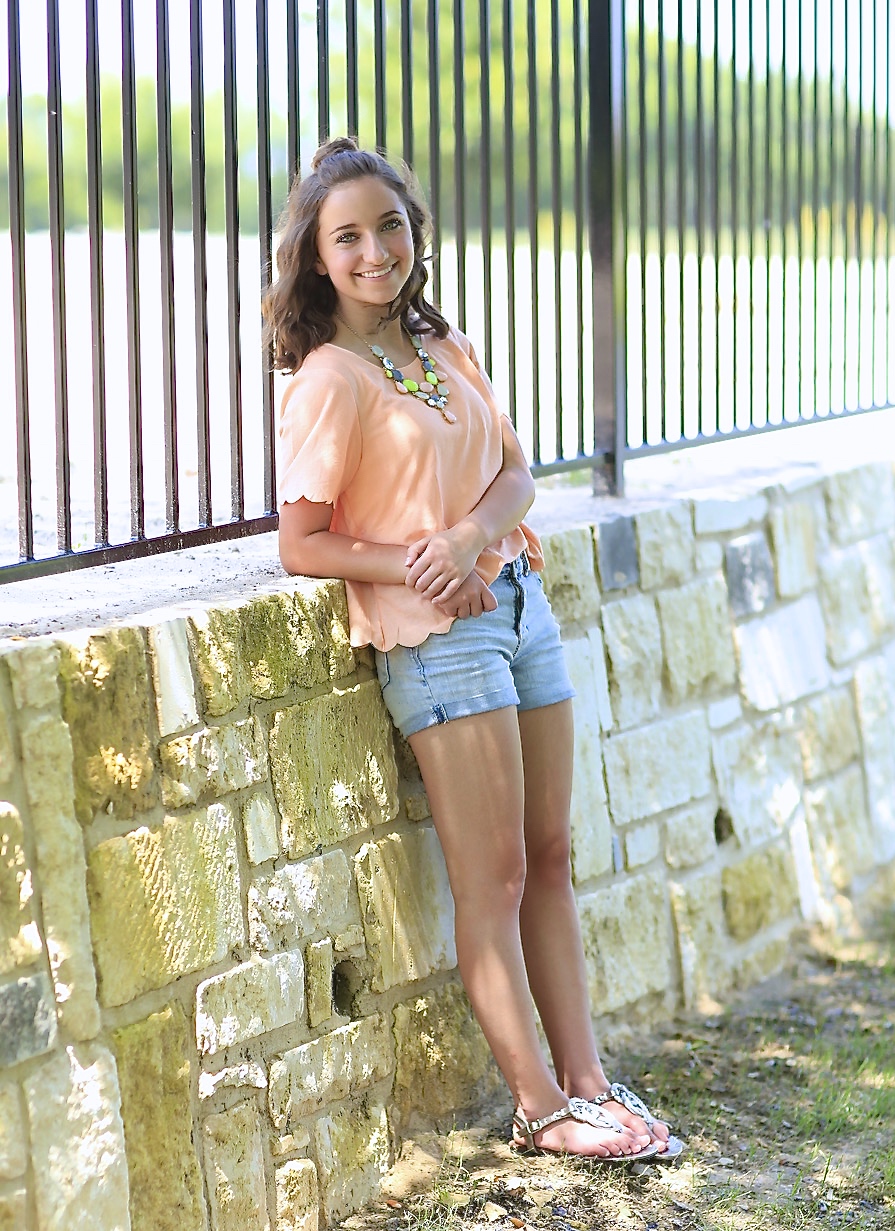
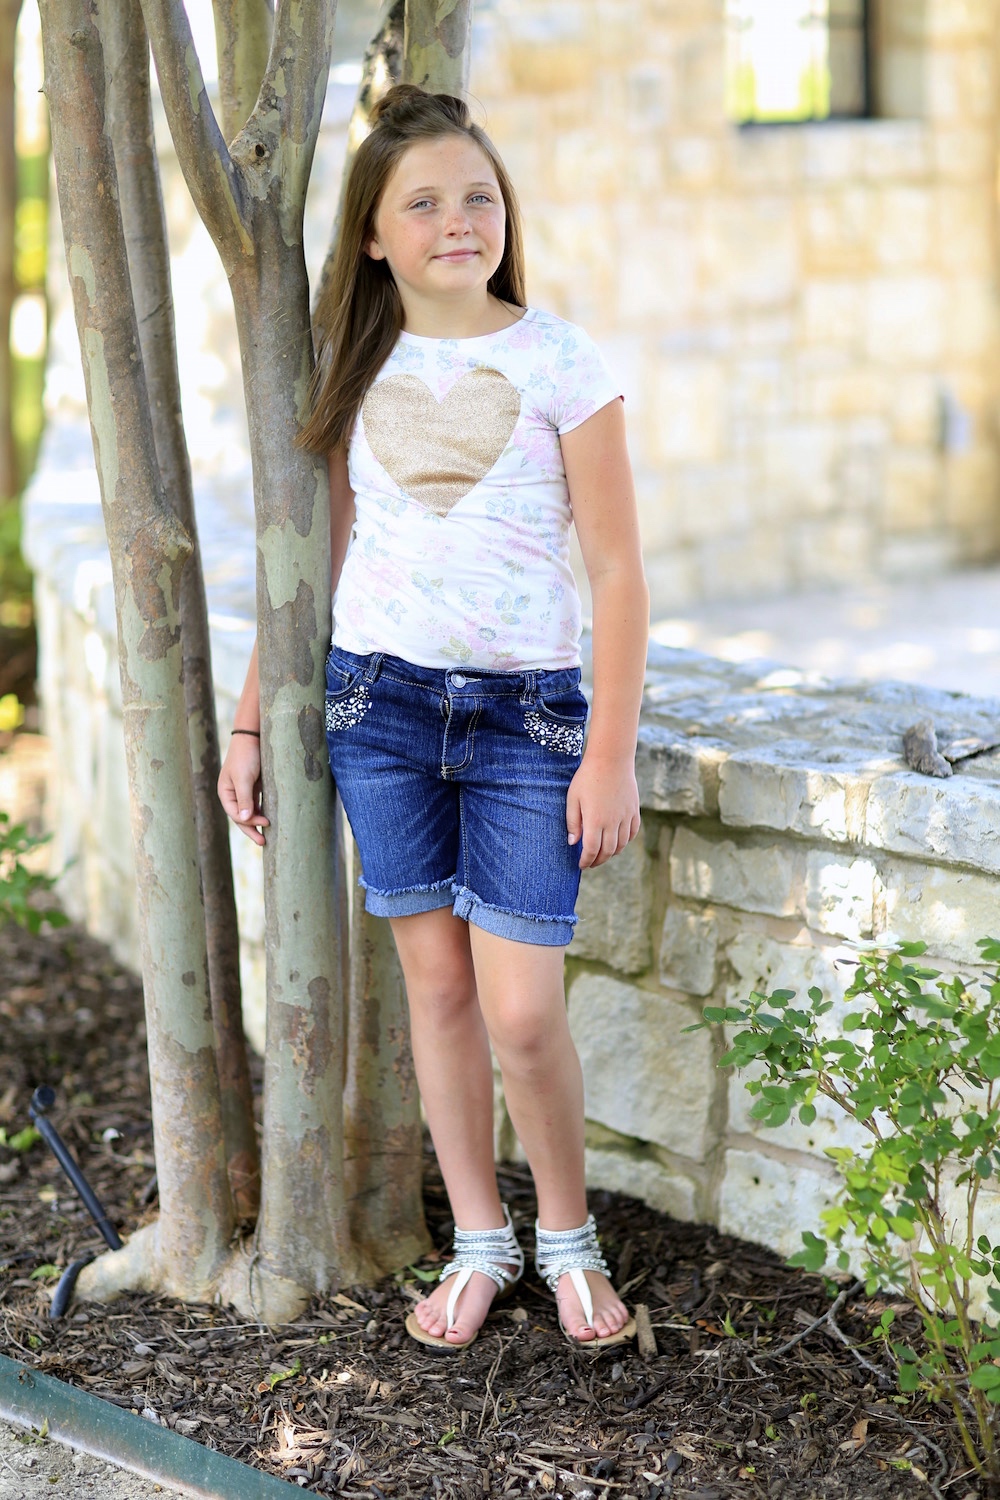
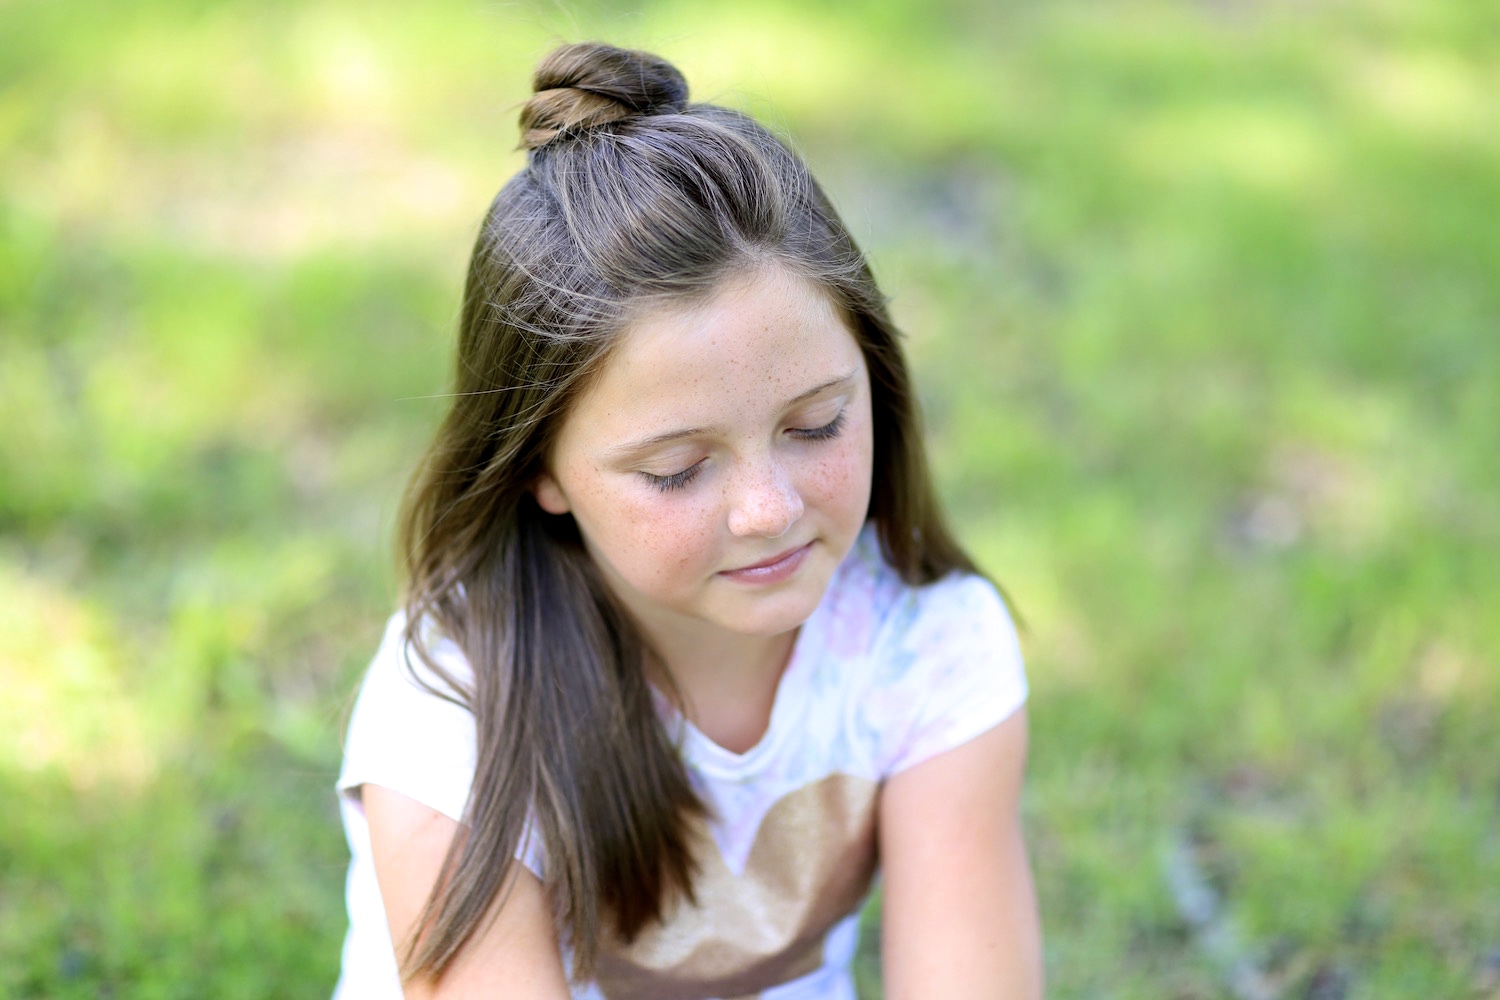
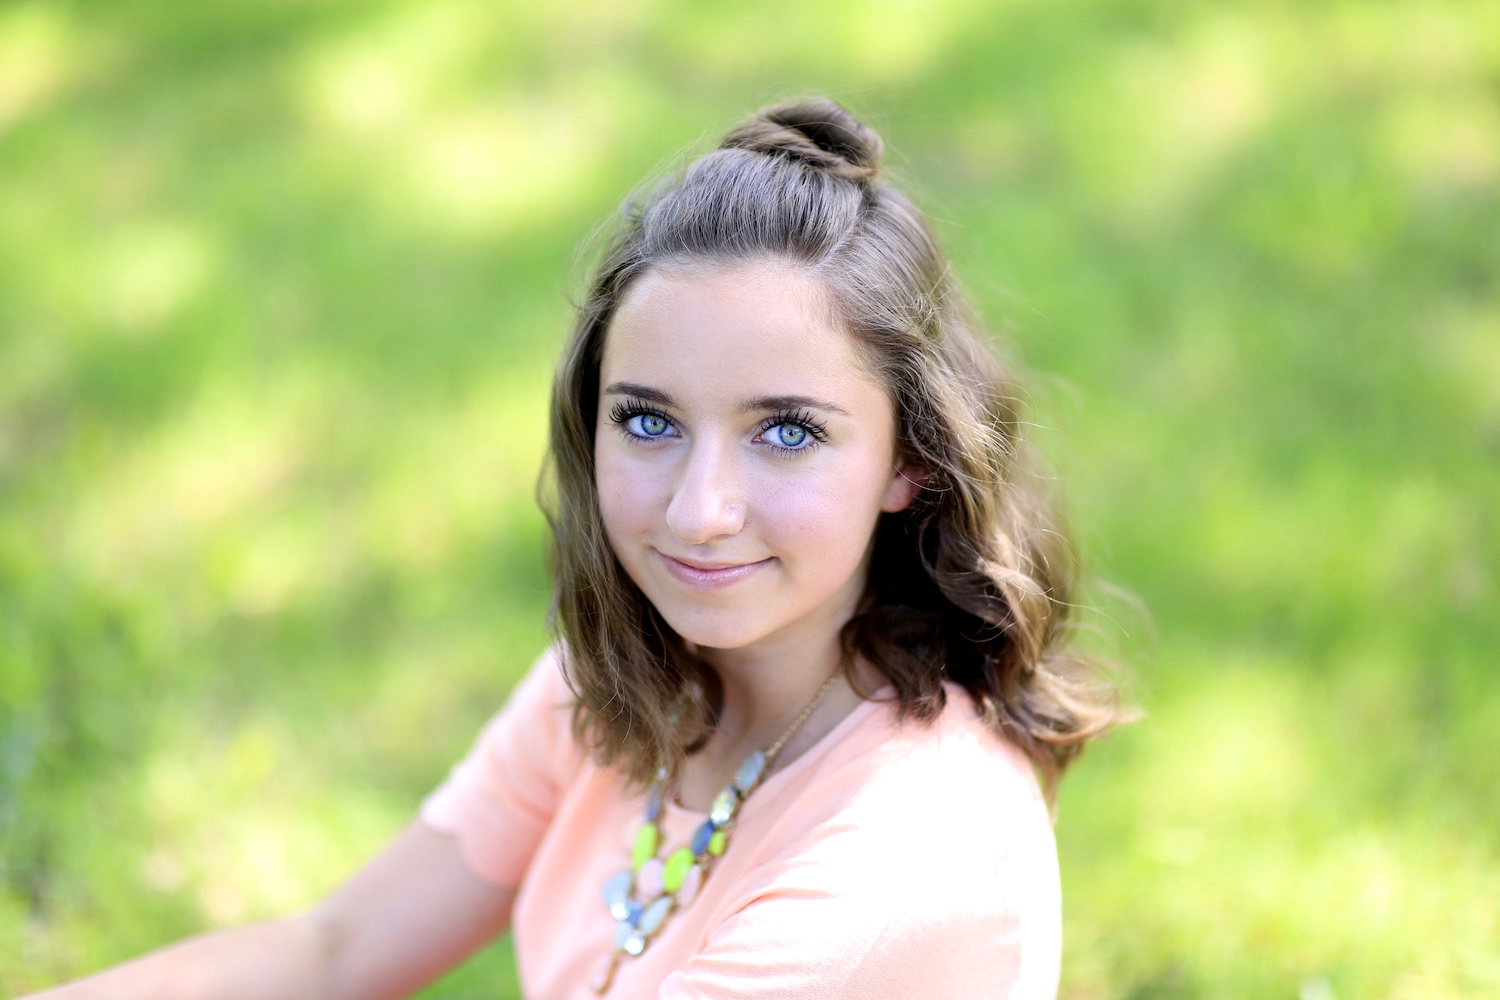
Hi everyone, it’s Bailey, and today it’s my turn to give you a tutorial! This Half-Up Bun hairstyle is on trend right now, a style that we’ve been seeing everywhere!
You might recognize it as one our mom has worn it in a few past tutorials, but Brooklyn has been wearing it a ton lately, and I have too, so I am here to show you not only how to create it!
To see your own photo recreations of this style featured in our CGH app, please feel free to tag your photos on Instagram with: #CGHHalfUpBun
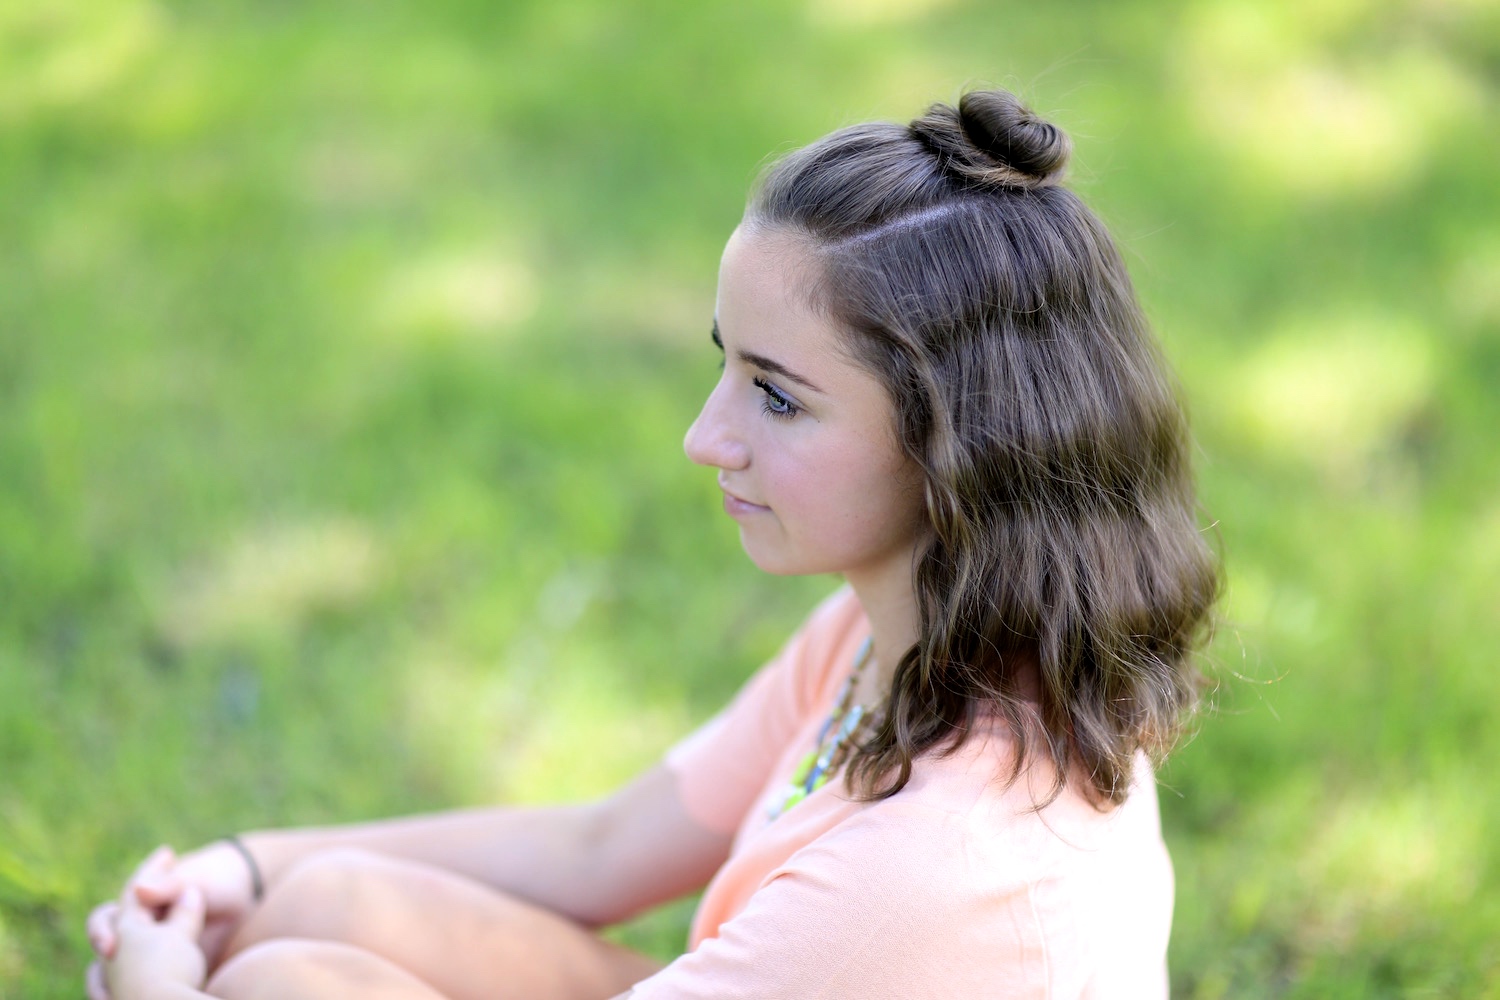
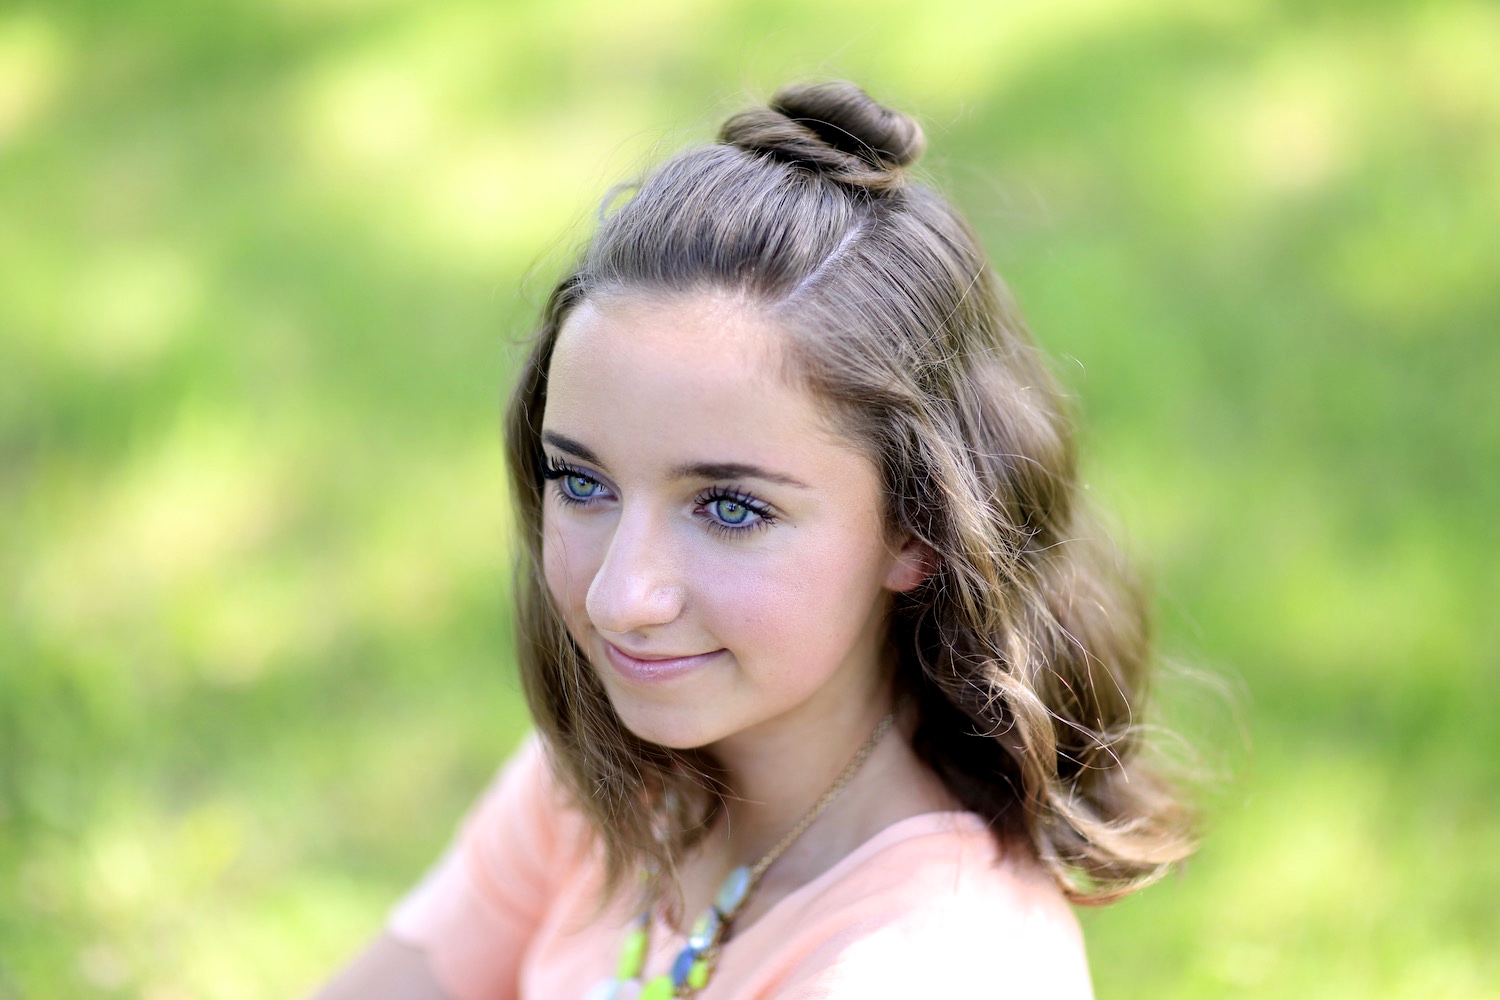
One of the benefits of a half-up half-down hairstyle like this one, is that it’s perfect for when you want your hair down, yet out of your face. You can wear it with straight, wavy, or curly hair, too.
This style is perfect for girls of all ages, and, yes, even men with long hair! I am thinking a man bun! Rylan is wearing this today with her hair straight, I am wearing it with waves, and our mom is wearing it with curly hair. I prefer mine wavy, but it looks great with any textured base.
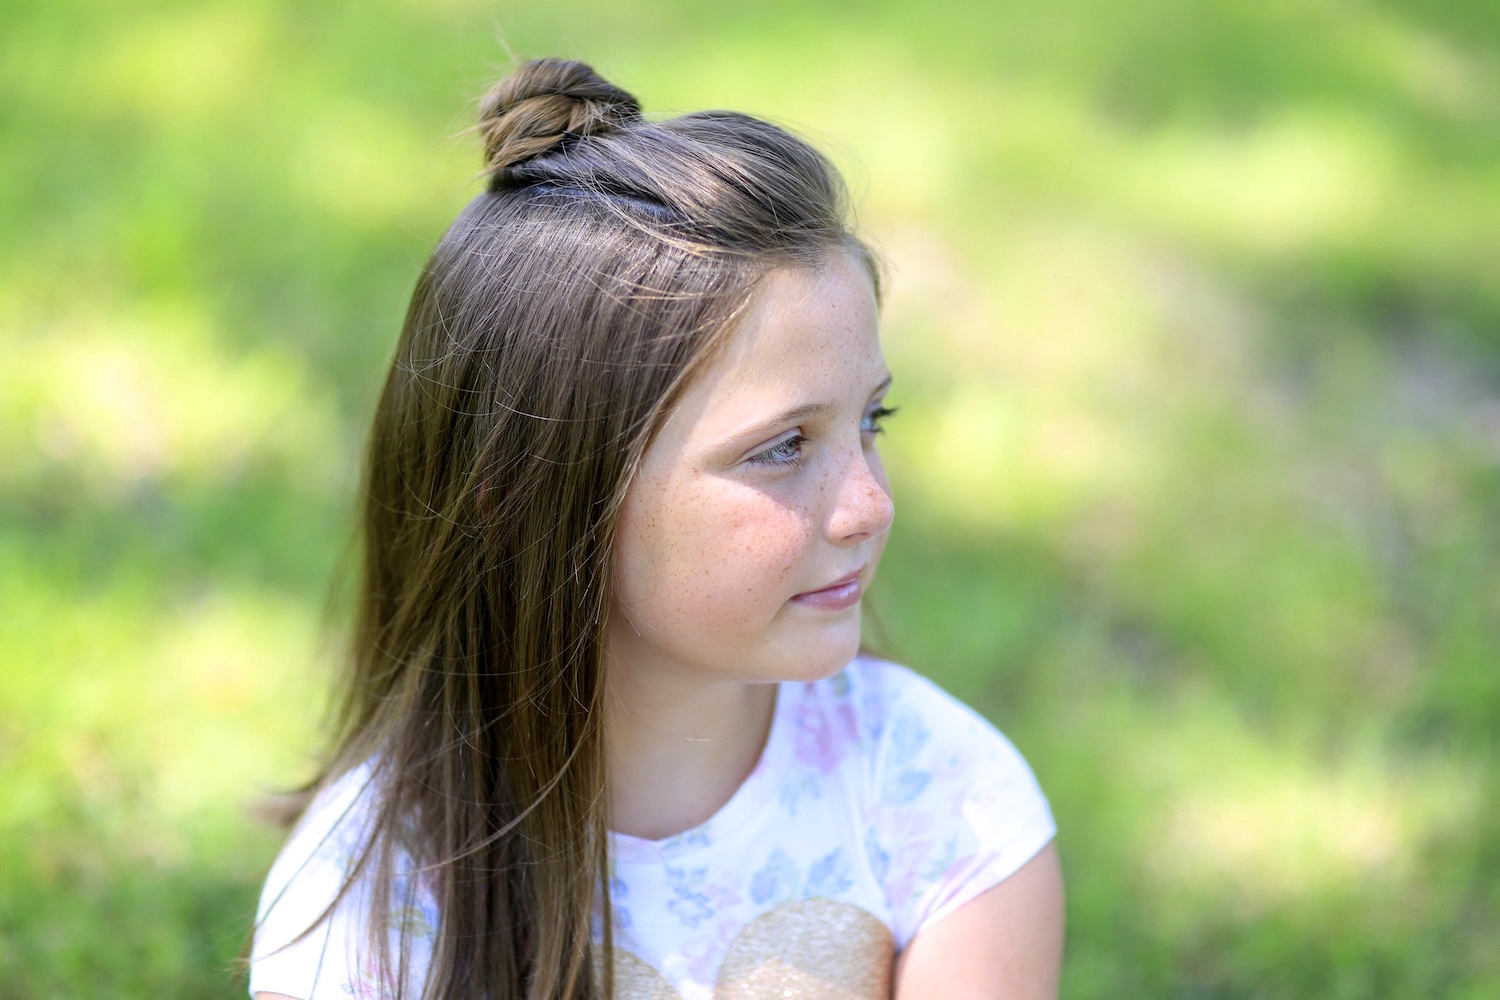
For a more grown up look, you can even part out a few whispy strands to frame your face, like or mom did in this video.
Items Needed: Brush, rat-tail comb, spray bottle, 1 ponytail holder, 4-6 small bobby pins, hairspray {if desired}.
Time Requirement: 3 minutes
Skill Level: Easy
Video Tutorial:
Step-by-Step Instructions:
- Begin with a base of straight, wavy, or curly hair…
- Then, start your hairstyle by parting off a rectangular section of hair, I like going from mid eyebrow to mid eyebrow, going back just past the crown of the head…
- Add a little tease to the roots of this section to keep it from laying totally flat against the head, and adding volume to the front…
- Secure the ponytail with a ponytail holder…
- Then, add teasing to the ponytail of hair by gently backcombing it with a rat-tail comb {this will, again, add volume and keep the bun from looking too uniform}…
- Next, carefully twist and wrap the ponytail up into a bun around the elastic {as you wind, be sure that the bun is somewhat flat and too “cone shaped” on the head…
- Secure the bun with 4-6 small bobby pins…
- Add a little tease to the roots of the down hair, next to the part lines, to add a little fullness there as well and to help frame the face…
- Add hairspray for added security {if desired}.
Shop This Post:
If you loved this tutorial, please share it, and leave a comment below telling us how you would wear this bun!
Also, feel free to come and meet our whole family at CVX Live, at the UCCU center, on Aug 7-8th, 2015 in Orem Utah! Tickets are available here! We’d love to see you!
Happy Hairstyling!
If you want to see a very fun video that we put up on our YouTube channel, BrooklynAndBailey, you have to check out our Expectation vs. Reality video for the last day of school! We had a blast filming it, so we hope you enjoy!


Love this hairstyle ????
OMG Bailey, It really suits you!
You are gorgeous, and I love this style! Go CGH!!!
Bailey you look great !!
R u guys lds?
Loving this half bun, it looks very cute!
This blog it’s amazing!!!
http://federicaferraro.com/en/
cute