My favorite thing about scarf hairstyles is that they’re so easy to do, and they add style to your hair! Scarves have the ability to change the look of your hairstyle completely, and it takes the simplest of hair-dos to the next level! Today, I’ll show you how to style scarves while giving you tips and tricks on how to “age-up” your hair.
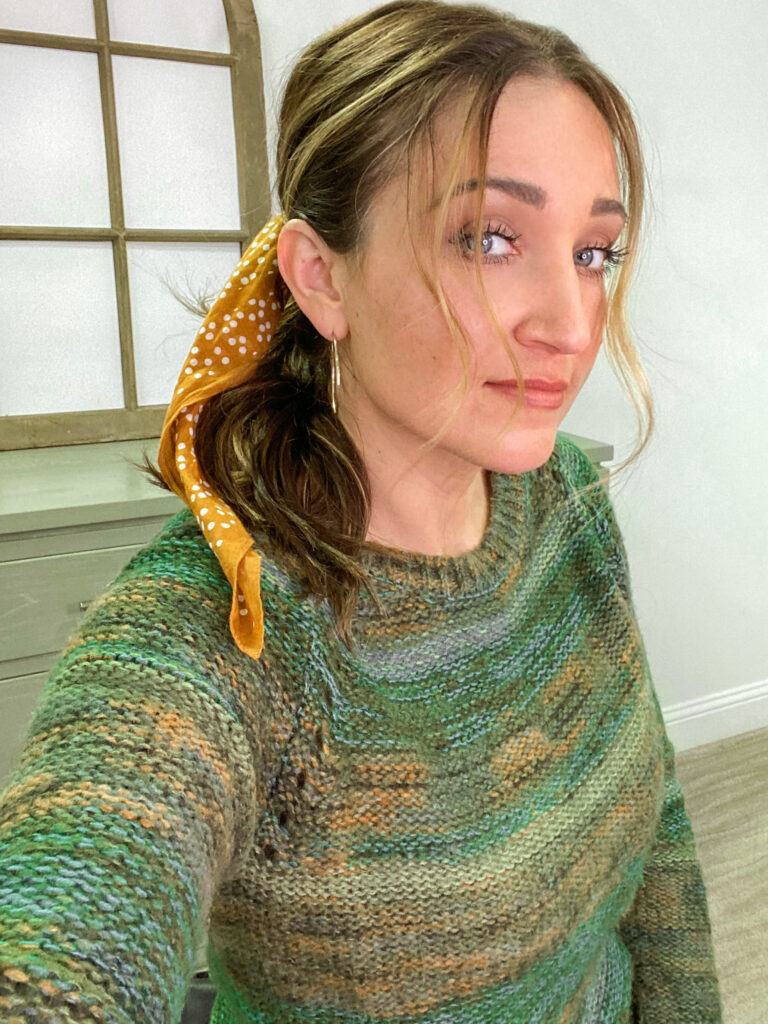
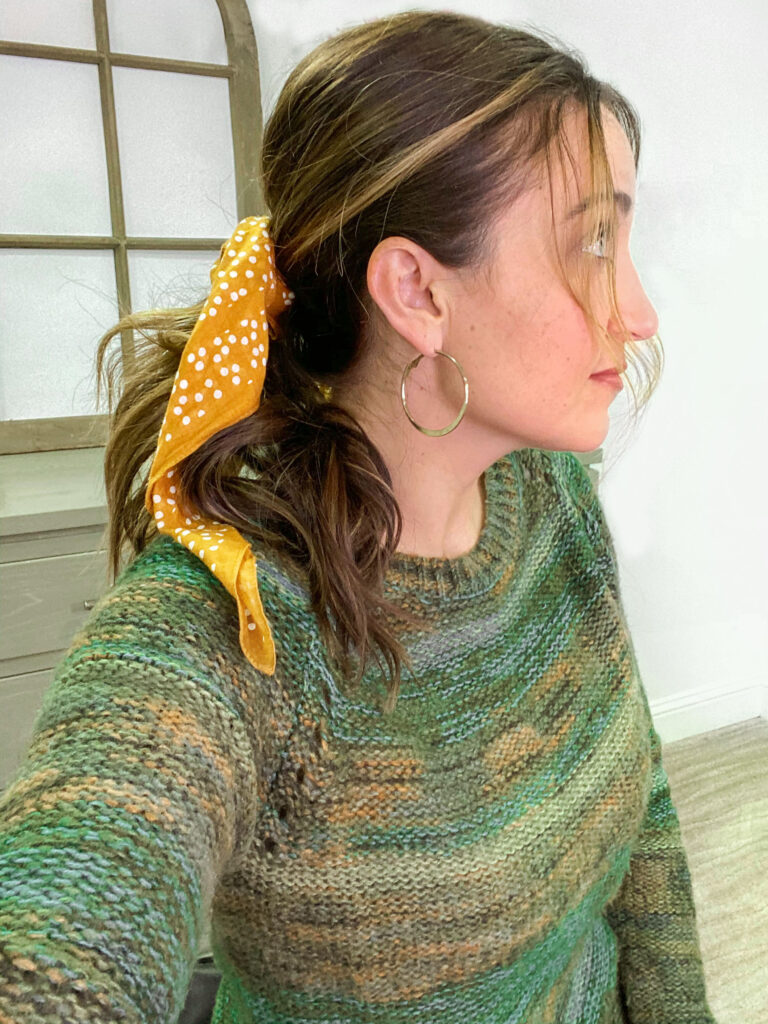
Style 1

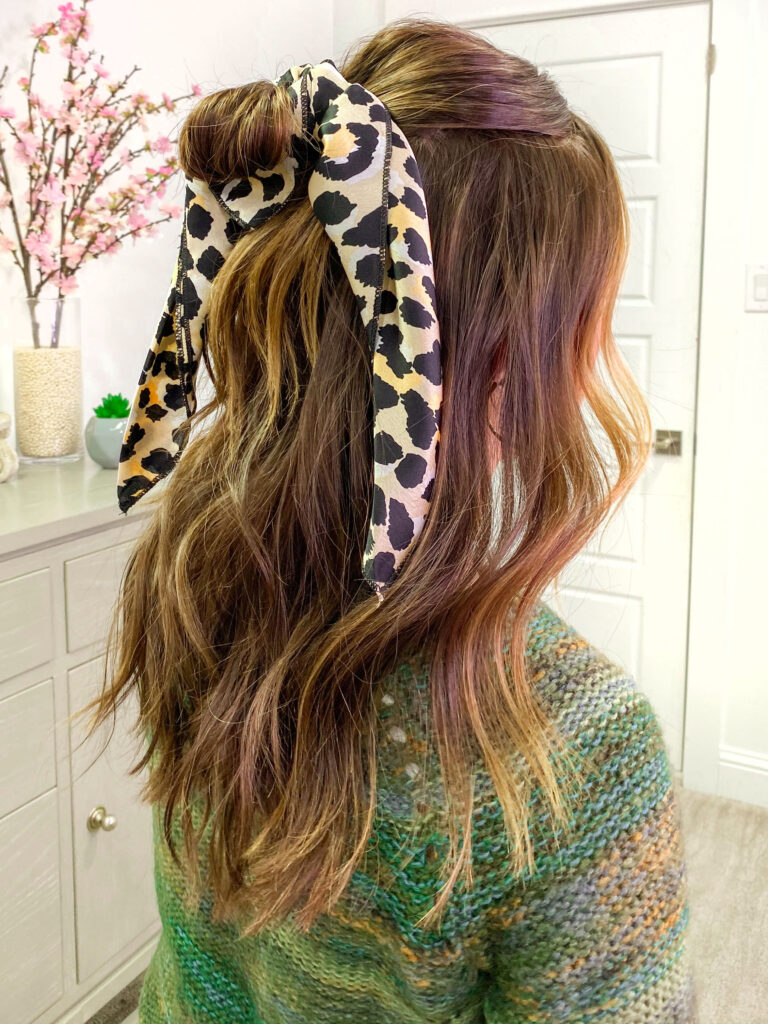
There various options for executing this look, but I’ll talk about the first only. Start about an inch from your middle part. Take your hair, going to kind of scoop motion, tie it up, and leave it there for a bit. Then take your scarf and lay it kind of at the bottom of the base of your head. You’ll need it far enough down to stay put and won’t slip up on your head. Then tie the scarf tightly to secure it safely. Then release the top piece of hair you tied up in the beginning, and let it fall into place. Leaving that bottom layer out can mature the look instead of having it all slicked back off your face. It also leaves some nice fullness down around our edges to your face so that it looks a little more grown-up and more put together!
Style 2
Before I start, here’s a tip on how to make a half-updo look more mature: Make sure to start your hairstyles about an inch back. Always leave a good inch or two above your ears. These are your “face-framing” pieces.
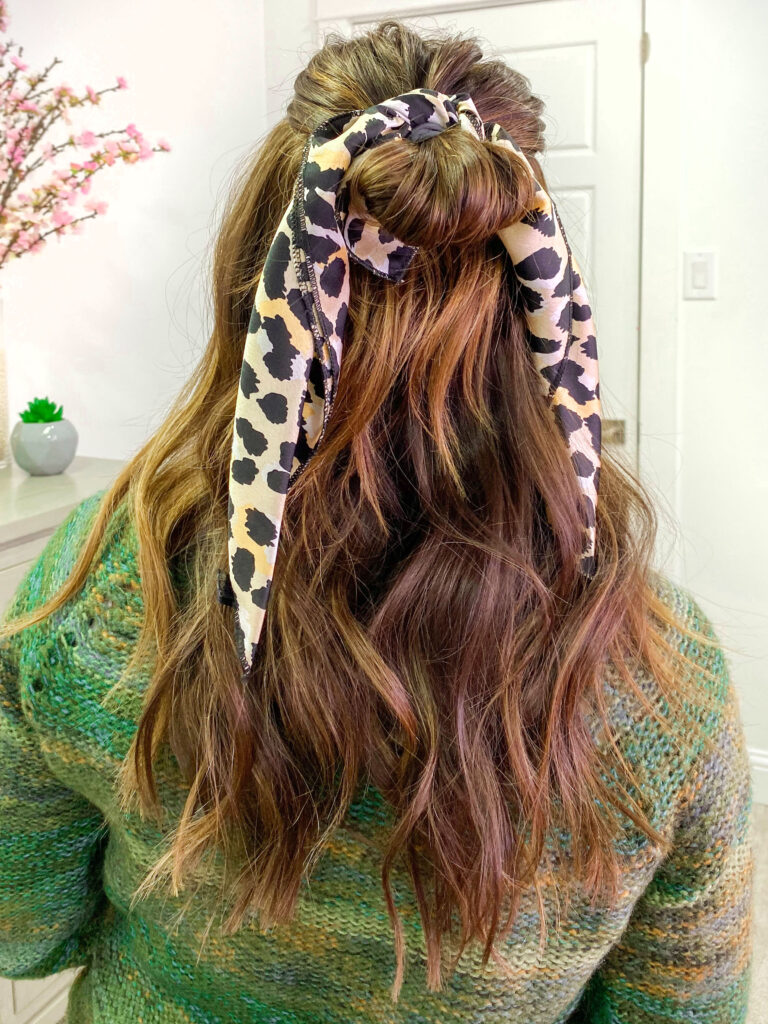
For the second style, pull half your hair back, wrap the elastic twice before stopping halfway through the third warp to create a bubble. Don’t worry if it’s not perfect. The common goal of all these looks is messy, just like they’ve been thrown together. Go ahead and finger comb the rest of your hair. Then you take your scarf and wrap it right underneath that loop and tie it in. It’s that easy!
Style 3
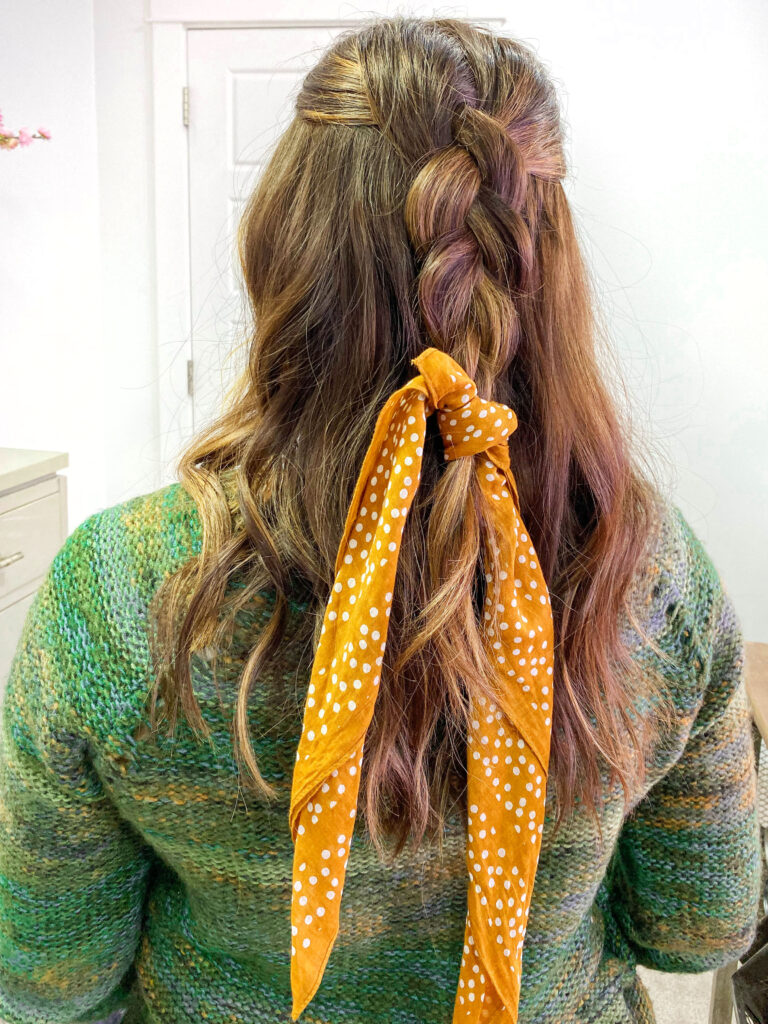
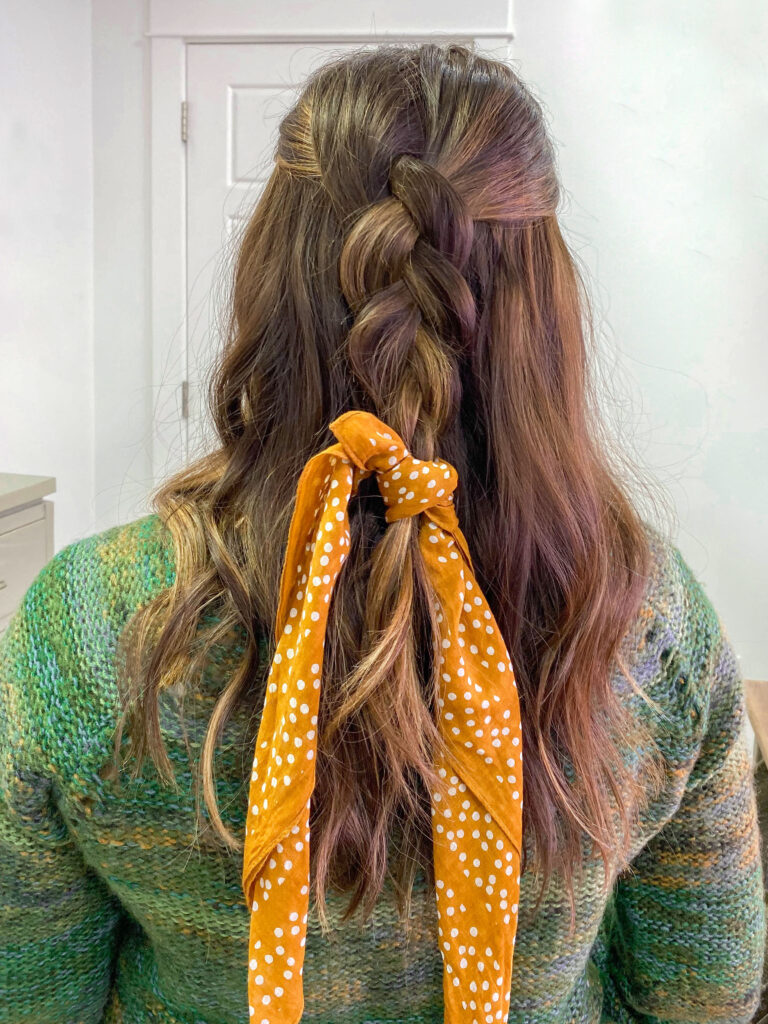
For the third style, section your hair similar to style two, only this time divide the section into three pieces. Then create a simple down braid. At the top, about three or four stitches in, begin to loosen the braid. If your hair starts falling out in the process, you can always use a texture powder in your hair. The powder will help hold the braid and give it a little grip. Lastly, secure it with an elastic. Now we bring in the scarf or bandana to tie it at the end of your braid. You can leave it hanging down, or you could do a bow. For a final touch, go back and re-fluff and puff the braid.
Style 4
For this style, we’re going to go with a middle part. Ponytails can be plain sometimes, so before you start this look, make sure to use dry shampoo and texture powder in the roots to give it a natural lift. These two products give you so much grit and volume. Begin to gather your hair, but before tying it up, start yanking out pieces; remember you want it to look messy and nicely drape your face. With an elastic, secure the ponytail. Let’s get messy – start pulling! Pull and tug right above your ears, in the back of your head to loosen the hair. There’s better shape, lot better framing, and just looks a lot nicer. Then you can take your scarf and tie it in. Voila! I just taught you how to do a perfect ponytail on top of it all.
Want to make it look more age-appropriate? Here’s the trick! Reach under your ponytail elastic, so you’re only pulling on these very bottom pieces, and tighten it. What happens is, while you pull the hair, you’re giving the ponytail more volume and lift. These small in-between steps give the average ponytail and a much-needed boost!
Style 5
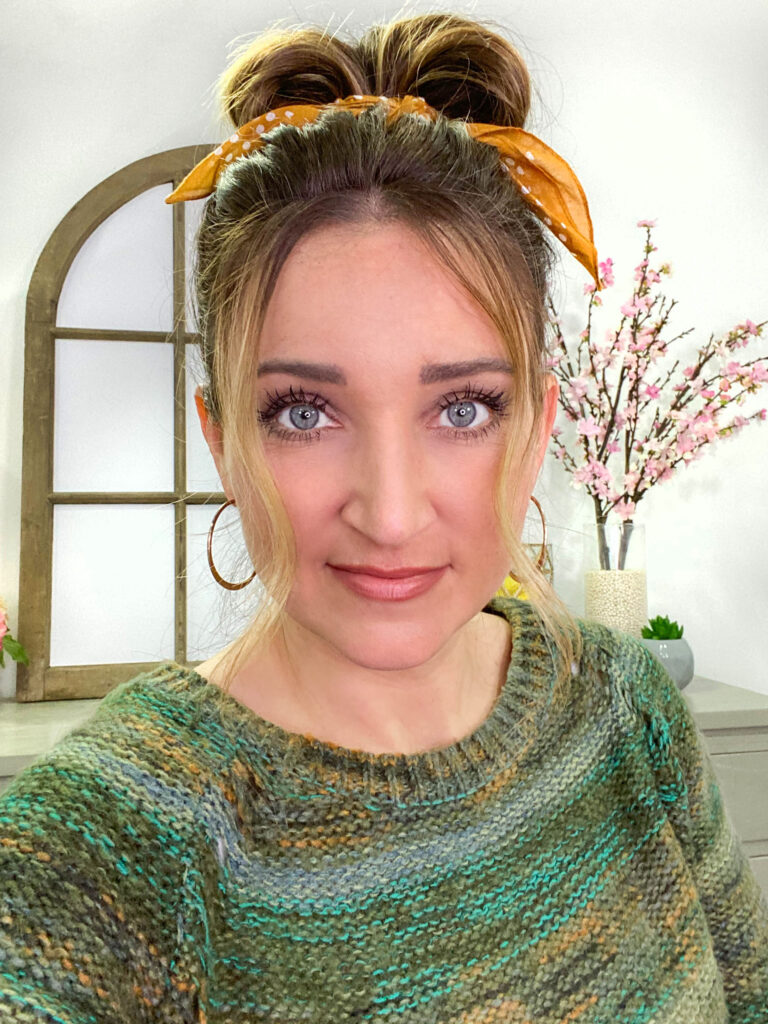
Last but not least – I like to call this one the “Mom Mode” look. If you’re a mom, you know exactly what look I’m talking about! Start with your dry shampoo and texturizing powder to give your look volume. While finger combing, gather all your hair similar to the last style, but this time, bring it up into a high ponytail. Again, we’re going for “I woke up like this,” not perfection! Grab your elastic, wrap your hair twice, and stop halfway to fan out on the third loop. You can leave the bottom pieces poking out, or you can tuck them in. But then you go back to the front to start the pull and tug process. Lastly, grab your scarf, wrap it around, and tie it off. Bring those ends forward and tie them off. It’s all about preference with this look.
Ready, Set, Done!
I hope you loved all five of the simple scarf hairstyles. I think they’re all beneficial, quick, and easy to do! It makes it look like you did something with your hair, even when you really only spent five minutes doing it. You can watch the full how-to below!
Watch the Full Tutorial
Check out more cute easy looks, click here!